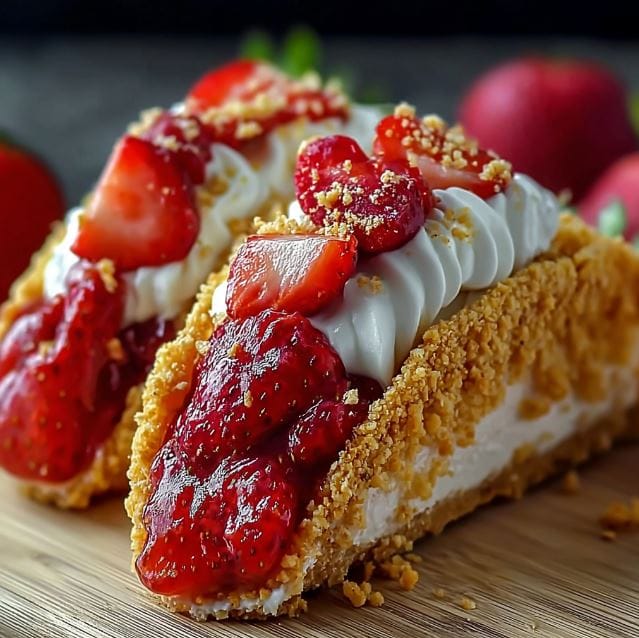
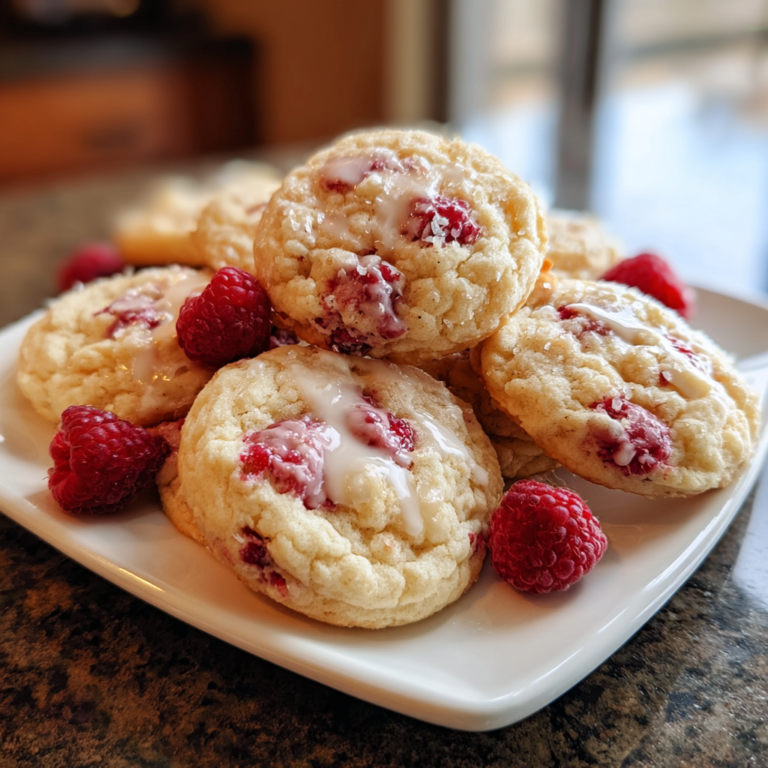
Easy & Delicious Fruit Pizza Cookies
Easy & Delicious Fruit Pizza Cookies
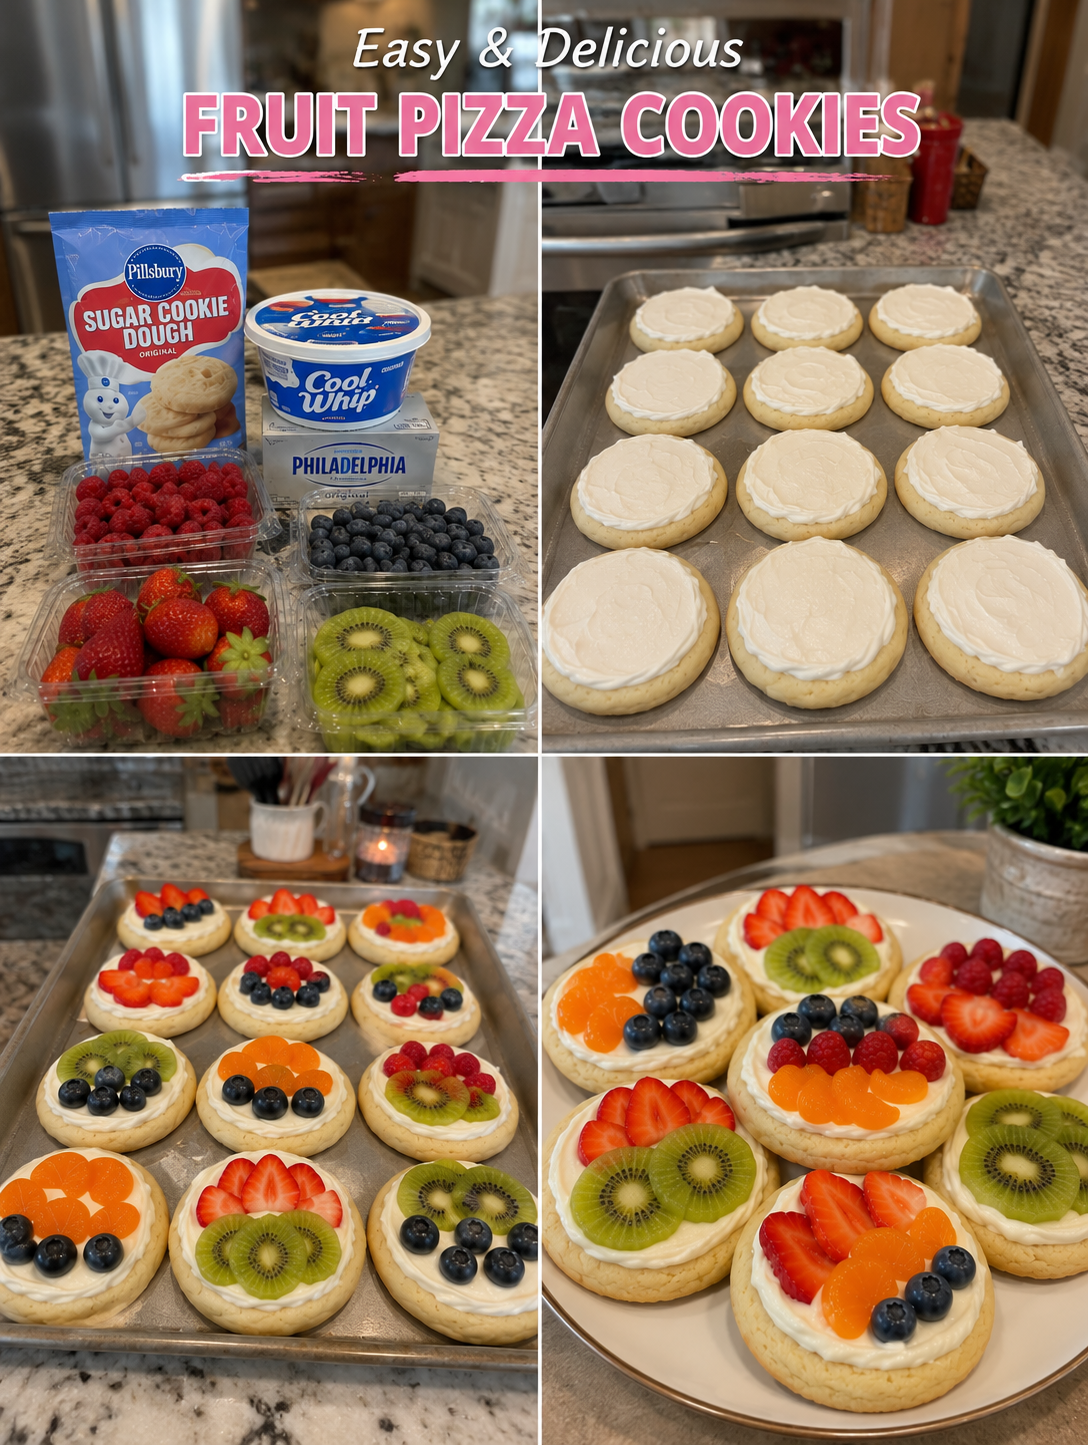
Easy & Delicious Fruit Pizza Cookies: A Recipe You’ll Make Again and Again
I created these Easy & Delicious Fruit Pizza Cookies on a lazy Sunday afternoon when my sister texted asking if I wanted to bake something together. I was tired, honestly. The kind of tired where you want something that tastes like you spent hours in the kitchen but actually takes maybe thirty minutes total. I had a container of cream cheese sitting in my fridge, some fresh berries that needed eating, and a random craving for something between a cookie and a dessert pizza.
So I threw together what I had—a buttery shortbread-style cookie base, a tangy cream cheese spread, and whatever fruit looked good. When my sister bit into one, she literally closed her eyes and said, “Okay, this is dangerous.” And honestly? She was right. These cookies are dangerous in the best way because they’re so easy you’ll make them constantly, but they taste impressive enough that people will think you’re some kind of baking wizard.
Here’s the real magic: these aren’t fussy. They don’t require fancy equipment, weird ingredients, or perfect technique. If your cookies come out slightly irregular or your fruit placement isn’t Instagram-perfect, they still taste absolutely incredible. That’s the whole point. Life’s too short for stressful baking, and these cookies prove you don’t need stress to make something delicious.
If you love the idea of a crispy, buttery cookie base topped with creamy, fruity goodness, these are absolutely for you. Whether you’re baking for a potluck, making a special breakfast for someone you love, or just need an afternoon pick-me-up, this recipe has your back. Follow me on HaileeRecipes on Pinterest for more recipes just like this one.
Why You’ll Love This Recipe
They’re genuinely easy. I’m not exaggerating when I say the hardest part is washing your berries. The cookie dough comes together in one bowl, bakes while you do literally anything else, and then you just spread cream cheese on top and add fruit. That’s it.
They look fancy but taste even better. There’s something about the combination of crispy cookie, creamy filling, and fresh fruit that just works. Your guests will assume you spent way more time on these than you actually did, and honestly, that’s a win.
They’re endlessly customizable. Don’t like blueberries? Use raspberries. Can’t do dairy? Swap the cream cheese for a vegan alternative. Want to add chocolate? Go for it. This recipe is flexible enough to work with whatever you have on hand or whatever you’re craving.
They come together quickly. From start to finish, you’re looking at about forty-five minutes, with most of that being hands-off baking time. Perfect for when you want something homemade but don’t have all day.
They actually taste fresh. Unlike a lot of cookies that sit heavy in your stomach, these feel bright and lighter because of all that fresh fruit and the tangy cream cheese. You can eat more than one without feeling like you need a nap afterward (though I won’t judge if you do).
Ingredients
- 1 cup all-purpose flour — Hailee’s Tip: Don’t sift unless you really want to. I never do, and these cookies turn out perfect.
- 6 tablespoons unsalted butter, softened — Hailee’s Tip: Softened means you can press your finger into it easily. If it’s too hard, microwave it in five-second bursts.
- 1/4 cup granulated sugar
- 1/4 cup brown sugar, packed — Hailee’s Tip: Brown sugar adds a subtle richness that makes these taste homemade in the best way.
- 1 egg yolk — Hailee’s Tip: Save that egg white for scrambled eggs or a face mask. No waste in this kitchen.
- 1/2 teaspoon vanilla extract
- 1/4 teaspoon salt
- 1/2 teaspoon baking powder
- 8 ounces cream cheese, softened — Hailee’s Tip: This is your topping base. Let it sit on the counter for about thirty minutes before you need it.
- 2 tablespoons powdered sugar
- 1/2 teaspoon vanilla extract (for the cream cheese layer)
- 2 cups fresh fruit (strawberries, blueberries, raspberries, kiwi, or a mix) — Hailee’s Tip: Use whatever looks good at your market. Frozen berries work too if you thaw and pat them dry first.
- 2 tablespoons honey or apricot jam, warmed (optional, for glazing) — Hailee’s Tip: This makes the fruit shine and adds a subtle sweetness. Totally optional but I love it.
Optional Add-Ins and Variations
This is where you get to have fun. Here are some of my favorite tweaks:
- Lemon zest in the cookie dough: Add one teaspoon of lemon zest to the dough before baking. It brightens everything up.
- Almond extract: Use 1/4 teaspoon almond extract instead of vanilla in the cream cheese layer. It pairs beautifully with stone fruits.
- Chocolate chips in the dough: Fold in 1/3 cup mini chocolate chips before baking. The chocolate-fruit combo is *chef’s kiss*.
- Coconut flakes: Sprinkle toasted coconut flakes on top of the cream cheese before adding fruit.
- A pinch of cinnamon: Add 1/4 teaspoon cinnamon to the cookie dough for a subtle warmth.
- Lime zest with mango: Use lime zest in the dough and top with fresh mango. Tropical vibes.
Step-by-Step Method
Step 1: Preheat and prep. Get your oven to 350°F. Line a baking sheet with parchment paper. This is non-negotiable—it keeps cleanup easy and prevents sticking.
Step 2: Make the dough. In a bowl, cream together your softened butter and both sugars. This takes about two minutes with a hand mixer or wooden spoon. You want it light and fluffy-looking. Add the egg yolk and vanilla, mix until combined. In a separate small bowl, whisk together flour, salt, and baking powder. Add the dry stuff to the wet stuff and stir until you have a cohesive dough. Don’t overmix—you want it just combined.
Step 3: Shape the cookies. This is where I had to learn something the hard way. I used to try to roll these out, and they’d crack and be annoying. Now I just scoop the dough into tablespoon-sized balls and gently press them flat on the baking sheet with the bottom of a glass. Leave them about two inches apart because they spread a little. You should get about twelve cookies.
What I messed up: The first time I made these, I pressed the cookies too thin, and they got crispy all the way through instead of having that soft cookie texture. Now I press them to about 1/4-inch thick, and they’re perfect.
Step 4: Bake. Pop them in the oven for twelve to fifteen minutes. You’re looking for the edges to be just barely golden—they should still look a little underbaked in the center. They’ll continue cooking slightly as they cool, and this is what keeps them tender instead of hard.
Step 5: Cool completely. This is crucial. Don’t skip it. Let the cookies cool on the baking sheet for five minutes, then transfer them to a wire rack to cool all the way down. I know you’re excited, but warm cookies plus cream cheese equals a melty mess.
Step 6: Make the cream cheese layer. While cookies cool, beat your softened cream cheese with powdered sugar and vanilla until smooth and spreadable. If it’s too thick, add a splash of milk. If it’s too thin, add a tiny bit more powdered sugar.
Step 7: Assemble. Once cookies are completely cool, spread about a tablespoon of cream cheese mixture on top of each cookie. Arrange your fresh fruit on top however you like. I usually do a little cluster in the center, but honestly, there’s no wrong way.
Step 8: Optional glaze. If you’re using honey or apricot jam, warm it gently and brush a tiny bit over the fruit. It makes everything look glossy and professional. Skip it if you prefer a matte finish—both are delicious.
Common Mistakes to Avoid
Using cold cream cheese. I can’t stress this enough. Cold cream cheese is impossible to spread without tearing your cookies. Let it sit on the counter for thirty minutes, or microwave it in five-second bursts until it’s soft.
Baking the cookies too long. This is the number one way to end up with hard, crunchy cookies instead of tender ones. Twelve to fifteen minutes is the sweet spot. Your cookies should look slightly underbaked when they come out of the oven.
Skipping the cooling step. I know it’s tempting to assemble everything while the cookies are still warm, but warm cookies plus cream cheese equals a sliding, melting situation. Be patient. It’s worth it.
Pressing the dough too thin. Thin cookies become crackers. Press yours to about 1/4-inch thick and you’ll get that perfect balance of crispy edges and tender center.
Using wet fruit. Pat your berries dry before placing them on the cookies. Excess moisture will make the cream cheese weepy and the cookies soggy over time.
My Tested Substitutions
For the butter: You can use coconut oil in a one-to-one swap, though the flavor will be slightly different. The cookies will be a tiny bit less tender, but still delicious.
For the egg yolk: If you’re vegan, use one tablespoon of aquafaba (the liquid from a can of chickpeas) mixed with a little cornstarch. It works surprisingly well.
For the cream cheese: Mascarpone is a dream if you can find it—it’s creamier and slightly sweeter. You could also use whipped ricotta for a lighter option, or vegan cream cheese if you’re dairy-free.
For the flour: I haven’t had great success with gluten-free flour blends in this recipe because they tend to make the cookies too crumbly. But if you want to try it, use a blend with xanthan gum and keep the dough slightly wetter than you think it should be.
For the fruit: Literally any fresh fruit works. I’ve used peaches, nectarines, pineapple, pomegranate seeds, figs, and even candied orange peel. Get creative.
How to Customize
The beauty of this recipe is that it’s basically a blank canvas. Here are some combinations I absolutely love:
Summer berry blast: Mix strawberries, blueberries, and raspberries. Add lemon zest to the dough. Brush with honey.
Tropical escape: Top with mango, pineapple, and a few macadamia nuts. Use lime zest in the dough. Skip the glaze.
Classic strawberry: Use only fresh strawberries, thinly sliced. Add a tiny pinch of vanilla to the dough. Brush with a little jam glaze.
Fancy chocolate-raspberry: Add chocolate chips to the dough. Top with raspberries and a light dusting of cocoa powder.
Stone fruit perfection: Use sliced peaches or nectarines. Add almond extract to the cream cheese layer. Brush with apricot jam.
Serving Ideas
These cookies are perfect for literally any occasion. Serve them at brunch with coffee and they feel fancy. Pack them in a lunch box and they’re a special treat. Set them out at a party and watch them disappear. I’ve even served them as a light dessert after dinner, and everyone loved them.
They pair beautifully with tea, coffee, or even champagne if you’re feeling celebratory. On a hot day, they’re refreshing because of all that fresh fruit. On a cozy day, they’re comforting because of the buttery cookie base. They’re basically the perfect cookie.
Meal Prep & Storage
How long they last: These are best eaten the day you make them, but they’ll keep in an airtight container in the fridge for up to three days. The cookies stay crispy, and the cream cheese stays fresh.
Make-ahead tip: You can bake the cookies up to two days ahead and store them in an airtight container. Assemble them just before serving so the fruit stays fresh and the cream cheese doesn’t absorb moisture from the berries.
Freezing: The baked cookies freeze beautifully for up to a month. Thaw them at room temperature, then assemble with cream cheese and fruit when you’re ready to serve.
Pro move: Make a double batch of cookies and freeze half. Then you can have fresh fruit pizza cookies ready to go whenever the craving hits—just thaw, assemble, and enjoy.
Nutritional Breakdown
These cookies are lighter than a traditional butter cookie because of the fresh fruit and cream cheese topping. One cookie (with fruit and cream cheese) is roughly 150-170 calories, depending on how much cream cheese you use and which fruit you choose. They’re not a health food, but they’re not a sugar bomb either. They’re just a really nice treat that happens to include actual fruit.
The fiber from the fruit, the protein from the cream cheese, and the whole grain-ish feel of the buttery cookie base make these feel more balanced than your average dessert. I’m not saying you should eat five of them every day, but I’m also not saying you shouldn’t treat yourself to one.
Final Thoughts
I genuinely love this recipe, and I hope you will too. There’s something really special about baking something that looks impressive but doesn’t stress you out. These Easy & Delicious Fruit Pizza Cookies are exactly that—they’re the kind of recipe that makes you feel like a good baker without requiring you to be a perfectionist.
Bake them for someone you love. Bake them for yourself. Bake them because it’s a Tuesday and you feel like it. Whatever your reason, I promise these will turn out beautifully. And if something goes slightly wrong—if a cookie cracks or your fruit arrangement isn’t perfect—it literally doesn’t matter. They’ll still taste amazing.
I’d love to know what you think when you make these. What fruit combination did you choose? Did you add any fun variations? Let me know, because honestly, hearing about what people create with recipes I share is one of my favorite parts of this whole thing.
Happy baking, friend. You’ve got this.
—
Recipe Card
Easy & Delicious Fruit Pizza Cookies
I created these Easy & Delicious Fruit Pizza Cookies on a lazy Sunday afternoon when my sister texted asking if I wanted to bake something together. I was tired, honestly. The kind of tired where you want something that tastes like you spent hours in the kitchen but actually takes maybe thirty minutes total. I had a container of cream cheese sitting in my fridge, some fresh berries that needed eating, and a random craving for something between aIngredients
Method