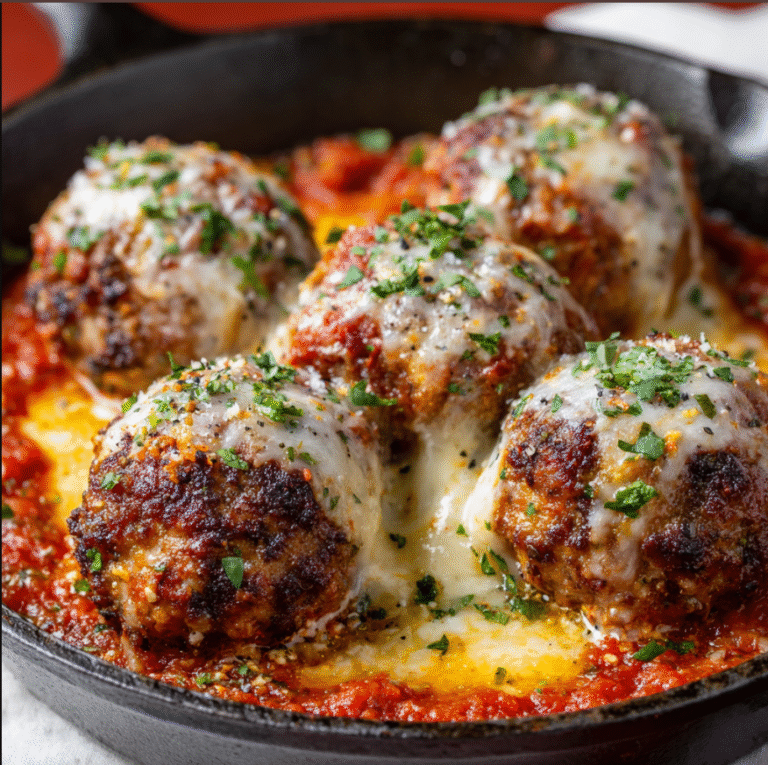
Easy Doritos Taco Casserole
Easy Doritos Taco Casserole
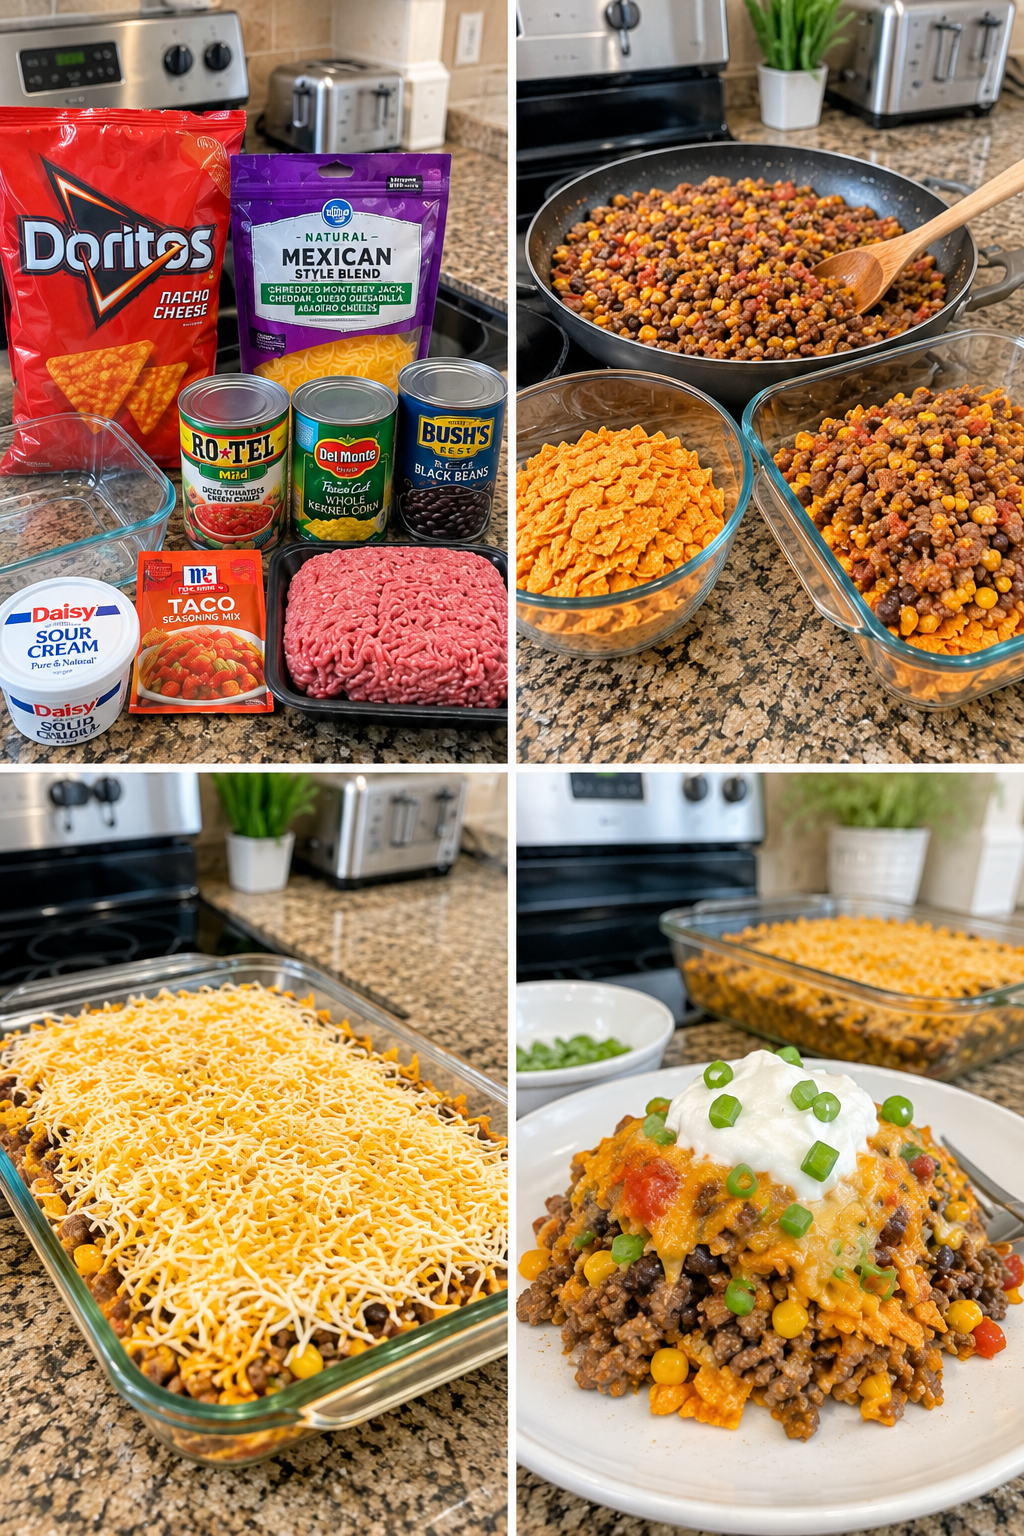
Easy Doritos Taco Casserole: A Weeknight Dinner That Actually Tastes Like a Treat
I’m going to be totally honest with you—I created this Easy Doritos Taco Casserole on a Tuesday night when I was tired, hungry, and staring into my pantry like it might suddenly produce a five-star meal. My kids were asking what was for dinner, my partner was working late, and I had ground beef, a bag of Doritos (yes, the snack chips), some cheese, and a vague memory of my mom making something similar when I was little. So I threw caution to the wind, trusted my gut, and layered it all together.
What came out of the oven? Pure magic. Golden, crispy, cheesy, slightly spicy, and somehow both comforting and indulgent at the same time. My kids devoured it. I devoured it. We all sat there looking at each other like we’d accidentally discovered the best-kept secret in the kitchen.
Here’s the thing about this casserole: it’s not fancy, it’s not trying to impress anyone, and it absolutely does not care if you’re a beginner cook or someone who’s been feeding a family for thirty years. It just works. It’s the kind of recipe that makes you feel like you’ve got your life together, even when you’re literally just throwing leftovers and snacks into a baking dish. It’s budget-friendly, it comes together in under 30 minutes of actual work, and it feeds a crowd without any fuss.
Whether you’re a busy parent, someone who loves comfort food, or just tired of the same old taco night routine, this is your new go-to. I’m sharing exactly how I make it, what I’ve learned along the way, and all the ways you can make it your own. Follow me on HaileeRecipes on Pinterest for more easy weeknight dinners like this one.
Why You’ll Love This Recipe
Let me break down why this Easy Doritos Taco Casserole has become a staple in my kitchen and why I think it’ll become one in yours too.
- It’s genuinely easy. No complicated techniques, no fancy equipment, and no stress. If you can brown ground beef and layer things in a pan, you’re already winning.
- It comes together fast. Fifteen minutes of prep, thirty minutes in the oven, and you’re eating. That’s less time than most delivery options.
- It tastes indulgent without being pretentious. The Doritos add this amazing crispy, salty, slightly spicy element that makes it feel special even though you’re using pantry staples.
- Everyone eats it. I’ve served this to picky eaters, adventurous eaters, and people who claim they don’t like casseroles. They all come back for seconds.
- It’s budget-friendly. Ground beef, Doritos, cheese, and some basic pantry items. You’re looking at feeding six people for under twenty dollars.
- It’s flexible. You can customize it a hundred different ways depending on what you have on hand or what your family likes.
Ingredients
- 1.5 pounds ground beef
- 1 medium onion, diced
- 3 cloves garlic, minced
- 1 packet (1.25 ounces) taco seasoning
- 3/4 cup water
- 1 can (15 ounces) black beans, drained and rinsed
- 1 can (10 ounces) diced tomatoes with green chilies
- 2 cups shredded cheddar cheese, divided
- 1 cup sour cream
- 3 cups Doritos (Nacho Cheese flavor works best), divided
- Salt and pepper to taste
- Optional: 1/2 cup salsa, 1/4 cup fresh cilantro, 1 jalapeño sliced
Hailee’s Tip: Don’t feel like you need to use the exact amount of Doritos. Some people like their casserole extra crunchy, so they use more. I usually reserve about a cup of the good-looking chips for the top layer so it looks pretty when it comes out of the oven.
Hailee’s Tip: Buy the regular taco seasoning packet, not the low-sodium version, unless you’re watching your salt intake. The regular stuff has better flavor distribution, and honestly, you’re already making a Doritos casserole—we’re not pretending this is health food.
Hailee’s Tip: If you can’t find diced tomatoes with green chilies, use regular diced tomatoes and add a small can of diced green chilies separately. Or just use regular tomatoes. Your casserole won’t judge you.
Optional Add-Ins and Variations
This is where you get to make the recipe your own. I’ve tested most of these additions, and they all work beautifully.
- Corn: A cup of frozen corn (thawed) adds sweetness and texture. Honestly, I add this almost every time now.
- Red bell pepper: Diced and added with the onions. It adds color and a slight sweetness that balances the spice.
- Jalapeños: Fresh, sliced, and added on top before baking. Go easy if your family doesn’t like heat.
- Different cheese blends: Monterey Jack, pepper jack, or a Mexican blend all work great. I sometimes use a combination.
- Salsa: Mix a half cup into the meat mixture for extra flavor and moisture.
- Bacon: Crispy bacon crumbled on top is never a bad idea. Cook it separately and add it during the last five minutes of baking so it stays crispy.
- Avocado or guacamole: Add after baking, right before serving. Never bake avocado—it gets weird and bitter.
- Cilantro: Fresh cilantro scattered on top after it comes out of the oven adds brightness.
Step-by-Step Method
Step 1: Brown the beef and build your flavor base
Heat a large skillet over medium-high heat. Add your ground beef and cook it until it’s no longer pink, breaking it up as you go. This usually takes about 5-7 minutes depending on how much you’re cooking. Drain off any excess fat if there’s a lot pooling at the bottom—you want some for flavor, but not a puddle.
Add your diced onion to the beef and cook for another 2-3 minutes until the onion starts to soften. Then add your minced garlic and cook for about 30 seconds. You’ll smell it immediately—that’s how you know it’s right.
Hailee’s Tip: I always use fresh garlic, not the jarred stuff. It makes a noticeable difference, and honestly, mincing three cloves takes about the same time as opening a jar.
Step 2: Season and simmer
Sprinkle your taco seasoning over the beef mixture. Add the water and stir everything together. Let it simmer for about 3-4 minutes so the seasoning dissolves and coats everything evenly. Taste it and adjust salt and pepper if needed.
What I Messed Up: The first time I made this, I didn’t let the seasoning simmer long enough, and it felt gritty in my mouth. Now I always give it a proper simmer so everything melds together.
Step 3: Add your beans and tomatoes
Stir in your drained black beans and your can of diced tomatoes with green chilies. Let this simmer for another 2 minutes. The mixture should look wet and saucy at this point—that’s perfect. If it looks too dry, add a splash more water.
Step 4: Preheat and prep your baking dish
While your meat mixture is simmering, preheat your oven to 350 degrees Fahrenheit. Grab a 9×13 inch baking dish and give it a light spray of cooking oil or a quick rub of butter. You’re not making a non-stick situation—just enough so nothing sticks.
Step 5: Layer like you mean it
This is where the magic happens. Here’s how I layer it:
First, spread about a third of your meat mixture on the bottom of the baking dish. Then sprinkle about a third of your crushed Doritos over that. Then spread half of your sour cream over the Doritos. Then sprinkle about a third of your cheese on top.
Repeat: another third of meat, another third of Doritos, the remaining sour cream, another third of cheese.
Final layer: last of your meat mixture, the remaining Doritos (I save the prettiest chips for this top layer), and the final third of cheese.
What I Messed Up: I once tried to be fancy and layer it perfectly evenly. It looked great before baking and then shifted around in the oven. Now I just layer it and don’t stress about perfection. It’s going to taste amazing no matter what.
Step 6: Bake until bubbly and golden
Pop your casserole into the preheated oven for 25-30 minutes. You’re looking for the cheese to be melted and bubbly, and the Doritos on top to be slightly darker and extra crispy. Every oven is different, so check it around the 20-minute mark just to be safe.
Step 7: Let it rest for five minutes
I know it’s tempting to dive right in, but let it sit for five minutes after you pull it out of the oven. This helps everything set up so you get clean scoops instead of a melty mess. Plus, it’ll be less likely to burn the roof of your mouth.
Common Mistakes to Avoid
Using too much liquid in the meat mixture. If your casserole is swimming in liquid when it goes into the oven, it’ll come out soggy and the Doritos won’t stay crispy. The mixture should be moist but not soupy. If you accidentally added too much water, let it simmer a bit longer to evaporate some of it.
Not crushing the Doritos enough. If your chips are too big, they’ll stay hard and crunchy in a weird way instead of softening slightly and melding with everything else. I like to put them in a bag and crush them with my hands or a rolling pin until they’re mostly bite-sized pieces with some smaller crumbles mixed in.
Skipping the sour cream. I know it seems like an odd ingredient, but it adds creaminess and a subtle tang that balances all the spice and salt. Don’t skip it. Trust me.
Baking it too long. If you bake it past 30 minutes, the top can get a little too dark and crispy, and the whole thing can dry out. Start checking around 20 minutes and pull it out when the cheese is melted and bubbly.
Forgetting to drain your beans. Canned beans come in a lot of liquid, and if you add all that to your casserole, you’ll end up with a watery mess. Drain and rinse them first.
My Tested Substitutions
Ground turkey instead of beef: This works great if you’re looking for a leaner option. It has a milder flavor, so you might want to add an extra clove of garlic or a half teaspoon of cumin to the meat mixture for more depth.
Refried beans instead of black beans: If that’s what you have, use it. You might need slightly less liquid in your meat mixture since refried beans are already pretty thick.
Greek yogurt instead of sour cream: It works in a pinch, but it’s tangier and a little thinner. Use slightly less and stir it more gently into the layers so it doesn’t separate.
Regular tortilla chips instead of Doritos: Honestly, they work, but they’re blander. If you go this route, add a little extra salt and maybe some hot sauce to the meat mixture to compensate.
Homemade taco seasoning: If you don’t have a packet, mix 2 tablespoons chili powder, 1 tablespoon cumin, 1 tablespoon paprika, 1 tablespoon garlic powder, 1 tablespoon onion powder, 1 teaspoon oregano, and 1 teaspoon salt. It’s actually fresher tasting than the packet.
How to Customize
The beauty of this casserole is that it’s genuinely flexible. Here are some ways to make it fit your family’s tastes:
Make it spicier: Add a diced jalapeño to the meat mixture, use pepper jack cheese instead of cheddar, or drizzle hot sauce over the top layer before baking.
Make it less spicy: Use mild salsa instead of the tomatoes with green chilies, skip the jalapeños, and stick with regular cheddar cheese.
Make it vegetarian: Replace the ground beef with crumbled tofu or a plant-based ground meat substitute. Brown it the same way and season it the same way. It’ll still be delicious.
Make it loaded: Add corn, bell peppers, onions, and bacon. Layer in some sautéed mushrooms if you like them. There’s no such thing as too much in a casserole.
Make it lighter: Use lean ground beef, reduced-fat cheese, and Greek yogurt instead of sour cream. It won’t taste exactly the same, but it’ll still be good and you’ll feel a little less guilty.
Serving Ideas
This casserole is honestly perfect on its own, but here’s what I like to serve alongside it:
- A simple green salad: Something fresh and crisp balances out the richness of the casserole. I usually just do mixed greens with a lime vinaigrette.
- Guacamole or fresh avocado slices: Creamy and cooling. Add it right after the casserole comes out of the oven.
- Salsa and fresh cilantro: On the side for people who want to add extra flavor.
- Sour cream or Mexican crema: For dolloping on top.
- Jalapeño slices: For heat lovers.
- Lime wedges: A squeeze of fresh lime brightens everything up.
- Corn or flour tortillas: Some people like to scoop the casserole into a tortilla like a taco.
I usually just set out a few of these options and let everyone build their own plate. It feels more like a gathering than just dinner.
Meal Prep and Storage
Make it ahead: You can assemble this casserole up to 24 hours in advance. Cover it tightly with plastic wrap or foil and refrigerate it. When you’re ready to bake, just pop it straight from the fridge into the oven. You might need to add 5-10 minutes to the baking time since it’ll be cold.
Leftovers: This keeps beautifully in the fridge for about 3-4 days in an airtight container. Reheat it in a 350-degree oven for about 15 minutes, covered with foil so the top doesn’t get too dark. You can also microwave individual portions, though the Doritos won’t stay quite as crispy.
Freezing: I’ve frozen this casserole before baking, and it works fine. Assemble it, cover it tightly with plastic wrap and then foil, and freeze for up to 3 months. Bake it straight from frozen, adding about 15-20 minutes to the baking time. Cover it with foil for the first 20 minutes so the top doesn’t burn before the inside heats through.
Hailee’s Tip: If you freeze it, add a note to yourself about the baking time. I’ve definitely forgotten and wondered why it was taking so long.
Nutritional Breakdown
This is approximate per serving, assuming 8 servings total:
- Calories: 520
- Protein: 28g
- Carbohydrates: 32g
- Fat: 32g
- Fiber: 4g
- Sodium: 1,100mg