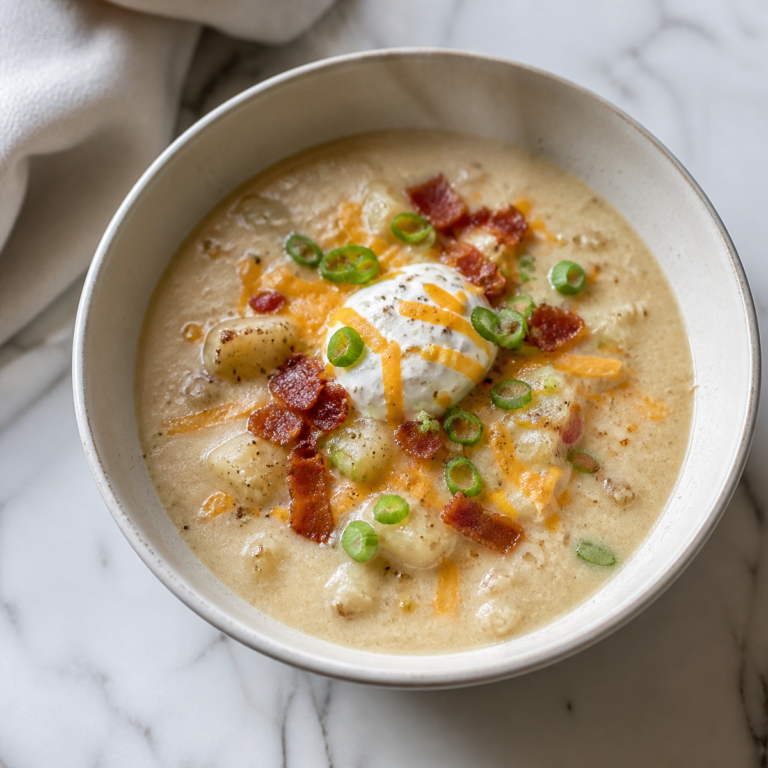
Roasted chiles with melty cheese
Roasted chiles with melty cheese
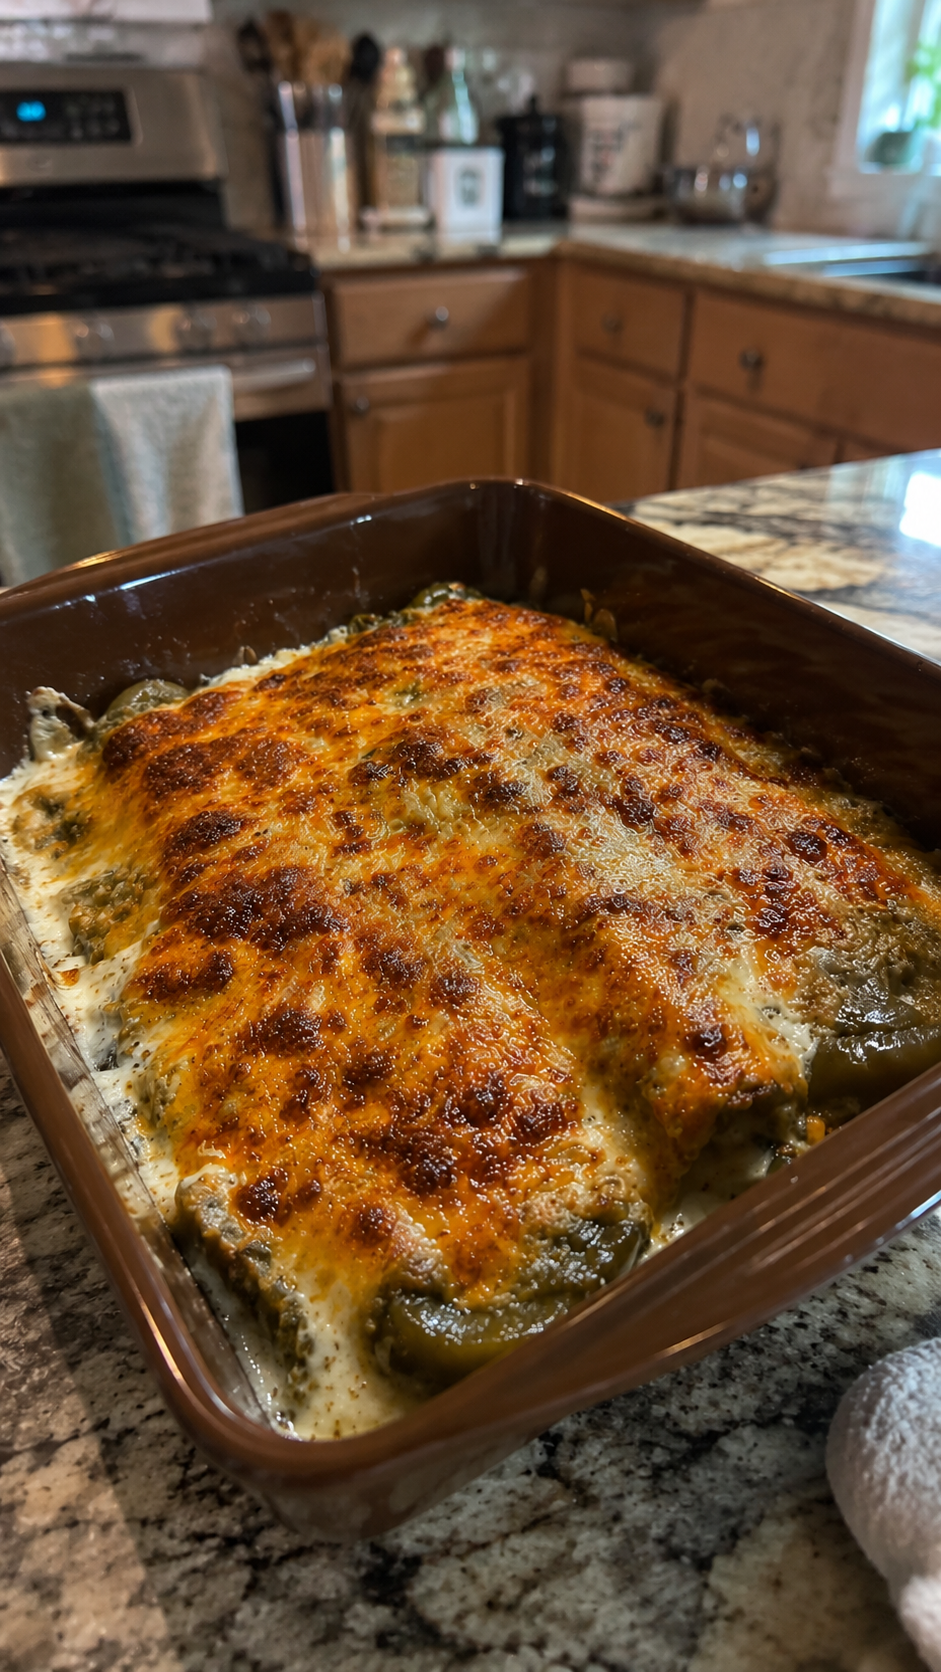
Roasted chiles with melty cheese
Follow Hailee Recipes on Pinterest for more simple, delicious ideas.
Roasted chiles with melty cheese is a straightforward dish that transforms humble peppers into a rich, comforting centerpiece. The process involves blistering the skin of fresh chiles until they are soft and slightly charred, then stuffing them with a generous amount of cheese that melts into a gooey, golden pool. The result is a textural contrast between the tender, smoky flesh of the pepper and the creamy, savory richness of the melted dairy. This preparation works beautifully as an appetizer for a casual gathering, a light lunch paired with a crisp salad, or a side dish that adds depth to a taco night or burrito bowl. It requires minimal active effort but delivers a complex flavor profile that feels elevated without being fussy.
Why This Recipe Works
The success of this dish relies on the chemistry of heat and fat. Roasting the chiles first serves two critical functions: it breaks down the tough cell walls of the pepper skin, making the flesh tender enough to eat in one bite, and it concentrates the natural sugars within the vegetable. This caramelization creates a subtle sweetness that balances the sharpness of the cheese. By stuffing the peppers after roasting rather than before, you prevent the cheese from burning while ensuring the pepper is fully cooked through. The high heat of the oven quickly melts the cheese without overcooking the delicate structure of the pepper, preserving its shape and texture. Using a blend of cheeses often yields better results than a single variety, as different melting points create a sauce-like consistency that clings to the pepper rather than separating into oil.
Ingredients
This recipe focuses on quality ingredients that require no complex substitutions. You will need fresh chiles that are firm and free of soft spots. Large poblano peppers are ideal for their mild heat and wide cavity, though Anaheim or large green bell peppers work well if you prefer zero heat. For the filling, a combination of Monterey Jack and Cheddar provides the best melt and flavor balance. A touch of garlic powder enhances the savory notes without adding moisture that could make the peppers soggy. Fresh cilantro adds a bright finish, cutting through the richness of the cheese.
- 4 large poblano peppers (or 4 large Anaheim peppers)
- 1 cup shredded Monterey Jack cheese
- 1 cup shredded sharp Cheddar cheese
- 1 teaspoon garlic powder
- 1 tablespoon fresh cilantro, finely chopped
- 1 tablespoon olive oil
- Salt and freshly ground black pepper to taste
How To Make Roasted chiles with melty cheese
- Prepare the oven and peppers: Preheat your oven to 425°F (220°C). Line a large baking sheet with aluminum foil or parchment paper for easy cleanup. Wash the poblano peppers thoroughly and pat them completely dry with a clean kitchen towel. Use a sharp knife to slice off the stem ends, then carefully cut a slit down the side of each pepper to open it up like a book. Remove all the seeds and white membranes inside; this step is crucial for reducing bitterness and creating space for the filling.
- Roast the chiles: Brush both sides of the opened peppers lightly with the olive oil and season generously with salt and black pepper. Arrange them flat on the prepared baking sheet, skin-side up. Place the tray in the center of the preheated oven and roast for 20 to 25 minutes. You are looking for the skins to blister and turn dark brown in spots, and the flesh to become very soft when pierced with a fork. Do not rush this step, as undercooked peppers will be tough and difficult to stuff.
- Make the cheese mixture: While the peppers are roasting, combine the shredded Monterey Jack, shredded Cheddar, and garlic powder in a medium mixing bowl. Toss the cheeses gently with your hands or a spoon until the garlic powder is evenly distributed. If you have time, let this mixture sit at room temperature for about 10 minutes so the cheese isn’t ice cold when it hits the hot peppers.
- Stuff the peppers: Once the peppers are tender, remove the baking sheet from the oven. Carefully lift each pepper and place it back on the tray, keeping the opening facing upward. Divide the cheese mixture evenly among the four peppers, packing it firmly into the cavity. Ensure the cheese mounds slightly above the rim of the pepper, as it will settle as it melts. Sprinkle the chopped fresh cilantro over the top of the cheese piles.
- Bake until melted: Return the stuffed peppers to the oven and bake for an additional 8 to 10 minutes. Watch closely during the last few minutes. The cheese should be fully melted, bubbling at the edges, and turning a light golden brown on top. The internal temperature of the cheese should reach at least 165°F (74°C) to ensure it is safe to eat and properly melted. Remove the tray from the oven and let the peppers rest on the pan for 5 minutes before serving. This resting period allows the cheese to set slightly, making it easier to handle without spilling the filling.
Doneness And Troubleshooting
Determining when the peppers are ready can sometimes be tricky if you are unfamiliar with their texture. The primary cue is tenderness; if you poke the flesh with a fork and it meets resistance, the peppers need more time. Undercooked peppers will remain chewy and may tear when you try to stuff them. Conversely, if the peppers become too mushy, they may collapse under the weight of the cheese. Aim for a texture that is soft but still holds its structural integrity.
If the cheese browns too quickly before the peppers are fully tender, loosely tent the baking sheet with a piece of aluminum foil. This reflects some direct heat and slows down the browning process while allowing the interior to continue cooking. Another common issue is cheese separation, where the oils separate from the solids. This usually happens if the cheese is shredded from a block immediately before use versus using pre-shredded bags which contain anti-caking agents. Shredding your own cheese from a block ensures a smoother, creamier melt. If your cheese does separate slightly, simply stir it gently with a fork before serving to re-emulsify the fats.
Substitutions And Variations
You can adapt this recipe based on dietary needs or flavor preferences. For a lower-fat option, substitute half of the cheese with part-skim mozzarella, though note that the flavor will be milder and the texture less rich. If you prefer a spicy kick, add a pinch of cayenne pepper or diced jalapeños directly into the cheese mixture. For a vegetarian-friendly version that is also gluten-free, this recipe naturally fits those requirements as long as you check the labels on any pre-shredded cheese for added starches.
In terms of cheese blends, Queso Fresco or Cotija can be crumbled on top after baking for a salty, crumbly contrast, though they will not melt into the same gooey consistency as the Jack and Cheddar. If you cannot find poblano peppers, large green bell peppers are a viable alternative, but they lack the slight smokiness of roasted poblanos. When using bell peppers, you may want to increase the roasting time by 5 minutes to ensure they soften sufficiently. Avoid using hard cheeses like Parmesan as the primary filling, as they do not melt well and will remain grainy.
Serving Suggestions
These roasted chiles shine when served warm. They pair exceptionally well with a simple side of Mexican rice or a quinoa salad dressed with lime juice and avocado. For a complete meal, serve them alongside grilled chicken or black beans. A drizzle of crema or sour cream adds a cooling element that complements the warmth of the dish. A squeeze of fresh lime juice just before eating brightens the flavors and cuts through the richness of the cheese. If you are hosting a party, arrange the peppers on a platter with tortilla chips and salsa for a shared appetizer experience.
Storage And Reheating
Leftover roasted chiles with melty cheese should be cooled to room temperature within two hours of cooking before being stored. Place them in an airtight container in the refrigerator, where they will keep for up to three days. Note that the cheese will firm up significantly once cold, which is normal. To reheat, place the peppers on a baking sheet and warm them in a 350°F (175°C) oven for 10 to 15 minutes. This method helps restore the melted texture better than microwaving, which can make the cheese rubbery. If you must use a microwave, cover the peppers with a damp paper towel and heat in short 30-second intervals.
Freezing is generally not recommended for this specific dish due to the texture changes in the peppers and the separation of the cheese upon thawing. However, if you must freeze them, cool them completely, wrap each pepper individually in plastic wrap, and place them in a freezer bag for up to one month. Thaw overnight in the refrigerator before reheating in the oven. Always ensure the internal temperature reaches 165°F (74°C) when reheating leftovers to ensure food safety.
Remember that the key to this dish is patience during the roasting phase. Taking the time to properly blister the peppers ensures the final result is tender and flavorful. Enjoy the simplicity of combining just a few high-quality ingredients to create something deeply satisfying.
Roasted chiles with melty cheese
Ingredients
Method
- Preheat oven to 425°F. Slice stems off peppers, open them, and remove seeds. Brush with oil and season.
- Roast peppers flat on a baking sheet for 20-25 minutes until skins blister and flesh is soft.
- Mix shredded cheeses with garlic powder in a bowl.
- Stuff the roasted peppers with the cheese mixture, mounding it slightly above the rim. Sprinkle with cilantro.
- Bake for another 8-10 minutes until cheese is melted and bubbly. Let rest for 5 minutes before serving.