Strawberry Cheesecake Dump Cake
Strawberry Cheesecake Dump Cake
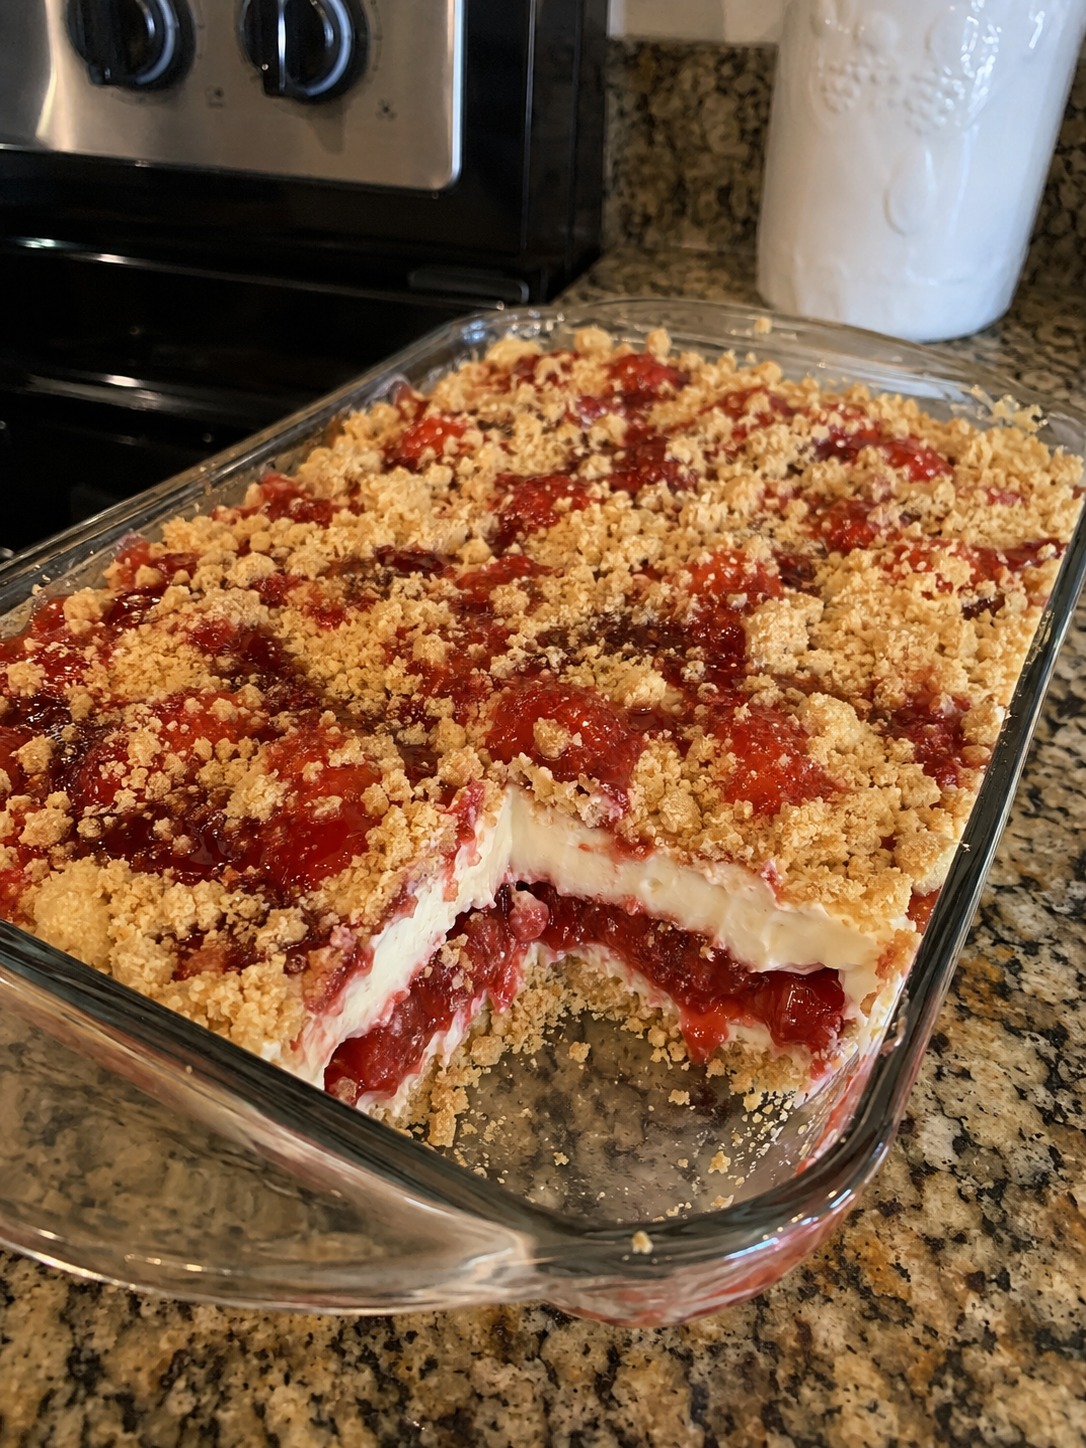
Strawberry Cheesecake Dump Cake
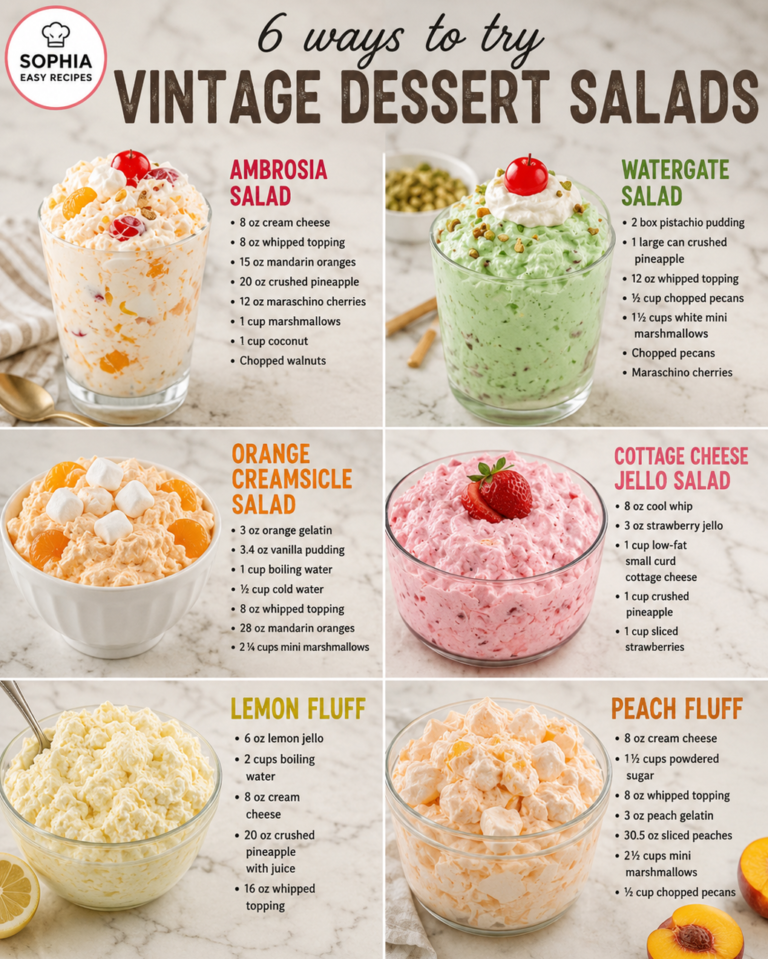
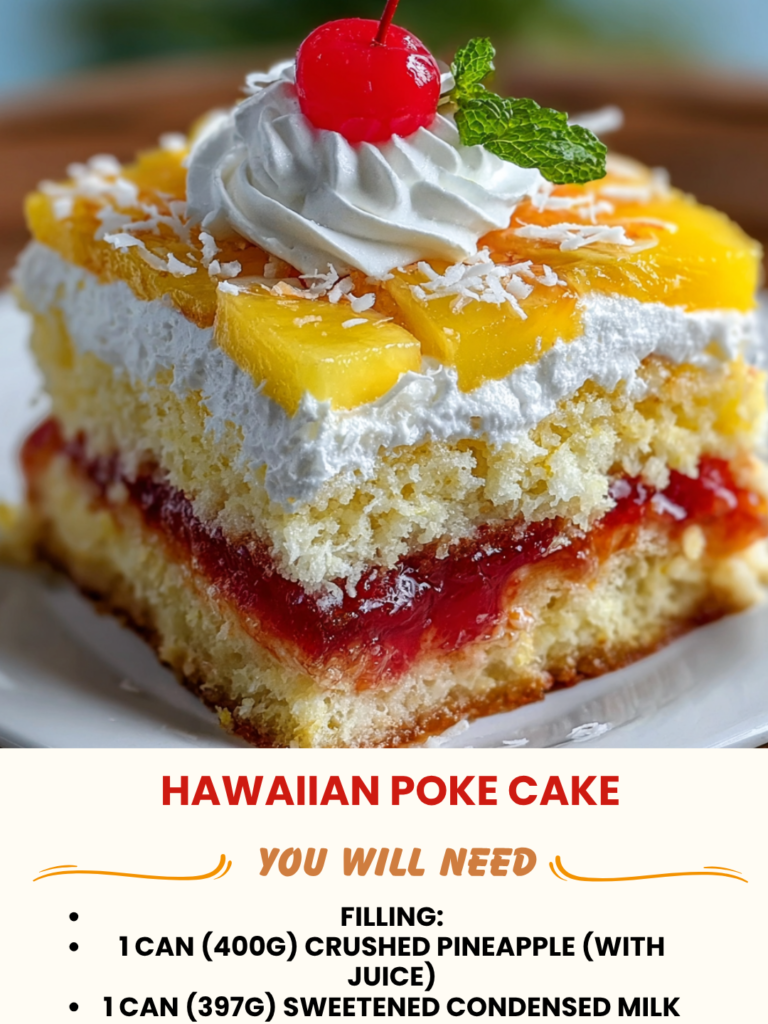
This Strawberry Cheesecake Dump Cake is a delightful fusion of creamy, tangy cheesecake filling and sweet, juicy strawberries, all topped with a golden, buttery cake crust. The result is a dessert that feels rich and indulgent yet remains incredibly simple to assemble. Unlike traditional layered cakes that require extensive mixing and baking skills, this dish relies on the “dump” method, where ingredients are layered directly into a baking pan. The texture is uniquely comforting: the bottom layer offers a soft, custard-like cheesecake consistency, while the top transforms into a crumbly, cookie-cake topping that provides a satisfying crunch against the tender fruit.
It is an ideal choice for summer gatherings, potlucks, or any occasion where you need a crowd-pleasing dessert without spending hours in the kitchen. The vibrant red of the strawberries contrasts beautifully with the pale cream cheese and golden-brown crust, making it visually appealing as well. This recipe delivers a balanced flavor profile where the tartness of the berries cuts through the richness of the dairy, ensuring no single bite feels overly heavy. It is a practical solution for home cooks who want a high-quality treat with minimal effort and maximum reward.
For more easy-to-make desserts and seasonal favorites, Follow Hailee Recipes on Pinterest.
Why This Recipe Works
The success of this dessert lies in its specific layering technique and the chemistry of the ingredients used. By placing the cake mix directly over the fruit and cream cheese mixture, the batter does not sink completely to the bottom. Instead, as the cake bakes, the moisture from the strawberries and the melting cream cheese rises up through the dry cake mix. This interaction creates a unique texture where the top becomes crisp and crumbly, resembling a coffee cake or cobbler, while the middle layers remain moist and dense.
The use of canned strawberry pie filling ensures consistent sweetness and a thick syrup that prevents the cake from drying out during the long bake time. If fresh strawberries were used without modification, they might release too much water too quickly, leading to a soggy bottom or uneven baking. The cream cheese layer acts as a barrier, protecting the fruit from burning while adding a necessary tang that balances the sugar in the cake mix. This structure allows the dessert to hold together when sliced, even though it is technically a dump cake rather than a structured sponge cake.
Ingredients
To make this dessert, you will need a few standard pantry staples and a couple of refrigerated items. Ensure all ingredients are measured accurately for the best results. The yield is designed for a standard 9×13 inch baking dish, which serves a group comfortably.
- One 21-ounce can of strawberry pie filling: Do not drain the liquid; the syrup is essential for creating the sauce and moisture.
- One 8-ounce package of cream cheese, softened: Softened means it should be at room temperature so it spreads easily without lumps.
- One cup of granulated white sugar: This adds sweetness to the cream cheese layer and helps caramelize the topping.
- One box (approx. 15.25 oz) of yellow cake mix: Use a standard brand found in most grocery stores; do not use gluten-free mixes unless you have tested them specifically for this application.
- One cup of unsalted butter, melted: Melted butter is poured over the dry cake mix to activate the baking process and create the crumbly crust.
- Optional: One teaspoon of vanilla extract: Adds depth to the overall flavor profile.
How To Make Strawberry Cheesecake Dump Cake
- Prepare the Pan and Oven: Preheat your oven to 350°F (175°C). Lightly grease a 9×13 inch baking dish with non-stick cooking spray or a thin layer of butter. This step ensures that the cake releases cleanly once baked and cooled, preventing sticking along the edges.
- Create the Fruit Layer: Pour the entire contents of the 21-ounce can of strawberry pie filling into the prepared baking dish. Spread it evenly across the bottom using a spatula. Ensure there are no large gaps, as the filling will expand slightly during baking. This layer forms the base of your dessert.
- Assemble the Cream Cheese Filling: In a medium bowl, combine the softened 8-ounce block of cream cheese and the one cup of granulated sugar. Mix until smooth and free of lumps. If you prefer, add the optional vanilla extract now. Drop spoonfuls of this mixture over the strawberry layer, then gently spread it out to cover the fruit completely. You do not need to achieve a perfectly smooth surface; small peaks are fine as they will settle down.
- Add the Dry Cake Mix: Sprinkle the entire box of yellow cake mix evenly over the cream cheese layer. Do not stir or mix this into the layers below. The goal is to keep the dry mix on top so it can absorb the rising moisture and butter later. If you have clumps, break them apart gently with your fingers to ensure even distribution.
- Pour the Butter and Bake: Drizzle the one cup of melted butter slowly and evenly over the entire surface of the dry cake mix. Try to reach every corner of the pan so the butter saturates the flour mixture uniformly. Place the dish in the preheated oven and bake for 45 to 55 minutes. Watch closely toward the end; the top should be a deep golden brown, and the filling should be bubbling vigorously around the edges.
Doneness And Troubleshooting
Determining when the cake is fully baked requires visual cues rather than just relying on the timer. The top crust should be a rich, golden-brown color. If the edges look dark but the center is still pale, tent a piece of aluminum foil loosely over the top to prevent further browning while the center finishes cooking. The filling should be bubbling actively around the perimeter of the pan. If the bubbles are slow or the center looks soupy and uncooked, continue baking in 5-minute increments.
If the cake appears to be browning too quickly before the center is set, lower the oven temperature by 25 degrees Fahrenheit and cover with foil. Conversely, if the top is not browning after 50 minutes, check the rack position; moving the pan to a lower rack can help the bottom cook faster, but be careful not to burn the crust. A toothpick inserted into the cake mix layer (avoiding the fruit) should come out with moist crumbs but not wet batter. Remember that the residual heat will continue to cook the cake slightly after removal from the oven.
Substitutions And Variations
While the classic version relies on yellow cake mix and strawberry filling, there are ways to adapt this recipe to suit different tastes or dietary needs. If you prefer a richer flavor, substitute the yellow cake mix for a white or French vanilla cake mix. For a chocolate lover, a devil’s food cake mix paired with cherry pie filling creates a chocolate cherry cheesecake variation, though the texture may be slightly denser.
For those looking to reduce sugar, note that reducing the sugar in the cream cheese layer significantly can alter the texture, making it less stable. However, you can try using a sugar-free cream cheese alternative or a reduced-sugar pie filling, keeping in mind that these products may have different thickening agents that affect how the cake sets. Regarding the butter, you can use salted butter if you omit any added salt elsewhere, but unsalted gives you better control over the final salt level. Dairy-free alternatives for the cream cheese exist, but they often contain higher water content, which may result in a runnier filling; if using these, consider adding a tablespoon of cornstarch to the cream cheese mixture to help it thicken.
Serving Suggestions
This dessert is versatile enough to be served warm or cold. Serving it warm highlights the gooey texture of the fruit and the crispness of the cake topping. A scoop of vanilla ice cream complements the warm cake beautifully, adding a cool contrast to the hot dessert. For a lighter touch, a dollop of freshly whipped cream works well to cut through the sweetness.
If serving at a party, slice the cake into generous squares. Because the layers are distinct, guests can see the creamy middle and the fruity bottom. Garnish individual plates with a fresh strawberry slice or a mint leaf for a pop of color. It pairs nicely with a cup of black coffee or a glass of cold milk, making it suitable for breakfast-style desserts or afternoon tea.
Storage And Reheating
Once the cake has cooled to room temperature, cover it tightly with plastic wrap or transfer it to an airtight container. Store it in the refrigerator for up to four days. The flavors actually meld and improve slightly after sitting overnight, allowing the cake mix to fully absorb the fruit juices. Before serving leftovers, you can reheat individual portions in the microwave for 20 to 30 seconds to restore the warmth and softness of the filling.
Freezing is also an option, though the texture of the cream cheese layer may change slightly upon thawing. Wrap the entire dish or individual slices tightly in plastic wrap and then in aluminum foil. Freeze for up to two months. Thaw overnight in the refrigerator before reheating. Avoid freezing the cake with ice cream toppings; add those fresh after thawing. Always discard any leftovers that have been left out at room temperature for more than two hours to ensure food safety.
This recipe offers a reliable way to enjoy a complex-tasting dessert with minimal cleanup. By following the layering instructions precisely, you ensure the right balance of textures and flavors every time. Whether you are hosting a large family dinner or simply craving something sweet, this Strawberry Cheesecake Dump Cake delivers a satisfying experience that feels special despite its simplicity.
Strawberry Cheesecake Dump Cake
Ingredients
Method
- Preheat oven to 350°F (175°C) and grease a 9x13 inch baking dish.
- Spread the strawberry pie filling evenly in the bottom of the dish.
- Mix softened cream cheese and sugar until smooth, then spread over the fruit layer.
- Sprinkle the dry cake mix evenly over the cream cheese layer.
- Drizzle melted butter over the cake mix and bake for 45-55 minutes until golden and bubbly.