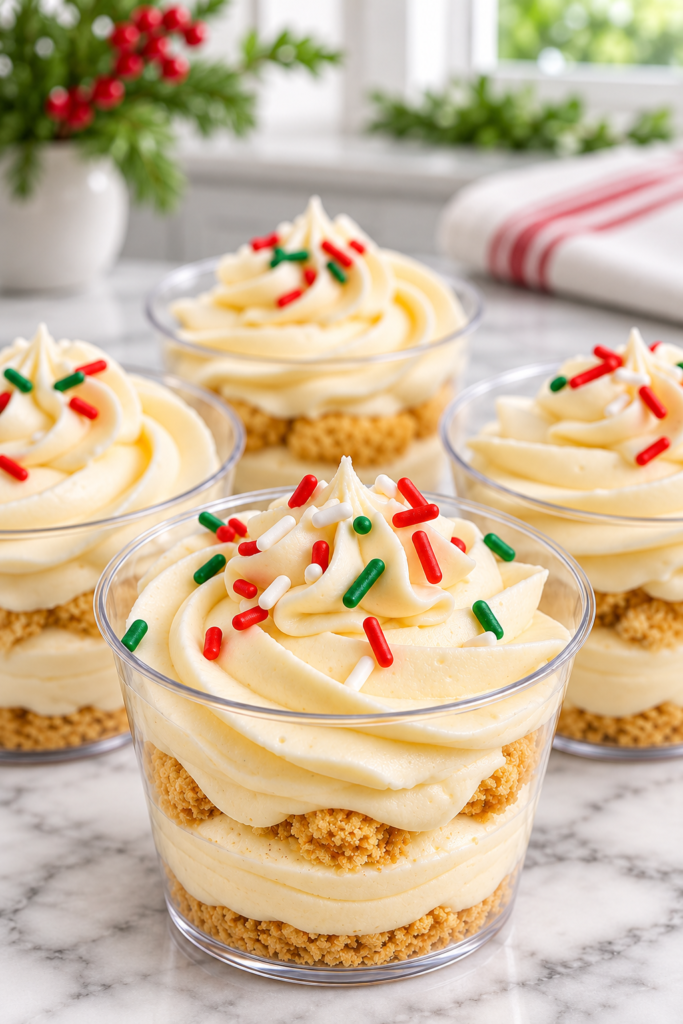
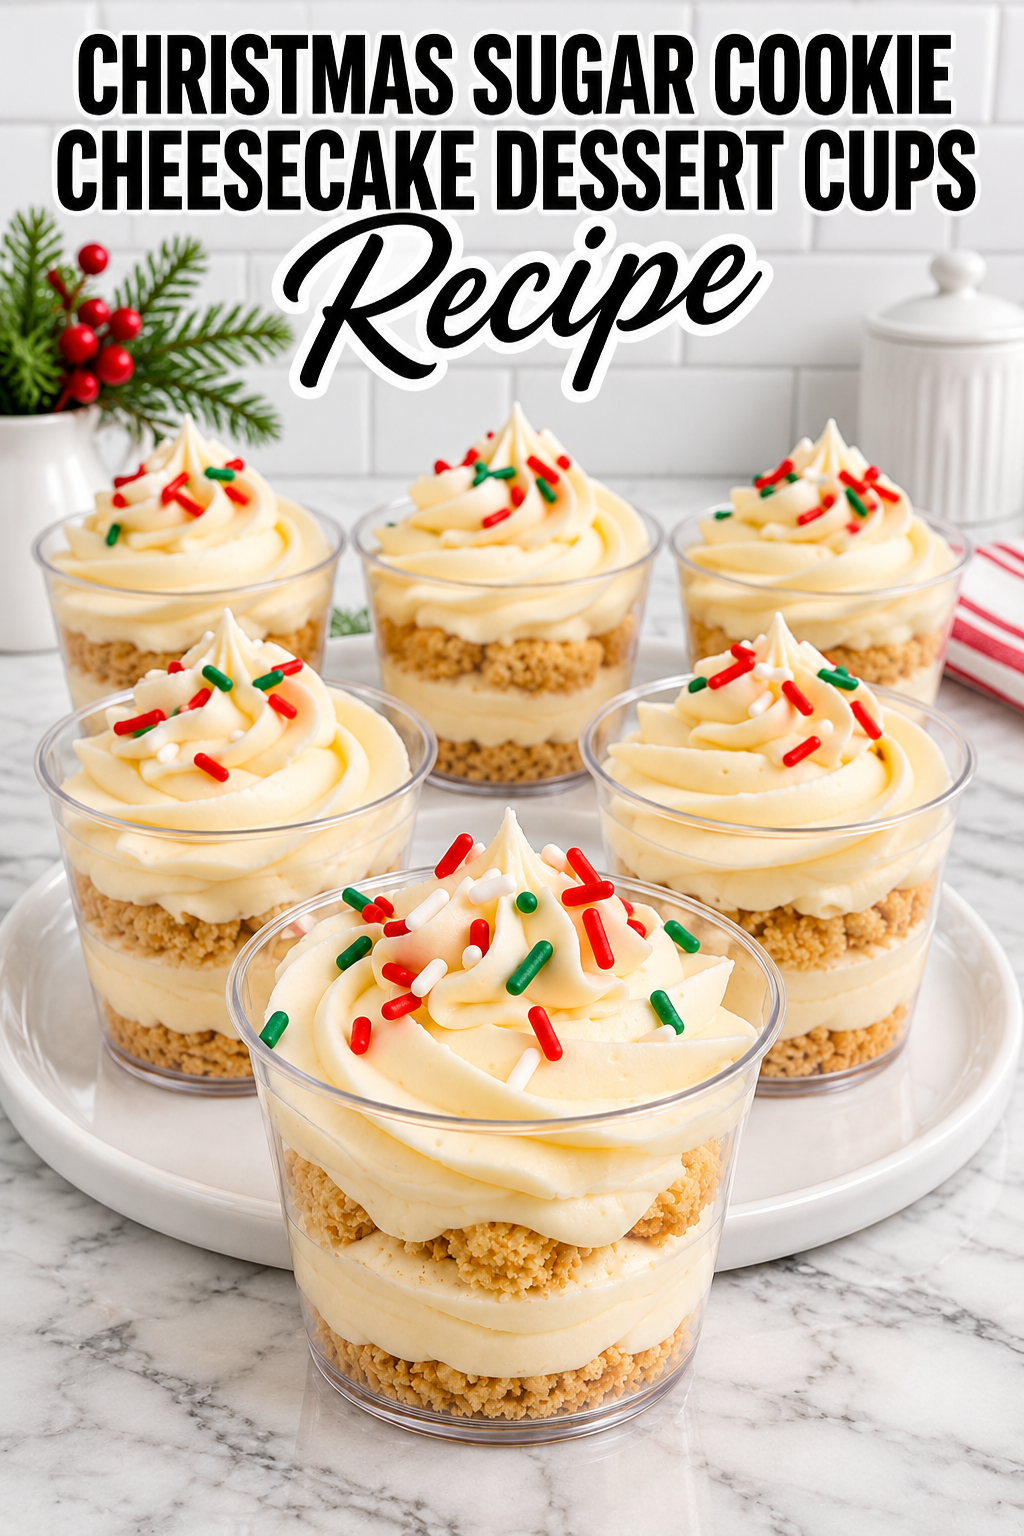
Christmas Sugar Cookie Cheesecake Dessert Cups combine a buttery cookie crust with a light, fluffy cream cheese filling, offering a festive and easy-to-serve holiday treat that requires no baking.
Ingredients
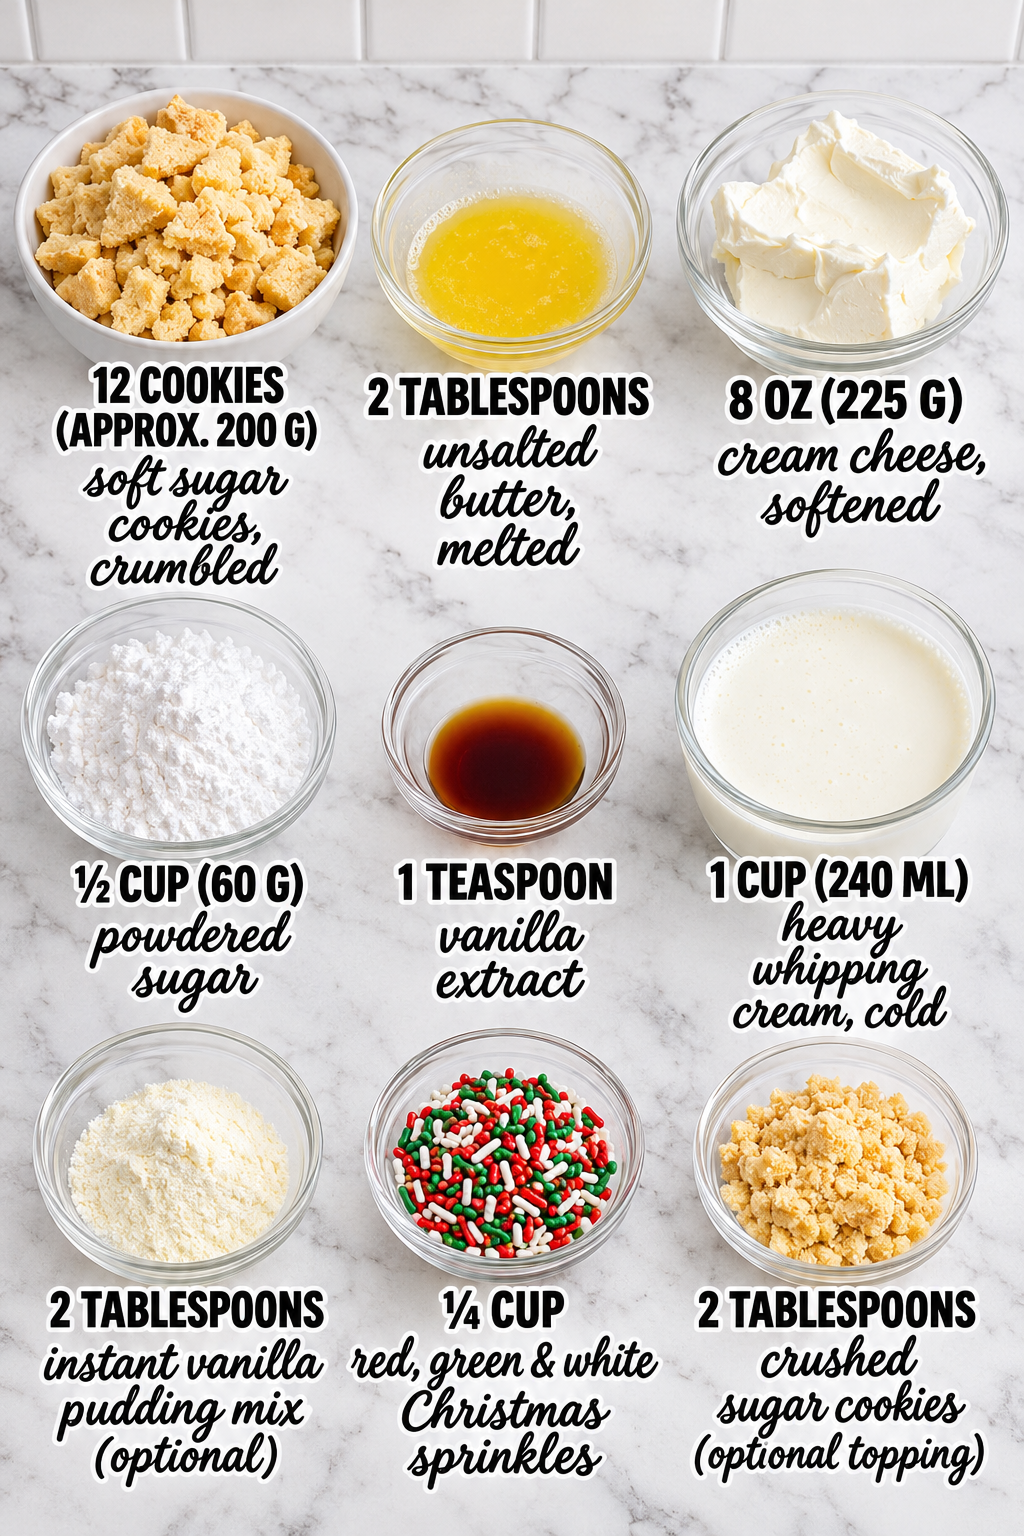
- Soft sugar cookies (crumbled): 12 cookies (approx. 200 g). You will need standard store-bought or homemade soft sugar cookies; the crumb texture is crucial for forming a cohesive base without needing to bake it first.
- Unsalted butter (melted): 2 tablespoons. Melted butter acts as the binder for the cookie crumbs, ensuring the crust holds together when pressed into the cups.
- Cream cheese (softened): 8 oz (225 g). Ensure this is at room temperature before starting; cold cream cheese will create lumps in your filling that are difficult to smooth out.
- Powdered sugar: 1/2 cup (60 g). This sweetener dissolves instantly into the cream cheese, providing sweetness without any grainy texture.
- Vanilla extract: 1 teaspoon. A high-quality vanilla enhances the flavor profile of both the crust and the creamy filling.
- Heavy whipping cream (cold): 1 cup (240 ml). The cream must be very cold to whip properly and achieve the necessary volume and stability for the mousse-like texture.
- Instant vanilla pudding mix (optional): 2 tablespoons. Adding this stabilizes the whipped cream and adds a subtle vanilla custard flavor, making the filling hold its shape longer.
- Red, green & white Christmas sprinkles: 1/4 cup. These provide the essential holiday visual appeal and a slight crunch on top.
- Crushed sugar cookies (optional topping): 2 tablespoons. Use these for an extra layer of texture and to reinforce the cookie theme on the very top of each cup.
How To Make Christmas Sugar Cookie Cheesecake Dessert Cups
- Prepare the Cookie Crust Base
Begin by taking your 12 soft sugar cookies and crumbling them into fine crumbs. You can place the whole cookies in a zip-top bag and crush them with a rolling pin, or pulse them briefly in a food processor until they resemble wet sand. Transfer the crumbs to a medium mixing bowl and pour in the 2 tablespoons of melted unsalted butter. Stir thoroughly with a spatula until every crumb is evenly coated and the mixture looks like damp sand. If you squeeze a handful of the mixture in your palm, it should hold its shape without falling apart. If it feels too dry, add another half tablespoon of butter; if it is too soggy, add a few more crumbs. Press about 1 to 1.5 tablespoons of this mixture firmly into the bottom of each serving cup or small glass jar. Use the back of a spoon or a small measuring spoon to create a flat, even layer. This step creates the foundation of your dessert, providing a chewy, buttery contrast to the creamy filling above.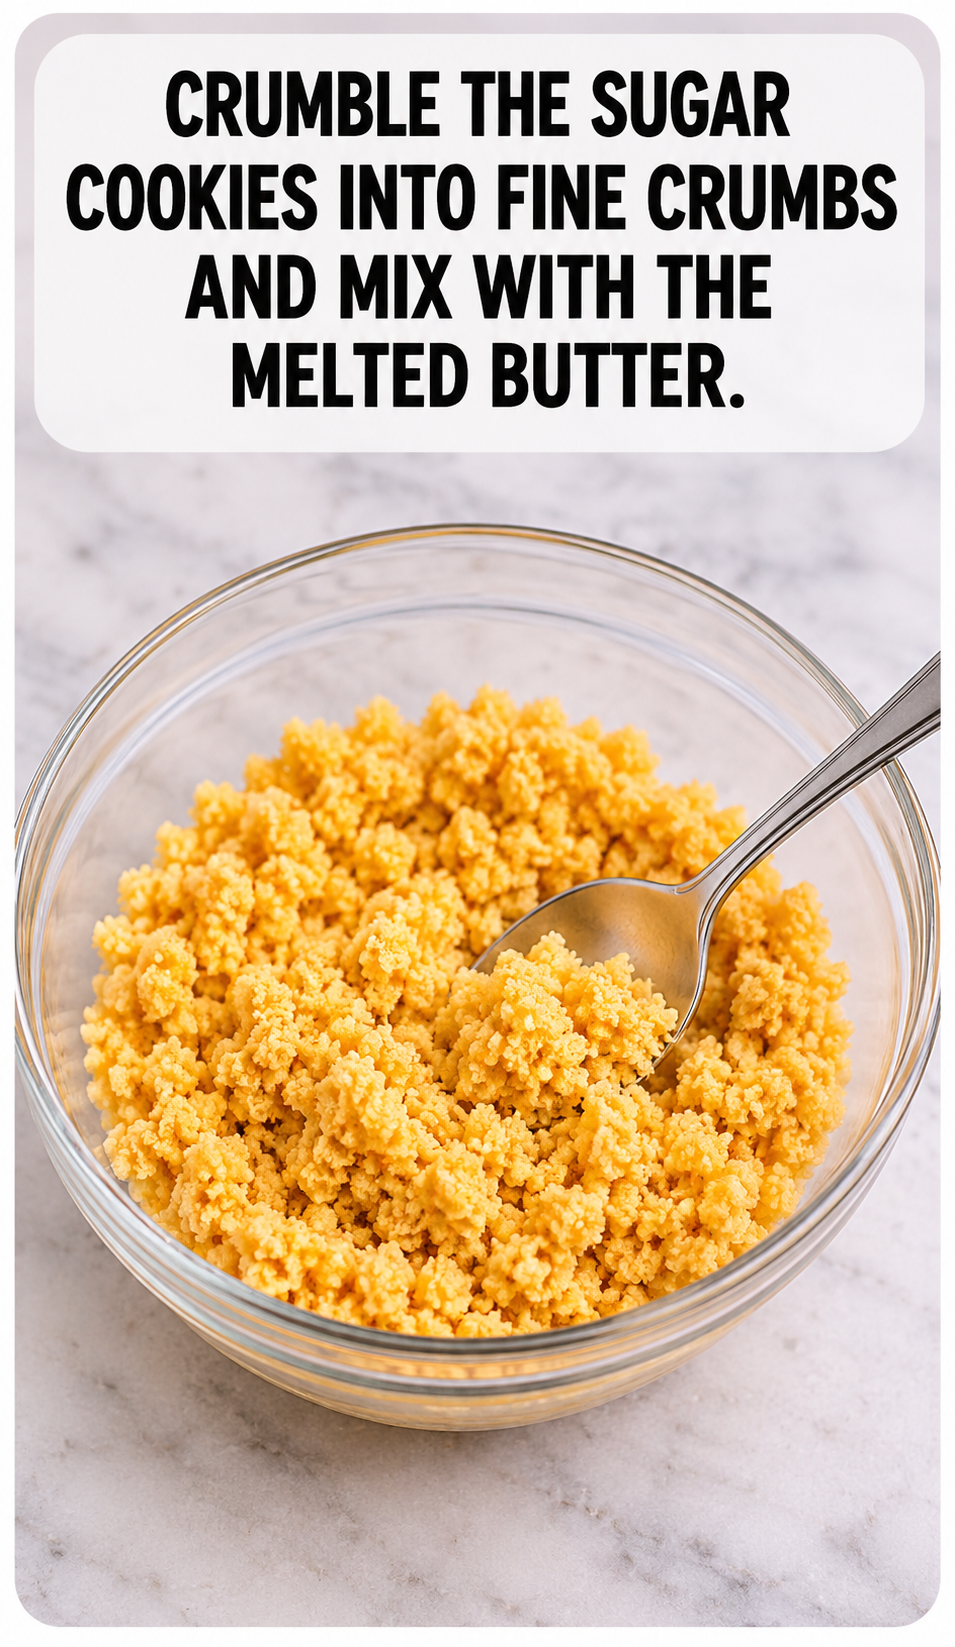
- Create the Cream Cheese Filling
In a separate large mixing bowl, combine the 8 oz of softened cream cheese, 1/2 cup of powdered sugar, and 1 teaspoon of vanilla extract. Using an electric hand mixer or a stand mixer fitted with the paddle attachment, beat the ingredients on medium-low speed until the mixture is completely smooth and free of lumps. Scrape down the sides of the bowl with a rubber spatula to ensure all ingredients are fully incorporated. If you chose to use the optional instant vanilla pudding mix, add the 2 tablespoons now and beat until fully dissolved. The goal here is a thick, spreadable consistency similar to frosting. Do not overbeat at this stage, as incorporating too much air now can make the final texture unstable once the heavy cream is added. Set this bowl aside while you prepare the next component.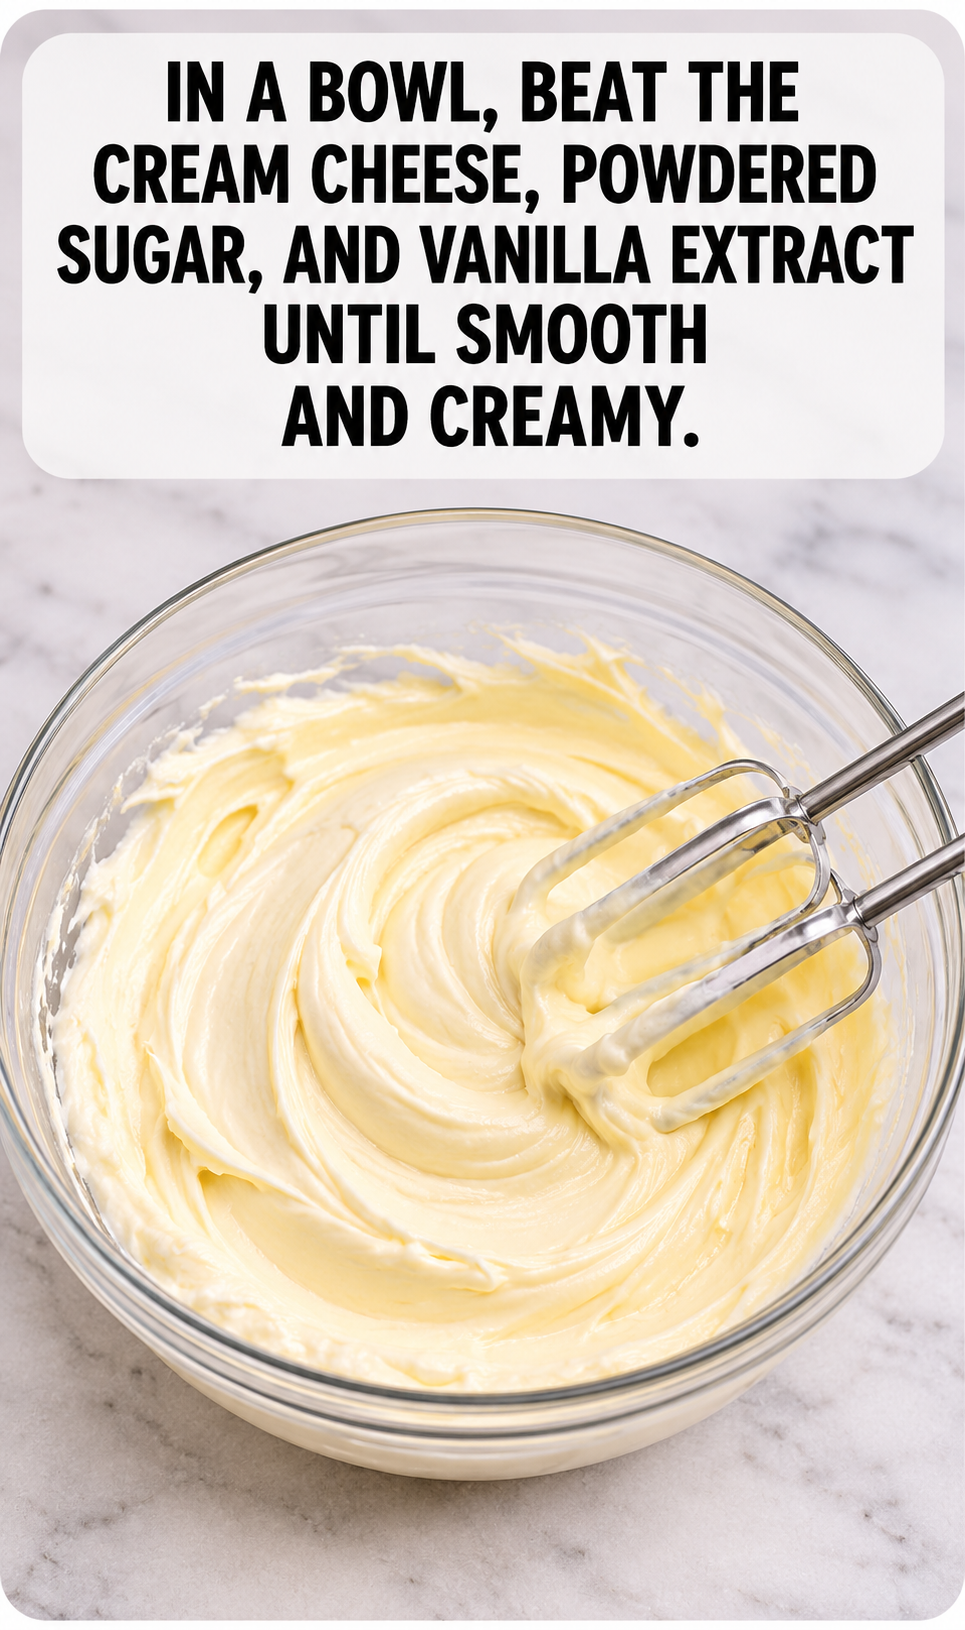
- Whip the Heavy Cream
Ensure your heavy whipping cream is ice-cold before beginning; warm cream will not whip up properly. Pour the 1 cup of cold heavy cream into a clean, chilled mixing bowl. Using the same electric mixer, switch to the whisk attachment if available, and beat on high speed. Watch closely as the cream begins to thicken. Stop beating as soon as soft peaks form. Soft peaks are achieved when the cream holds a peak that gently curls over at the tip when the whisk is lifted. It is vital not to over-whip the cream into stiff peaks or butter, as this would make the final dessert dense rather than light and airy. If you are using the optional pudding mix, you can fold it in now, but it is often easier to fold it into the cream cheese mixture first to ensure it doesn’t clump.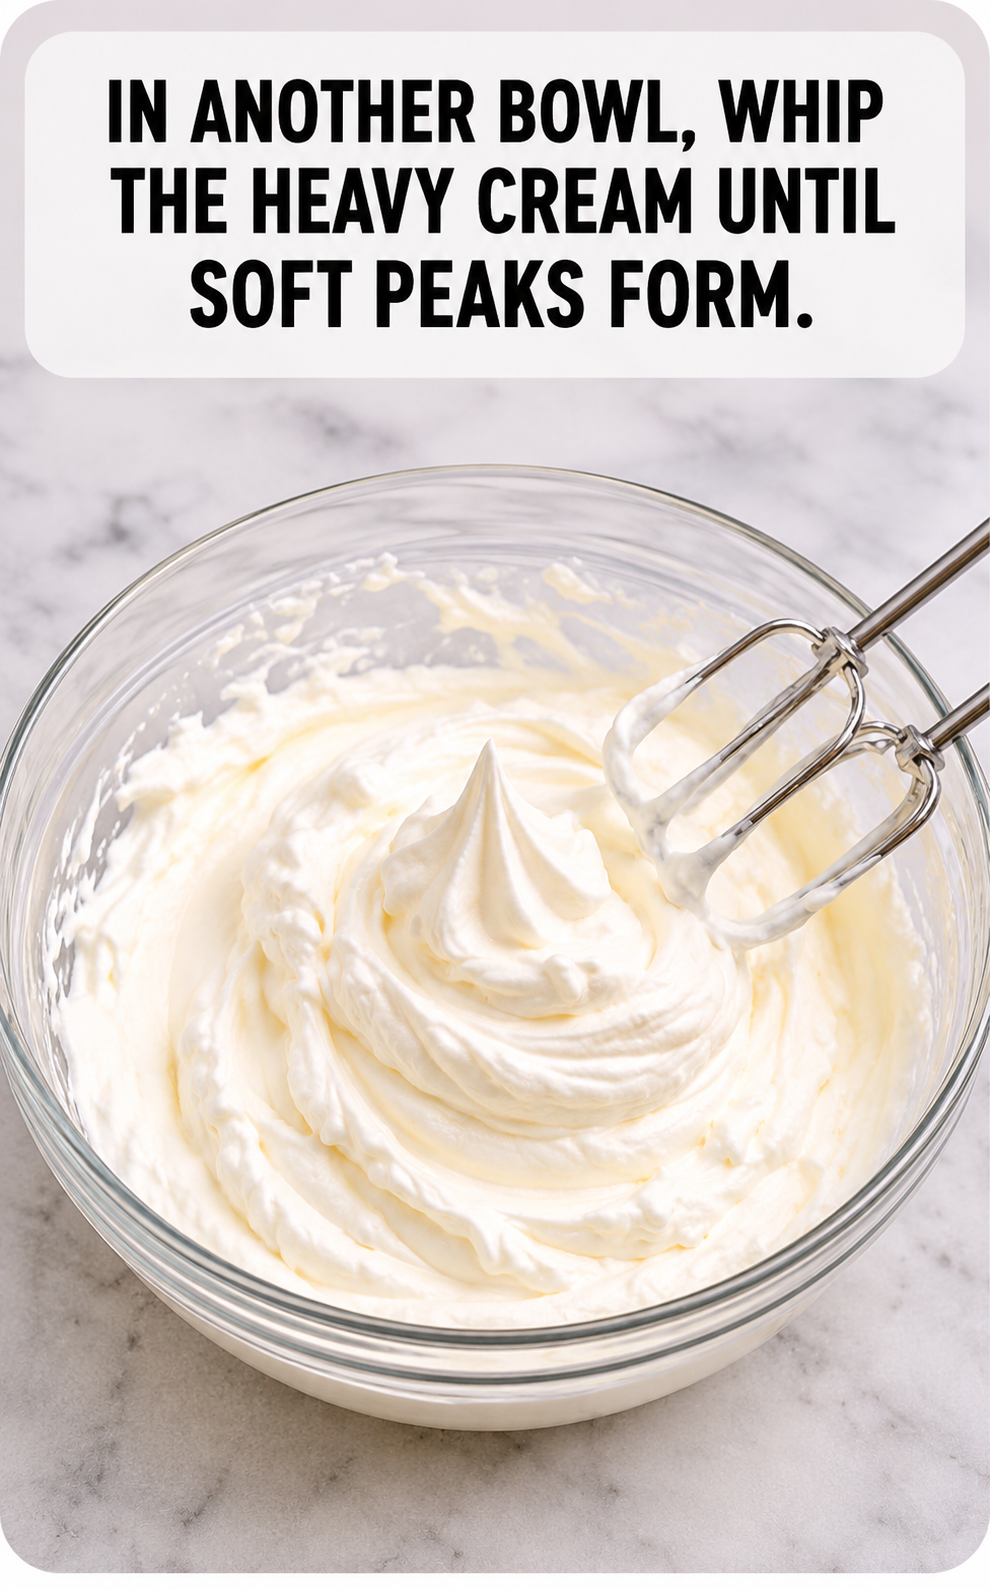
- Combine the Fillings Gently
This is the most critical step for achieving the right texture. Add one-third of the whipped cream to the cream cheese mixture and gently fold it in with a spatula to lighten the dense cheese base. Once incorporated, add the remaining whipped cream in two batches. Use a gentle folding motion: cut down through the center of the bowl, sweep along the bottom, and bring the mixture up over the top, rotating the bowl as you go. Continue folding until there are no visible streaks of white cream or yellow cheese. Be careful not to stir vigorously, as this will deflate the air bubbles you worked hard to create, resulting in a heavy, runny filling instead of a fluffy mousse. The final mixture should be pale, voluminous, and hold its shape when scooped. - Assemble and Garnish the Cups
Transfer the finished cheesecake filling into a piping bag fitted with a large round tip, or simply use a large spoon to dollop the mixture onto the prepared cookie bases in your cups. Pipe or spoon the filling until the cups are nearly full, leaving a tiny bit of space at the rim. Tap the cups gently on the counter to settle the filling and remove any large air pockets. Now, sprinkle the red, green, and white Christmas sprinkles generously over the top of each cup. For an extra touch, dust the tops lightly with the optional 2 tablespoons of crushed sugar cookies. Place the assembled cups in the refrigerator immediately. They need to chill for at least 2 hours to allow the flavors to meld and the structure to set firm enough for serving. Serve cold directly from the fridge.
Why This Recipe Works
This recipe succeeds because it eliminates the complexity of baking a traditional cheesecake while delivering the same rich flavor profile. By separating the fat components—the butter in the crust and the cream in the filling—you control the texture of each layer independently. The use of cold heavy cream folded into a stabilized cream cheese base creates a mousse-like consistency that is significantly lighter than a baked version. The inclusion of instant pudding mix, though optional, provides a chemical stabilization that prevents the whipped cream from weeping or collapsing during the chilling process, ensuring the cups remain structurally sound for hours. The no-bake approach also means the dessert can be prepared well in advance, making it ideal for busy holiday schedules where oven space might be limited.
Doneness And Troubleshooting
The “doneness” for this dessert is determined by texture and temperature rather than heat. Your filling is ready when it holds soft peaks and folds smoothly without breaking. If your cream cheese filling appears lumpy after mixing, it likely means the cream cheese was not sufficiently softened before beating. To fix this, microwave the cream cheese in 5-second bursts until pliable, then re-beat until smooth. If the heavy cream fails to whip, check that your bowl and beaters were chilled and that the cream was cold; warm environments prevent fat globules from trapping air. If your cookie crust falls apart when pressing it into the cups, the butter ratio is too low; simply add a teaspoon more melted butter and mix again. Conversely, if the crust is greasy and sliding off the sides, you have used too much butter; add a few more cookie crumbs to absorb the excess fat. Finally, if the filling becomes too runny after chilling, it may have been over-folded, deflating the air structure. In future attempts, fold more gently and ensure the cream is whipped to soft peaks, not liquid.
Substitutions And Variations
For a dairy-free version, you can substitute the cream cheese with a plant-based alternative made from cashews or soy, though the texture may be slightly less rich. Replace the heavy whipping cream with canned coconut cream, which has a higher fat content suitable for whipping, keeping in mind it will impart a subtle coconut flavor. If you prefer a chocolate twist, replace the sugar cookies with chocolate wafers for the crust and fold cocoa powder into the cream cheese mixture. For a fruit-forward variation, swirl a tablespoon of raspberry or strawberry jam into the cream cheese filling before adding the whipped cream. Those with nut allergies should verify that their sugar cookies do not contain almond flour, as some brands use it as a binding agent. Always read labels carefully when substituting ingredients to maintain dietary safety.
Serving Suggestions
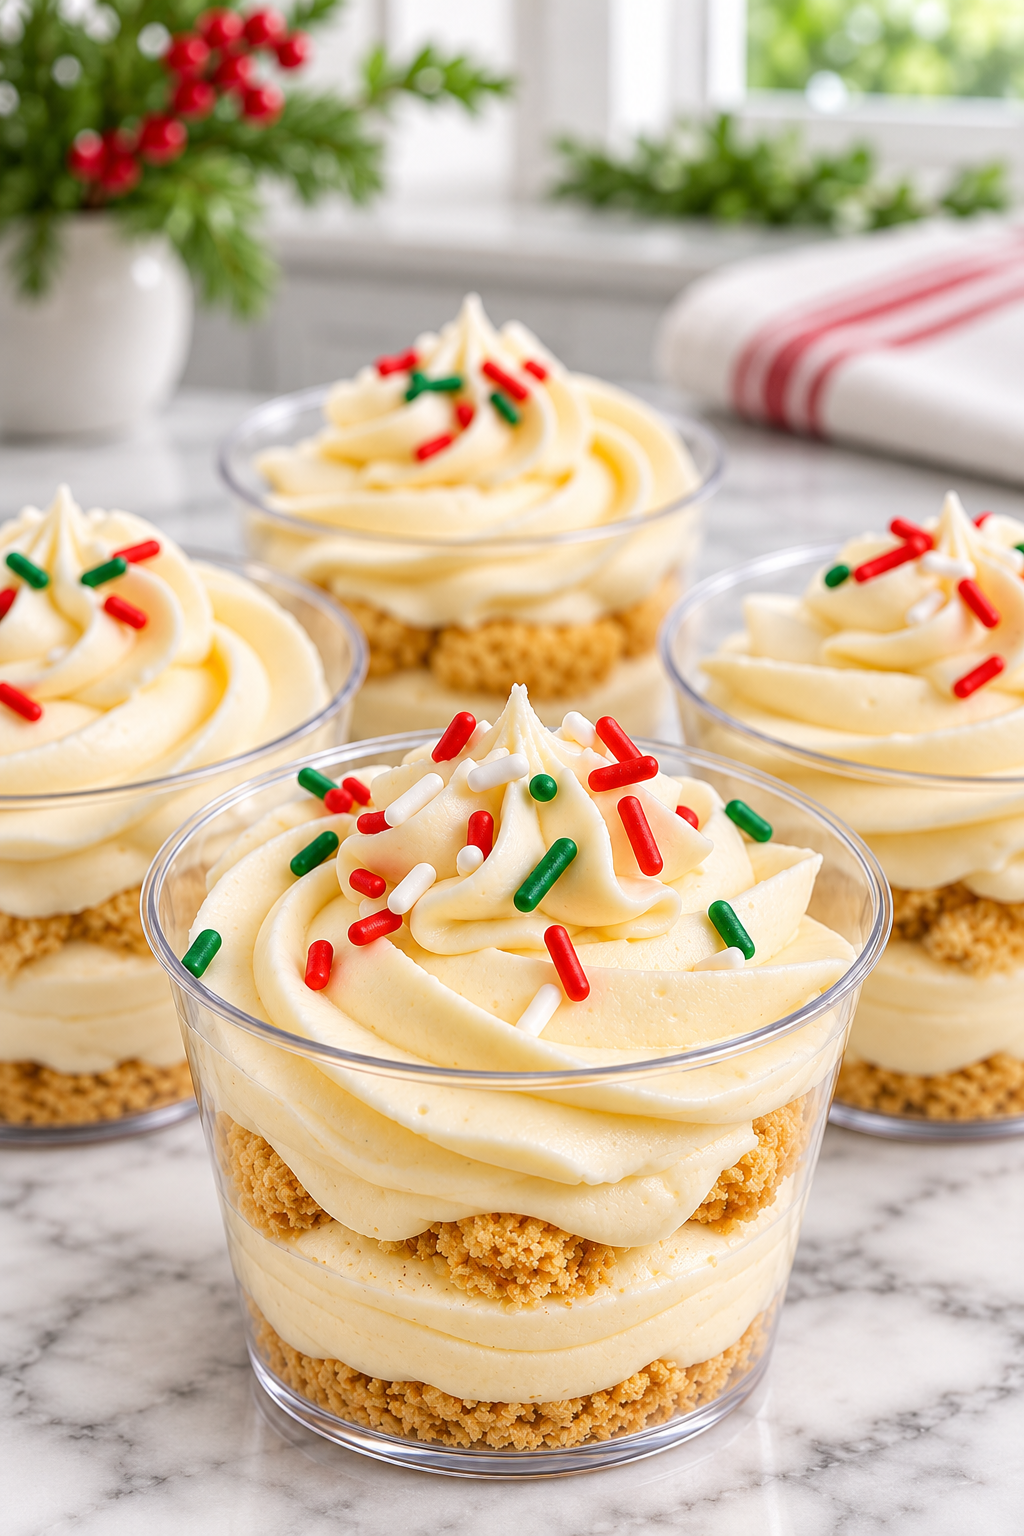
These dessert cups are perfect for individual servings at holiday parties, eliminating the need for slicing and plating. They pair beautifully with a hot cup of coffee, tea, or eggnog. For a more elegant presentation, garnish each cup with a fresh mint leaf or a small candy cane stick before serving. You can also serve them alongside a scoop of vanilla ice cream for a decadent “icebox cake” experience. Because they are served cold, they make an excellent palate cleanser between heavier savory courses.
Storage And Reheating
Store the assembled dessert cups in an airtight container in the refrigerator for up to 3 days. The cookie crust may soften slightly over time as it absorbs moisture from the filling, which many find desirable for a softer texture. Do not freeze these cups, as the whipped cream filling will separate and become grainy upon thawing, ruining the mousse texture. There is no need to reheat this dessert; it is intended to be served chilled. If you have leftover filling, you can pipe it into a larger dish and chill it, but the structural integrity of the individual cups is best preserved by assembling them just before storage.
This no-bake treat offers a delightful balance of textures and flavors that captures the spirit of the holidays without the stress of baking. For more festive ideas and seasonal favorites, Follow Hailee Recipes on Pinterest.
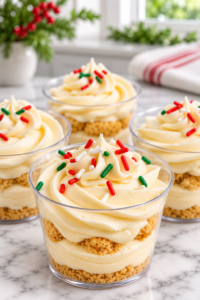
Christmas Sugar Cookie Cheesecake Dessert Cups
Ingredients
Method
- Crumble the sugar cookies into fine crumbs and mix with the melted butter until combined. Press the mixture firmly into the bottom of serving cups.
- Beat the softened cream cheese, powdered sugar, and vanilla extract until smooth and creamy. Fold in the optional pudding mix if using.
- Whip the cold heavy cream in a separate bowl until soft peaks form.
- Gently fold the whipped cream into the cream cheese mixture in batches until fully combined and fluffy.
- Spoon or pipe the filling onto the cookie bases, top with sprinkles and optional crushed cookies, and refrigerate for at least 2 hours before serving.