
Christmas Strawberry Oreo Trees
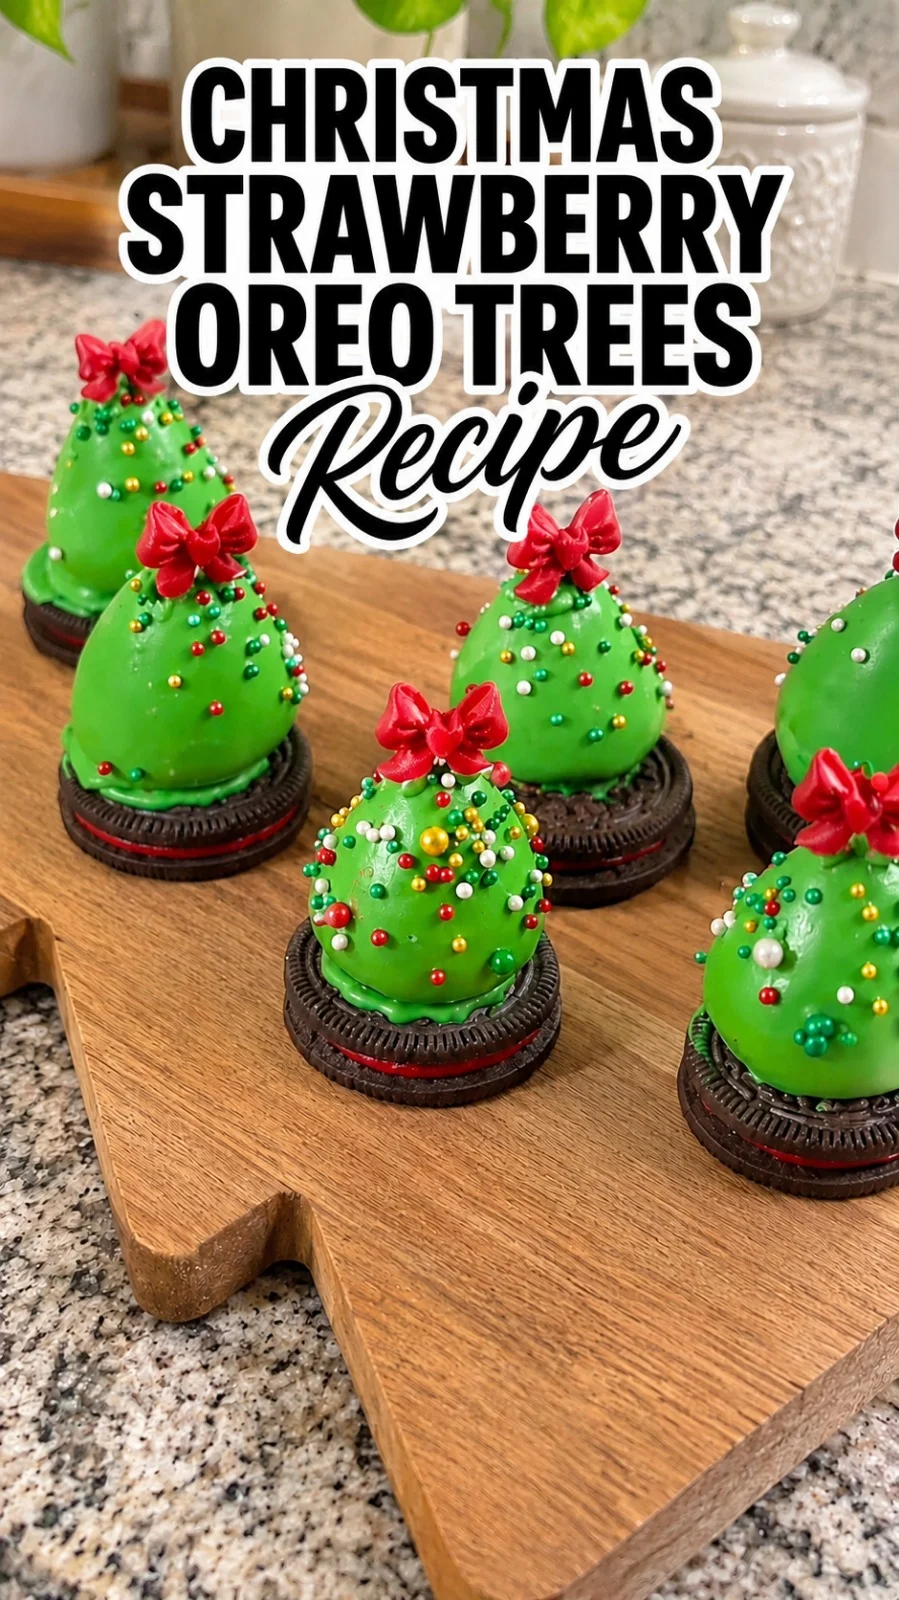
The first bite of these Christmas Strawberry Oreo Trees gives way to a cool, juicy strawberry, then a crisp Oreo base, then a thin green candy shell that snaps. These no-bake trees take about 25 minutes plus setting time, making them a bright, festive treat for holiday parties and cookie trays.
Yield: 12 trees | Prep: 20 min | Cook: 5 min | Total: 25 min plus setting time
Christmas Strawberry Oreo Trees Ingredients
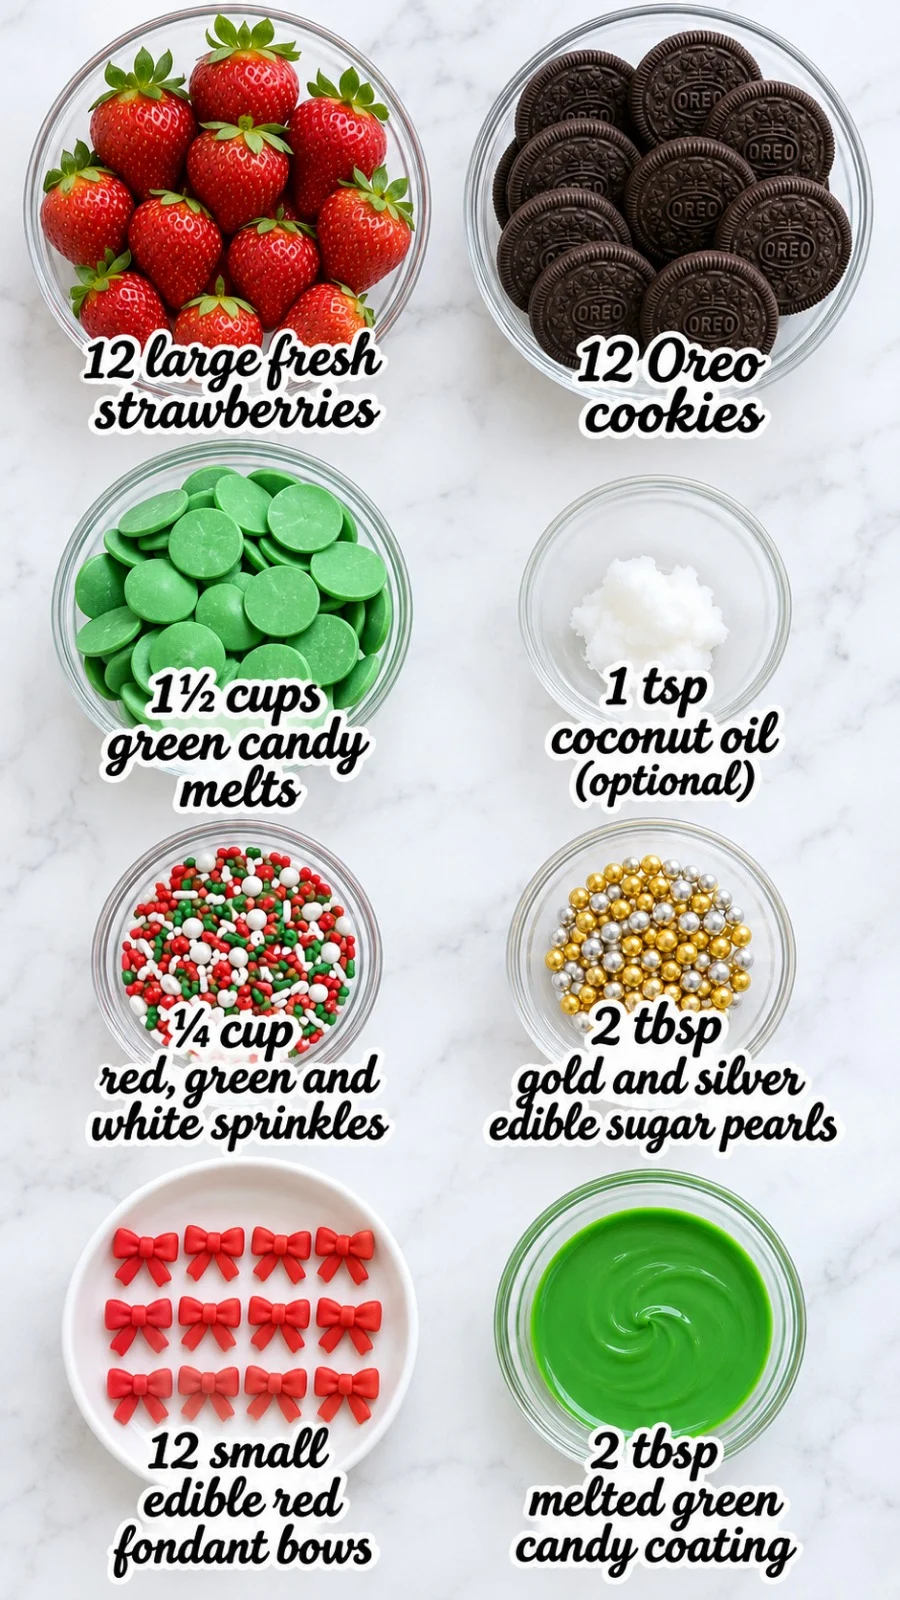
- 12 large fresh strawberries. Choose firm, bright red berries with fresh green tops. You will trim the flat bases so each berry stands upright on the cookie.
- 12 Oreo cookies. Regular chocolate sandwich cookies give the trees a sturdy, flat base and a little crunch.
- 1 1/2 cups green candy melts. This coating holds the trees together and gives them their color. Candy melts set firm at room temperature, which makes them easier to handle than regular chocolate.
- 1/4 cup red, green and white sprinkles. These are the holiday decoration. Add them while the coating is still wet so they stick.
- 2 tbsp gold and silver edible sugar pearls. These add sparkle. Scatter them over the wet coating before it sets.
- 2 tbsp melted green candy coating. This is the extra coating used to attach each strawberry to its Oreo. Use it for the strawberry attachment and the bow attachment, keeping each dab small.
- 1 tsp coconut oil (optional). A small amount thins the melted candy for smoother dipping. Skip it if your candy melts already flow easily.
- 12 small edible red fondant bows. These sit on top of each tree as the finishing touch.
How To Make This Christmas Strawberry Oreo Trees Recipe
- Prep the strawberries and cookies. Wash the strawberries, then dry them completely with paper towels and let them air-dry for a few minutes. Any surface moisture will keep the coating from clinging. Remove the leaves and trim the flat bases so each berry stands point-up. Line a tray with parchment paper and set out the 12 Oreos on it.
Pro Tip: Wet berries cause the coating to slide off, so take the extra minutes to dry them.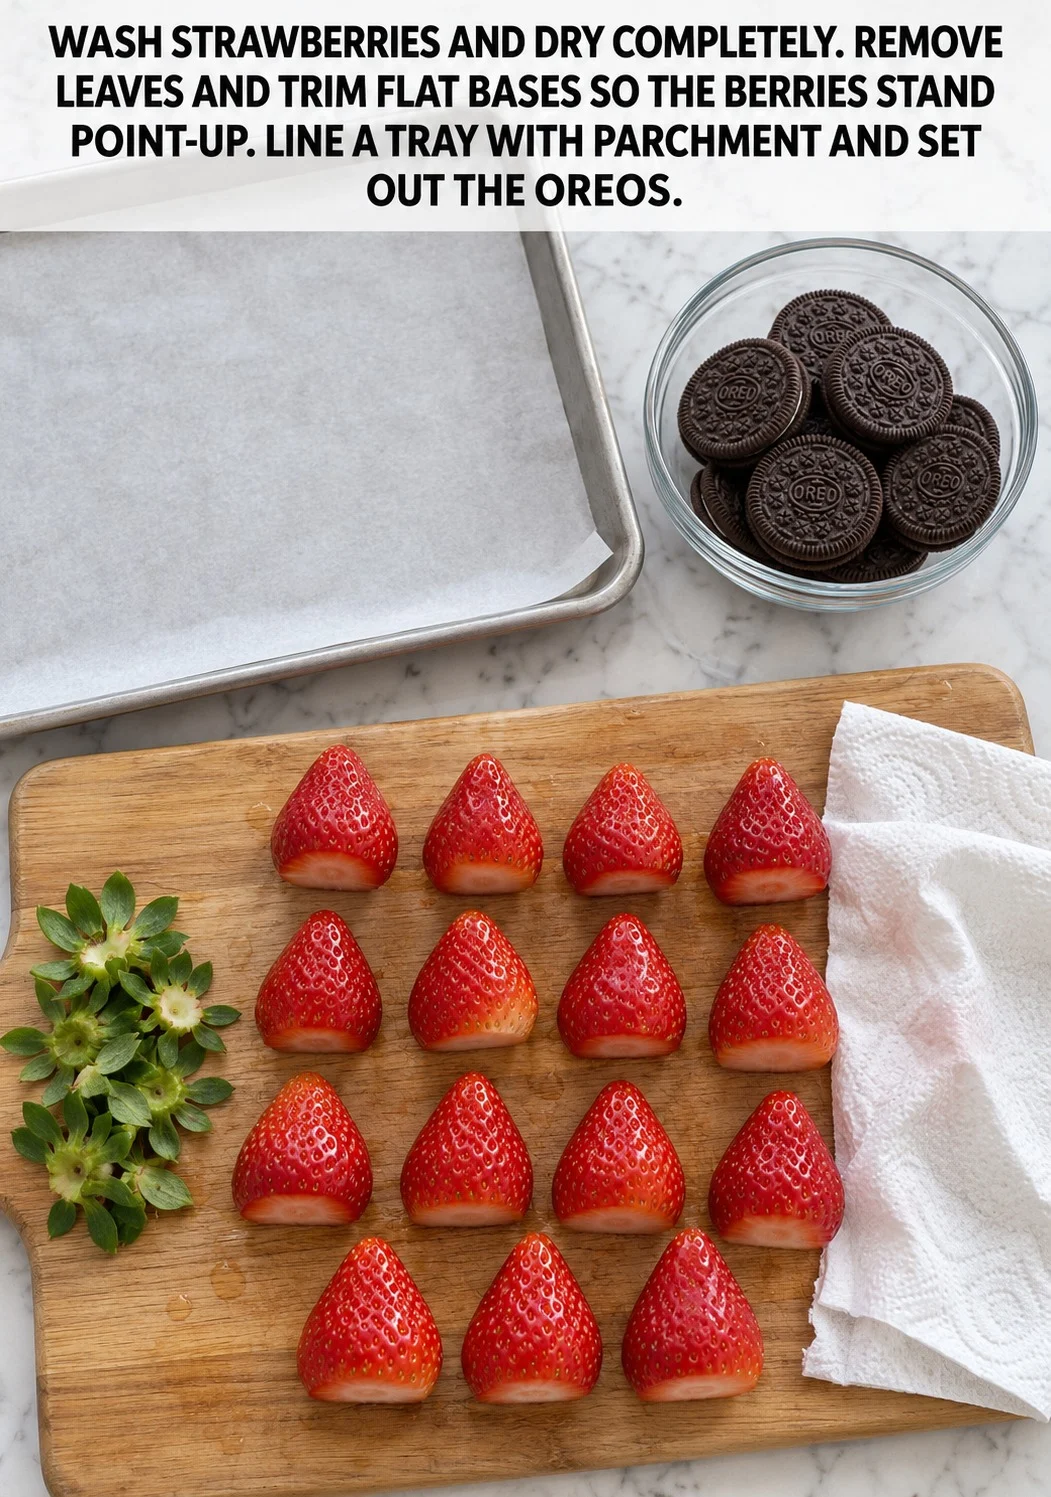
- Melt the green candy melts. Place the 1 1/2 cups green candy melts in a microwave-safe bowl and microwave in 20-second bursts, stirring well after each one, until smooth. Add the optional 1 tsp coconut oil only if the coating feels too thick to dip. Let the coating cool slightly before dipping.
Pro Tip: Candy melts can keep their shape even after they look melted, so stir thoroughly before deciding to heat again. Coating that is too hot can soften or bleed the strawberry, so let it cool a little.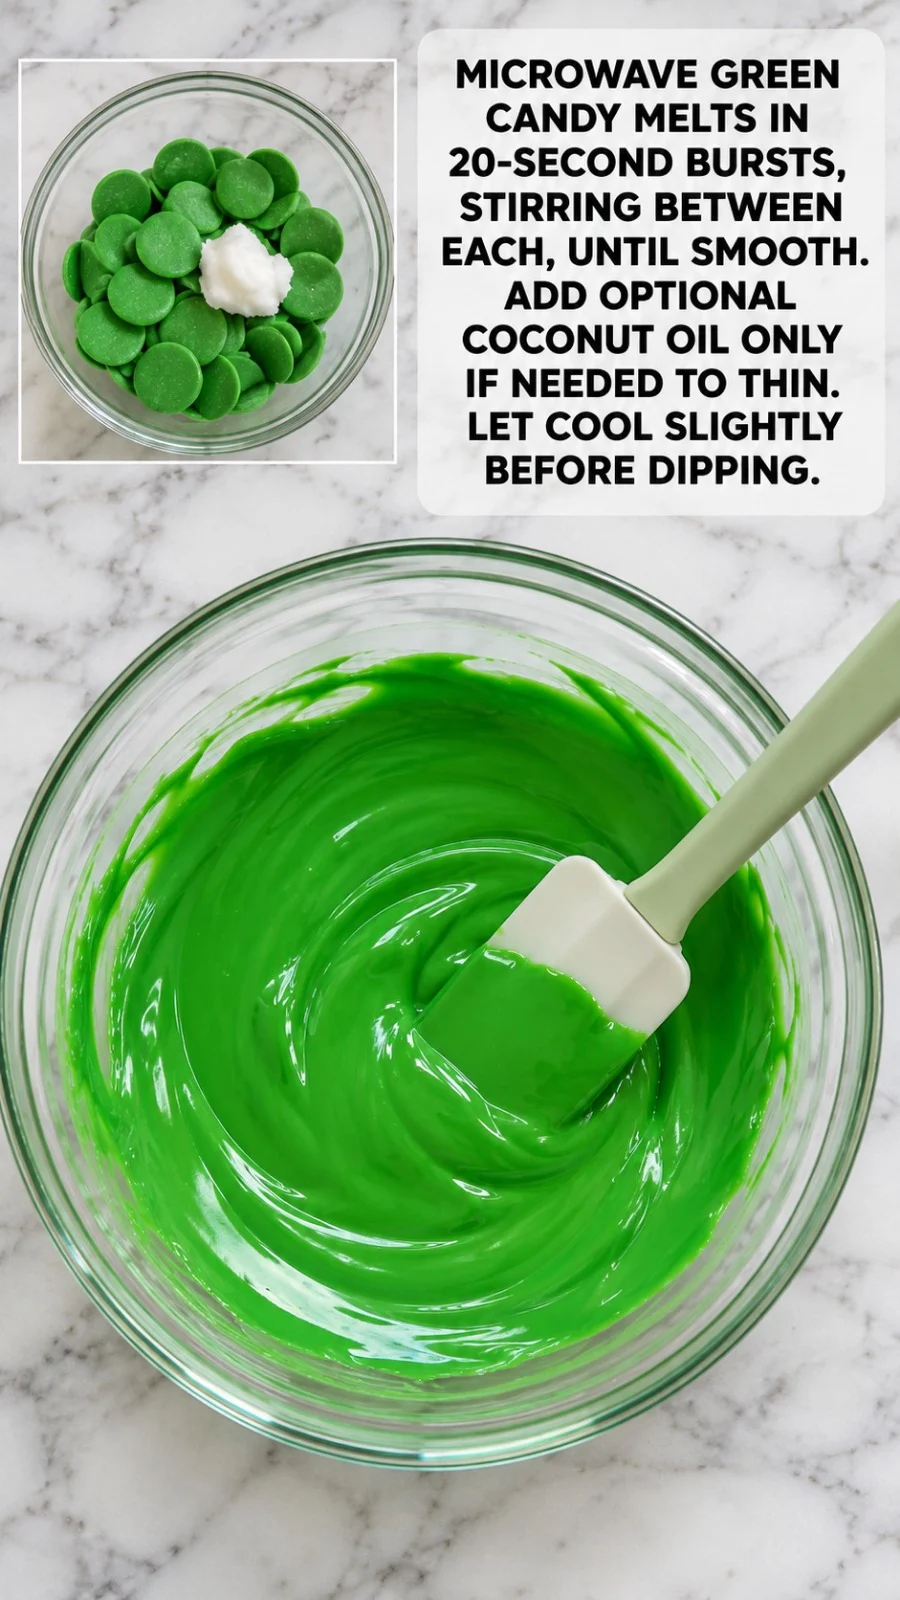
- Dip and attach the strawberries. Hold each dry strawberry by its leafy top, dip it into the green coating, and turn it to coat evenly. Tap the stem end gently against the edge of the bowl so the excess drips off. Set each berry point-up on an Oreo, using a small dab of the 2 tbsp melted green candy coating to attach it.
Pro Tip: Remove excess coating well. A heavy drip pools at the base and can slide the berry off the cookie. While the coating on each tree is still wet, sprinkle on the red, green and white sprinkles and the gold and silver edible sugar pearls. Decorate one tree at a time so the coating does not set before you add the decorations.
Pro Tip: Work quickly and keep the decorations close to the strawberry so they stick to the coating rather than the parchment.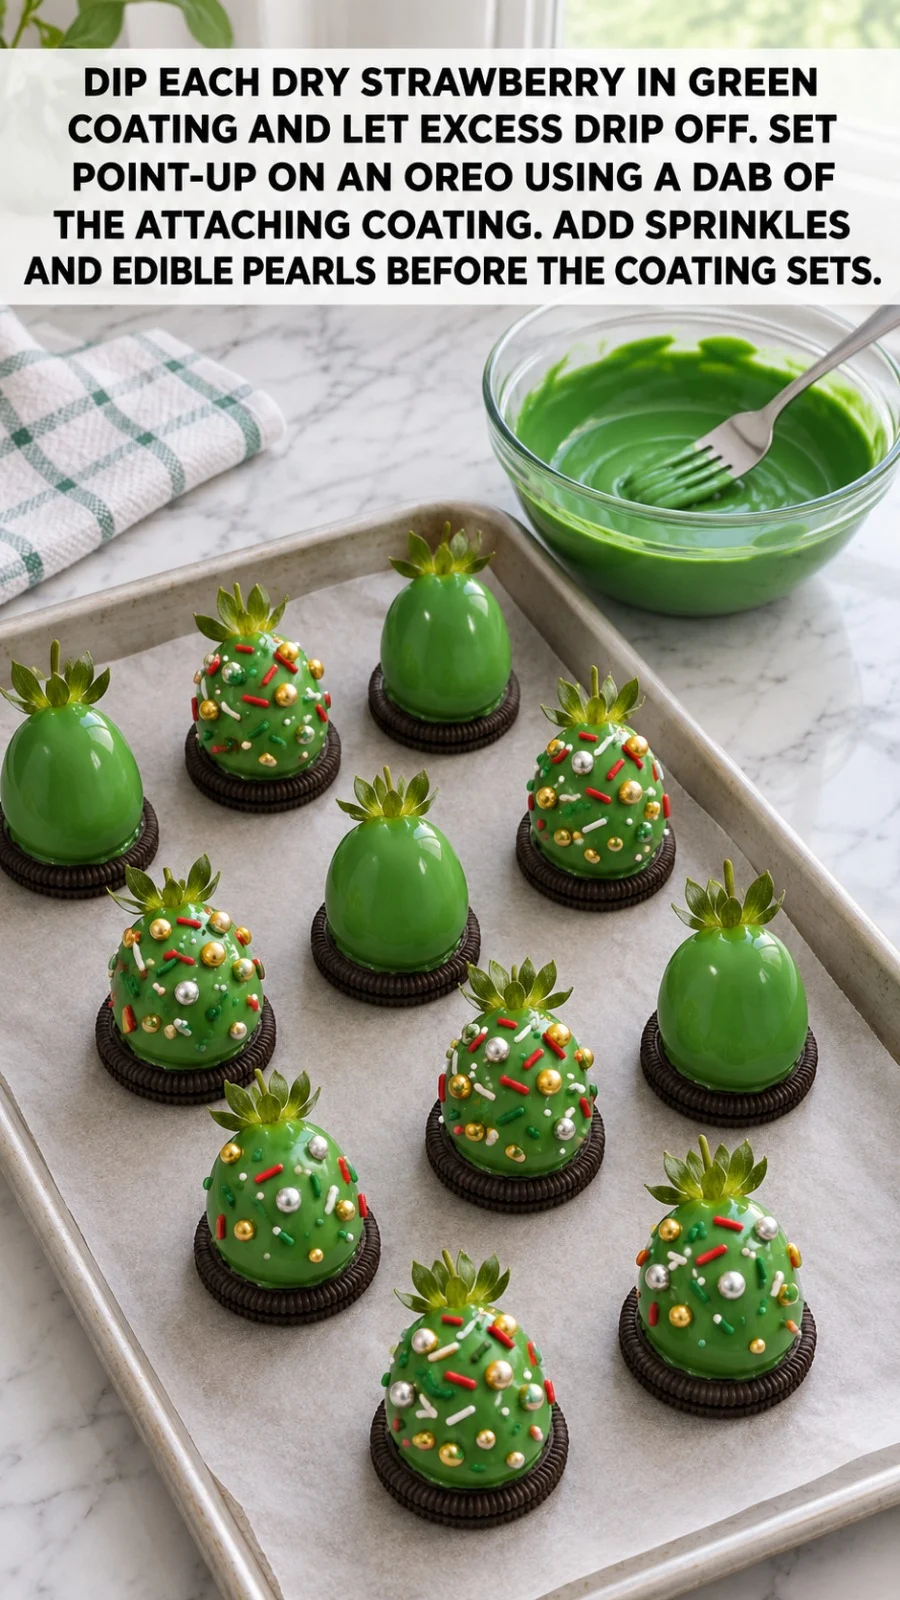
- Attach the bows and let them set. Place a tiny dab of the 2 tbsp melted green candy coating on the top of each tree and press a red fondant bow onto it. Use only a small amount so the bow does not slide down the berry as it sets. Leave the trees undisturbed at room temperature until the coating is firm to the touch and no longer tacky. Do not move them before this point, or the bows and berries can shift.
Pro Tip: Keep the dab small. Too much coating will make the bow shift. If the coating stays soft, the room may be warm. Move the tray to a cooler spot to speed setting. Once the coating is firm, transfer the trees to an airtight container in a single layer and refrigerate them. Let them sit at room temperature for a few minutes before serving so the coating loses its chill.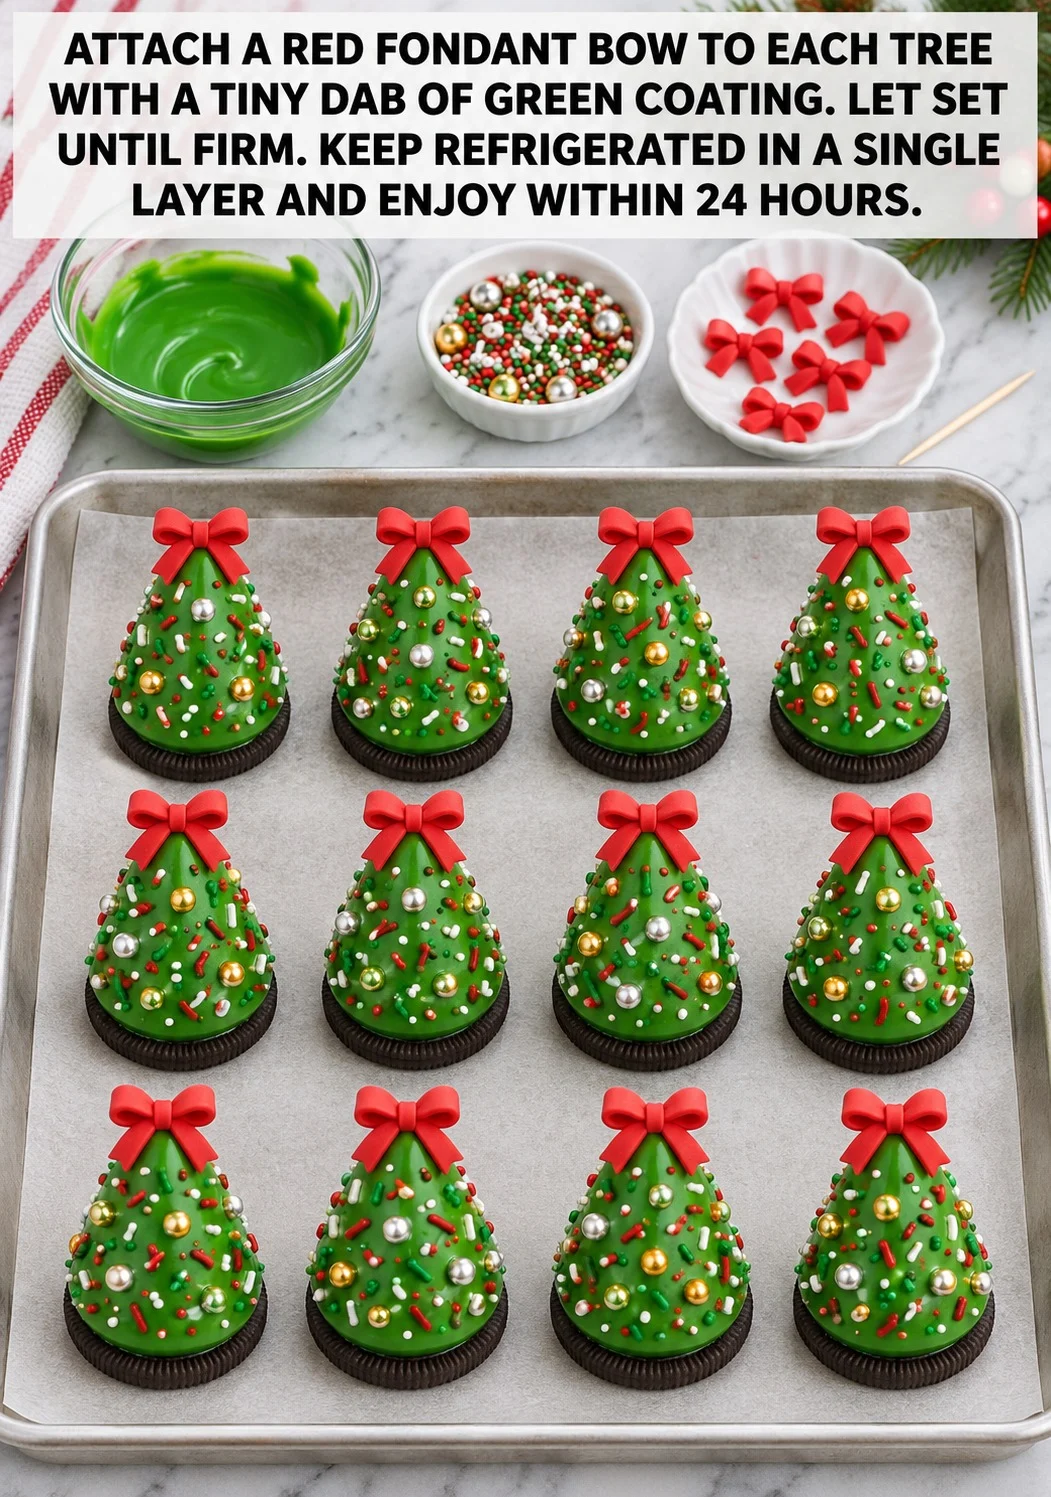

How To Serve And Store
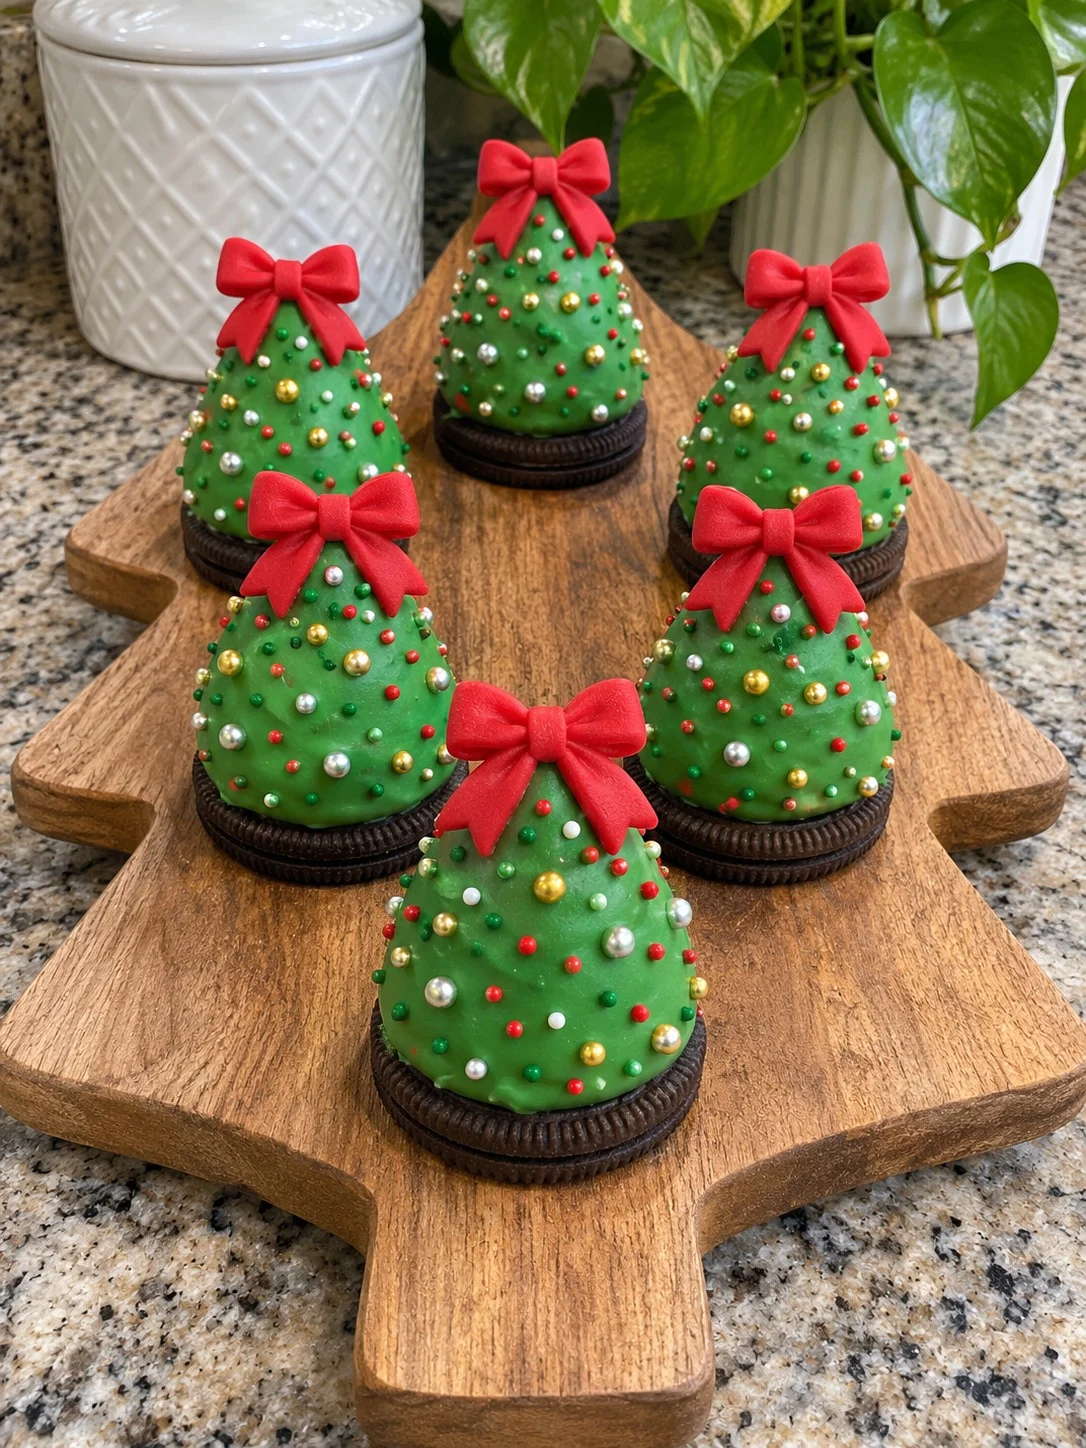
Serve the trees on a platter or wooden board for a festive holiday table, or arrange them on a dessert tray alongside cookies and candies.
In The Fridge
Store the trees refrigerated in a single layer in an airtight container and enjoy them within 24 hours. Strawberries soften over time, so do not hold them longer than that.
In The Freezer
Do not freeze these trees. Thawing makes the strawberries soft and watery and can crack the coating.
Frequently Asked Questions
Can you make these ahead of time?
You can make them a few hours ahead, but they taste best within 24 hours. Keep them refrigerated in a single layer so the coating stays intact.
Can I use something other than fondant bows?
Yes. Small candy decorations work as a substitute. Attach them with the same small dab of green coating so they stay in place.
How do I know when the coating is set?
The coating is set when it is firm and no longer tacky when lightly touched. Give it time to firm up before moving the trees.
More Recipes You’ll Love
- Christmas Oreo Ornament Cookies Recipe
- Christmas Candle Cake Treats
- Chocolate Cherry Brownie Bombs
- Holiday Slice and Bake Cookies

Christmas Strawberry Oreo Trees
Ingredients
Method
- Wash the strawberries and dry them completely. Remove the leaves, trim the flat bases so the berries stand point-up, line a tray with parchment, and set out the Oreos.
- Microwave the green candy melts in 20-second bursts, stirring well after each, until smooth. Add the optional coconut oil only if needed to thin. Let cool slightly before dipping.
- Dip each dry strawberry in the green coating and let excess drip off. Set point-up on an Oreo using a small dab of the melted green coating. Add the sprinkles and edible pearls while the coating is still wet.
- Attach a red fondant bow to each tree with a tiny dab of green coating. Let set until firm to the touch and no longer tacky. Refrigerate in a single layer once firm.