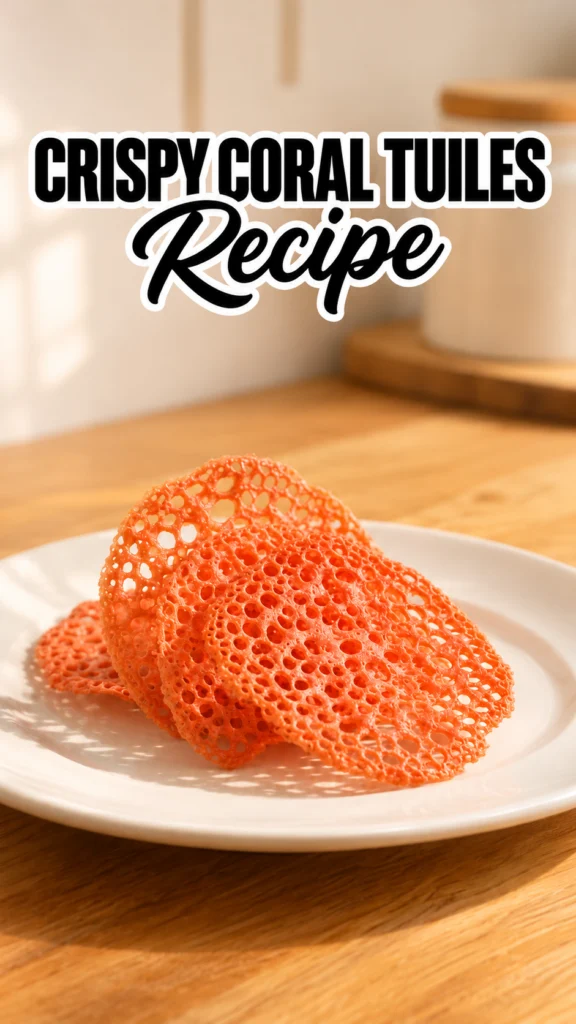
Crispy Coral Tuiles Recipe
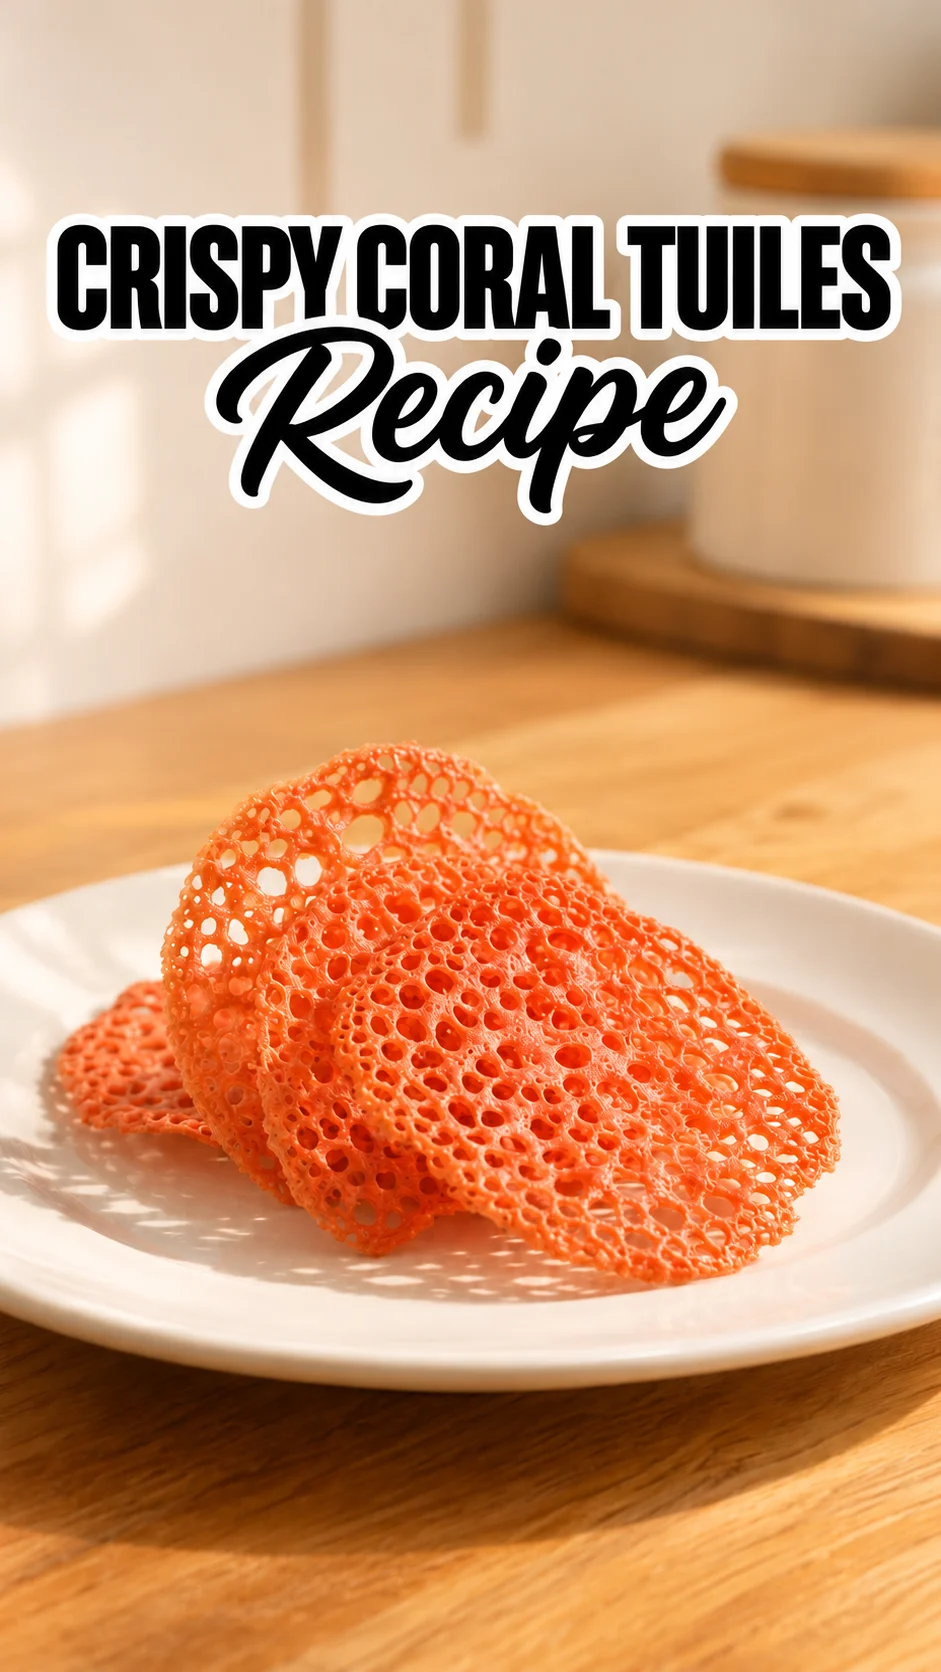
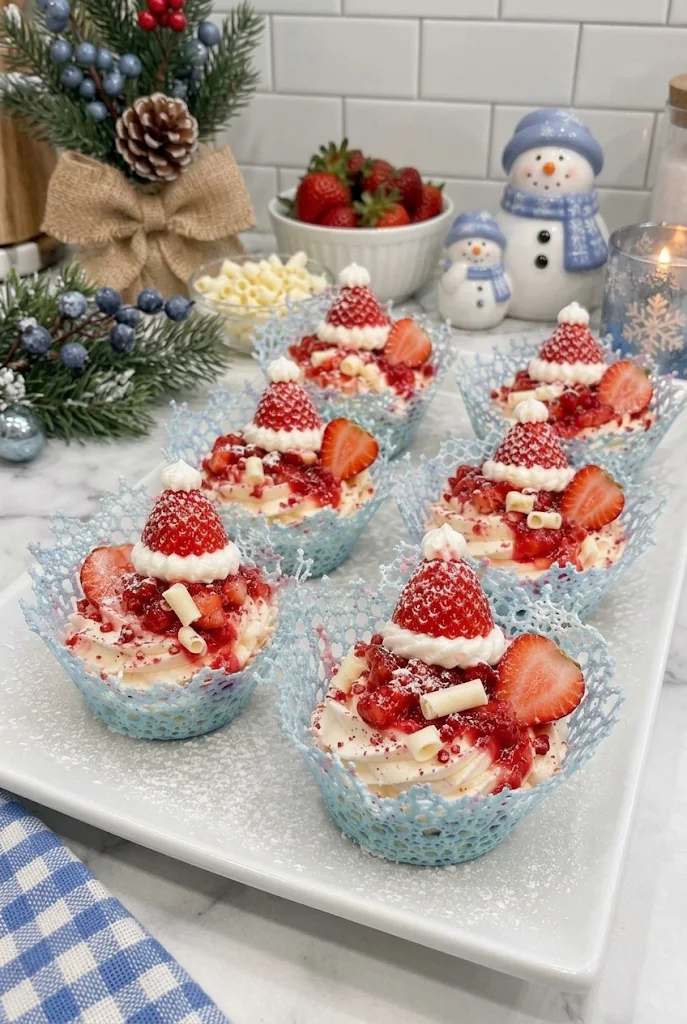
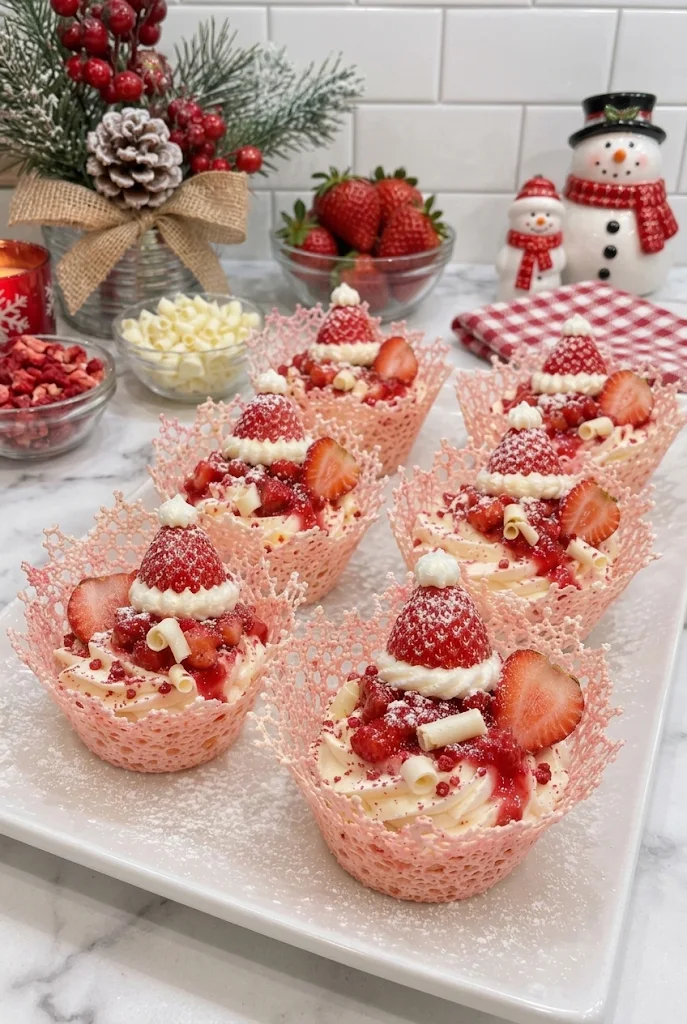
The moment these thin, lacy Crispy Coral Tuiles turn golden at the edges, a toasty aroma rises from the pan. The loose batter of water, oil, and flour turns a soft coral with one or two drops of red food coloring. The finished shells are crisp and snappy, and they make a pretty garnish for ice cream or fruit.
Yield: About 6 tuiles (estimated) | Prep Time: 5 min | Cook Time: 10 min | Total Time: 15 min
Crispy Coral Tuiles Ingredients
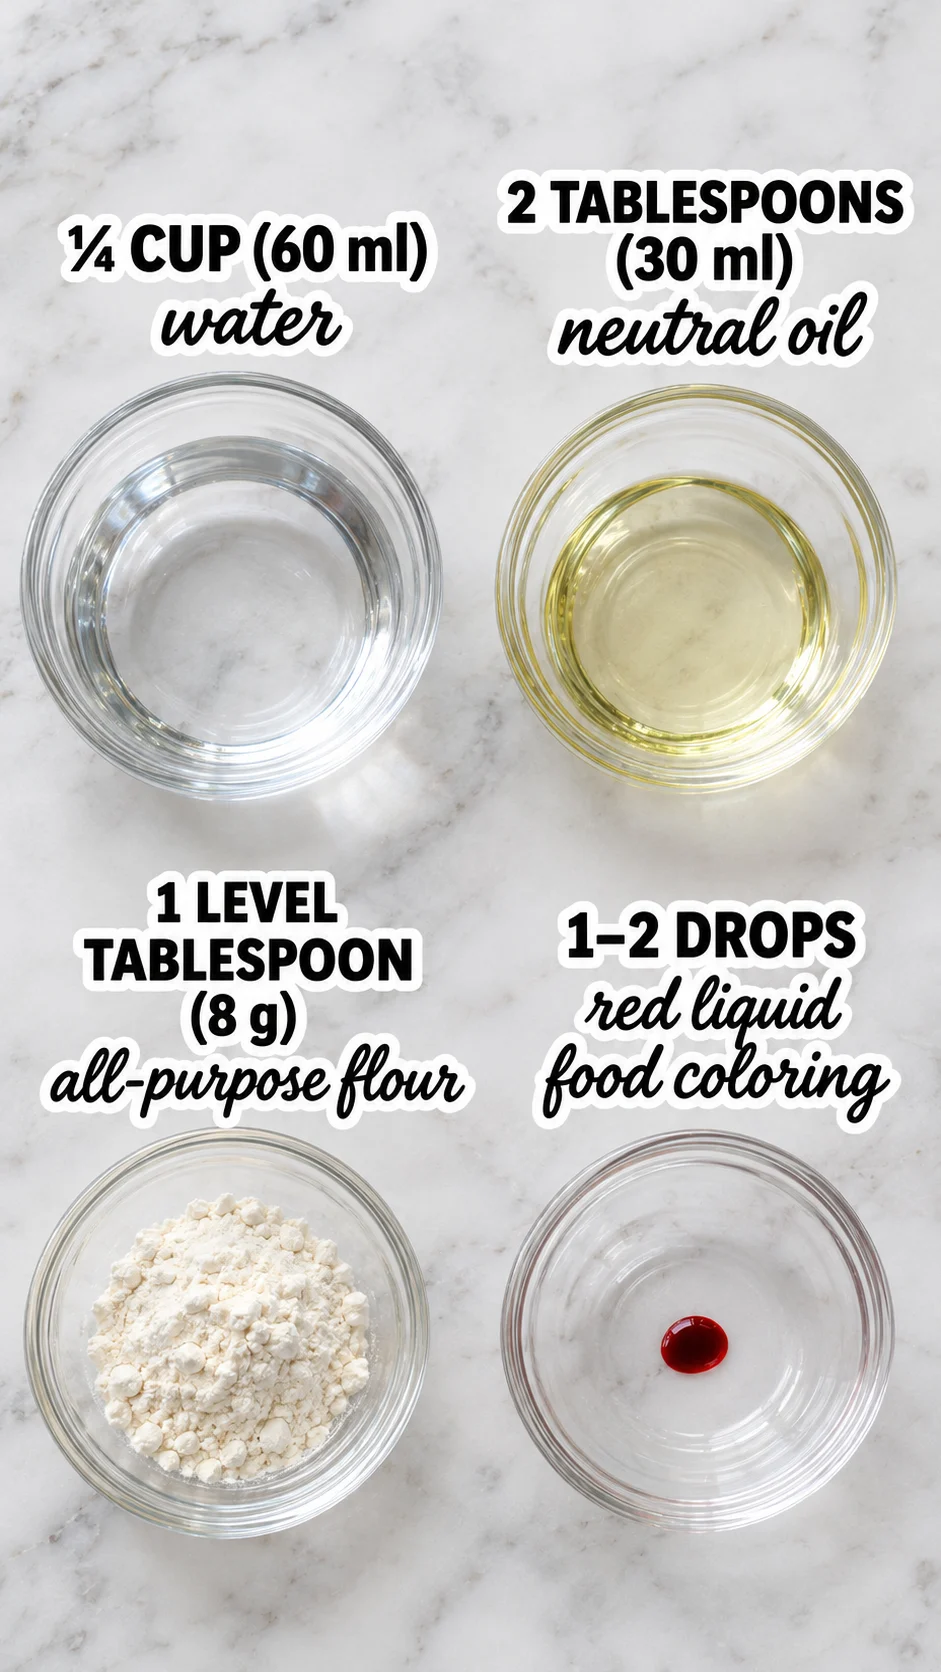
- 1/4 cup (60 ml) water: This is the base of the batter and thins the flour into a pourable liquid. Use cool tap water.
- 2 tablespoons (30 ml) neutral oil: The oil keeps the tuiles tender enough to bend while warm and helps them release from the pan. Use a flavorless oil such as canola, vegetable, or grapeseed so the coral color and taste stay clean.
- 1 level tablespoon (8 g) all-purpose flour: This is the only structure in the batter. Spoon it lightly into the measure and level it off so the batter does not turn thick.
- 1-2 drops red liquid food coloring: This creates the coral shade. Start with one drop and add a second only for a deeper blush.
How To Make This Crispy Coral Tuiles Recipe
- Whisk the batter. Combine the 1/4 cup (60 ml) water, 2 tablespoons (30 ml) neutral oil, and 1 level tablespoon (8 g) all-purpose flour in a small bowl. Whisk until smooth and free of lumps. Add 1-2 drops red liquid food coloring and whisk again until the color is even. Start with one drop, since the shade deepens as you add more.
Whisk again just before each pour, because the oil and water can separate and leave the batter uneven. If the batter looks streaky, give it a few more strokes before you pour.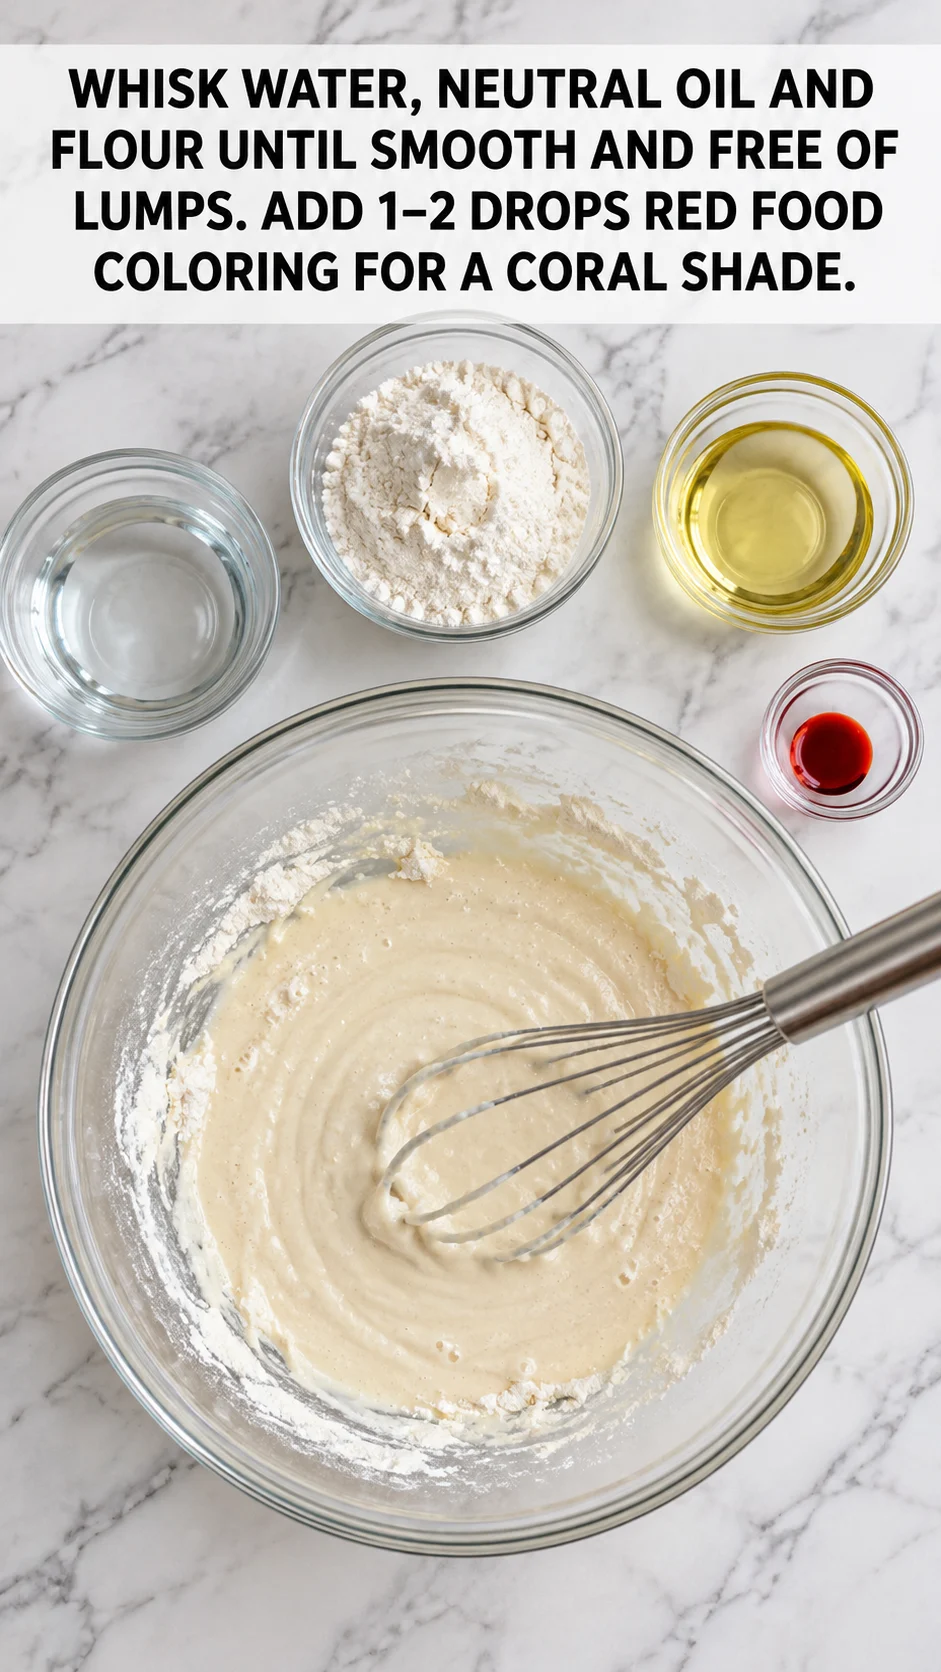
- Heat the pan. Set a clean nonstick pan over medium heat and let it warm up before you add any batter. No extra oil is needed, since the batter already contains oil. Let the pan warm for a minute or two so the batter sets quickly when it touches the surface. A pan that is too cool lets the batter spread and soak in before it sets, which leaves a greasy, fragile shell. Wipe the pan with a paper towel if any oil pools on the surface before the next pour.
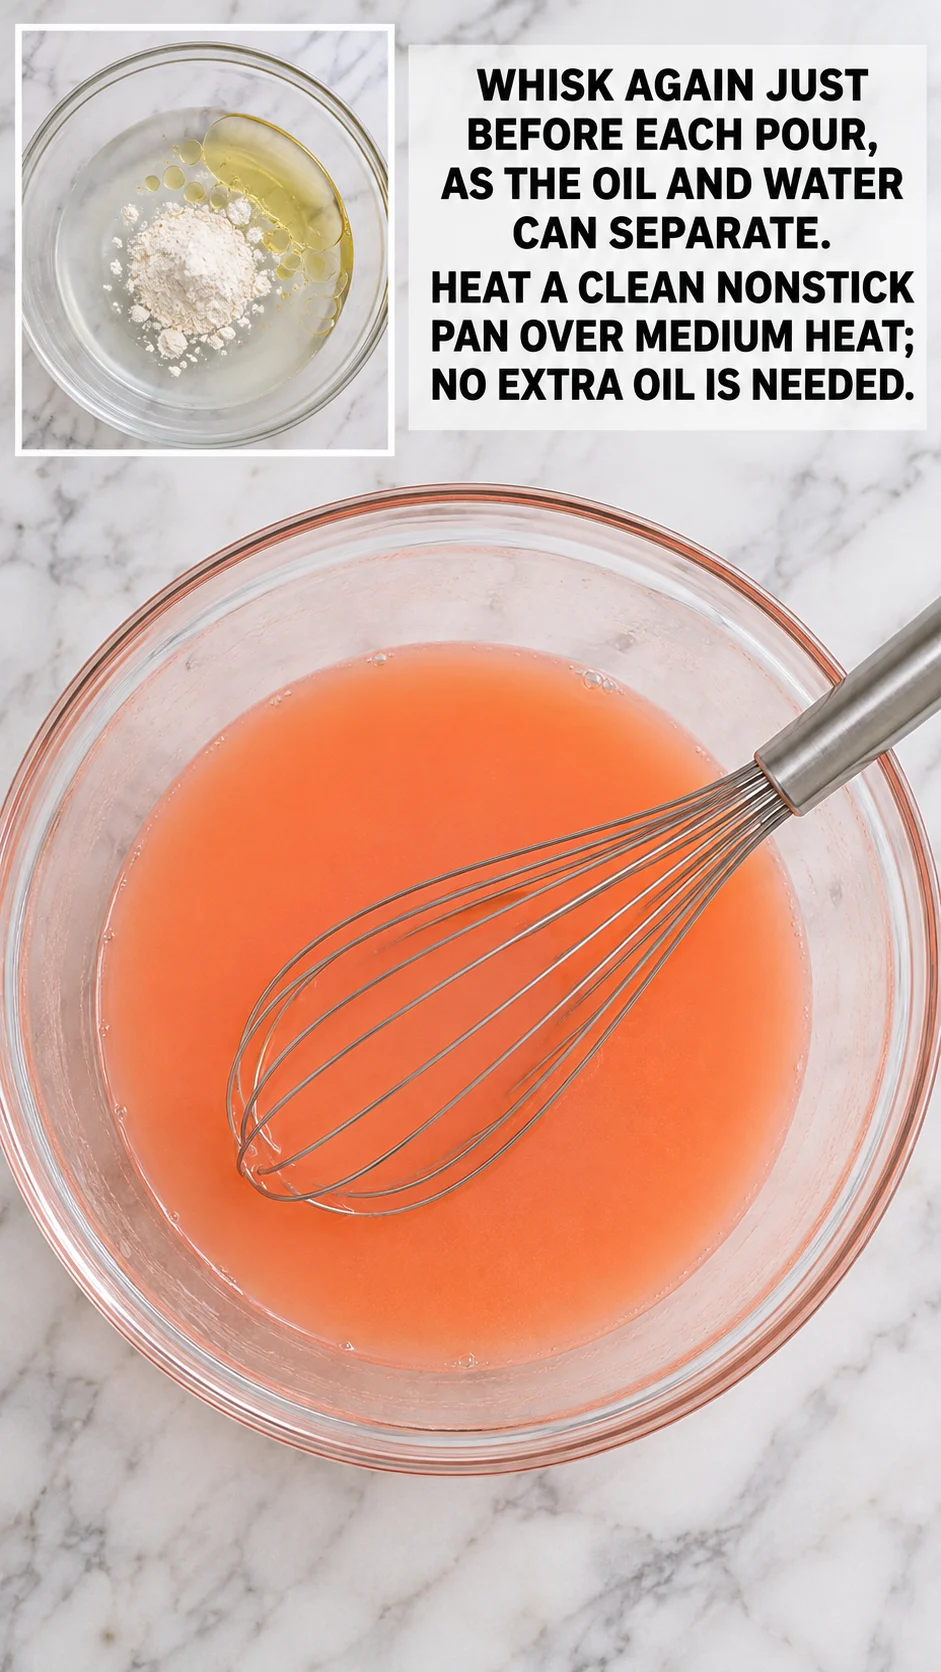
- Spread the tuile. Pour a small amount of batter into the hot pan and tilt the pan so it spreads into a thin round. I like to use a spoon when I want more control over the shape of each tuile. Cook without stirring until the water evaporates, the bubbling subsides, and the lace is set. The surface should look dry, and the edges should look lightly coral-colored.
If the batter spreads too thin and tears, the pour was too large. Use a smaller amount next time. If the shell browns before it looks dry, lower the heat slightly.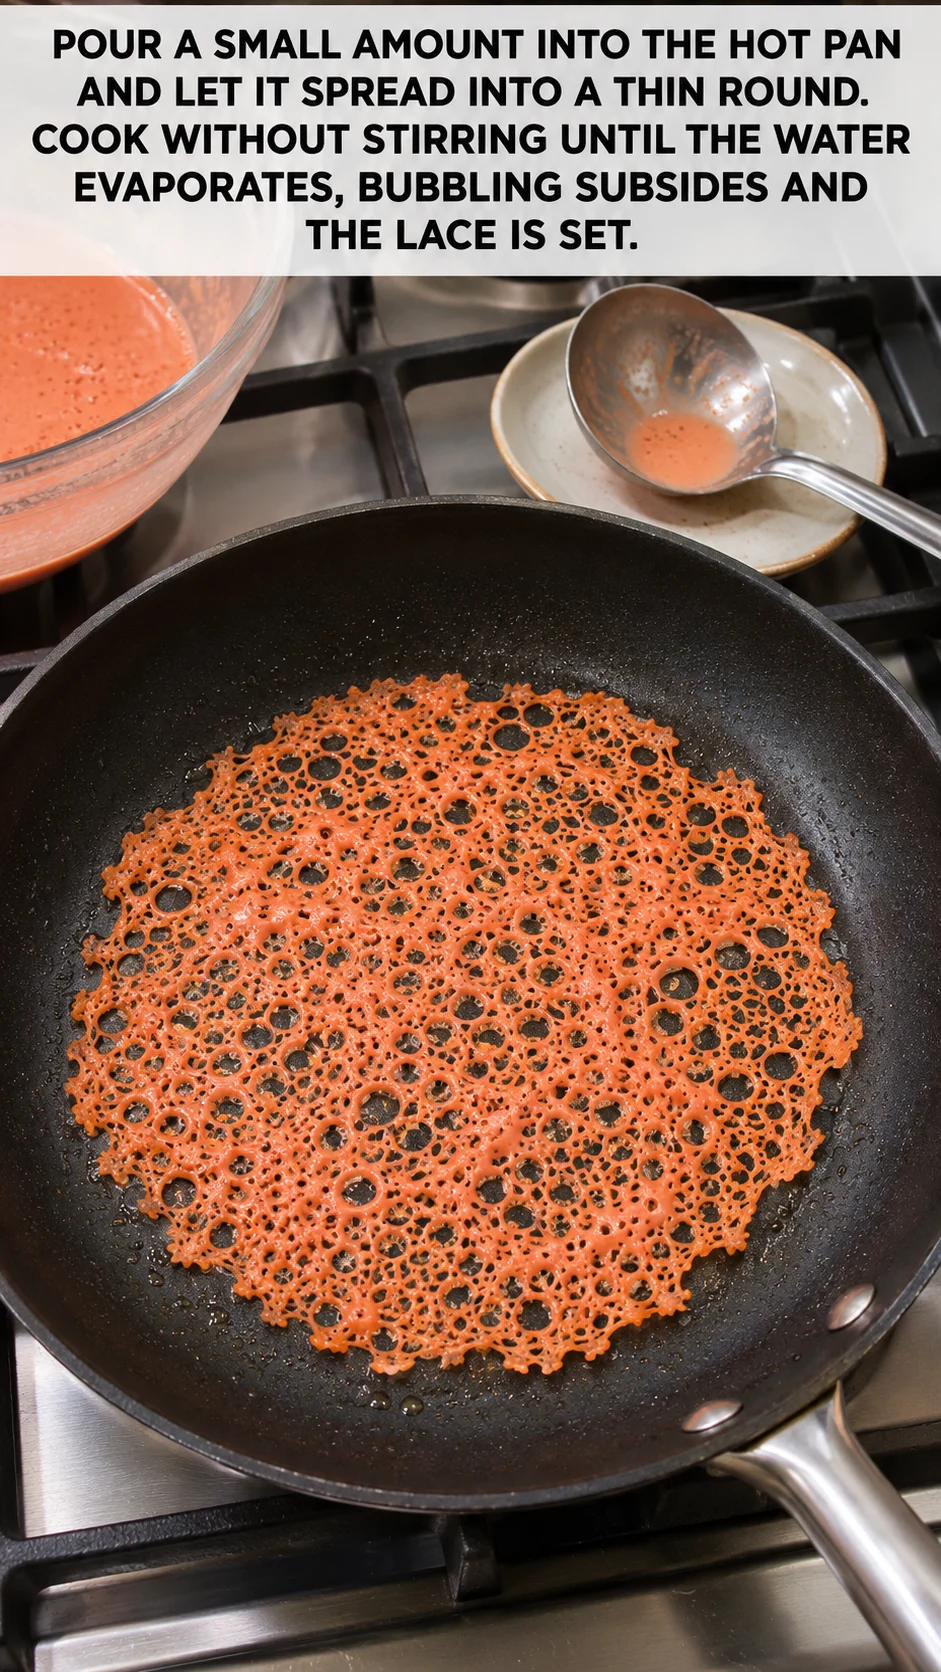
- Lift and drain. Lift the tuile gently with a thin spatula and drain it on paper towels. Shape it while still warm if you want a curve, such as over a rolling pin or the back of a cup. Let it cool completely so it becomes crisp. A tuile lifted too early will tear, so wait until the lace is dry before you move it.
Wipe away any excess oil from the pan between batches so the next tuile does not turn greasy. Store the cooled tuiles in an airtight container.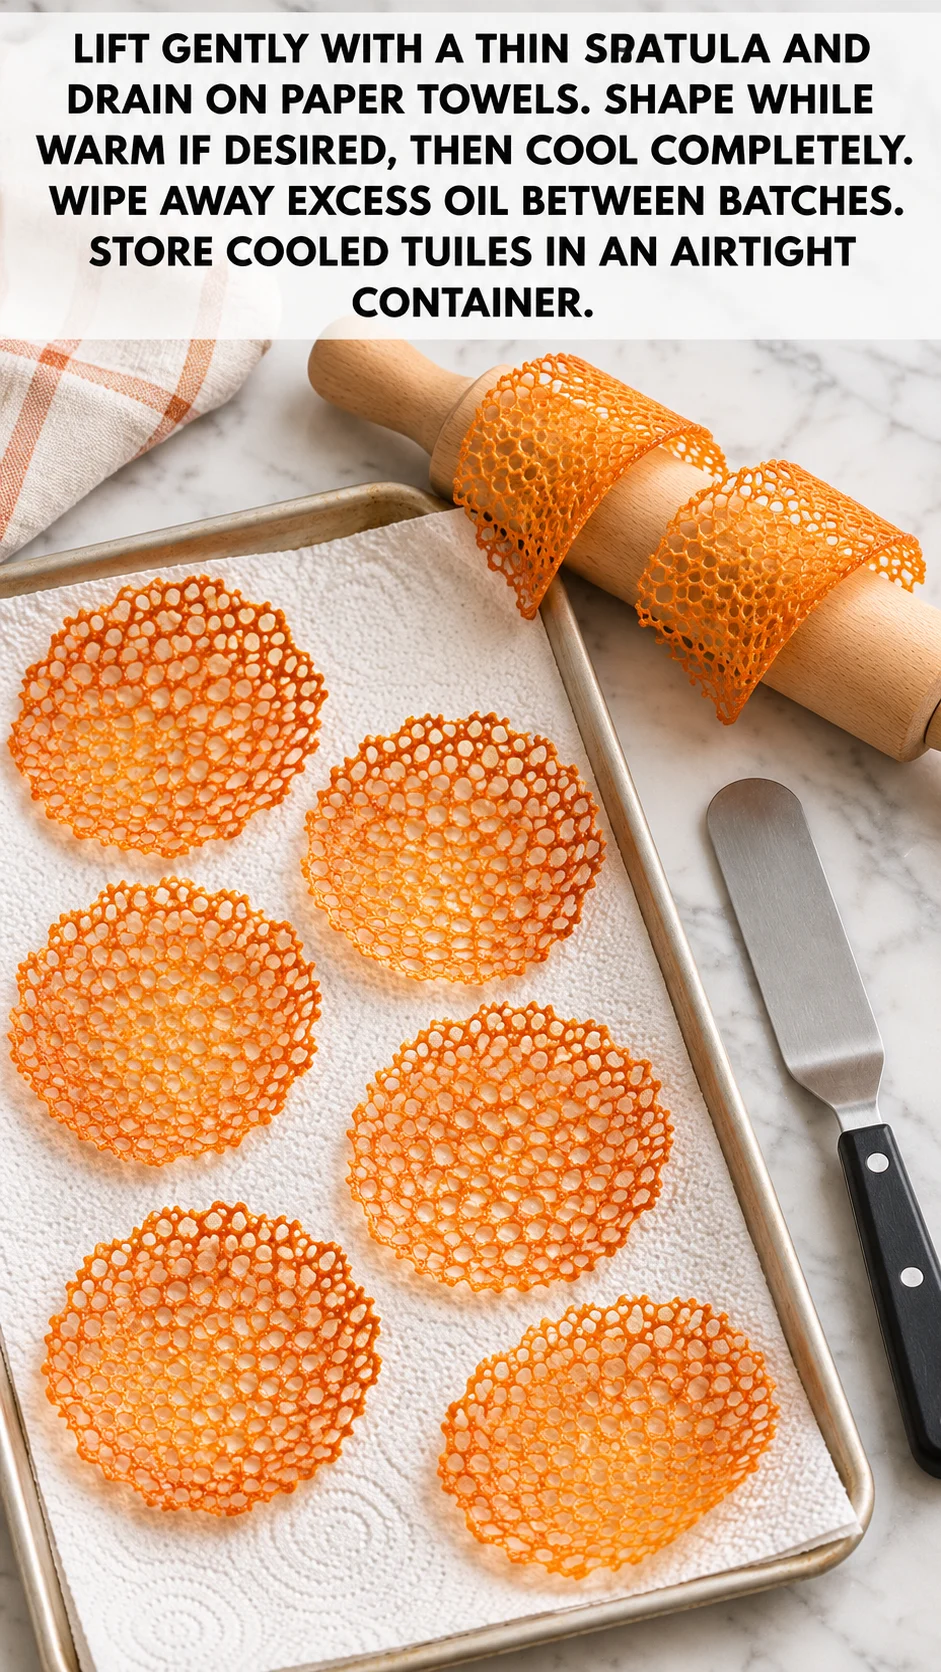
Substitutions And Additions
Neutral oil
Melted unsalted butter can stand in for the oil, but it is a dairy fat that browns faster and adds a toasty flavor. Watch the pan closely and lower the heat if the edges darken before the lace sets.
All-purpose flour
Cake flour can be used in the same amount for a more tender lace. The shells may spread a little more, so keep the pour small.
Red liquid food coloring
Gel food coloring can replace the liquid, but add only a tiny speck because it is much stronger. I’d skip the food coloring altogether if you want plain tuiles.
How To Serve And Store
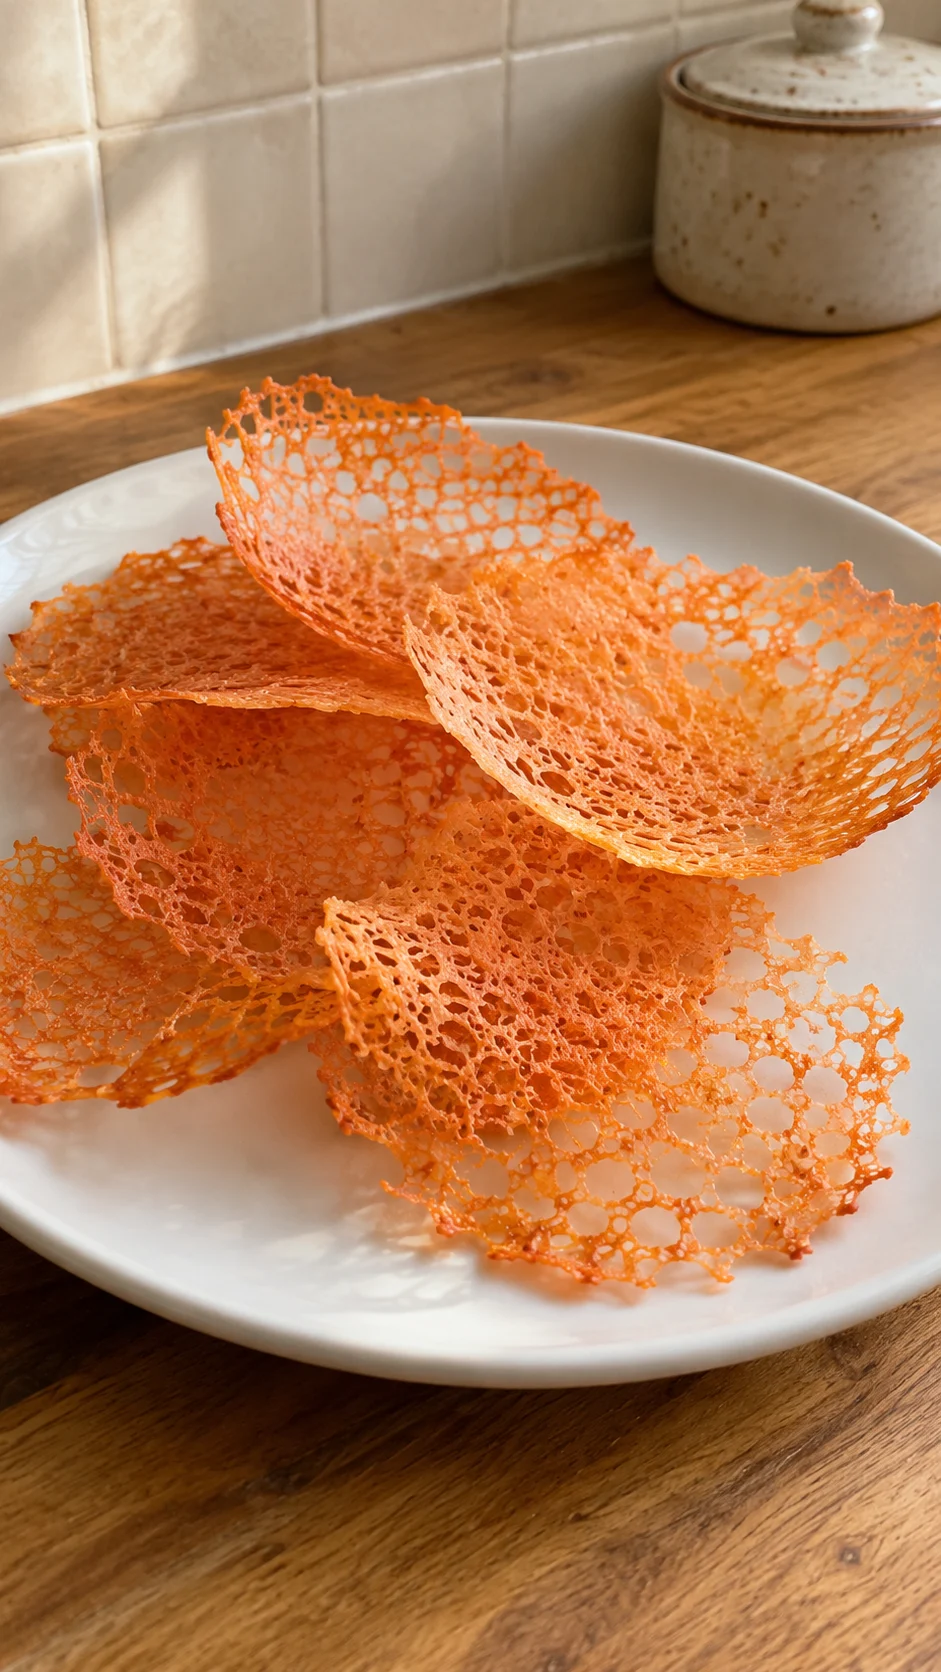
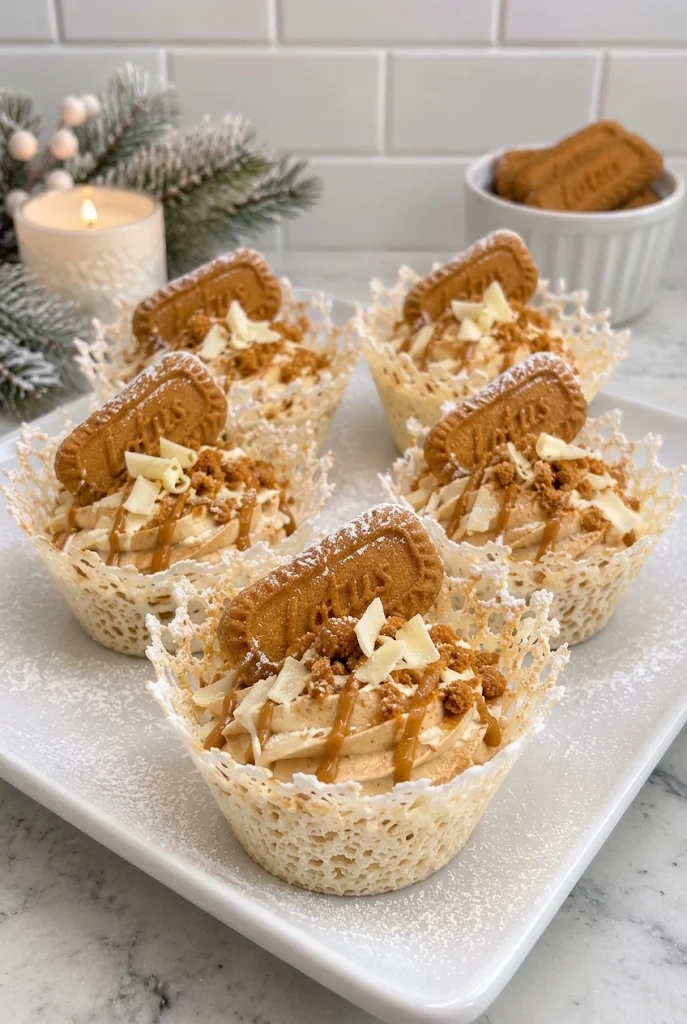
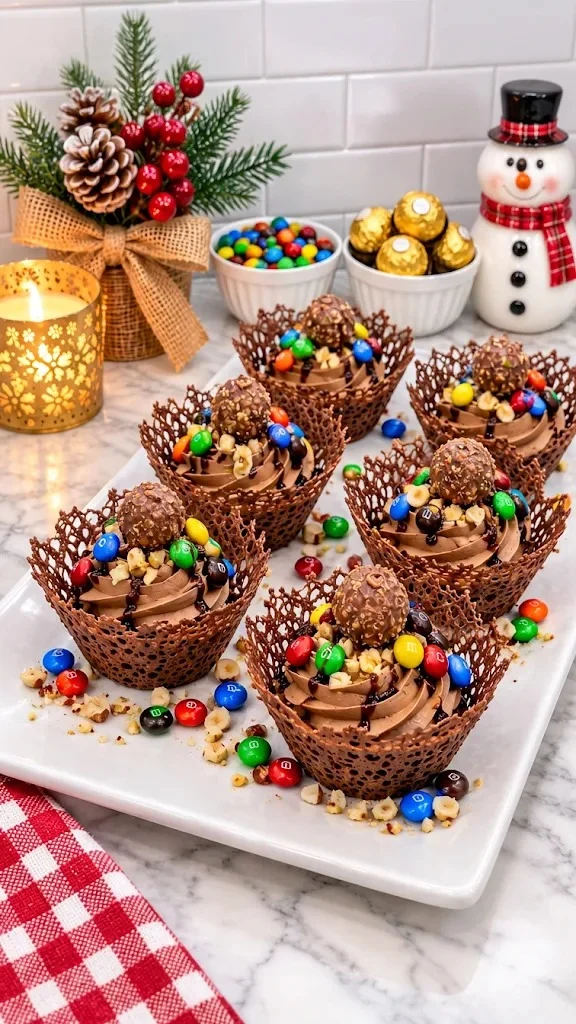
Serve the tuiles on top of scoops of ice cream, fruit salad, or a cup of mousse for crunch. They also look nice leaning against the edge of a dessert plate. Pile them on the plate right before you serve, so the coral tuiles keep their snap.
Storage
Keep cooled tuiles in an airtight container at room temperature for up to 3 days. Refrigeration can soften them, so avoid the fridge unless the room is very humid.
Freezing
Freezing is not recommended, since these delicate shells can soften and lose their snap once thawed. Make them closer to the time you plan to serve them.
Frequently Asked Questions
Can you make crispy coral tuiles ahead of time?
Yes, you can make them a day ahead as long as they are completely cool and stored in an airtight container at room temperature, away from humidity.
Why did my tuiles tear when I lifted them?
They were probably not set enough before lifting. Wait until the lace is dry and the bubbling has stopped, then lift gently with a thin spatula.
How do I know when the tuile is done cooking?
The tuile is done when the water has evaporated and the lace looks set and dry, with no wet sheen left on the surface. The edges should look lightly coral-colored.
More Recipes You’ll Love
- Reese’s Peanut Butter Coral Lace Cups
- Peppermint Bark Chocolate Coral Lace Cups
- Festive Mango Cream Tuile Cups
- Dubai Chocolate Pistachio Kunafa Coral Lace Cups
Crispy Coral Tuiles Recipe
Ingredients
Method
- Whisk the water, neutral oil, and flour until smooth and free of lumps. Add 1-2 drops red liquid food coloring for a coral shade and whisk again.
- Heat a clean nonstick pan over medium heat. No extra oil is needed.
- Pour a small amount of batter into the hot pan and let it spread into a thin round. Cook without stirring until the water evaporates, the bubbling subsides, and the lace is set.
- Lift gently with a thin spatula and drain on paper towels. Shape while warm if desired, then cool completely. Wipe away excess oil between batches and store cooled tuiles in an airtight container.