
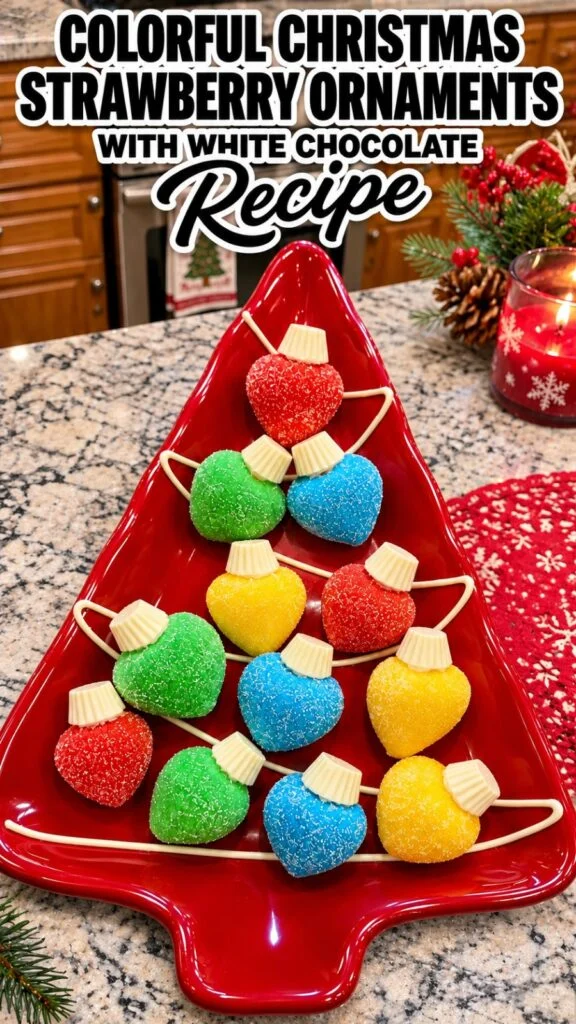
Colorful Christmas Strawberry Ornaments with White Chocolate
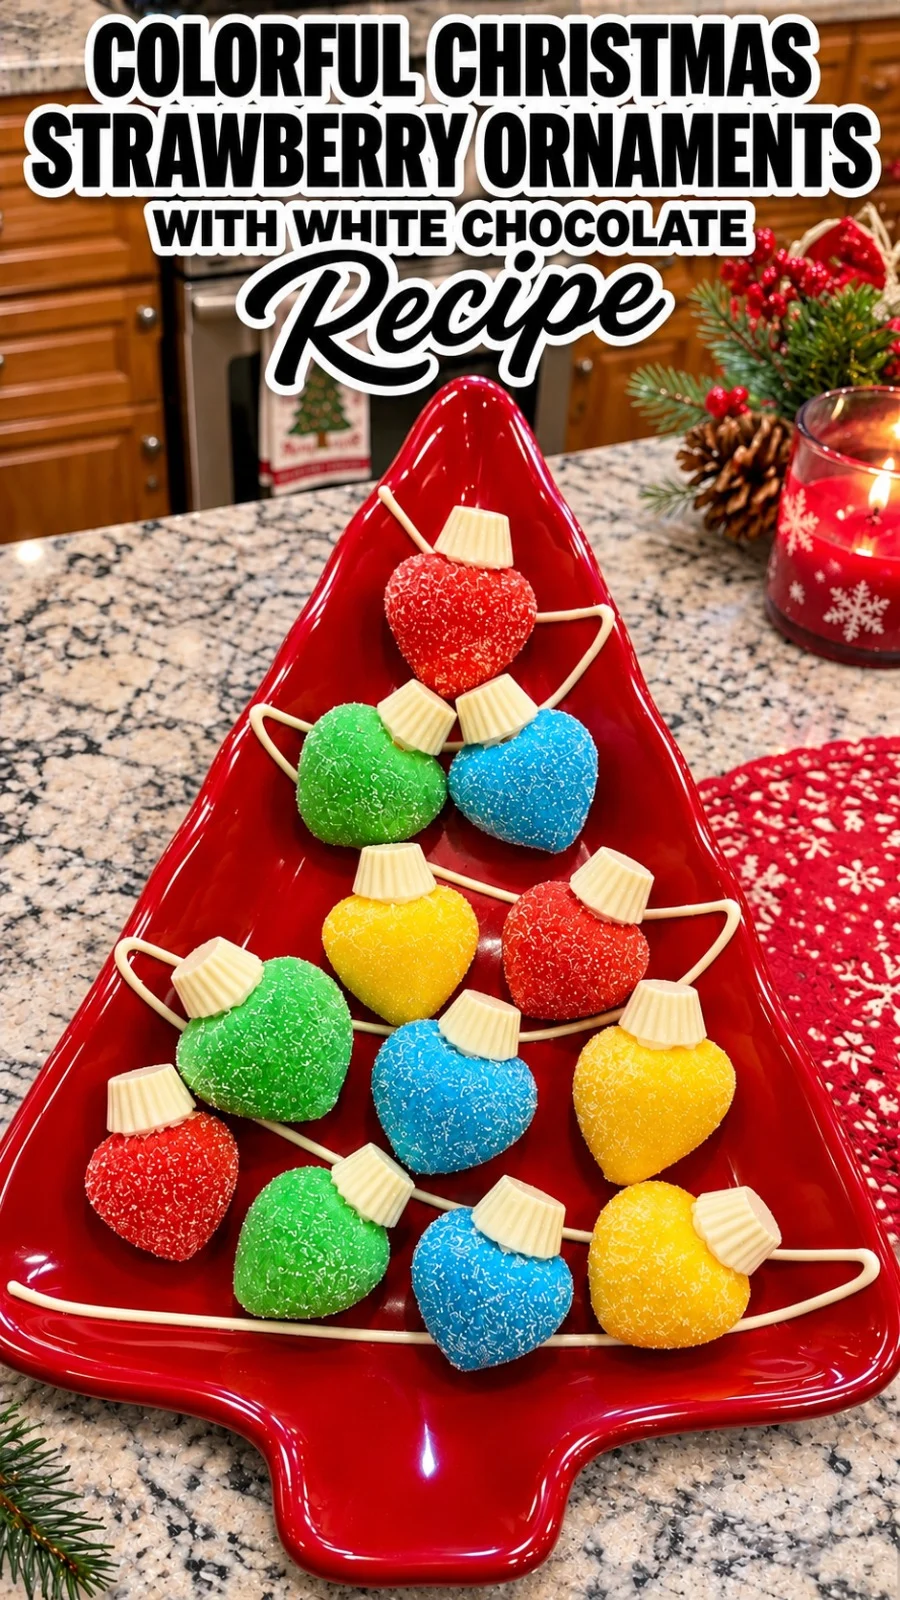
Colorful Christmas Strawberry Ornaments with White Chocolate are dipped in bright candy coatings, sprinkled with sparkling sugar, and capped with a mini peanut butter cup. The berries stay juicy under a crisp shell, and the sugar adds a light crunch. It’s a no-bake project for holiday platters and dessert tables.
Yield: 12 ornaments | Prep: 20 min | Setting and chilling: about 1 hour
Colorful Christmas Strawberry Ornaments with White Chocolate Ingredients
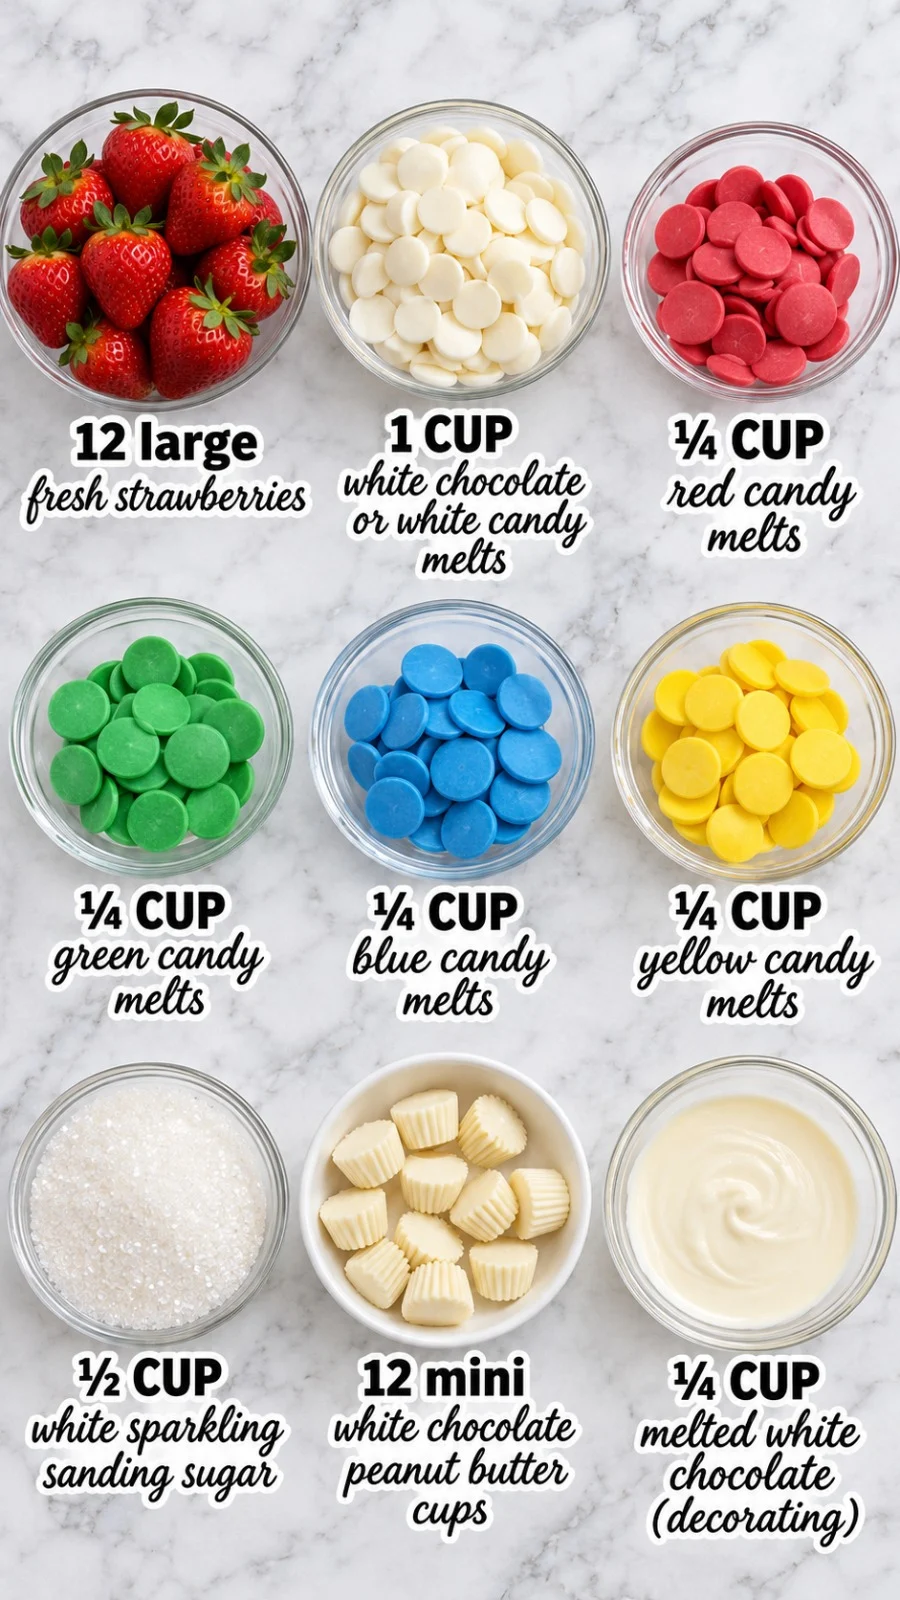
- 12 large fresh strawberries: Choose firm, bright berries with full color and fresh green caps. Dry them completely, since any water will keep the coating from sticking.
- 1 cup white chocolate or white candy melts: This is the shared base coating, divided evenly among the four colors. Candy melts set with a smoother finish and are easier to work with than chocolate chips.
- 1/4 cup red candy melts: This makes the first festive color. Melt only what you need, since a small amount goes a long way.
- 1/2 cup white sparkling sanding sugar: Sprinkle this on while the coating is wet so it adheres. It gives sparkle and a little crunch.
- 12 mini white chocolate peanut butter cups: These sit on top of each strawberry as the cap of the ornament.
- 1/4 cup melted white chocolate: This is the adhesive that attaches the peanut butter cups and pipes the decorative lines. Keep it warm and fluid.
- 1/4 cup green candy melts: This creates the second color, giving the classic holiday look.
- 1/4 cup blue candy melts: This adds a cool, bright shade that contrasts with the red and yellow.
- 1/4 cup yellow candy melts: This is the fourth color, adding a cheerful finish to the set.
Substitutions And Additions
Strawberries
Medium berries work if you can’t find large ones, but the ornaments will be smaller. Avoid very wet or overripe berries, because they release juice that loosens the coating.
White Chocolate
Use white chocolate or candy melts rather than white chocolate chips, since chips can thicken and seize when melted for dipping.
Sanding Sugar
Red or green sanding sugar can replace the white sparkle, but it changes the classic look. Use the same amount so the coating is covered evenly.
How To Make This Colorful Christmas Strawberry Ornaments with White Chocolate Recipe
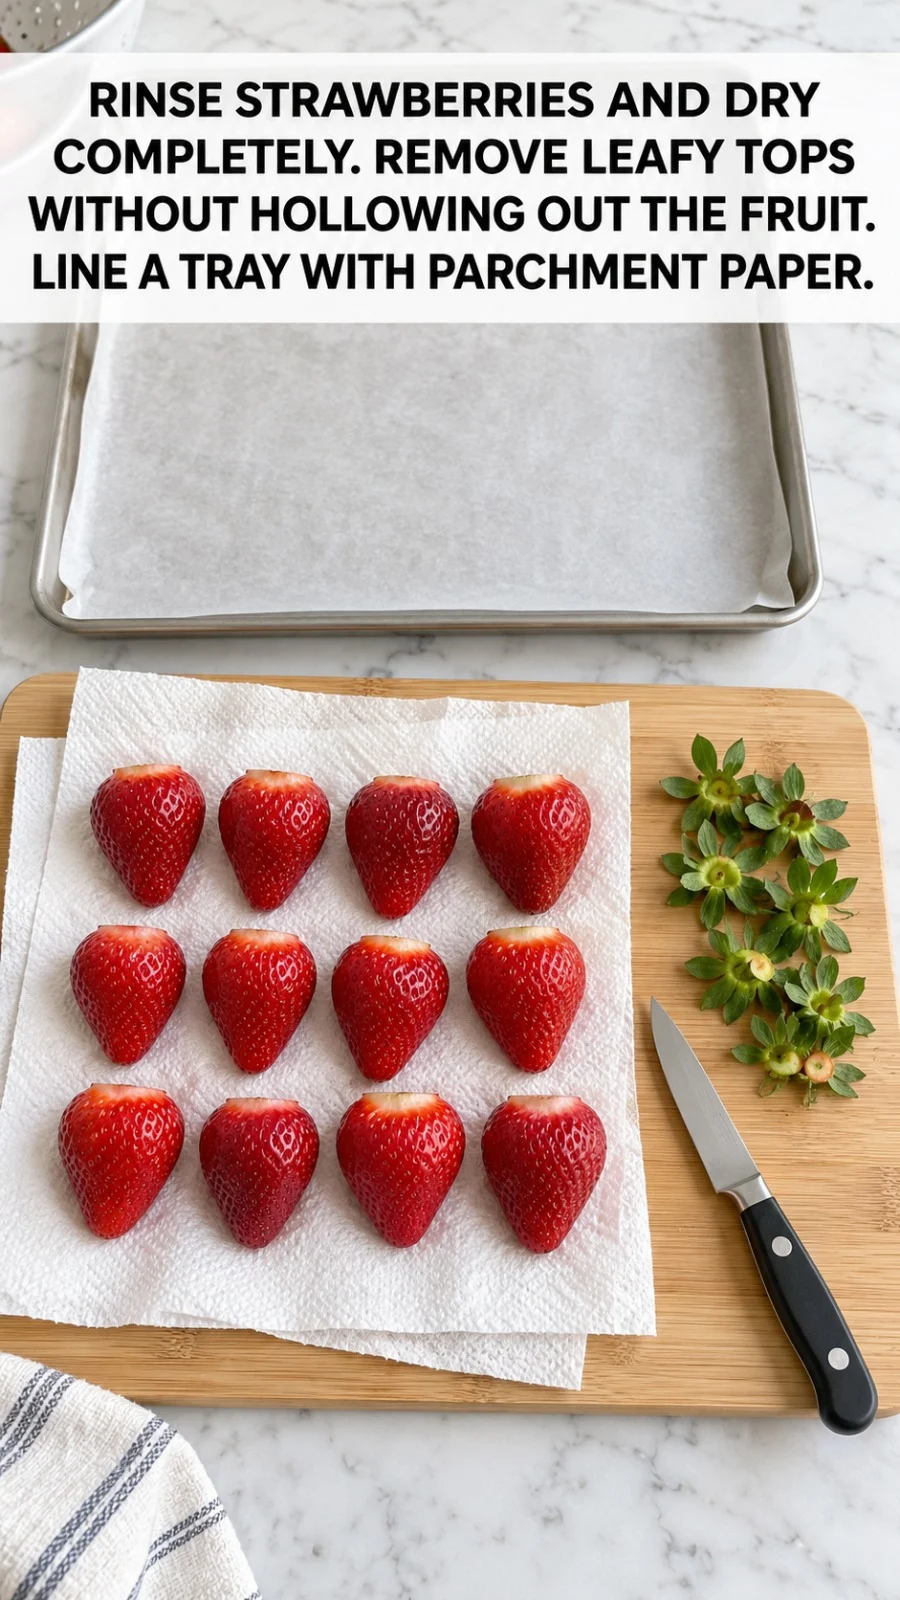
- Prep the strawberries and tray. Rinse the strawberries and dry them completely with paper towels, letting them air-dry a few minutes if needed. Remove the leafy tops without hollowing out the fruit. Set the dipped strawberries on a parchment-lined tray so the coating can set before you move them. Pro Tip: Even a little moisture will keep the coating from sticking, so the berries should be fully dry before dipping.
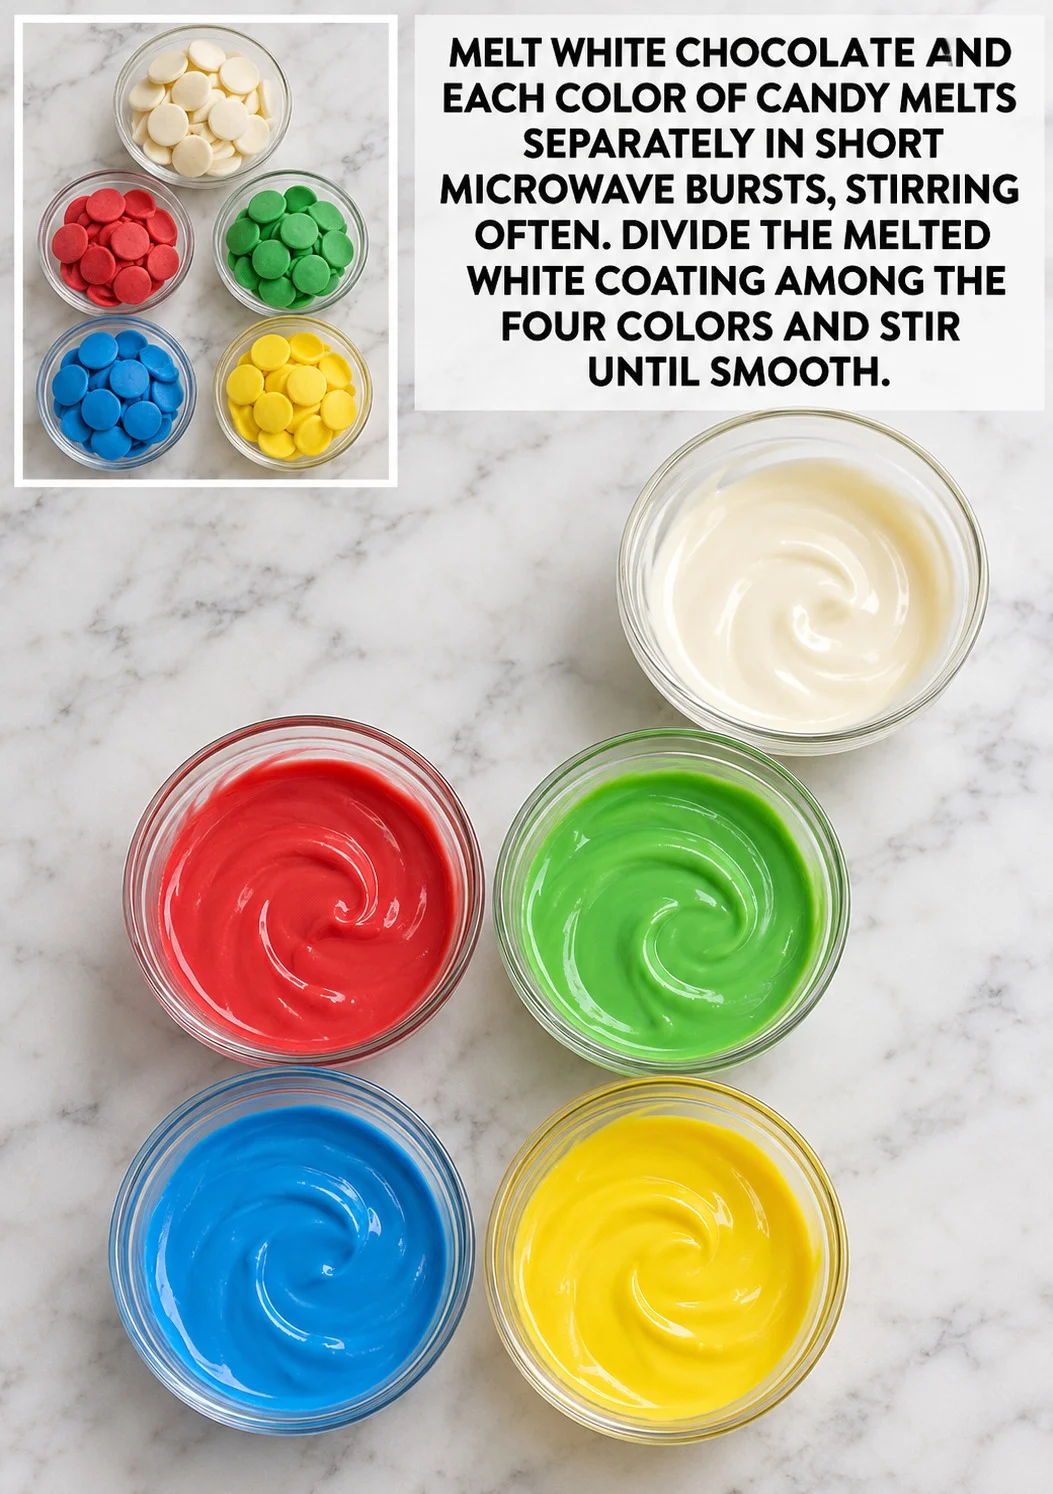
- Melt the white coating and colors. Melt the 1 cup white chocolate or white candy melts and each color of candy melts separately in short microwave bursts, stirring often between bursts so they don’t scorch. Keep the heat low so the coatings stay smooth and glossy. Pro Tip: Stop heating as soon as most of the chunks are melted and let the residual heat finish the job. Divide the 1 cup of melted white coating evenly among the four bowls, so each color receives about 1/4 cup of white coating. Stir each bowl until smooth. Each color should look glossy and flow easily off the spoon. If a coating looks thick, stir in a small amount of warmed white chocolate to thin it.
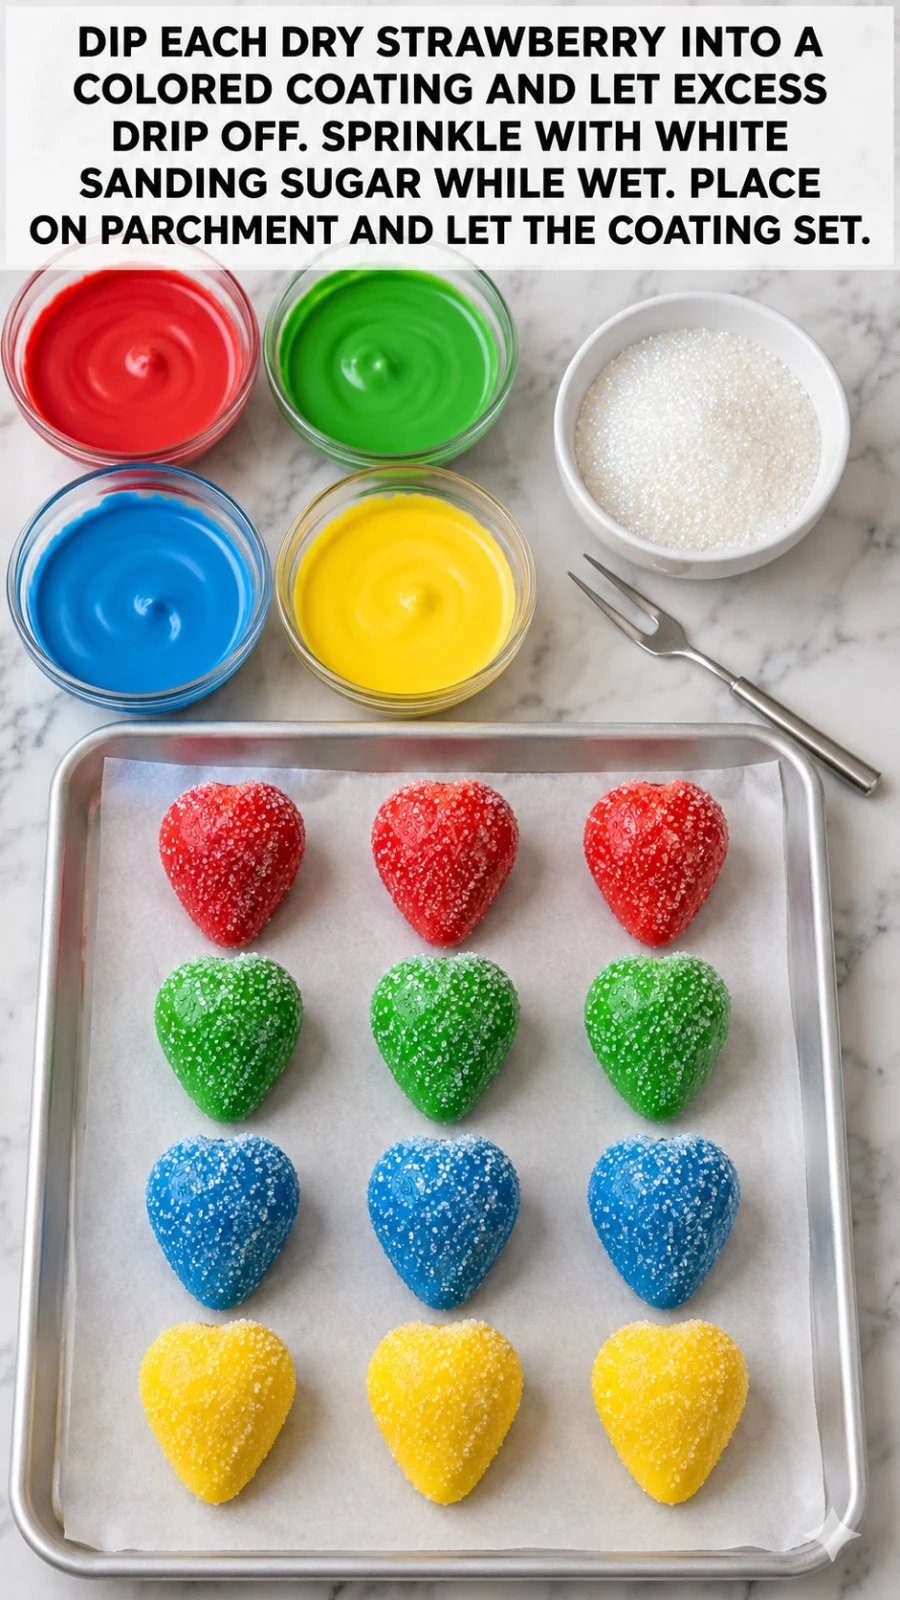
- Dip the strawberries. Hold each dry strawberry by its cap and dip it into a colored coating, turning it to cover the fruit. Lift it out and let the excess drip off. Sprinkle the white sanding sugar over each berry while the coating is still wet so it sticks. Pro Tip: Holding the cap keeps your fingers out of the coating. Place the dipped strawberries on the parchment and let the coating set until it looks matte and feels firm when lightly touched. The shell should look smooth, with no drips or pooling at the bottom.
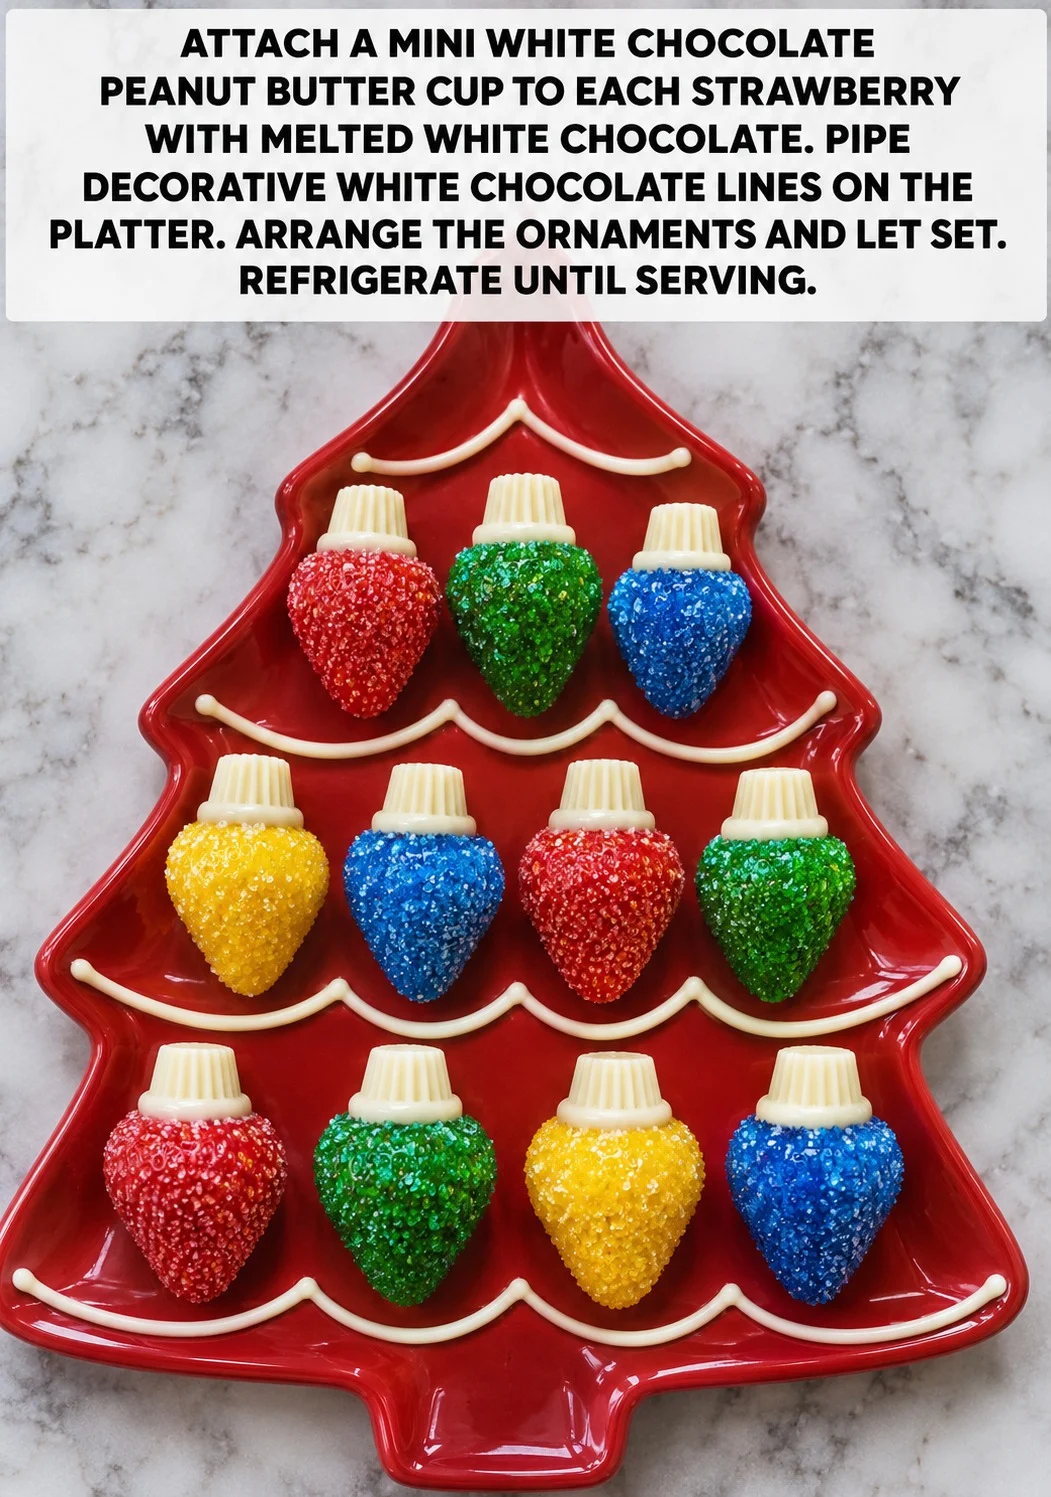
- Attach the peanut butter cups and decorate. Once the coating has set, attach a mini white chocolate peanut butter cup to each strawberry with a dab of the 1/4 cup melted white chocolate. Press gently so it stays put and let the attachment set. Pro Tip: Attaching the cups after the coating has set keeps them from sliding or smearing the shell. Transfer the remaining melted white chocolate to a small piping bag or zip-top bag with a tiny corner snipped off. Pipe decorative lines onto the platter, then arrange the ornaments on top. Let everything set fully at room temperature. Pro Tip: Don’t move the ornaments too soon, or the piped lines will smear. Refrigerate the finished ornaments until serving so the coating stays firm and the berries stay cold and crisp. Keep them in a single layer so the sugar and decorations stay intact.
How To Serve And Store
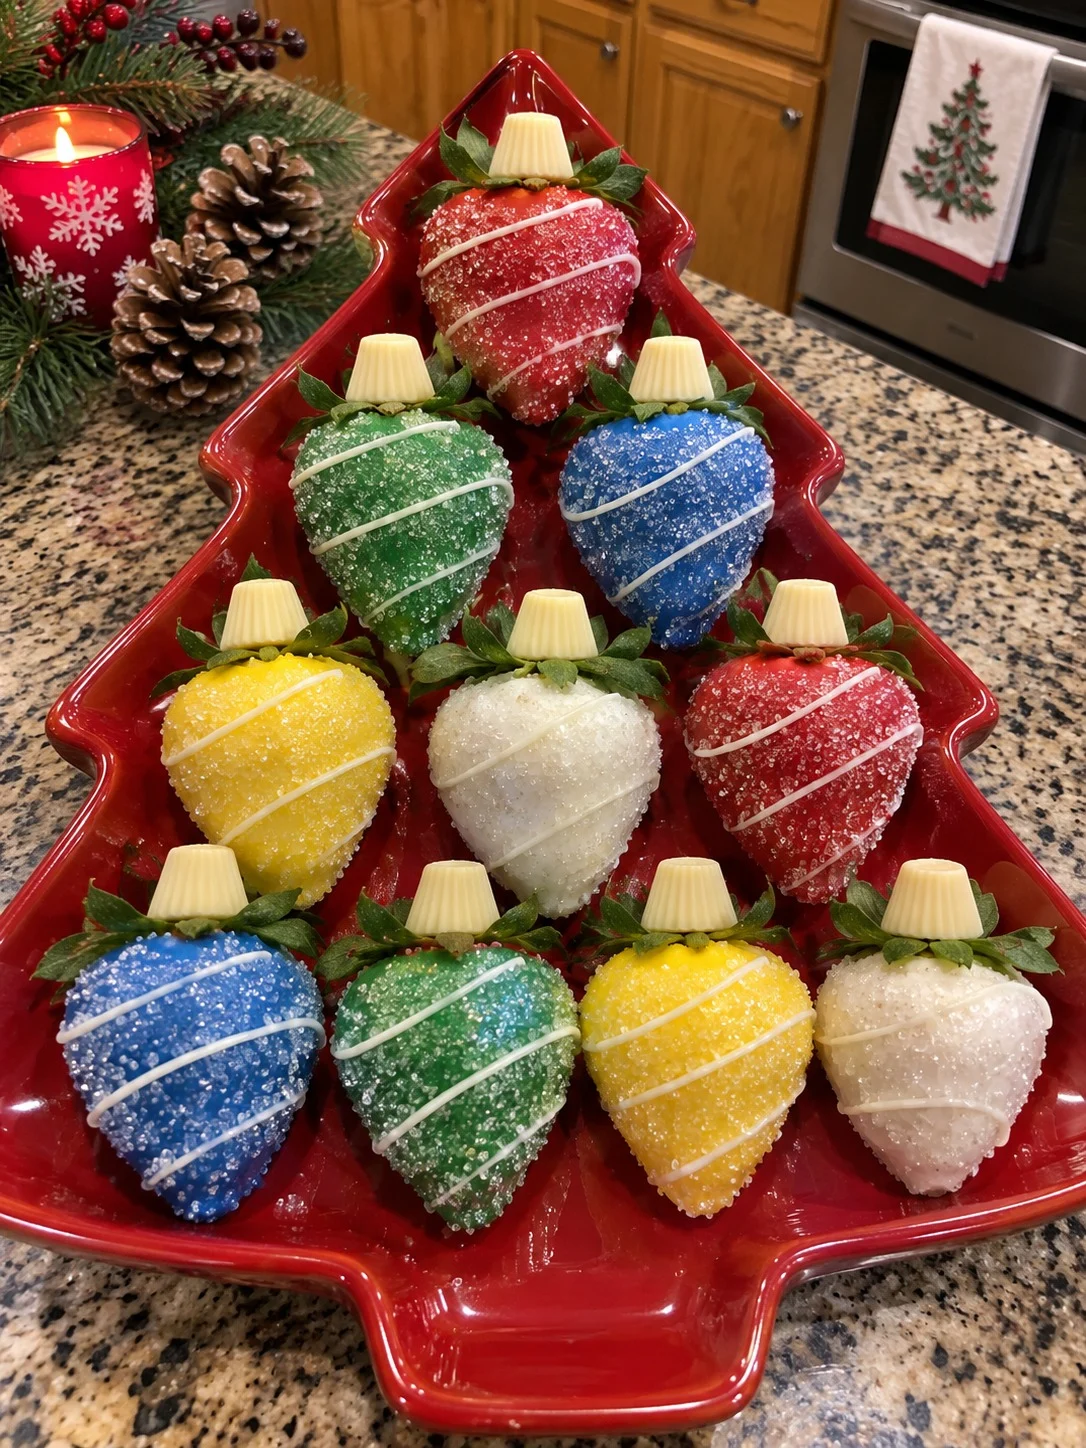
Arrange the ornaments on a holiday platter or dessert tray, keeping them chilled until guests are ready. Greenery around the edges of the platter makes a festive presentation.
In The Fridge
Store the ornaments in a single layer in an airtight container lined with parchment, and keep them chilled for up to 2 days. Serve them cold from the fridge.
In The Freezer
Freezing is not recommended. The strawberries release water as they thaw, and the coating can turn dull and sticky.
Frequently Asked Questions
Can you make these ahead?
Yes. Make them up to 2 days ahead and keep them chilled in a single layer in an airtight container. Add the piped lines and peanut butter cups as directed in the method for the cleanest look.
Can I use white chocolate chips instead of candy melts?
You can, but chips often thicken and can be harder to thin for dipping. Candy melts give a smoother, more reliable coating for these ornaments.
How do I know when the coating is set?
The coating is set when it looks matte and feels firm when lightly touched. If it still looks wet or shiny, give it more time before adding the peanut butter cups.
More Recipes You’ll Love
- Christmas Tree Chocolate Cookie Dirt Cups
- Festive Blueberry Lace Cupcakes
- Crispy Coral Tuiles Recipe
- Red Christmas Cornflake Wreath Cookies
Enjoy making these with your family and friends. Follow Hailee Recipes on Pinterest.

Colorful Christmas Strawberry Ornaments with White Chocolate
Ingredients
Method
- Rinse the strawberries and dry completely. Remove the leafy tops without hollowing out the fruit. Line a tray with parchment paper.
- Melt the 1 cup white chocolate or white candy melts and each color of candy melts separately in short microwave bursts, stirring often. Divide the 1 cup of melted white coating evenly among the four bowls, about 1/4 cup each, and stir each until smooth.
- Dip each dry strawberry into a colored coating and let excess drip off. Sprinkle with white sanding sugar while wet. Place on parchment and let the coating set until matte and firm.
- Attach a mini white chocolate peanut butter cup to each strawberry with the melted white chocolate and let set. Pipe decorative white chocolate lines on the platter, arrange the ornaments, and let set fully. Refrigerate until serving.
1 comment