Snack Bag Recipes You’ll Actually Make | Hailee Nova
Snack Bag Recipes You'll Actually Make | Hailee Nova
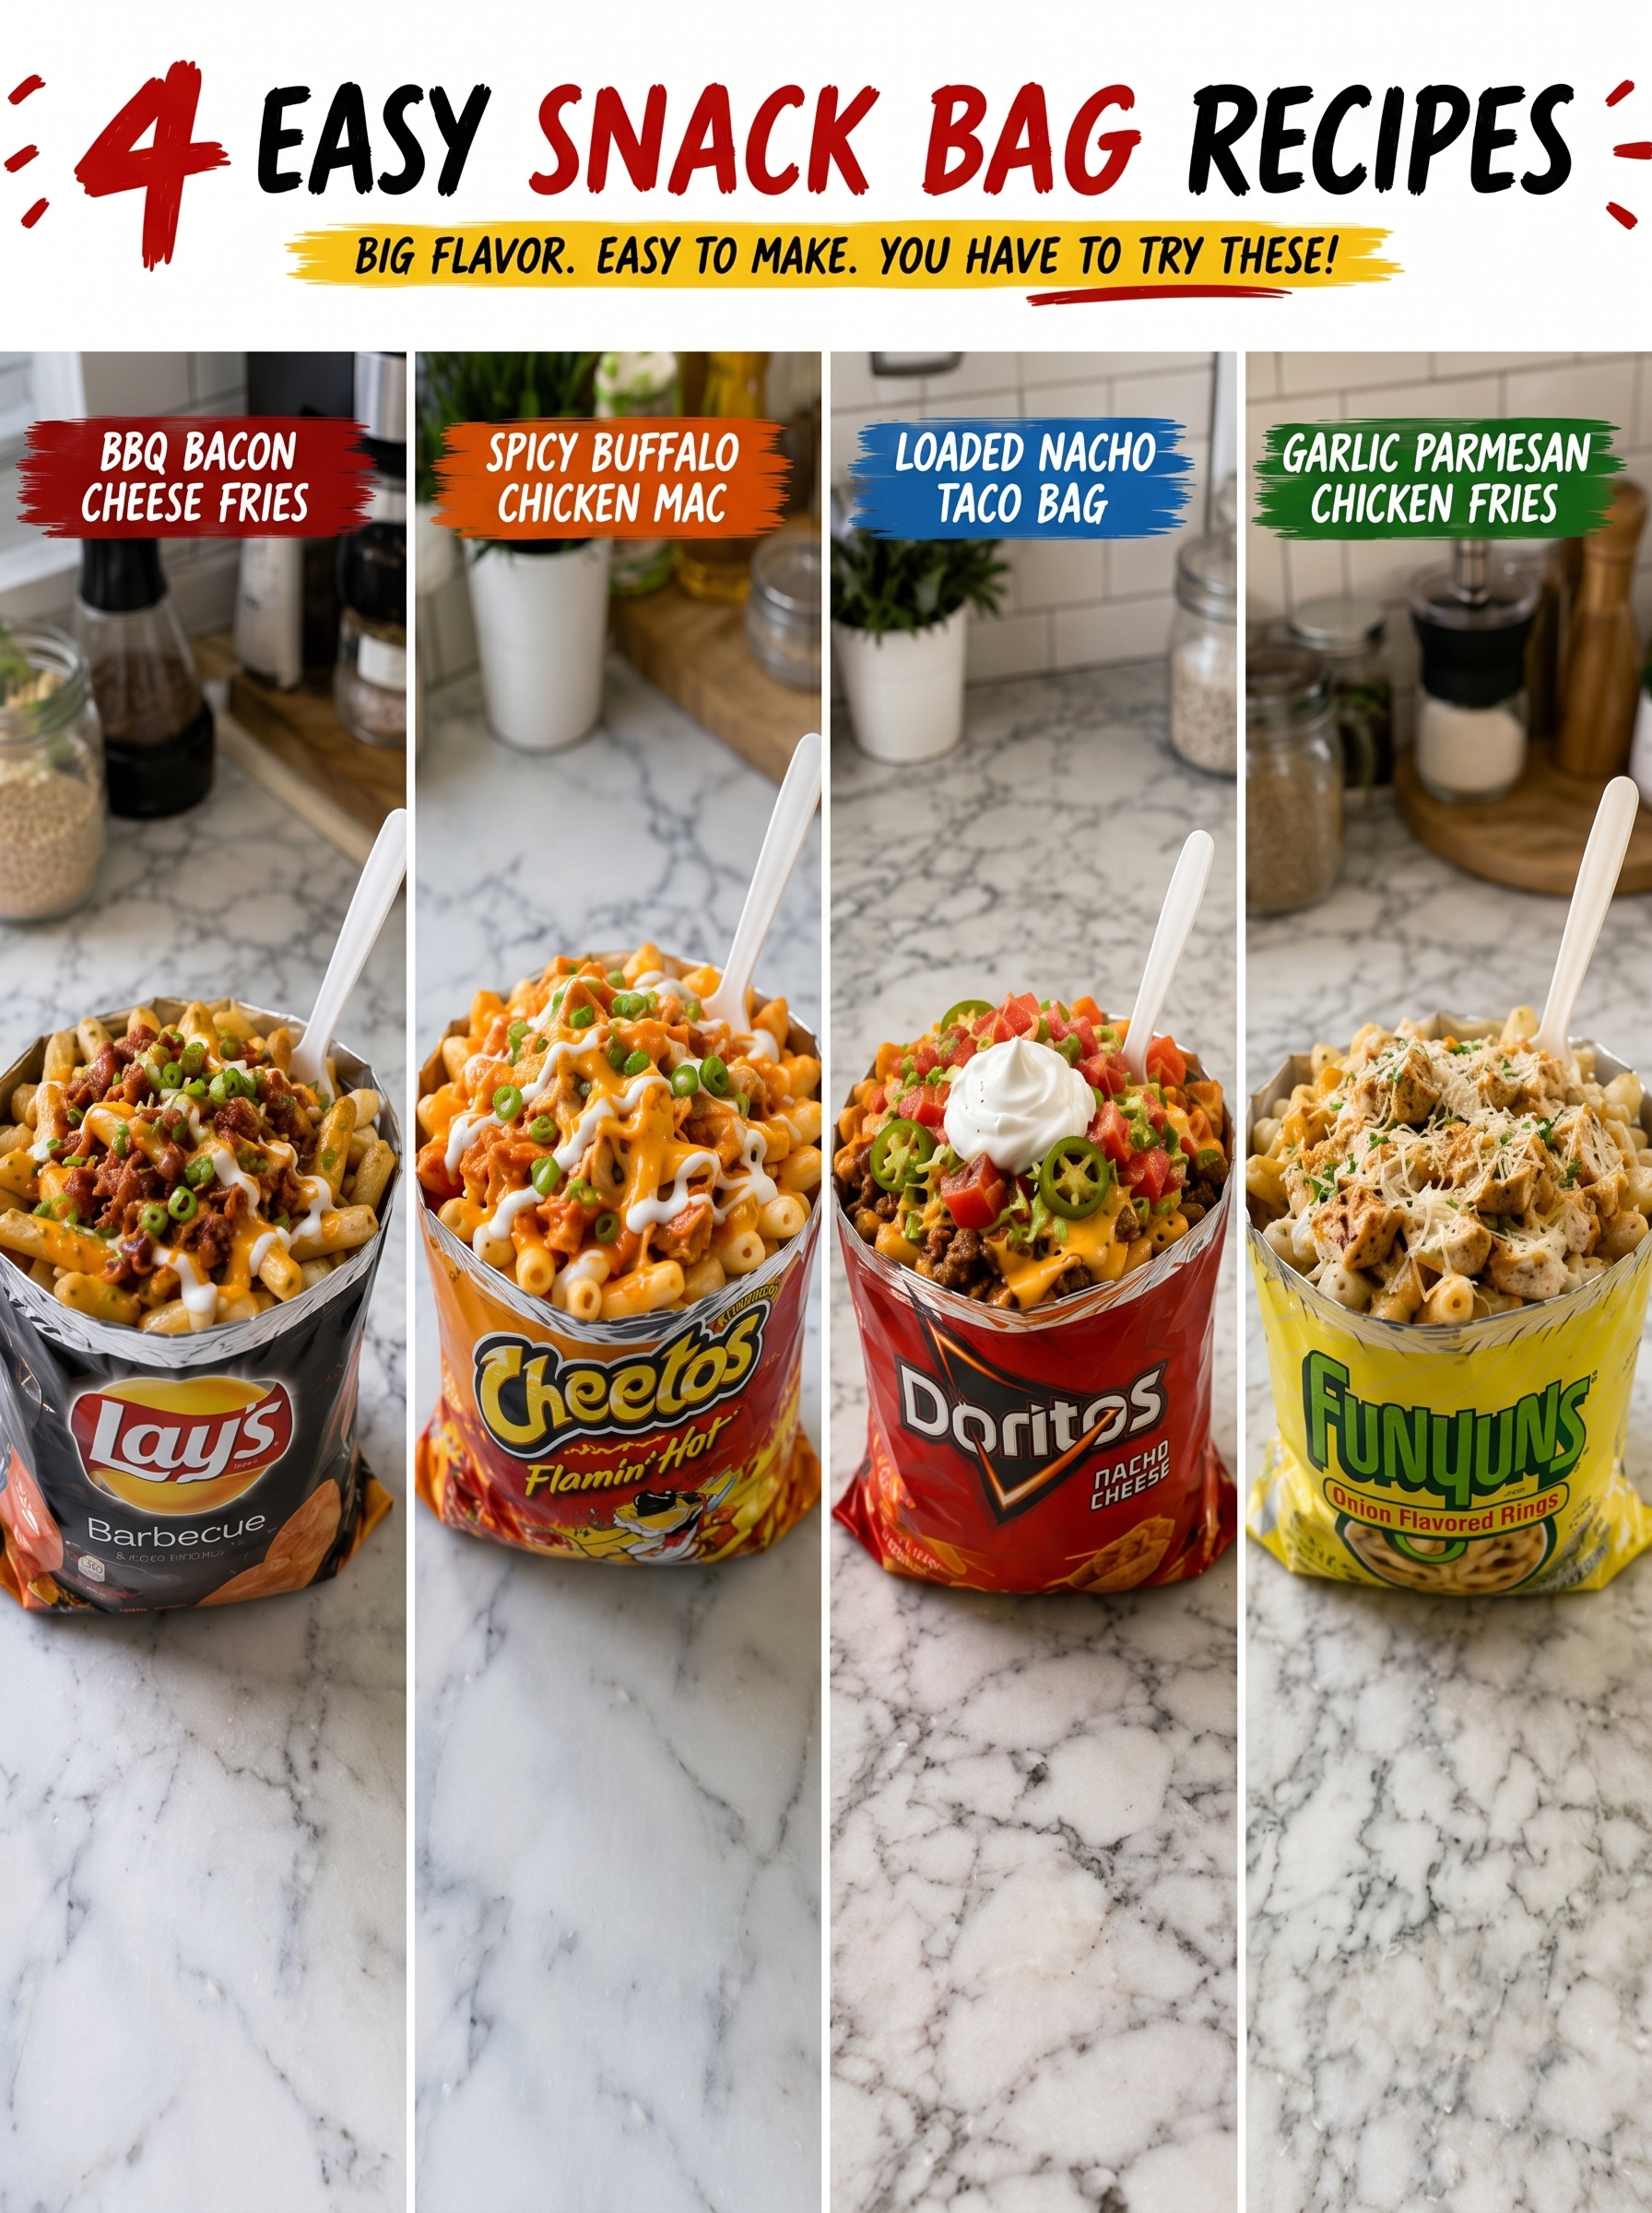
If you’re like me, you’re always looking for ways to make snacking more exciting and satisfying. These 4 easy snack bag recipes are total game-changers when you want something hearty that actually fills you up. Whether you’re meal prepping for the week, feeding a crowd, or just craving something indulgent, these recipes prove that snack time doesn’t have to mean boring chips or plain popcorn.
What I love most about these recipes is how versatile they are. You’ve got BBQ Bacon Cheese Fries for the classic comfort lover, Spicy Buffalo Chicken Mac for anyone who wants a little heat, Loaded Nacho Taco Bag for the ultimate handheld situation, and Garlic Parmesan Chicken Fries for when you want something a bit more elevated. Each one is designed to be made ahead, packed in a bag, and ready to grab whenever hunger strikes.
I’m so excited to share these with you because they’re the kind of recipes I keep coming back to again and again. They’re simple enough that you won’t stress in the kitchen, but flavorful enough that you’ll actually want to save them. If you love easy, delicious recipes like these, Follow me on HaileeRecipes on Pinterest for more ideas that fit into your real life.
1. BBQ Bacon Cheese Fries
BBQ Bacon Cheese Fries are the ultimate savory snack that combines crispy fried potatoes with smoky bacon, melted cheese, and tangy BBQ sauce. This flavor-packed treat delivers the perfect balance of textures—crunchy fries, crispy bacon bits, and gooey cheese—making it ideal for parties, game day, or whenever you need an indulgent handheld snack. These fries work beautifully in snack bags because they stay relatively contained and travel well when properly packaged. They’re satisfying enough to curb serious cravings while being fun and casual enough for any casual gathering.
Why You’ll Love It
- Combines three beloved flavors—bacon, cheese, and BBQ—in one addictive snack.
- Easy to customize with your favorite toppings and cheese varieties.
- Can be made ahead and reheated, perfect for meal prep or entertaining.
Ingredients
- 2 pounds russet potatoes
- Oil for frying
- 8 slices bacon, cooked and crumbled
- 1 1/2 cups shredded cheddar cheese
- 1/2 cup BBQ sauce
- 2 tablespoons ranch seasoning mix
- Salt and pepper to taste
- 2 tablespoons fresh chives, chopped
How To Make It
- Cut potatoes into fries approximately 1/4-inch thick and soak them in cold water for at least 30 minutes to remove excess starch.
- Heat oil to 350°F in a large pot or deep fryer. Pat potatoes dry thoroughly with paper towels.
- Fry potatoes in batches for 5-7 minutes until golden and crispy, then transfer to a paper towel-lined plate to drain.
- While fries are still warm, toss them in a large bowl with salt, pepper, and ranch seasoning mix.
- Spread fries on a baking sheet and top with shredded cheddar cheese, then broil for 2-3 minutes until cheese melts completely.
- Drizzle melted BBQ sauce over the cheesy fries and sprinkle crumbled bacon and fresh chives on top.
- Allow to cool for 2-3 minutes before transferring to snack bags for serving.
Variations And Substitutions
Swap cheddar for pepper jack cheese for extra heat, or use a mix of cheddar and mozzarella for creamier results. Replace BBQ sauce with buffalo sauce for a spicy kick, or try a honey mustard drizzle for a sweeter profile. Vegetarians can omit bacon and add crispy fried onions or roasted chickpeas for crunch instead. You can also experiment with different cheese blends like Gruyere or smoked gouda for elevated flavor.
Make-Ahead, Storage, And Serving Tips
Fries can be cut and soaked up to 8 hours ahead. Cook bacon the night before and store in the refrigerator. Assemble the fries up to 2 hours before serving; store uncovered at room temperature to keep them crispy. For best results, add cheese and toppings just before serving to prevent sogginess. Leftover fries can be refrigerated in an airtight container for up to 2 days and reheated in a 375°F oven for 5 minutes. Pack in snack bags with parchment paper between layers to prevent sticking and maintain crispness during transport.
2. Spicy Buffalo Chicken Mac
Spicy Buffalo Chicken Mac combines creamy, cheesy pasta with tangy buffalo sauce and shredded chicken for a bold, satisfying snack that tastes like buffalo wings in every bite. The heat from hot sauce balances beautifully with cool ranch dressing and melty cheese, creating layers of flavor that keep you reaching back into the bag. This recipe works perfectly for game day gatherings, office snacking, or whenever you crave something with serious kick. The crispy fried onions on top add textural contrast that makes each handful addictive, and the individual portions make it ideal for packing and sharing.
Why You’ll Love It
- Bold buffalo flavor with creamy cheese creates an irresistible snack that’s more interesting than plain chips.
- Made with cooked chicken and pasta, it’s a protein-packed option that keeps you satisfied between meals.
- Naturally portable in snack bags and perfect for meal prep since it holds up well for several days.
Ingredients
- 2 cups cooked elbow macaroni, cooled
- 1 1/2 cups shredded cooked chicken breast
- 3/4 cup buffalo sauce
- 1/2 cup ranch dressing
- 1 cup shredded sharp cheddar cheese
- 1/2 cup crispy fried onions
- 1/4 cup blue cheese crumbles
- 2 tablespoons fresh chives, chopped
How To Make It
- Cook elbow macaroni according to package directions, then drain and rinse with cold water until completely cooled.
- In a large mixing bowl, combine the cooled pasta with shredded chicken, stirring gently to combine.
- Pour buffalo sauce and ranch dressing over the pasta mixture, tossing thoroughly until every piece is evenly coated.
- Fold in the shredded cheddar cheese and blue cheese crumbles, mixing until the cheese is distributed throughout.
- Stir in the crispy fried onions, reserving about 2 tablespoons for topping if you prefer extra crunch.
- Taste and adjust heat level by adding more buffalo sauce or cooling it down with additional ranch if needed.
- Divide the mixture into individual snack bags or airtight containers, then sprinkle reserved fried onions and fresh chives on top just before serving.
Variations And Substitutions
Swap the chicken with shredded rotisserie chicken for faster prep, or use turkey for a leaner option. Replace elbow macaroni with small pasta shapes like ditalini or small shells for different texture. For less heat, reduce the buffalo sauce and increase ranch dressing, or use milder wing sauce. Add diced celery or blue cheese-stuffed olives for extra crunch and authentic buffalo wing flavors. Those avoiding dairy can use dairy-free cheese and ranch alternatives while maintaining the same bold taste profile.
Make-Ahead, Storage, And Serving Tips
Prepare this recipe up to three days in advance and store in airtight containers in the refrigerator. Keep the fried onions and chives separate until serving to maintain maximum crispness. For best texture, add the onion topping just before eating rather than mixing it in early. Pack snack bags in insulated lunch containers with an ice pack if transporting for more than a few hours. If the mixture seems dry after a day or two, stir in a tablespoon of additional ranch dressing to refresh the coating before serving.
3. Loaded Nacho Taco Bag
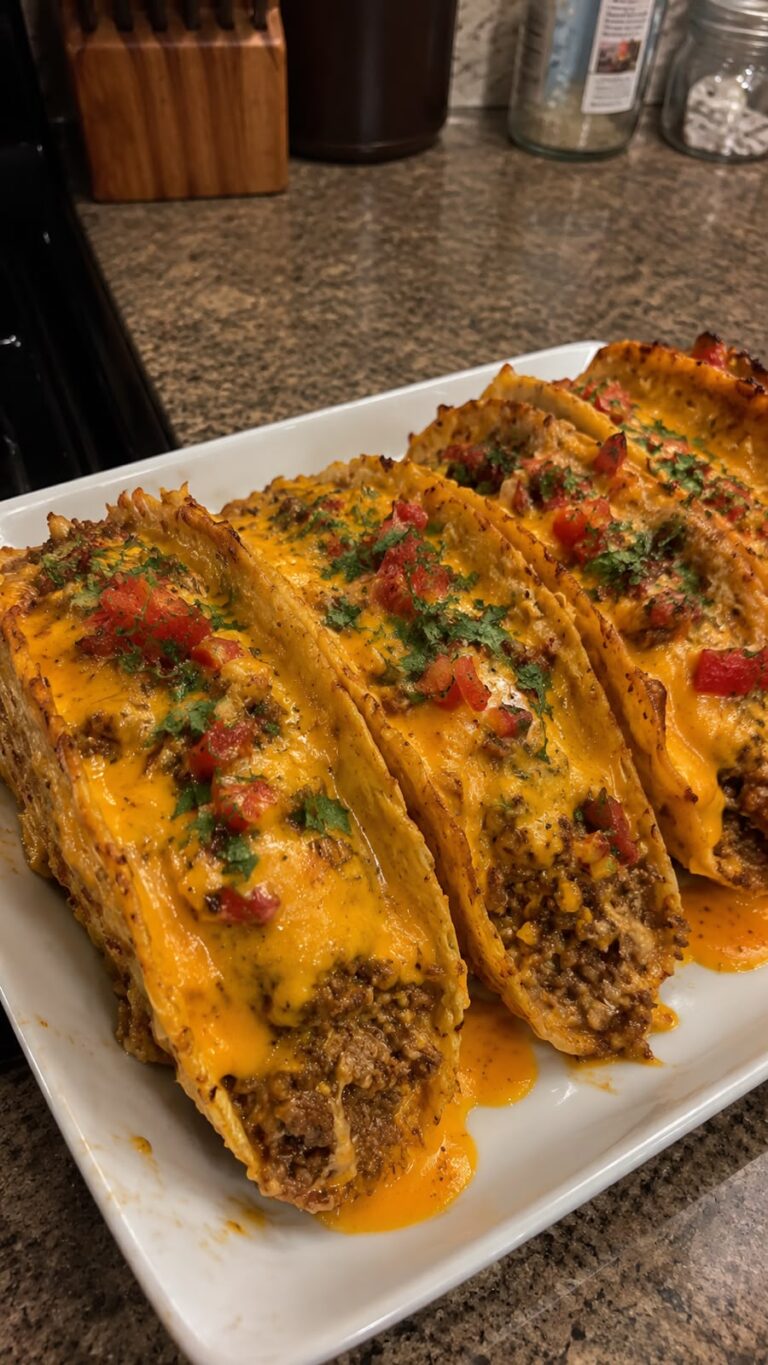
This loaded nacho taco bag combines all your favorite taco and nacho flavors into one portable, shareable snack. Crispy tortilla chips are layered with seasoned ground beef, melted cheese, jalapeños, and all the classic toppings, creating a perfect balance of crunchy, savory, and zesty flavors. It’s ideal for game day, parties, or casual snacking when you want something more substantial than plain chips. The beauty of this recipe is that everything stays contained in the bag, making it mess-free and perfect for eating on the go or sharing straight from the package.
Why You’ll Love It
- All the flavors of loaded nachos and tacos combined in one convenient snack bag.
- Quick to assemble and requires minimal cleanup since you serve it right in the bag.
- Highly customizable with your favorite toppings and proteins.
Ingredients
- 1 large bag tortilla chips (about 10 ounces)
- 1 pound ground beef
- 2 tablespoons taco seasoning
- 1 cup shredded cheddar cheese
- 1/2 cup diced jalapeños
- 1/2 cup diced tomatoes
- 1/4 cup sliced black olives
- 1/4 cup sour cream
- 2 tablespoons fresh cilantro, chopped
- Lime wedges for serving
How To Make It
- Brown the ground beef in a large skillet over medium-high heat, breaking it into small pieces as it cooks, about 5-7 minutes. Drain excess fat if needed.
- Add taco seasoning to the cooked beef along with 1/4 cup water, stirring well to coat. Simmer for 2 minutes until the sauce thickens slightly. Set aside to cool for 5 minutes.
- Open your bag of tortilla chips and crush them slightly to break up larger pieces, creating a more even base.
- Layer the seasoned ground beef evenly over the chips in the bag, distributing it throughout.
- Sprinkle shredded cheddar cheese over the beef, then add the diced jalapeños, tomatoes, and black olives.
- Drizzle sour cream in a zigzag pattern across the top and garnish with fresh cilantro.
- Close the bag gently and shake it a few times to mix the ingredients together while keeping everything in the bag.
- Serve immediately with lime wedges on the side for squeezing over the top.
Variations And Substitutions
Swap ground beef for shredded chicken, ground turkey, or crumbled chorizo for different protein options. Replace cheddar with pepper jack or Mexican blend cheese for extra flavor. Add corn, black beans, or diced avocado for more texture and nutrition. For a vegetarian version, use seasoned black beans or lentils instead of meat. You can also substitute sour cream with Greek yogurt or drizzle with salsa and guacamole instead.
Make-Ahead, Storage, And Serving Tips
Cook the seasoned ground beef up to 2 days ahead and store it in an airtight container in the refrigerator. Assemble the bag just before serving to keep the chips crispy, as wet ingredients will soften them over time. If you need to prepare it earlier, keep the wet ingredients like sour cream, tomatoes, and jalapeños in a separate container and add them right before serving. This snack is best enjoyed immediately after assembly while the chips are still crunchy. For parties, consider setting up a DIY station where guests can customize their own bags.
4. Garlic Parmesan Chicken Fries
Crispy on the outside and tender on the inside, these Garlic Parmesan Chicken Fries deliver restaurant-quality flavor in a convenient snack bag format. The combination of garlic powder, Italian seasoning, and freshly grated Parmesan creates an irresistible savory coating that clings to every bite. These fries work perfectly for lunch boxes, afternoon snacking, or as a crowd-pleasing appetizer for gatherings. They’re quick to prepare, require minimal ingredients, and taste just as good at room temperature as they do fresh from the oven, making them ideal for portable snacking.
Why You’ll Love It
- Ready in under 30 minutes with minimal prep work required.
- Naturally gluten-free when using cornstarch instead of flour for coating.
- Stays crispy for hours, making it perfect for meal prep and snack bags.
Ingredients
- 1.5 pounds boneless, skinless chicken breasts
- 1/2 cup all-purpose flour
- 1/2 cup grated Parmesan cheese
- 2 teaspoons garlic powder
- 1 teaspoon Italian seasoning
- 1/2 teaspoon salt
- 1/4 teaspoon black pepper
- 2 tablespoons olive oil
- 2 tablespoons butter, melted
How To Make It
- Preheat your oven to 400 degrees Fahrenheit and line a baking sheet with parchment paper.
- Pat the chicken breasts dry with paper towels, then cut them lengthwise into fry-shaped strips about half an inch thick.
- In a shallow bowl, combine flour, Parmesan cheese, garlic powder, Italian seasoning, salt, and black pepper.
- Mix olive oil and melted butter together in another shallow bowl, then dip each chicken strip into the oil mixture.
- Roll the oiled chicken strips in the Parmesan mixture, pressing gently so the coating adheres well.
- Arrange the coated strips on the prepared baking sheet in a single layer without overlapping.
- Bake for 15 to 18 minutes until the coating is golden brown and the chicken reaches an internal temperature of 165 degrees Fahrenheit.
- Cool for 5 minutes on the baking sheet before transferring to a serving plate or storage container.
Variations And Substitutions
For extra crunch, add panko breadcrumbs to the flour mixture using a one-to-one ratio. Swap half the Parmesan for grated Romano cheese for a sharper flavor. Add cayenne pepper or red pepper flakes for heat, or mix in fresh minced herbs like parsley or basil. For a lighter option, use Greek yogurt instead of the oil and butter mixture as your binding agent.
Make-Ahead, Storage, And Serving Tips
Prepare the chicken strips and coating mixture up to 8 hours ahead, then bake just before serving. Store cooled fries in an airtight container in the refrigerator for up to 4 days. Reheat in a 350-degree oven for 5 minutes to restore crispness, or eat them cold straight from the fridge. For snack bags, pack them with a small container of ranch dip, marinara sauce, or garlic aioli for dipping.
Final Thoughts
Making your own snack bags is easier than you might think, and the rewards are totally worth it. Whether you’re looking for something sweet, savory, protein-packed, or guilt-free, these four recipes give you plenty of options to keep your pantry stocked with grab-and-go goodness. The best part? You control exactly what goes into each bag, so you know exactly what you’re snacking on.
Pick one recipe that sounds most appealing to you and give it a try this week. Once you master the basics, you’ll find yourself experimenting with your own flavor combinations and customizations. Your future self will thank you for having these convenient snacks ready whenever hunger strikes.
BBQ Bacon Cheese Fries
Ingredients
Method
- Preheat oven to 400°F. Cut potatoes into 1/4-inch thick fries and toss with garlic powder, salt, and pepper.
- Spread fries on a baking sheet and bake for 25-30 minutes until golden and crispy, stirring halfway through.
- While fries cook, fry bacon strips in a skillet over medium-high heat until crispy, about 8-10 minutes. Drain on paper towels and chop into bite-sized pieces.
- Remove fries from oven and transfer to a serving platter or baking dish.
- Sprinkle chopped bacon over the hot fries, then top with shredded cheddar cheese.
- Return to oven for 2-3 minutes until cheese melts.
- Drizzle BBQ sauce over the top and garnish with fresh chives and a dollop of sour cream.