Homemade Chocolate Crunch Bars Recipe
Homemade Chocolate Crunch Bars Recipe
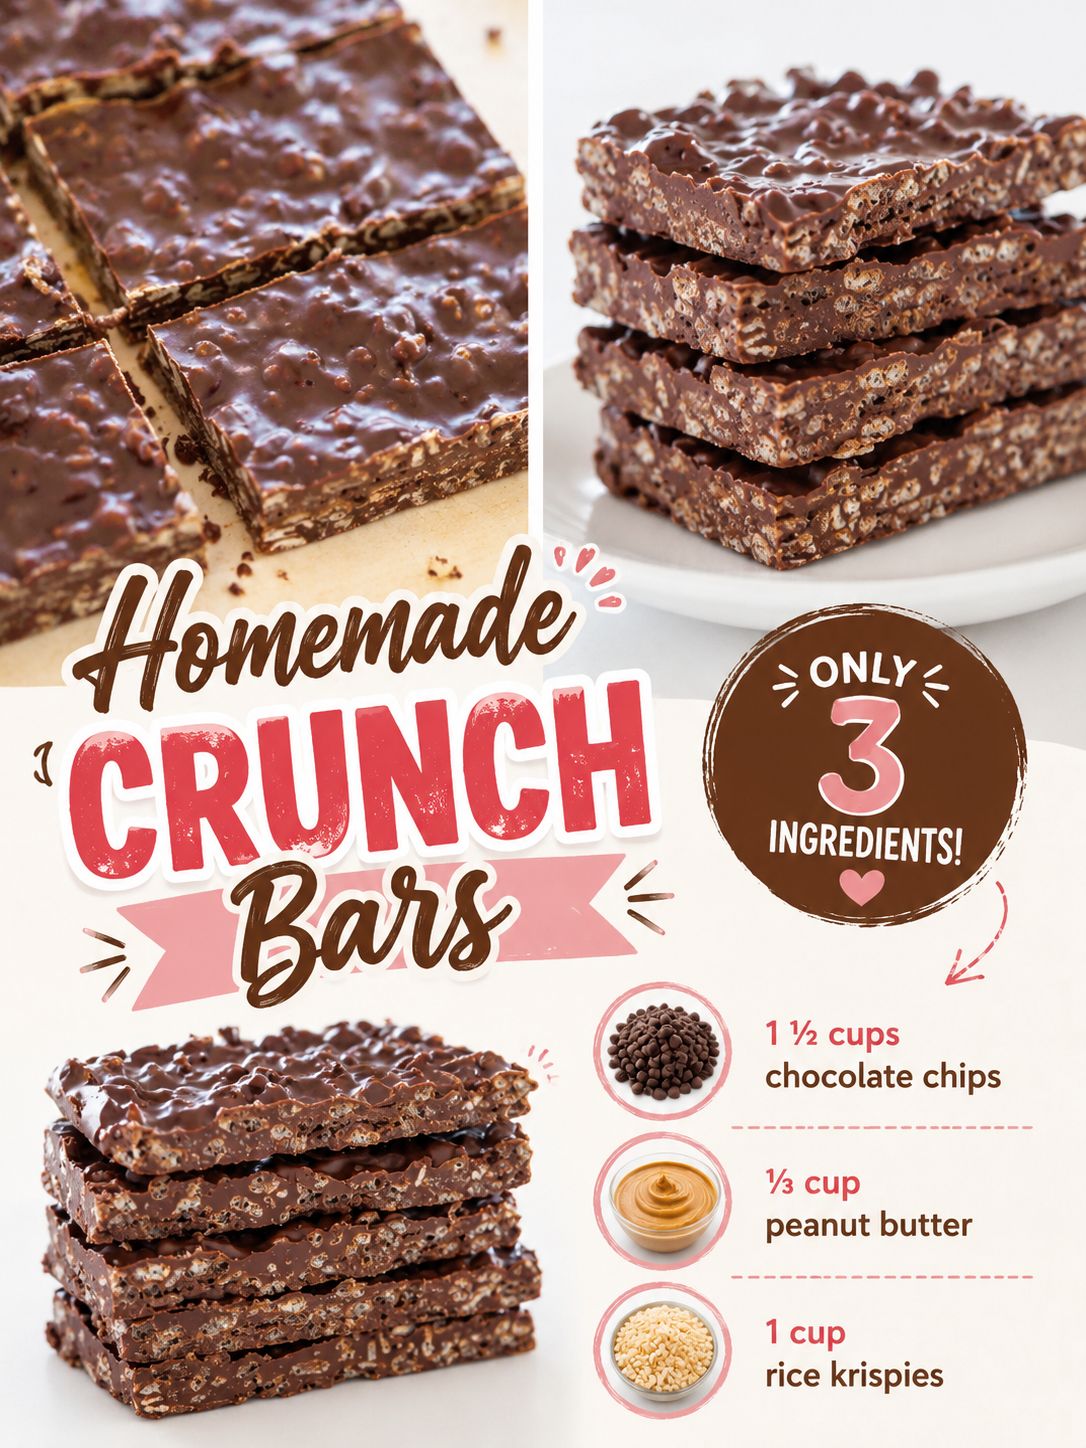
I absolutely love making homemade chocolate crunch bars at home, and I’m so excited to share my favorite recipe with you today. There’s something magical about that combination of rich chocolate and crispy, crunchy texture that just keeps you coming back for more. These bars are the kind of treat that disappear way too quickly from the kitchen counter, so I always make a double batch to keep everyone happy.
This roundup is here to help you create bakery-quality chocolate crunch bars without ever leaving your kitchen. The recipe I’m sharing is straightforward enough for beginners but impressive enough to serve at your next gathering. I’ve tested it countless times and tweaked it until it’s absolutely perfect, so you can skip the trial-and-error process and jump straight to delicious results.
These bars are definitely worth saving and making again and again. They’re perfect for lunchboxes, afternoon snacks, or when you need a homemade gift that people actually want to eat. If you love this recipe, Follow me on HaileeRecipes on Pinterest for more easy treats and kitchen inspiration that you can bookmark and come back to whenever the craving strikes.
1. Homemade Crunch Bars
These homemade crunch bars deliver the perfect combination of crispy, buttery layers with rich chocolate and a satisfying crunch that rivals any store-bought candy bar. With a simple graham cracker and butter base, a smooth chocolate middle layer, and a crunchy cereal topping, these bars offer incredible texture contrast and indulgent flavor. They’re ideal for lunchbox treats, party platters, or satisfying sweet cravings any time of day. What makes this recipe work is the balance of textures and the ease of assembly—no baking required, just layering and chilling.
Why You’ll Love It
- No-bake recipe that’s ready in under 30 minutes of active time plus chilling.
- Creates impressive homemade candy bars that taste better and cost less than store versions.
- Customizable with different cereals, nuts, or mix-ins to match your preferences.
Ingredients
- 2 cups crushed graham crackers
- 6 tablespoons butter, melted
- 3 tablespoons brown sugar
- 2 cups milk chocolate chips
- 1 tablespoon coconut oil or shortening
- 2 cups crispy rice cereal or similar crunch cereal
- 3 tablespoons butter for topping layer
- 1 cup additional cereal for pressing into chocolate
How To Make It
- Line an 8×8-inch baking pan with parchment paper, leaving some overhang for easy removal.
- Combine crushed graham crackers, 6 tablespoons melted butter, and brown sugar in a bowl, stirring until the mixture resembles wet sand.
- Press this mixture firmly into the bottom of the prepared pan, creating an even base layer.
- Melt chocolate chips with coconut oil in a microwave-safe bowl in 30-second intervals, stirring between each, until smooth and fully melted.
- Pour the melted chocolate over the graham cracker base and spread evenly to the edges.
- While chocolate is still warm, press the cereal firmly into the chocolate layer, covering the entire surface.
- Refrigerate for at least 2 hours until the chocolate is completely set and firm.
- Remove from pan using parchment paper overhang and cut into 12 to 16 bars with a sharp knife, wiping the blade between cuts for clean edges.
Variations And Substitutions
Swap milk chocolate for dark chocolate or white chocolate depending on preference. Replace rice cereal with crushed pretzels, cornflakes, or crispy nut clusters for different crunch profiles. Add a layer of peanut butter or caramel between the graham base and chocolate for extra flavor. For a salted version, sprinkle sea salt over the cereal topping before the chocolate sets. You can also mix chopped nuts, coconut flakes, or sprinkles into the cereal layer for added texture and visual appeal.
Make-Ahead, Storage, And Serving Tips
These bars can be made up to 5 days ahead and stored in an airtight container in the refrigerator. Keep them in a cool place, as warm temperatures will soften the chocolate. For longer storage, freeze the bars in a freezer-safe container for up to 3 weeks. Serve them chilled or at room temperature depending on your preference—chilled bars have firmer chocolate, while room temperature bars offer a slightly softer bite. If the chocolate cracks when cutting, use a hot, dry knife and wipe between each cut. These bars are best enjoyed within a few days of making for optimal freshness and crunch.
Final Thoughts
Homemade chocolate crunch bars are an absolute game-changer for anyone who loves the combination of rich chocolate and satisfying crunch. Whether you prefer the simplicity of a no-bake version or the indulgence of a baked option, these treats deliver impressive results with minimal fuss. The best part? You control exactly what goes into them, so you can adjust the sweetness, texture, and mix-ins to suit your personal taste.
If you’re new to making these bars, we recommend starting with whichever version speaks to you most. Don’t overthink it—pick one recipe, gather your ingredients, and give it a try this weekend. Once you taste your first homemade batch, you’ll understand why these bars are such a beloved treat, and you’ll likely find yourself making them again and again for family gatherings, potlucks, or simply because you deserve something delicious.
Homemade Crunch Bars
Ingredients
Method
- Line an 8x8 inch baking pan with parchment paper.
- In a large bowl, mix peanut butter and butter together until smooth.
- Stir in powdered sugar, vanilla extract, and salt until well combined.
- Fold in rice cereal gently until evenly coated.
- Press mixture firmly into prepared baking pan.
- In a microwave-safe bowl, melt chocolate chips with coconut oil in 30-second intervals, stirring between each, until smooth.
- Spread melted chocolate evenly over the peanut butter layer.
- Refrigerate for at least 2 hours until chocolate is set, then cut into 12 bars.