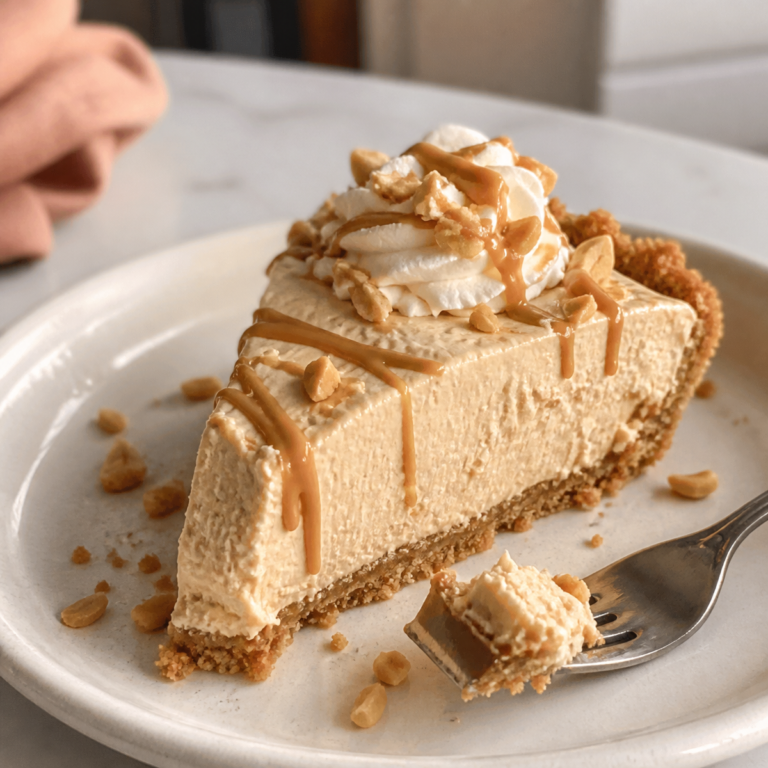
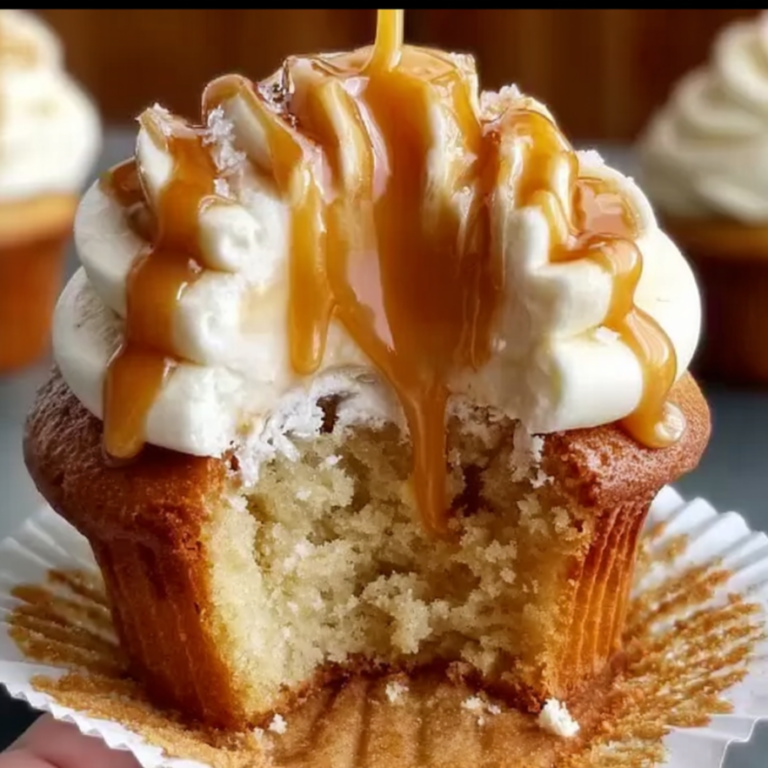
Banana Split with Caramel & Vanilla Pudding Recipe
Banana Split with Caramel & Vanilla Pudding Recipe
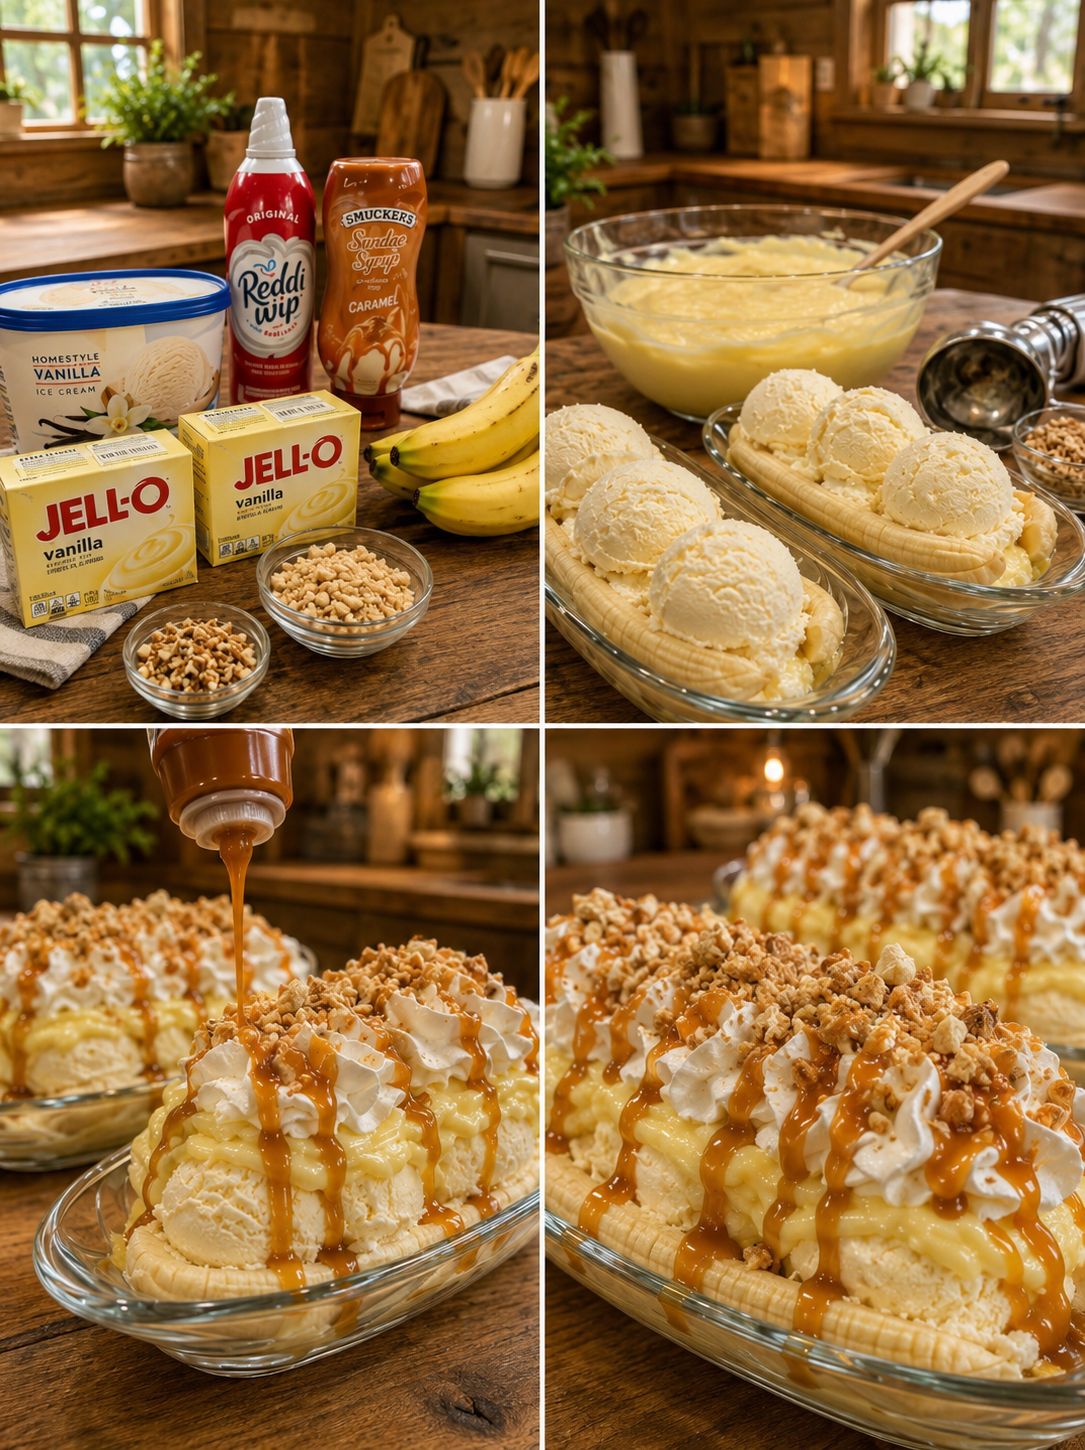
Banana Split with Caramel and Vanilla Pudding: A Nostalgic Dessert That Feels Like Home
I grew up in a house where my mom would make banana splits on Friday nights, and honestly, it was the highlight of my entire week. Not because they were fancy or complicated, but because they meant we were slowing down together. No screens, no rush. Just bowls, spoons, and the kind of conversation that only happens when you’re elbow-deep in whipped cream and caramel sauce.
Years later, I still crave that feeling. But I wanted to level it up just a bit. So I started playing around with homemade vanilla pudding instead of ice cream alone, added a silky caramel sauce I could actually control, and suddenly I had something that felt both deeply nostalgic and genuinely special. This banana split with caramel and vanilla pudding is that exact recipe.
Here’s what makes it work: the pudding is rich and creamy without being heavy, the caramel has actual depth (not that artificial syrup taste), and the whole thing comes together in about thirty minutes. It’s the kind of dessert that impresses people without making you feel like you’ve spent all day in the kitchen. Whether you’re feeding yourself on a Tuesday night or serving it at a dinner party, this one delivers.
If you’re looking for more cozy dessert inspiration, follow me on HaileeRecipes on Pinterest where I share all my favorite comfort food recipes and kitchen adventures.
Why You’ll Love This Recipe
Let me be honest with you: a banana split doesn’t need to be complicated to be delicious. But when you make your own pudding and caramel, something shifts. The flavors become more intentional. More yours.
- The pudding is silky, not starchy. I use a technique that keeps it smooth and luxurious without that weird cornstarch texture you sometimes get. It actually tastes like vanilla, not like the back of a box.
- The caramel is real. It’s made from butter, brown sugar, and cream. No corn syrup, no artificial anything. You can taste the difference.
- It comes together fast. You’re not standing over a stove for hours. The pudding chills while you prep the rest, and the caramel takes maybe five minutes.
- It’s flexible. Want to add chocolate? Go for it. Prefer your bananas grilled? I’ll show you how. This recipe is a starting point, not a rigid set of rules.
- It feels special without being fussy. This is the sweet spot I always look for in my kitchen. Impressive enough to serve guests, easy enough for a Tuesday night.
Ingredients
For the Vanilla Pudding:
- 2 cups whole milk
- 1 cup heavy cream
- 1 vanilla bean (or 1 teaspoon vanilla extract)
- 4 egg yolks
- 1/4 cup granulated sugar
- 3 tablespoons cornstarch
- 1/4 teaspoon sea salt
- 2 tablespoons butter
For the Caramel Sauce:
- 6 tablespoons butter
- 3/4 cup packed brown sugar
- 1/4 cup heavy cream
- 1/4 teaspoon sea salt
- 1/2 teaspoon vanilla extract
For Assembly:
- 3 ripe but firm bananas
- 1/4 cup roasted peanuts (or nuts of your choice), roughly chopped
- Whipped cream (homemade or quality store-bought)
- 2 maraschino cherries (optional, but I kind of love them)
- Chocolate shavings or cocoa powder (optional)
Hailee’s Tip: If you’re nervous about making pudding from scratch, don’t be. The technique is actually pretty forgiving. The key is whisking constantly and not letting it boil. I’ve made this pudding dozens of times, and I promise it gets easier each time.
Hailee’s Tip: For the vanilla bean, you have options. If you can find a fresh vanilla bean, split it and scrape out the seeds—it’s worth it. But honestly, a good vanilla extract works beautifully too. I use both depending on what I have on hand.
Optional Add-Ins and Variations
This is where you get to have fun. The base recipe is solid, but here are some ways I like to play with it:
- Chocolate lovers: Add a layer of chocolate pudding between the vanilla and the banana. Or drizzle melted chocolate over the top.
- Boozy version: Stir a tablespoon of rum or bourbon into the caramel sauce. Just a little bit adds so much warmth.
- Tropical twist: Skip the peanuts and add toasted coconut flakes instead. Use a tropical fruit like mango or pineapple alongside the banana.
- Grilled banana: Slice the bananas lengthwise and quickly grill them with a little butter and brown sugar. The caramelization is incredible.
- Lighter version: Use Greek yogurt mixed with a little whipped cream instead of the full pudding. It’s tangier and less rich, but still creamy.
Step-by-Step Method
Making the Vanilla Pudding
Step 1: Heat your milk and cream. Pour the milk and heavy cream into a medium saucepan. If you’re using a vanilla bean, split it lengthwise and scrape the seeds into the milk. Add the pod too—it’ll infuse more flavor. Heat over medium until it’s steaming and just starting to bubble around the edges. This takes about 5 minutes. Don’t let it boil hard, or you’ll lose that delicate vanilla flavor.
Hailee’s Moment: The first time I made this, I got distracted and let it boil over. Milk everywhere. Lesson learned: stay nearby and keep an eye on it.
Step 2: Whisk your yolks and sugar. While the milk heats, put your egg yolks in a bowl with the granulated sugar. Whisk them together until they’re pale and a little fluffy. This takes about 2 minutes of steady whisking. You’re basically incorporating air, which helps the pudding stay smooth.
Step 3: Make your slurry. In a small bowl, whisk together the cornstarch and salt. Add a splash of cold milk (about 2 tablespoons) and stir until you have a smooth paste. This is your slurry, and it prevents lumps. Trust me on this step.
Step 4: Temper the eggs. This sounds fancy, but it’s just preventing scrambled eggs. Slowly pour the hot milk into your egg mixture while whisking constantly. I mean constantly—don’t stop. Once you’ve added about half the milk and the mixture is warm, you can pour it back into the saucepan with the remaining milk while still whisking.
Step 5: Cook the pudding. Now add your slurry to the saucepan and whisk everything together over medium heat. Keep whisking. The pudding will start out thin, then gradually thicken. You’re looking for it to coat the back of a spoon—when you run your finger across the spoon, it should leave a trail. This takes about 5 to 8 minutes.
Step 6: Strain and finish. Pour the pudding through a fine-mesh strainer into a bowl. This catches any tiny bits of cooked egg or vanilla pod. Stir in the butter and vanilla extract (if you used one). Let it cool for about 10 minutes, then press plastic wrap directly onto the surface to prevent a skin from forming. Chill for at least 2 hours, or until you’re ready to assemble.
Making the Caramel Sauce
Step 1: Melt and combine. In a small saucepan, melt the butter over medium heat. Add the brown sugar and stir constantly. You’re looking for it to bubble gently and smell amazing—like caramel, not burnt sugar. This takes about 3 minutes.
Step 2: Add the cream. Remove from heat and slowly pour in the cream while stirring. It’ll bubble up a bit, which is normal. Keep stirring until it’s smooth and combined.
Step 3: Season. Stir in the salt and vanilla extract. Taste it. Does it need more salt? More vanilla? This is your sauce—adjust it to your preference. Let it cool to room temperature before using. It’ll thicken slightly as it cools, which is perfect.
Assembling Your Banana Split
Step 1: Prep your bananas. Peel your bananas and slice them lengthwise into quarters. You’ll have four long pieces per banana. Arrange three pieces in a shallow bowl or banana split dish, creating a little nest.
Step 2: Add the pudding. Spoon a generous dollop of vanilla pudding into the center of the banana pieces. Don’t be shy here—this is where the magic happens.
Step 3: Drizzle the caramel. Pour some of that beautiful caramel sauce over the pudding. Let it cascade down a little. This is the part that makes people happy.
Step 4: Top it off. Add a generous dollop of whipped cream on top. Sprinkle with peanuts. If you want, add a cherry. A little cocoa powder or chocolate shaving never hurts either.
Step 5: Serve immediately. This is important. You want the pudding cold, the banana fresh, and the caramel still warm enough to be pourable. Grab a spoon and enjoy.
Common Mistakes to Avoid
Lumpy pudding: This almost always comes from not whisking enough or not using a slurry. Whisk constantly, and don’t skip the slurry step. If it does get lumpy, strain it through a fine-mesh sieve.
Pudding that’s too thin: You didn’t cook it long enough. Keep whisking over medium heat until it actually coats the back of a spoon. It should feel substantial, not watery.
Caramel that crystallizes: If your caramel seizes up or gets grainy, it usually means the sugar got too hot. Keep the heat at medium, not high. If it happens, you can sometimes save it by adding a splash of water and stirring gently over low heat.
Browning bananas: Cut your bananas as close to serving time as possible. If you cut them too early, they’ll oxidize and turn brown. If you need to prep ahead, toss them with a little lemon juice to slow the browning.
Watery caramel sauce: Make sure you remove the pan from heat before adding the cream. If you add it while the pan is still on heat, the temperature can drop too much and the sauce won’t set properly as it cools.
My Tested Substitutions
No eggs? You can make a cornstarch-based pudding without eggs. Use 4 tablespoons cornstarch mixed with 1/4 cup cold milk to make a slurry, then whisk it into the heated milk and cream. Cook and stir until thick. It won’t be quite as silky, but it’s still delicious.
Dairy-free pudding: Substitute the milk and cream with full-fat coconut milk or oat milk. The technique stays the same. Coconut milk will give you a slightly different flavor, but in a good way.
No fresh vanilla bean? Use 1.5 teaspoons of vanilla extract instead. Add it at the end, after you’ve strained the pudding.
Nut allergy? Skip the peanuts entirely, or swap them for toasted seeds like sunflower or pumpkin. Crushed pretzels add a nice salty crunch too.
Less sugar? You can reduce the sugar in both the pudding and caramel by about a quarter, but don’t go lower than that or the texture will suffer. The sugar isn’t just about sweetness—it’s structural.
How to Customize
Here’s the thing I love about this recipe: it’s genuinely customizable without falling apart. You’re not locked into one way of doing things.
Make it more indulgent: Use dark chocolate pudding alongside the vanilla. Add a scoop of vanilla ice cream. Drizzle with both caramel and chocolate sauce.
Make it lighter: Use Greek yogurt instead of pudding. Skip the whipped cream or use a lighter version. Use less caramel sauce.
Make it seasonal: In summer, add fresh berries. In fall, use grilled bananas and add a pinch of cinnamon. In winter, warm the caramel sauce and serve it hot.
Make it fancy: Plate it individually on a nice dish instead of a banana split boat. Add edible flowers. Use a vanilla bean for that speckled look. Serve with a small glass of dessert wine.
Serving Ideas
- Classic banana split style: Serve in a traditional banana split boat with all the toppings on the side so people can customize.
- Individual bowls: Layer everything in small bowls for a more elegant presentation. Great for dinner parties.
- Dessert bar: Set up a DIY station with the pudding, caramel, whipped cream, and toppings. Let guests build their own.
- Parfait style: Layer the pudding, banana slices, and caramel in a tall glass. Top with whipped cream and peanuts.
- With ice cream: Use the pudding as a topping for vanilla ice cream instead of the other way around.
Meal Prep and Storage
The pudding: Make this up to 3 days ahead. Store it in an airtight container in the fridge with plastic wrap pressed directly onto the surface. It keeps beautifully and actually tastes better after a day or two as the flavors meld.
The caramel sauce: Make this up to a week ahead. Store it in a jar in the fridge. It’ll thicken as it cools, but you can gently warm it before serving if you want it more pourable. It’s actually great cold too, drizzled over ice cream.
The bananas: Do not cut these ahead of time. Cut them as close to serving as possible, or toss them with a little lemon juice if you need to prep early.
The whipped cream: Make homemade whipped cream up to 4 hours ahead. Store it in the fridge. If it starts to separate, give it a gentle whisk before serving.
Full assembly: Don’t assemble the complete banana split more than 15 minutes before serving. The bananas will start to soften, and the pudding will warm up. But the individual components keep beautifully, so prep those ahead and assemble to order.
Nutritional Breakdown
Here’s what you’re looking at per serving (this recipe makes 2 generous servings):
- Calories: approximately 620
- Protein: 8g
- Carbohydrates: 72g
- Fat: 32g
- Fiber: 3g
Keep in mind that this varies depending on how generous you are with the toppings and caramel sauce. These numbers are based on the recipe as written with moderate portions of each component.
Final Thoughts
You know what I love about this banana split with caramel and vanilla pudding? It’s not trying to be something it’s not. It’s not some deconstructed, overly precious dessert. It’s just genuinely good food made with a little care and attention.
The pudding teaches you a technique you’ll use again and again. The caramel sauce is something you’ll find yourself making for everything from ice cream to apple pie. And the banana split itself? It’s a reminder that sometimes the most satisfying desserts are the ones that feel like home.
Make this for yourself on a quiet night. Make it for people you love. Make it when you need to slow down and remember that the best moments often happen over a bowl and a spoon.
I’d love to know how yours turns out. The