No-Bake Oreo Dessert with Pineapple and Peanut Topping
No-Bake Oreo Dessert with Pineapple and Peanut Topping
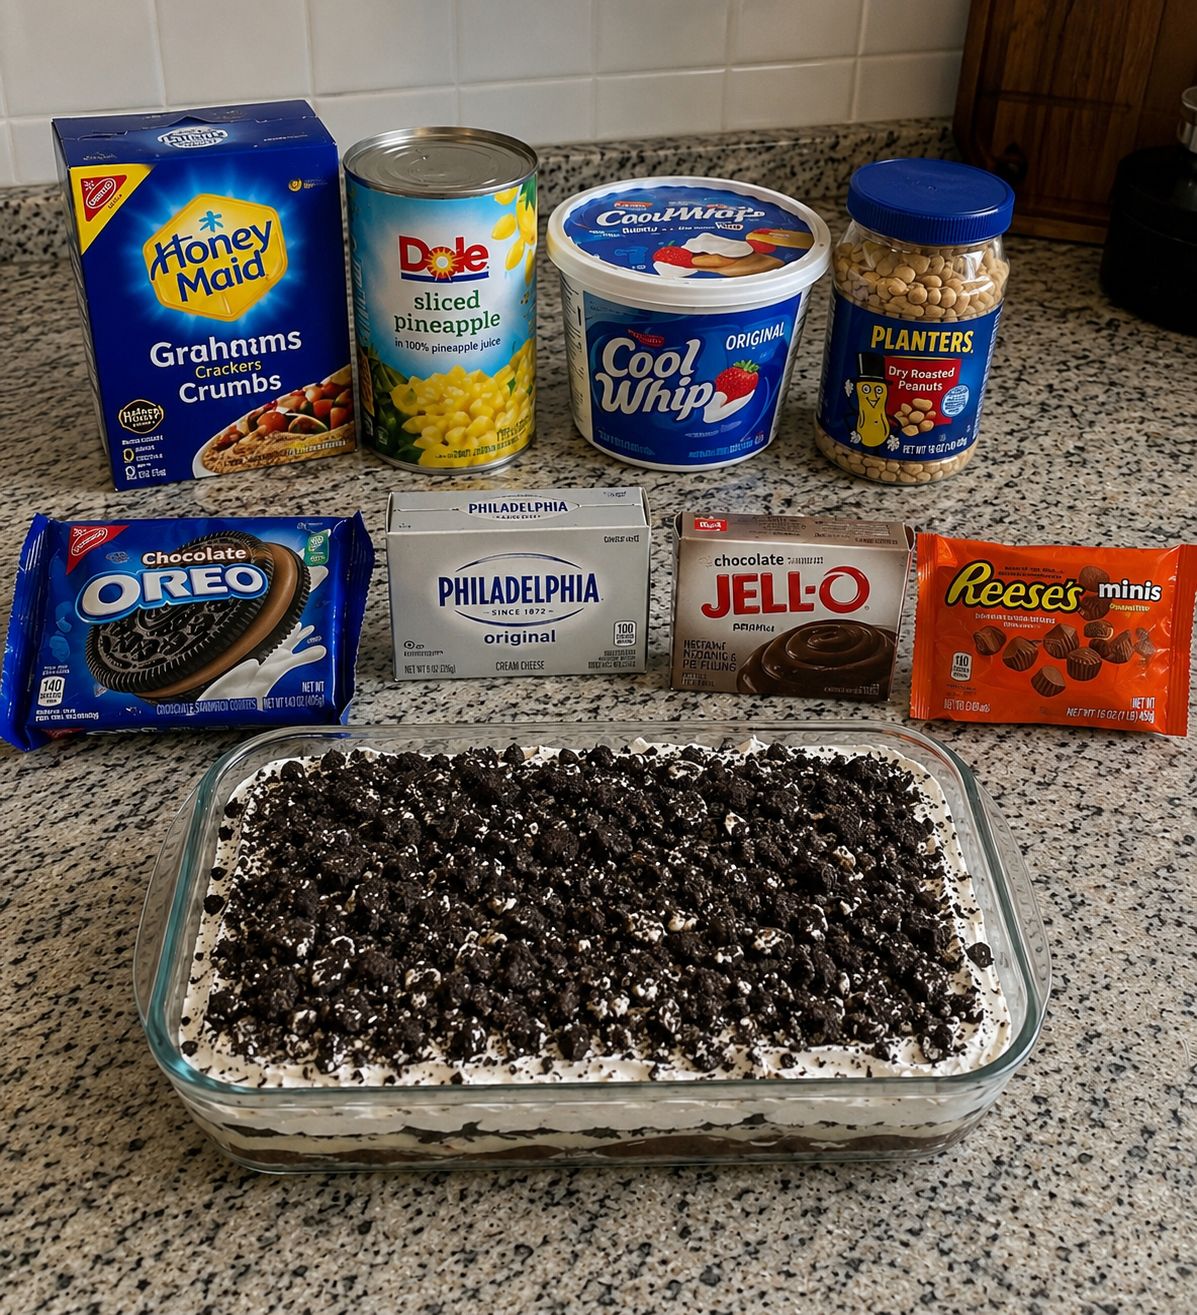
No-Bake Oreo Dessert with Pineapple and Peanut Topping: A Sweet Escape That Actually Works
I created this recipe on one of those nights when I was absolutely craving something sweet, but the last thing I wanted to do was turn on my oven. It was summer, my kitchen was already warm, and honestly, I was tired. I had a sleeve of Oreos sitting in my pantry, some pineapple in the fridge, and a jar of peanut butter that seemed to be calling my name. So I started layering things together, not really following any rules, just building something that sounded good in my head.
What came out was this ridiculously easy, ridiculously delicious no-bake dessert that tastes way more impressive than the effort it takes to make. The combination of creamy Oreo base, tangy pineapple, and that salty-sweet peanut topping? It shouldn’t work as well as it does. But it does. And now it’s become one of my go-to recipes when I want to impress people without actually spending hours in the kitchen.
This no-bake Oreo dessert with pineapple and peanut topping is perfect for anyone who wants a dessert that feels fancy but tastes homemade. It’s ideal for potlucks, weeknight cravings, summer gatherings, or literally any time you want something that feels indulgent without the stress. No mixer needed, no oven, no complicated techniques. Just you, some simple ingredients, and about fifteen minutes of your time.
If you’re looking for more recipes like this one, follow me on HaileeRecipes on Pinterest where I share tons of no-bake desserts and cozy kitchen moments.
Why You’ll Love This Recipe
Let me be honest with you: this recipe works because it hits every flavor note you didn’t know you were craving. The Oreo base is rich and chocolatey. The pineapple brings brightness and acidity that cuts through all that sweetness. And the peanut topping adds this salty crunch that makes the whole thing feel balanced and sophisticated.
But beyond the flavors, here’s why I genuinely love making this:
- It’s actually no-bake. I’m not one of those recipes that says “no-bake” and then asks you to bake something. You literally don’t touch your oven.
- It comes together in minutes. Seriously, from start to finish, you’re looking at about twenty minutes. Most of that is just letting it chill.
- It’s forgiving. You don’t need to be precise. You don’t need fancy equipment. You just need ingredients and a willingness to layer things.
- It tastes expensive. Your guests will think you spent hours on this. You won’t tell them the truth, and I won’t judge you.
- It’s customizable. Don’t like pineapple? Swap it. Don’t have peanut butter? Use almond butter. This recipe is flexible and wants to work with what you have.
Ingredients
- 1 1/2 cups Oreo cookies (about 15 cookies, crushed into crumbs)
- 4 tablespoons unsalted butter, melted
- 8 ounces cream cheese, softened to room temperature
- 1/2 cup powdered sugar
- 1 teaspoon vanilla extract
- 1 cup heavy whipping cream
- 1 can (20 ounces) pineapple chunks, drained well (save 2 tablespoons juice)
- 1/2 cup peanut butter (creamy or chunky, your call)
- 1/4 cup honey or maple syrup
- 1/4 teaspoon sea salt
- 1/3 cup roasted peanuts, roughly chopped
Hailee’s Tip: Make sure your cream cheese is actually soft. I cannot stress this enough. Take it out of the fridge thirty minutes before you start. Cold cream cheese will give you lumps, and lumps are not the vibe.
Hailee’s Tip: Drain your pineapple really, really well. I use a fine mesh strainer and press gently with paper towels. Excess moisture is the enemy of a good no-bake dessert.
Hailee’s Tip: Don’t skip the vanilla extract. It sounds small, but it brings everything together and makes the whole dessert taste more refined.
Optional Add-Ins and Variations
This is where you get to have fun. Here are some things I’ve thrown in or considered:
- Coconut flakes: Toast them first, then sprinkle on top. Adds tropical vibes.
- Dark chocolate shavings: Because chocolate and pineapple is a classic pairing.
- Crushed pretzels: Instead of or mixed with the peanuts for extra crunch.
- A splash of rum or coconut rum: Mix it into the pineapple layer if you want to get fancy.
- Lime zest: Adds brightness and pairs beautifully with the pineapple.
- Caramel drizzle: Just a thin drizzle on top before serving.
Step-by-Step Method
Step 1: Make the Oreo crust
Crush your Oreos into crumbs. I do this by putting them in a zip-top bag and going to town with a rolling pin or the bottom of a glass. You want some texture here, not fine powder, so don’t overdo it. Mix the crumbs with melted butter until everything looks like wet sand. Press this mixture firmly into the bottom of an 8×8-inch baking dish or a 9-inch pie dish. I like using a measuring cup to press it down evenly. Let it sit while you make the next layer.
What I Messed Up: The first time I made this, I pressed the crust too gently and it fell apart when I tried to serve it. Press it down like you mean it.
Step 2: Make the cream cheese layer
In a large bowl, beat your softened cream cheese with powdered sugar and vanilla extract until it’s smooth and fluffy. This should take about two minutes with an electric mixer, or about three minutes if you’re doing it by hand with a whisk. You want no lumps. Seriously, check for lumps.
In a separate bowl, whip your heavy cream to stiff peaks. This is important because the whipped cream is what makes this layer light and fluffy instead of dense and heavy. Once your cream is whipped, gently fold it into the cream cheese mixture until no white streaks remain. Be gentle here. You want to keep all that air in the whipped cream.
Spread this mixture over your Oreo crust in an even layer. This is your base, so make sure it covers everything.
What I Messed Up: I once tried to skip the whipped cream and just use cream cheese. It was dense and heavy and honestly kind of depressing. Don’t do that. The whipped cream is what makes this work.
Step 3: Add the pineapple layer
Drain your pineapple chunks really well. Spread them evenly over the cream cheese layer. You can arrange them nicely or just scatter them. Both look good. If you saved a little pineapple juice, you can drizzle it over the cream cheese layer before adding the pineapple for extra flavor.
Step 4: Make the peanut topping
In a small bowl, whisk together your peanut butter, honey, and sea salt. You want this to be smooth and spreadable. If it’s too thick, add the reserved pineapple juice a teaspoon at a time until you get the right consistency. You’re not looking for pourable, just spreadable.
Dollop this mixture over the pineapple layer. You can spread it evenly or leave it a little rustic. I usually go for rustic because it looks more homemade that way.
Step 5: Top it off
Scatter your chopped peanuts over the top. This is the finishing touch, so make it look nice. Press them down gently so they stick to the peanut butter layer.
Step 6: Chill and serve
Pop this in the fridge for at least two hours, but ideally overnight. This gives everything time to set and the flavors time to get cozy with each other. When you’re ready to serve, cut into squares and use a spatula to carefully lift each piece out. The first piece is always a little messy, but the rest are beautiful.
Common Mistakes to Avoid
Not draining the pineapple properly. Excess moisture will make your dessert soggy and sad. Drain it, then drain it again.
Using cold cream cheese. This creates lumps and makes the whole layer grainy. Let it sit out first.
Skipping the whipped cream. I know I mentioned this before, but it’s important enough to mention again. This is what makes the texture light and airy.
Pressing the crust too gently. It needs to hold together when you cut it. Press firmly.
Not chilling long enough. I know you’re excited, but patience here is your friend. Two hours minimum, overnight is better.
Using old Oreos. Fresh cookies matter. Stale Oreos taste like cardboard, even when crushed up.
My Tested Substitutions
If you don’t have heavy cream: Use Greek yogurt whipped with a little honey. It won’t be quite as fluffy, but it works and adds a nice tangy note.
If you don’t have cream cheese: Mascarpone works beautifully and makes everything taste a little more luxurious. Use the same amount.
If you don’t have peanut butter: Almond butter, cashew butter, or even tahini all work. The flavor will be different, but still delicious.
If you don’t have pineapple: Try mandarin oranges, peaches, or even raspberries. The tartness is important, so avoid super sweet fruits.
If you don’t have Oreos: Crushed chocolate wafers or even crushed chocolate graham crackers work in a pinch. You might need to add a tiny bit more butter.
If you can’t eat dairy: Use dairy-free cream cheese and coconut cream instead of heavy cream. It won’t whip quite the same way, but you can still make it work.
How to Customize
This is your dessert, so make it yours. Here are some directions you could take it:
Make it more tropical: Add coconut flakes to the peanut topping, use coconut cream in the middle layer, and garnish with toasted coconut.
Make it more decadent: Drizzle melted dark chocolate over the peanut layer and add chocolate shavings on top.
Make it less sweet: Use less powdered sugar in the cream cheese layer and less honey in the peanut topping. Add more sea salt to balance.
Make it more fun: Add crushed pretzels to the peanut topping for extra crunch. Add a pinch of cayenne pepper to the peanut layer for subtle heat.
Make it smaller: This recipe easily scales down to a 6-inch square dish if you’re cooking for one or two people. Just halve all the ingredients.
Serving Ideas
This dessert is beautiful on its own, but here are some ways to serve it that feel special:
- With coffee: The richness pairs perfectly with a strong cup of coffee or espresso.
- With whipped cream: A dollop on top adds extra creaminess and looks fancy.
- With a drizzle of chocolate sauce: Just a little bit on the plate underneath the square.
- With crushed peanuts on the side: For people who want extra crunch.
- Cold straight from the fridge: Honestly, this is my favorite way. It’s refreshing and perfect on a warm day.
- Slightly chilled rather than cold: If you let it sit out for fifteen minutes before serving, the flavors are more pronounced.
Meal Prep and Storage
This dessert is actually perfect for making ahead, which is one of my favorite things about it.
Make it the night before: Actually, make it two nights before. It tastes even better the next day once the flavors have had time to meld.
Store it in the fridge: Cover it with plastic wrap or transfer it to an airtight container. It keeps for three to four days, though it rarely lasts that long in my house.
Can you freeze it? Sort of. The texture changes a bit when frozen because the whipped cream layer gets icy. If you do freeze it, thaw it in the fridge overnight. It’s not my preferred method, but it works in a pinch.
Transporting it: If you’re taking this to a potluck, keep it in the baking dish and cover it well. Transport it in a cooler with an ice pack. Cut it into squares right before serving if possible, or cut it at home and transport in an airtight container.
Nutritional Breakdown
Here’s what you’re looking at per serving (assuming eight servings):
- Calories: approximately 420
- Protein: 8 grams
- Carbohydrates: 42 grams
- Fat: 24 grams
- Fiber: 2 grams
- Sugar: 32 grams
This is a dessert, so it’s not meant to be health food. But the peanut butter and pineapple do add some nutritional value, and the portion size is reasonable. Enjoy it without guilt, but also enjoy it mindfully.
Final Thoughts
This no-bake Oreo dessert with pineapple and peanut topping has become one of my favorite things to make when I want to feel like I’ve accomplished something in the kitchen without actually spending hours there. It’s the kind of recipe that makes you look like a genius when you’re really just layering things together.
More than that, it’s a recipe that works. It’s reliable, it’s delicious, and it’s flexible enough to work with what you have on hand. Whether you’re making it for a special occasion or just because you want something sweet on a Tuesday night, it delivers.
I hope you make this soon. I hope you love it as much as I do. And I hope you come back and tell me about it. That’s what keeps me going in this kitchen.
—
Recipe Card
No-Bake Oreo Dessert with Pineapple and Peanut Topping
Ingredients
Method
- Crush Oreo cookies into crumbs and mix with melted butter until the texture resembles wet sand. Press firmly into the bottom of an 8x8-inch baking dish.
- Beat softened cream cheese with powdered sugar and vanilla extract until smooth and fluffy, about two minutes.
- In a separate bowl, whip heavy cream to stiff peaks. Gently fold the whipped cream into the cream cheese mixture.