Colorful Grape and Orange Ice Cubes
Colorful Grape and Orange Ice Cubes
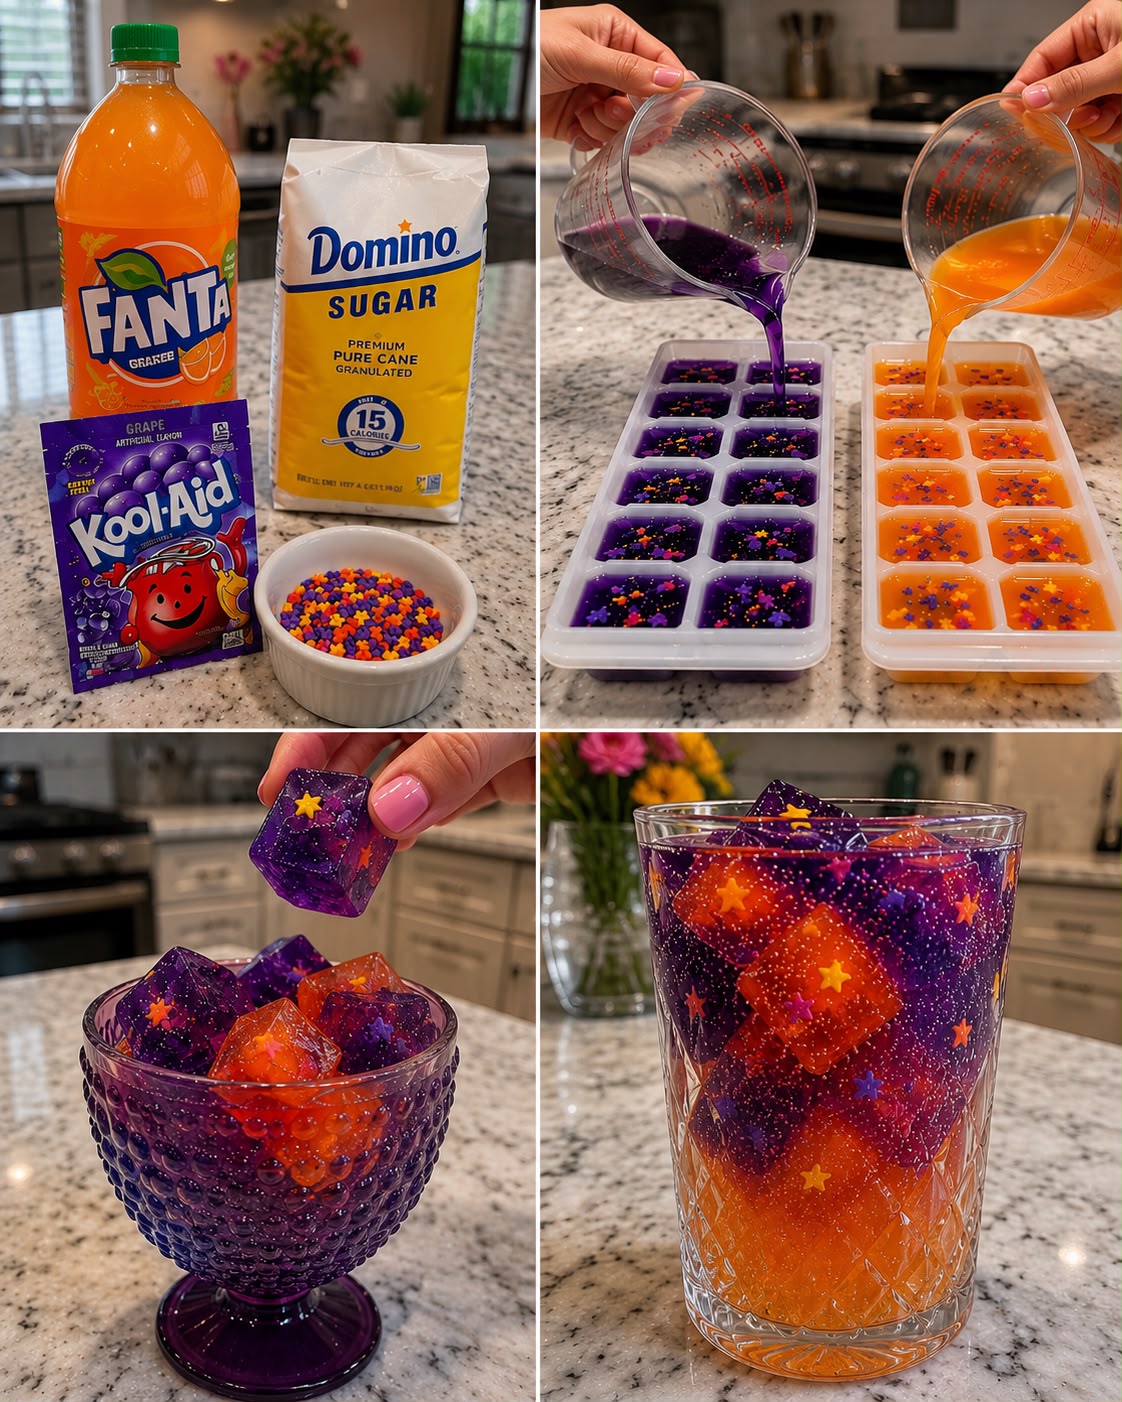
Colorful Grape and Orange Ice Cubes: A Refreshing Twist on Hydration
I’ll be honest with you—I’m the person who gets bored with plain water about five minutes into summer. My kids are the same way. So a few years ago, when I was standing in my kitchen on a sweltering July afternoon, staring at a bowl of beautiful red and green grapes alongside some perfectly ripe oranges, something just clicked. What if I could turn these into something fun? Something that would actually make my family excited to drink more water?
That’s how colorful grape and orange ice cubes became my secret weapon. They’re not fancy or complicated, but they’re the kind of thing that makes people smile when they see them in a glass. My neighbor literally asked for the recipe after her kids asked for “the pretty ice cubes” three days in a row.
Here’s what I love about this recipe: it’s genuinely simple, it works with what you probably already have in your kitchen, and it solves a real problem—getting people (especially kids) to drink more water without adding loads of sugar. The grapes and oranges infuse the ice with subtle flavor, so when it melts, your water gets a gentle hint of fruit. Not syrupy. Not artificial. Just… nice.
Whether you’re planning a dinner party, trying to get your kids more hydrated, or just looking for a small way to make everyday moments feel a little more special, these ice cubes deliver. And if you want more cozy kitchen ideas like this, follow me on HaileeRecipes on Pinterest—I’m always sharing little tricks that make life easier and more delicious.
Why You’ll Love This Recipe
First, let’s talk about the obvious: they’re beautiful. There’s something genuinely satisfying about dropping a jewel-toned ice cube into a glass of water and watching it slowly release color and flavor. It’s a tiny moment of joy, and honestly, we all need more of those.
But beyond the aesthetic, these ice cubes actually solve problems. If you’re trying to drink more water but find plain water boring, this is your answer. If you have kids who’d rather have juice all day, this is a compromise that works. If you’re hosting and want your drinks to look thoughtful without fussing over complicated recipes, these are perfect.
They’re also incredibly forgiving. You don’t need exact measurements. You don’t need special equipment. You don’t need to be a kitchen expert. Just grapes, oranges, water, and an ice cube tray. That’s it.
Ingredients
- 1 cup fresh red grapes (or green, or a mix)
- 1 cup fresh green grapes (optional, for color contrast)
- 2 medium oranges, peeled and segmented
- 3 cups filtered or distilled water (tap water works too, but filtered is clearer)
- 2 tablespoons fresh lemon juice (optional, but I always add it)
- 1 tablespoon honey or agave (optional, if you want subtle sweetness)
Hailee’s Tip: The water you use matters more than you’d think. If your tap water has a strong chlorine taste, go for filtered. Clear ice is prettier, and it’ll look even more gorgeous in a glass.
Hailee’s Tip: Choose grapes that are firm and fresh-looking. Soft or wrinkled grapes will break down faster in the freezer and won’t look as nice. I usually give them a gentle rinse and pat them completely dry before using.
Hailee’s Tip: Oranges that feel heavy for their size are juicier. If you’re not sure which ones to grab, pick those up. The fresher your fruit, the better your ice cubes will taste.
Optional Add-Ins and Variations
This is where you get to play. The base recipe is simple, which means it’s begging for your personal touch. Here are some combinations I’ve tested and loved:
- Citrus Bliss: Add thin lemon slices or lime wedges along with the orange. It’s bright and energizing.
- Herbal Twist: Toss in a small sprig of fresh mint or basil before freezing. It adds a sophisticated touch.
- Berry Boost: Mix in fresh raspberries or blueberries. They freeze beautifully and add visual interest.
- Pomegranate Pop: A handful of pomegranate arils (seeds) scattered throughout. Gorgeous and a little fancy.
- Coconut Water Base: Replace regular water with coconut water for a tropical vibe. These are especially good in summer drinks.
- Sparkling Version: Use sparkling water instead of still water. Your ice cubes will have little bubbles trapped inside—it’s kind of fun.
Step-by-Step Method
Step 1: Prep Your Fruit
Rinse your grapes under cool water and pat them completely dry. Moisture on the outside will freeze unevenly and make them look cloudy. For the oranges, peel them (I use my fingers for this—it’s easier than a knife), and separate the segments. You can leave them whole or cut them into smaller pieces. I usually cut mine in half so they fit better in the ice cube tray.
Hailee’s Tip: This is where I messed up the first time. I didn’t dry the grapes, and they froze with a frosty white coating. Still edible and fine, but not the crystal-clear jewel look I was going for. Dry them well.
Step 2: Arrange in Ice Cube Tray
Place your ice cube tray on a flat surface. This matters because if it’s even slightly tilted, your water will freeze unevenly and your cubes will be lopsided. Now, arrange your grapes and orange pieces in each cube compartment. I usually do a mix—maybe two grapes and a small piece of orange per cube. This gives you a nice balance of fruit to ice.
Don’t overcrowd them. You want water to flow around the fruit, not a tray that’s completely packed. There should be room for the water to settle and freeze evenly.
Step 3: Pour Your Water
If you’re using the optional lemon juice or honey, mix that into your water now. Then, carefully pour the water into each compartment, filling it almost to the top. Leave just a tiny bit of space—ice expands as it freezes, and you don’t want it overflowing.
Hailee’s Tip: I use a small measuring cup or even a turkey baster to pour the water. It gives me better control and keeps the fruit pieces from floating around randomly.
Step 4: Freeze
Place the tray in your freezer on a level surface. Let it sit for at least 4 hours, but ideally overnight. You want the ice completely solid before you try to pop the cubes out. If you rush this, the cubes will be mushy and fall apart.
Step 5: Pop Out and Store
Once frozen solid, run the bottom of the tray under warm water for just a few seconds. This loosens the ice without melting it. Then, gently push each cube from the bottom of the tray. They should pop out easily. If they’re being stubborn, let the tray sit for another 30 minutes in the freezer and try again.
Transfer your beautiful ice cubes to a freezer bag or container for storage.
Common Mistakes to Avoid
Cloudy Ice
If your ice looks milky instead of clear, it’s usually because of minerals or impurities in your water. Solution: use filtered or distilled water. It’s a small change that makes a huge visual difference.
Fruit Floating to the Top
This happens when you pour the water too quickly or when the tray isn’t level. The fruit bobs up as the water starts to freeze. Prevention: pour slowly and deliberately, and check that your freezer shelf is level.
Ice Cubes That Won’t Pop Out
You left them in too long, or the tray is old and warped. Try running the tray under warm (not hot) water for a few seconds. If that doesn’t work, you can also gently flex the tray from underneath. Never use a knife to pry them out—you’ll just make a mess.
Fruit That Looks Brown or Oxidized
This happens when fruit sits too long before freezing, or when you don’t use fresh fruit to begin with. Always freeze within a few hours of prepping, and use fruit that’s at its peak freshness.
My Tested Substitutions
If You Don’t Have Fresh Oranges
Use frozen orange segments (thawed first) or even a small amount of fresh orange juice mixed into the water. It won’t give you the pretty fruit pieces, but the flavor will still be lovely. Alternatively, use fresh grapefruit, tangerines, or clementines—any citrus works.
If You Can’t Find Good Grapes
Fresh blueberries, raspberries, or blackberries are beautiful alternatives. Strawberries work too, though they’re softer and may break down faster. You could also use pomegranate arils, cranberries, or even small pieces of pineapple.
If You Don’t Have Filtered Water
Tap water is fine. Your ice will still taste good; it just might not be as crystal-clear. If you want clearer ice from tap water, try boiling it first and letting it cool—this removes some of the dissolved gases that cause cloudiness.
If You Want to Skip the Optional Additions
Honestly, you don’t need the lemon juice or honey. The fruit alone infuses enough flavor. I add them because I like the extra brightness, but they’re truly optional. Your ice cubes will be delicious either way.
How to Customize
The beauty of this recipe is that it’s a starting point, not a rigid formula. Here’s how I think about customizing it:
By Season
In summer, I go heavy on citrus and add fresh mint. In fall, I might add a tiny cinnamon stick or star anise to the water before freezing. In winter, cranberries and orange is a gorgeous combination that feels festive. In spring, fresh berries and lemon.
By Occasion
For a dinner party, I make them extra fancy with pomegranate arils and thin citrus slices. For everyday family use, I keep it simple—just grapes and oranges. For kids’ parties, I make them bright and colorful with a mix of red grapes, blueberries, and orange.
By Flavor Preference
If you like things sweeter, add honey or a touch of agave to the water. If you like things more tart, add extra lemon juice or use grapefruit instead of orange. If you like herbal notes, experiment with mint, basil, or even a tiny bit of fresh ginger.
Serving Ideas
These ice cubes are more versatile than you might think. Here are my favorite ways to use them:
- In Water: The obvious choice. Drop a few cubes in a glass of water and watch the color bloom as they melt.
- In Sparkling Water: Makes it feel fancy without any extra effort.
- In Lemonade or Iced Tea: They complement these drinks perfectly and keep them from getting watered down as the ice melts.
- In Cocktails or Mocktails: These are stunning in a summer punch or a simple gin and tonic. They add visual interest and subtle flavor.
- In Smoothie Bowls: Place one or two on top of a smoothie bowl just before serving for a pop of color.
- As a Charcuterie Board Accent: I’ve even placed a few in a small bowl on a charcuterie board. People think it’s so thoughtful.
Meal Prep and Storage
These are perfect for meal prep because they last for weeks in the freezer. Here’s how I handle storage:
Short-Term Storage (Up to 2 Weeks)
Keep them in the ice cube tray, covered with plastic wrap. This protects them from absorbing freezer odors and keeps them from sticking together.
Long-Term Storage (Up to 1 Month)
Transfer them to a freezer bag or airtight container. I like to lay them out on a sheet pan first, freeze them solid for an hour, then transfer them. This prevents them from clumping together. Label the bag with the date and contents so you remember what’s inside.
Make-Ahead Tip
I usually make two or three trays at a time. That way, I always have beautiful ice cubes on hand for drinks, unexpected guests, or just a moment when I want to feel a little fancier than usual.
Freezer Lifespan
Technically, these will last indefinitely in the freezer. Practically, I find they taste best within the first month. After that, they can develop freezer burn and the fruit flavor fades a bit. Not dangerous, just less vibrant.
Nutritional Breakdown
Since these are mostly water, ice, and fruit, they’re incredibly light. Here’s what you’re looking at per ice cube (assuming about 12 cubes per tray with the base recipe):
- Calories: About 5-8 calories per cube (mostly from the fruit)
- Protein: Less than 1g
- Carbohydrates: About 1-2g (from natural fruit sugars)
- Fat: 0g
- Fiber: Less than 1g
The nutritional value comes entirely from the grapes and oranges, which is why these are such a guilt-free way to make water more interesting. You’re adding natural fruit flavor and a tiny bit of natural sugar—nothing artificial, nothing processed.
Final Thoughts
I started making these ice cubes as a simple solution to a small problem: boring water on a hot day. But over the years, they’ve become something more. They’re a tiny ritual, a moment of care I take for myself or my family. They make ordinary drinks feel special. They’re proof that you don’t need complicated recipes or fancy ingredients to make something beautiful.
If you try these colorful grape and orange ice cubes, I genuinely hope they bring you the same small joy they’ve brought me. And if you experiment with your own variations, I’d love to hear about it. That’s the best part of this whole food blogging thing—learning from people like you.
Make a batch this week. Keep them in the freezer. Enjoy them slowly. And remember: the best recipe is the one you actually make.
Recipe Card
**Colorful Grape and Orange Ice Cubes**
Colorful Grape and Orange Ice Cubes
Ingredients
Method
- Rinse grapes under cool water and pat completely dry. Peel oranges and separate into segments, cutting larger pieces in half if needed.
- Arrange grapes and orange pieces in ice cube tray compartments, using about 2 grapes and 1 small orange piece per cube.
- Mix lemon juice and honey (if using) into filtered water.
- Carefully pour water into each compartment, filling almost to the top.
- Place tray on a level freezer shelf and freeze for at least 4 hours, preferably overnight, until completely solid.
- Run warm water over the bottom of the tray for a few seconds, then gently push cubes out from the bottom.
- Transfer to freezer bag or airtight container for storage.