Delicious Boston Cream Pie Cookie Bites
Delicious Boston Cream Pie Cookie Bites
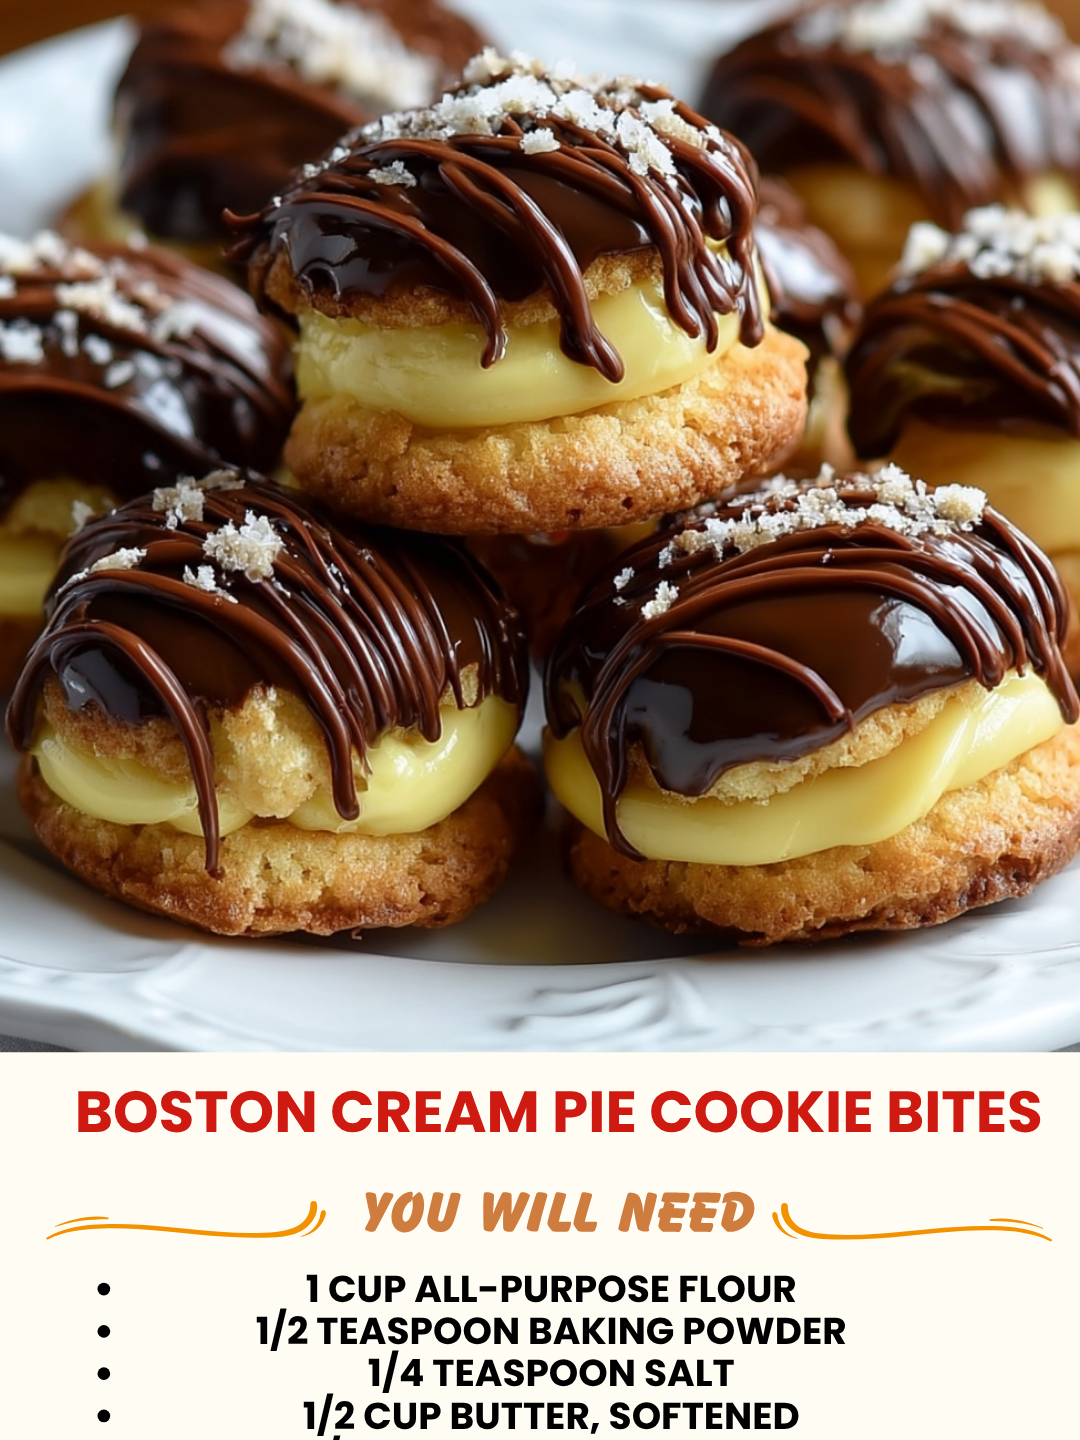
Delicious Boston Cream Pie Cookie Bites: A Cozy Dessert That Tastes Like Home
I had one of those nights last Tuesday where nothing felt quite right. You know the kind—where you’re sitting on your kitchen counter at 8 PM in your favorite sweater, scrolling through old photos and craving something that feels like a warm hug? That’s when I thought about Boston cream pie. My grandmother used to make it for my birthday, and honestly, I haven’t had a proper slice in years. But the memory of that vanilla custard and chocolate glaze? That never left me.
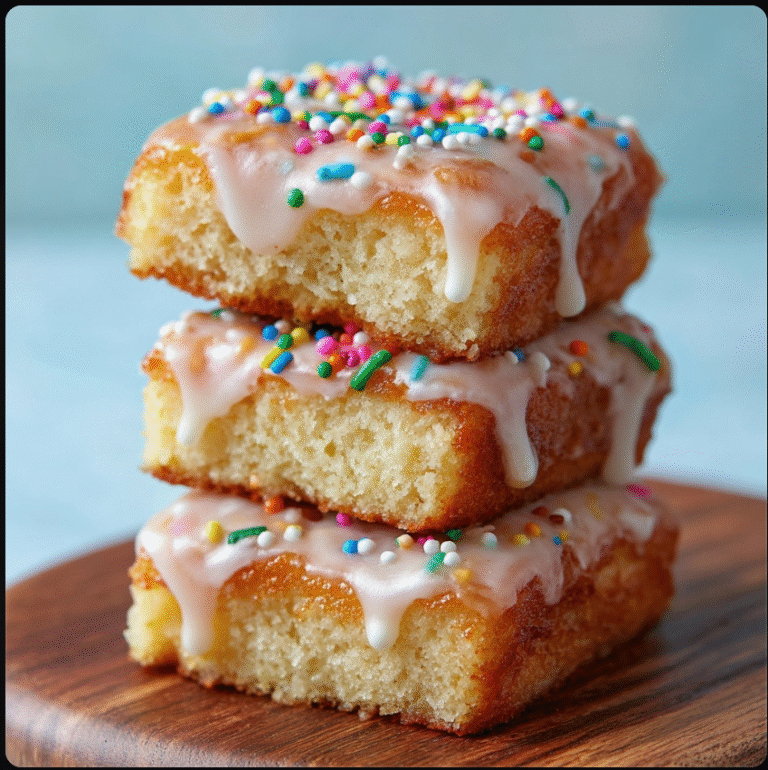
So I did what I always do when I’m hit with a serious dessert craving—I got creative in the kitchen. I wanted all those classic Boston cream pie flavors, but in a format that didn’t require me to bake a whole cake or spend three hours on a project. Enter: Delicious Boston Cream Pie Cookie Bites. These little gems are exactly what they sound like: buttery, tender cookies filled with silky vanilla custard and topped with a dark chocolate glaze that cracks slightly when you bite into it. They’re elegant enough to serve at a dinner party, but cozy enough to eat straight from the fridge while you’re watching your favorite show.
What I love most about this recipe is that it actually works. The cookies stay soft for days, the custard filling is foolproof, and the chocolate topping sets up perfectly without any fussing. Whether you’re baking for someone special or just treating yourself after a long week, these bites deliver that nostalgic, comforting feeling of real homemade dessert. No box mixes, no shortcuts, just good ingredients and a little bit of love.
If you’re looking for more cozy recipes like this one, follow me on HaileeRecipes on Pinterest for weekly inspiration.
Why You’ll Love This Recipe
Let me be honest with you—I wouldn’t be sharing this if I didn’t genuinely believe it’s worth your time. Here’s what makes these cookie bites special:
- They taste like the real thing. You get that perfect combination of tender cookie, creamy custard, and rich chocolate without any of the fuss of assembling a full Boston cream pie.
- They’re actually manageable. Unlike a layer cake, these come together in under an hour from start to finish. The baking is quick, and the assembly is straightforward.
- They keep beautifully. These stay fresh and soft for up to five days in an airtight container, which means you can make them ahead for parties or just have treats ready all week.
- Everyone loves them. I’ve made these for coffee dates, potlucks, and gift boxes, and they consistently get people asking for the recipe. There’s something about a homemade cookie that just hits different.
- They’re customizable. Want to use a different filling? Swap the chocolate for white chocolate? Add a hint of espresso? This base recipe is flexible enough to make it your own.
Ingredients
For the Cookies:
- 2 1/4 cups all-purpose flour
- 1/2 teaspoon baking soda
- 1/4 teaspoon salt
- 1/2 cup unsalted butter, softened to room temperature
- 1/2 cup granulated sugar
- 1/4 cup light brown sugar, packed
- 1 large egg
- 1 teaspoon vanilla extract
For the Vanilla Custard Filling:
- 1 cup whole milk
- 1/4 cup granulated sugar
- 3 tablespoons cornstarch
- 1/4 teaspoon salt
- 3 egg yolks
- 2 tablespoons unsalted butter
- 1 1/2 teaspoons vanilla extract
For the Chocolate Glaze:
- 1/2 cup semi-sweet chocolate chips (or chopped chocolate)
- 2 tablespoons unsalted butter
- 1 tablespoon light corn syrup (this keeps it shiny and smooth)
- Pinch of salt
Hailee’s Tips: Room-temperature butter is non-negotiable here—it creams properly with the sugar and gives you a tender cookie. If you forget to pull it out ahead of time, cut it into small cubes and let it sit for about fifteen minutes. Also, don’t skip the cornstarch in the custard filling. It’s what makes it thick and stable without needing to cook it forever. And that corn syrup in the chocolate glaze? It’s a game-changer. It prevents the chocolate from getting that dull, streaky finish.
Optional Add-Ins and Variations
This is where you get to make the recipe yours. I love the classic version, but I’ve played around with some fun tweaks:
- A hint of lemon: Add 1/2 teaspoon of lemon zest to the custard filling for a subtle brightness that plays beautifully with the chocolate.
- Espresso lovers: Stir 1/2 teaspoon of instant espresso powder into the chocolate glaze for a sophisticated coffee-chocolate combo.
- White chocolate version: Use white chocolate chips instead of semi-sweet in the glaze. Pair it with a custard filling infused with almond extract instead of vanilla.
- Bourbon vanilla: If you have access to real bourbon vanilla extract, use it in the custard. The depth is incredible.
- Salted caramel drizzle: Top the chocolate glaze with a thin drizzle of salted caramel before it sets.
Step-by-Step Method
Making the Cookies:
- Preheat your oven to 350°F. Line two baking sheets with parchment paper—this is important because it keeps the bottoms from browning too much.
- In a small bowl, whisk together your flour, baking soda, and salt. Set it aside. I know this seems like an extra step, but it distributes the leavening agent evenly, which means more consistent cookies.
- In a larger bowl, cream together your softened butter and both sugars. Beat them for about 2 to 3 minutes until the mixture looks light and fluffy. This is where the magic starts—you’re incorporating air, which helps the cookies stay tender.
- Add your egg and vanilla extract, and beat until everything is combined. The mixture should look smooth and creamy.
- Gently fold in your dry ingredients until just combined. Don’t overmix—overmixing develops gluten, which makes cookies tough. You want to stop as soon as you don’t see any streaks of flour.
- Drop rounded teaspoons of dough onto your prepared baking sheets, spacing them about 1 1/2 inches apart. These cookies don’t spread a ton, but they do spread a little.
- Bake for 8 to 10 minutes, until the edges are just barely golden but the centers still look slightly underbaked. This is crucial—they’ll continue cooking on the pan after you pull them out, and you want them to stay soft. I always set a timer for 8 minutes first and check them.
- Let them cool on the baking sheet for 5 minutes, then transfer them to a wire rack to cool completely. Don’t rush this step. If you try to fill warm cookies, the custard will melt.
What I Messed Up: The first time I made these, I baked them for the full 12 minutes like a standard cookie recipe. They turned into little hockey pucks. The second time, I pulled them out at 8 minutes and they were perfect. Trust your instincts—if they look slightly underbaked, they’re exactly right.
Making the Custard Filling:
- In a saucepan, whisk together your sugar, cornstarch, and salt. This prevents lumps in your custard.
- Gradually whisk in your milk until the mixture is smooth. Heat it over medium heat, stirring constantly, until it just starts to simmer and thicken slightly. This should take about 5 to 7 minutes.
- While that’s heating, whisk your egg yolks in a separate bowl. Once your milk mixture is hot and slightly thickened, slowly pour about 1/4 of it into the egg yolks while whisking constantly. This tempers the eggs so they don’t scramble.
- Pour the egg mixture back into the saucepan with the remaining milk mixture, whisking constantly. Continue cooking over medium heat for about 1 minute, stirring constantly, until it’s nice and thick.
- Remove from heat and stir in your butter and vanilla extract. The residual heat will melt the butter perfectly.
- Pour the custard into a shallow bowl and press plastic wrap directly onto the surface. This prevents a skin from forming. Let it cool to room temperature, about 30 minutes. You can speed this up by placing the bowl in an ice bath, but I usually just let it sit while I’m cleaning up.
What I Messed Up: I once forgot to temper the eggs and ended up with scrambled bits in my custard. It was a learning moment. The slow pour while whisking really does matter.
Assembling the Bites:
- Once your cookies and custard are both completely cool, take two cookies and sandwich a small spoonful of custard between them. You don’t need much—about 1/2 to 1 teaspoon per bite. Too much and it squishes out the sides.
- Place your assembled bites on a parchment-lined baking sheet. You can refrigerate them at this point for up to 2 hours, which actually makes dipping easier.
Making the Chocolate Glaze:
- In a microwave-safe bowl, combine your chocolate chips, butter, and corn syrup. Microwave in 20-second intervals, stirring between each one, until everything is melted and smooth. Don’t overheat it—chocolate can seize up and become grainy.
- Stir in your pinch of salt. Taste it (yes, really—a tiny taste) and adjust if needed. The salt should just enhance the chocolate flavor without being noticeable.
- Let the glaze cool for about 2 minutes so it’s still pourable but not piping hot.
Dipping and Finishing:
- Using a fork or small dipping tool, dip the top of each cookie bite into the chocolate glaze, letting the excess drip off. Place it back on the parchment paper.
- Let the glaze set at room temperature for about 30 minutes, or speed things up by refrigerating for 10 minutes. The glaze will set to a nice, slightly cracky finish.
Common Mistakes to Avoid
Overbaking the cookies: This is the biggest one. Those underbaked-looking cookies are perfect. Trust me on this.
Skipping the plastic wrap on the custard: A skin forms quickly, and it’s annoying to pick out. Just cover it directly.
Using cold custard: If your custard is still warm when you try to fill the cookies, it’ll soften them and make them fall apart. Patience here pays off.
Overheating the chocolate glaze: Chocolate scorches easily. Those 20-second microwave intervals really do matter. Overheated chocolate becomes thick, grainy, and impossible to work with.
Filling too generously: More filling sounds good in theory, but it makes assembly messy and the bites harder to eat. A thin layer is elegant and practical.
My Tested Substitutions
For the flour: I haven’t had great success with all-purpose flour substitutes in this recipe because the texture really depends on gluten development. If you need gluten-free, use a 1:1 gluten-free flour blend and add 1/4 teaspoon of xanthan gum. The cookies will be slightly more delicate, but they still work.
For the butter: Use real butter here. Margarine changes the flavor and the texture in ways that don’t work for this recipe. If you need dairy-free, use a high-quality vegan butter that’s similar in fat content.
For the eggs: The egg in the cookie dough can be replaced with a flax egg (1 tablespoon ground flaxseed mixed with 3 tablespoons water, let sit 5 minutes) if you’re vegan. For the custard filling, you’ll need the egg yolks for both flavor and structure, so this one’s harder to work around. You could try a cornstarch-based custard, but it won’t have quite the same richness.
For the milk: Whole milk works best, but 2% works in a pinch. I wouldn’t go lower than that because the custard needs that fat content for creaminess. For non-dairy, use a full-fat coconut milk or oat milk.
For the chocolate: Use what you love. Dark chocolate will be more intense, milk chocolate will be sweeter. I usually go with semi-sweet because it balances the vanilla custard nicely.
How to Customize
One of my favorite things about this recipe is how easily it adapts to what you’re craving. Want to make it feel more special? Here are some ideas:
- Flavor the custard: Add 1/4 teaspoon of almond extract, a teaspoon of rum extract, or even a pinch of cardamom. A little goes a long way.
- Make mini versions: Use smaller cookies or even shortbread cookies and adjust the filling amount accordingly. They’re perfect for parties.
- Add texture: Sprinkle a tiny pinch of fleur de sel on top of the chocolate glaze before it sets, or add crushed pistachios for a fun twist.
- Go fancy: Dust the finished bites with edible gold leaf or a light coating of cocoa powder for an elegant presentation.
- Make it seasonal: In the fall, add 1/4 teaspoon of cinnamon to the cookie dough. In the spring, use lemon zest in the custard.
Serving Ideas
These are delicious on their own, but they’re even better when you think about how to serve them:
- Plate them alongside fresh berries and a cup of coffee for an elegant breakfast treat.
- Pack them in a small box with parchment between layers for a homemade gift that feels really special.
- Serve them at room temperature on a dessert board with other small bites at a dinner party.
- Eat one straight from the fridge on a Tuesday night when you need a little pick-me-up.
- Arrange them on a tiered cake stand for afternoon tea.
- Pair them with a glass of dessert wine or champagne for something truly lovely.
Meal Prep and Storage
This is where the recipe really shines for me. I love making these ahead because they actually taste better after a day or two.
Storage: Keep your finished bites in an airtight container at room temperature for up to 5 days. They stay soft and the flavors actually meld together beautifully. You can also refrigerate them for up to a week if your kitchen is particularly warm, but I find room temperature storage keeps them at the perfect texture.
Make-ahead timeline: You can make the cookies up to 3 days ahead and store them in an airtight container. You can make the custard filling up to 2 days ahead—just keep it covered in the fridge. Assemble them no more than 8 hours before serving if you’re not refrigerating, or up to 24 hours if you’re keeping them in the fridge. The chocolate glaze is best applied within a few hours of serving so it stays shiny.
Freezing: You can freeze the unfilled cookies for up to 3 months in a freezer bag. Thaw them at room temperature before filling. I don’t recommend freezing the assembled bites because the texture changes slightly, and the custard can get grainy.
Nutritional Breakdown
Here’s what you’re looking at per cookie bite (makes about 24 bites):
- Calories: 95
- Protein: 1.5g
- Carbohydrates: 12g
- Fat: 5g