Mini Cherry Cheesecake Tartlets with Creamy Cherry Swirl
Mini Cherry Cheesecake Tartlets with Creamy Cherry Swirl
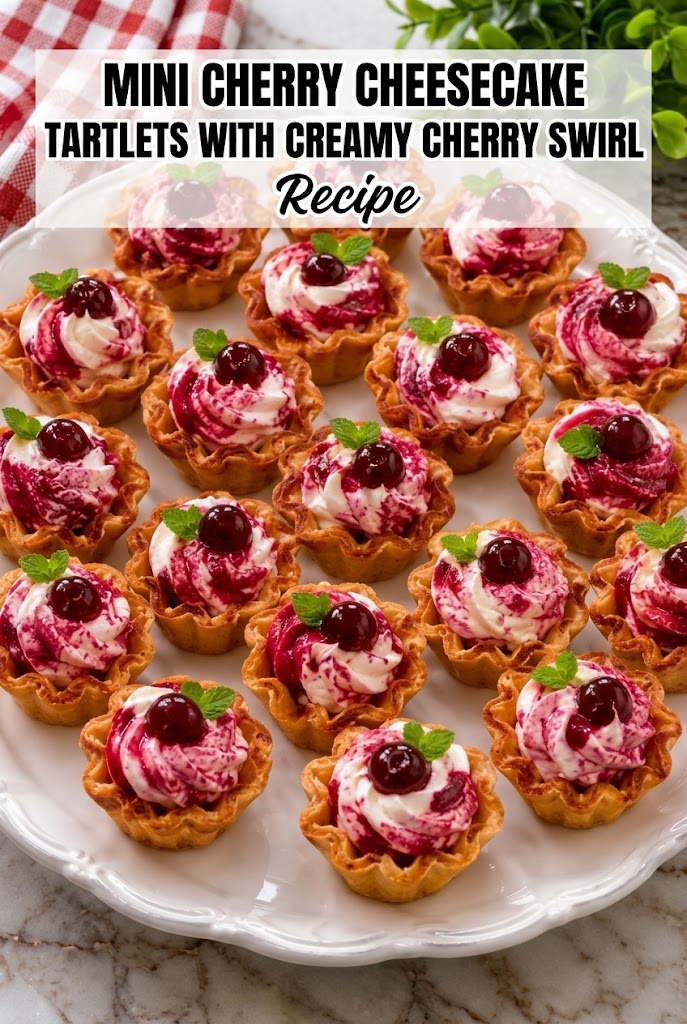
These Mini Cherry Cheesecake Tartlets with Creamy Cherry Swirl offer a delicate balance of tangy cream cheese and sweet fruit, piped into crisp shells for an elegant yet simple dessert.
Ingredients
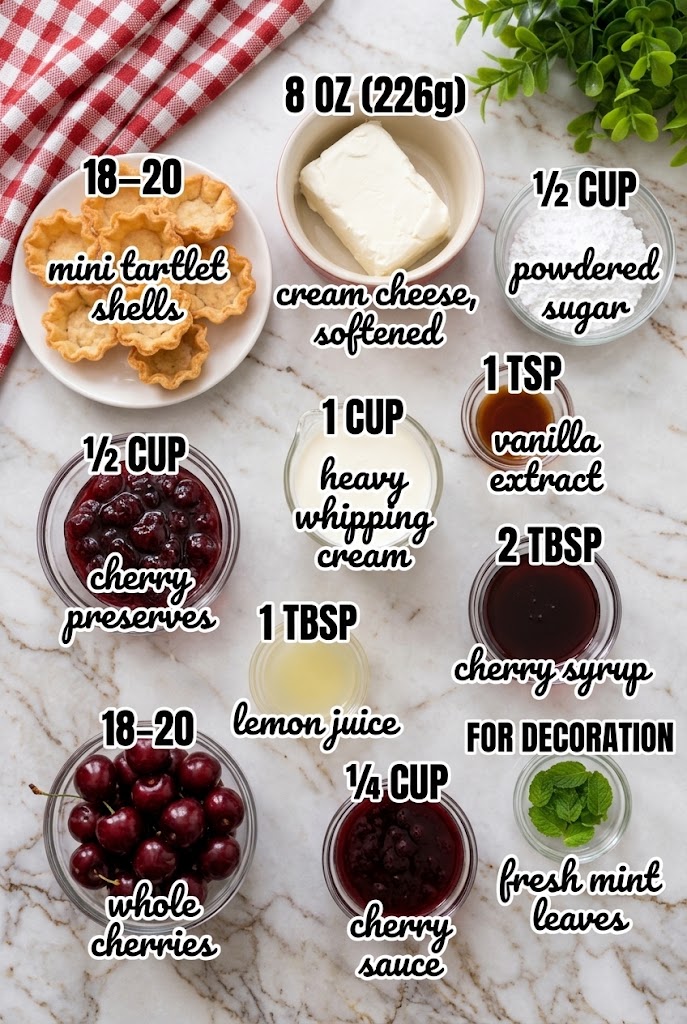
- Mini tartlet shells: 18-20 store-bought or homemade pre-baked shells. These provide the necessary structural crunch to hold the soft filling without becoming soggy.
- Cream cheese, softened: 8 oz (226g). It is critical that this reaches room temperature to ensure a smooth, lump-free base that blends easily with the sugar.
- Powdered sugar: 1/2 cup. Using confectioners’ sugar rather than granulated ensures the texture remains silky and dissolves instantly without graininess.
- Heavy whipping cream: 1 cup. This high-fat content is essential for creating the stiff peaks needed to give the cheesecake filling its airy, mousse-like lift.
- Vanilla extract: 1 tsp. A pure vanilla extract enhances the dairy notes and rounds out the sweetness of the cherries.
- Cherry preserves: 1/2 cup. Choose a thick preserve with visible fruit chunks for the best visual swirl and flavor bursts.
- Lemon juice: 1 tbsp. The acidity cuts through the richness of the cream cheese and brightens the deep red color of the cherries.
- Cherry syrup: 2 tbsp. This adds extra moisture and intensifies the cherry flavor in the swirl mixture without making it too thick.
- Whole cherries: 18-20 fresh or jarred maraschino cherries. These serve as the final garnish, adding a pop of color and a chewy texture contrast.
- Cherry sauce: 1/4 cup. Use a thin, pourable sauce for drizzling over the tops to create a glossy finish.
- Fresh mint leaves: To taste. Used purely for decoration to add a touch of green contrast against the red and white colors.
How To Make Mini Cherry Cheesecake Tartlets with Creamy Cherry Swirl
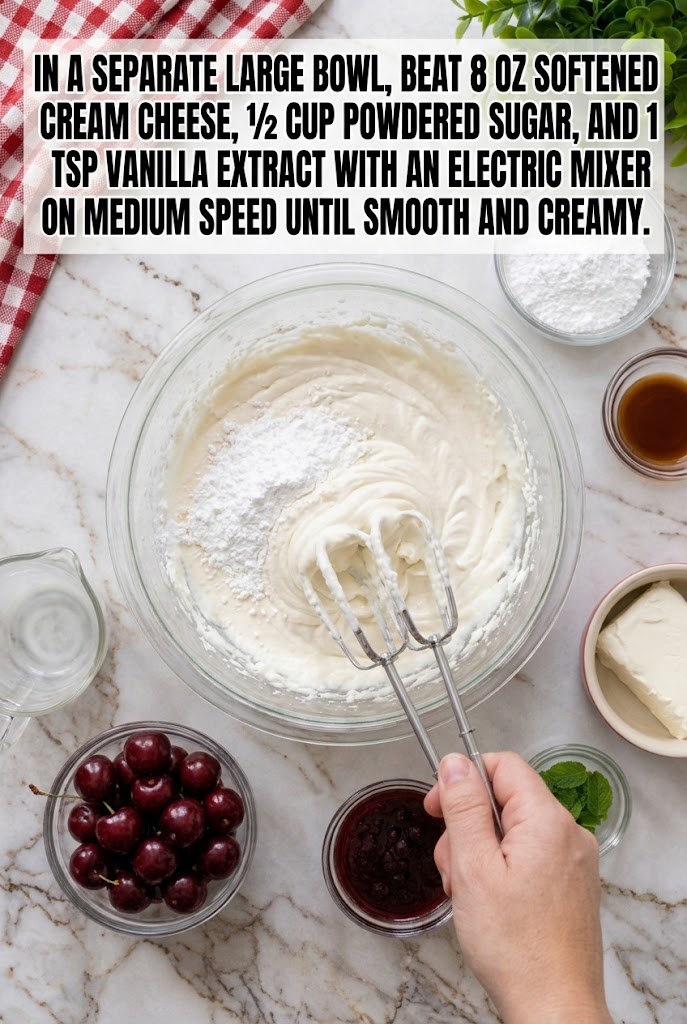
- Prepare the whipped cream base. Begin by ensuring your heavy whipping cream is very cold before starting. Pour the 1 cup of cream into a large, clean mixing bowl. Using an electric hand mixer set to medium-high speed, beat the cream until it thickens and forms stiff peaks. You will know it is ready when the beaters leave distinct trails that hold their shape firmly and do not droop. Be careful not to overbeat, as this can turn the cream into butter. Once stiff peaks form, immediately stop mixing and set the bowl aside. This step creates the light, fluffy foundation that defines the texture of these tartlets.
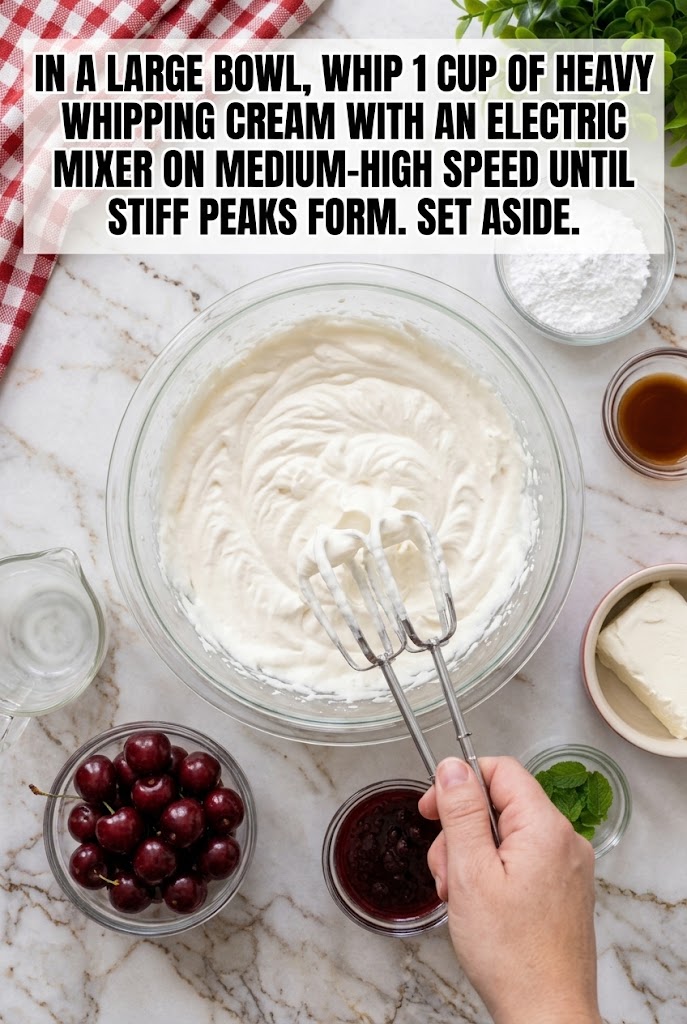
- Create the smooth cream cheese mixture. In a separate large bowl, combine the 8 oz of softened cream cheese, 1/2 cup of powdered sugar, and 1 tsp of vanilla extract. Using the electric mixer on medium speed, beat these ingredients together until the mixture is completely smooth, creamy, and free of any lumps. Scrape down the sides of the bowl with a spatula to ensure even mixing. If the cream cheese was not fully softened, you may find small bits remaining; continue beating gently until the texture is uniform. This stage builds the rich, tangy body of the filling.
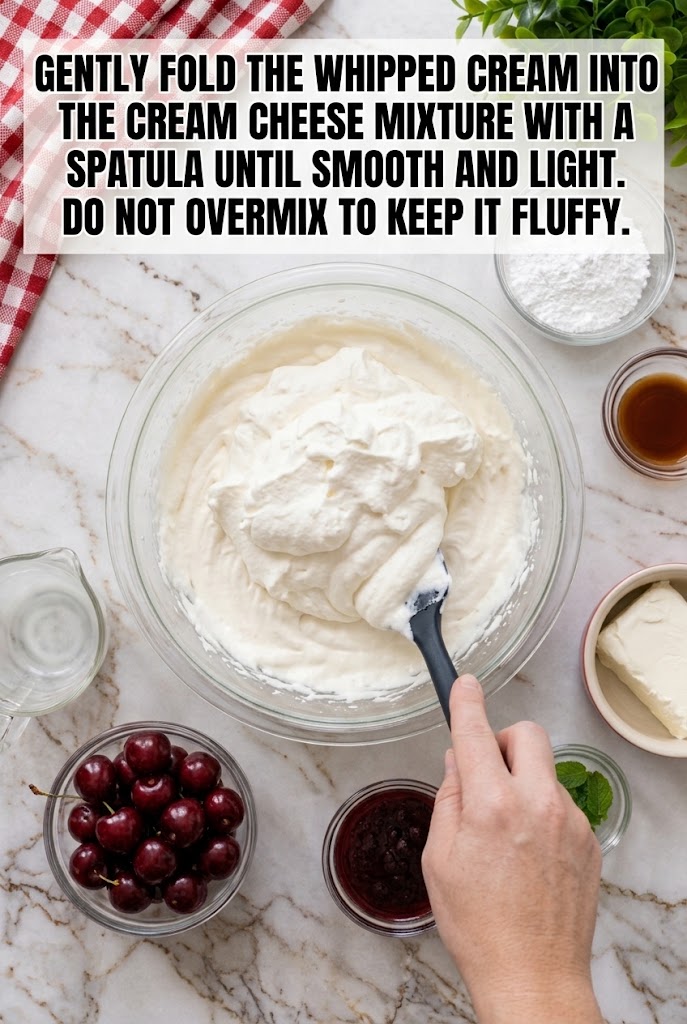
- Gently fold the mixtures together. Add the prepared whipped cream to the cream cheese mixture. Switch to a flexible rubber spatula for this step. Gently fold the whipped cream into the denser cream cheese mixture using a figure-eight motion. Lift from the bottom and fold over the top. Continue folding just until the two mixtures are combined and the color is consistent. Stop mixing as soon as it is smooth. Do not overmix, as this will deflate the air bubbles you worked hard to create, resulting in a dense filling rather than a fluffy one. The goal is a light, airy consistency that holds its shape but feels cloud-like.
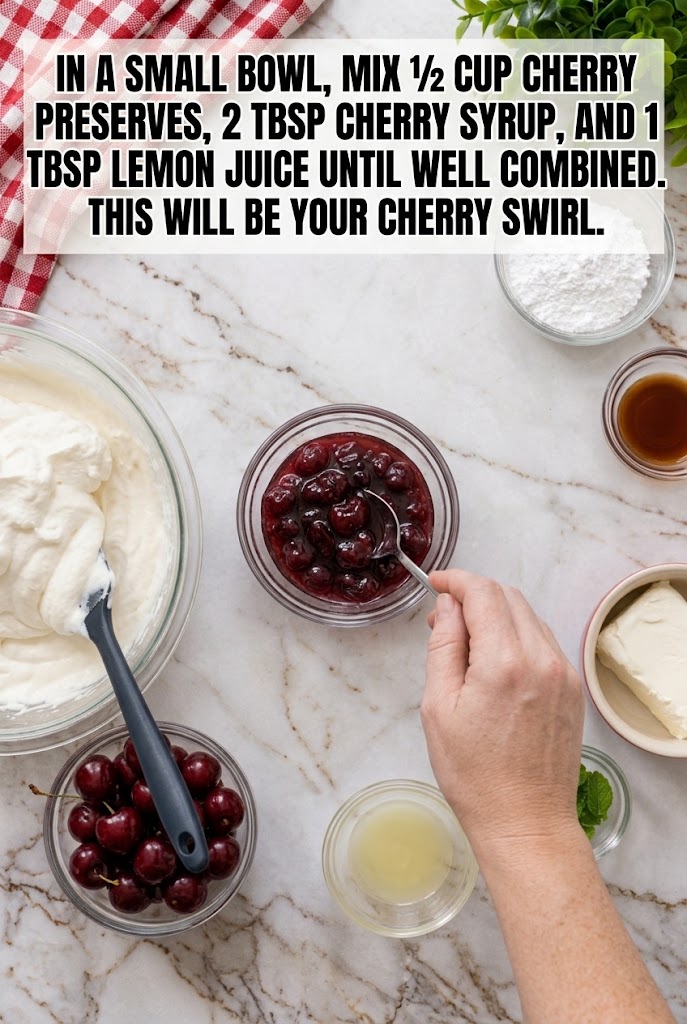
- Prepare the cherry swirl component. In a small bowl, combine the 1/2 cup of cherry preserves, 2 tbsp of cherry syrup, and 1 tbsp of lemon juice. Stir these ingredients together until they are well combined and the texture is relatively uniform. The lemon juice helps to thin the preserves slightly, making them easier to pipe and swirl without tearing the delicate filling. Set this mixture aside. This liquid-sweet layer will be the vibrant pink ribbon that runs through the white cheesecake filling.
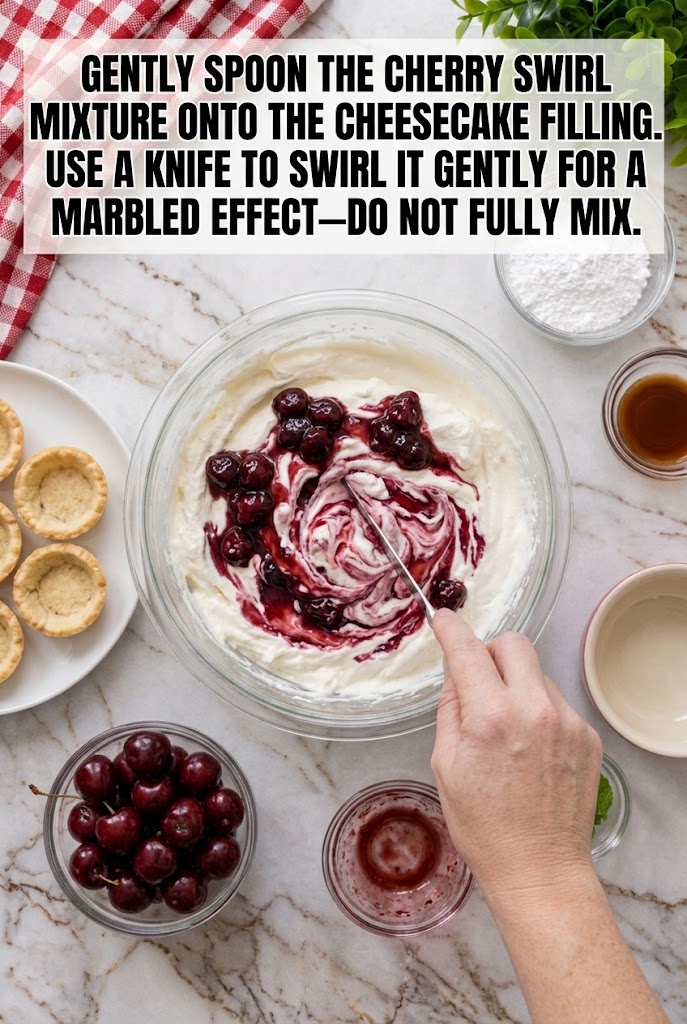
- Assemble the marbled filling. Take the large bowl containing the folded cheesecake mixture. Spoon dollops of the cherry swirl mixture directly onto the surface of the white filling. Using a knife or a skewer, gently drag the tool through the fillings in a figure-eight pattern or zigzag motion to create a marbled effect. Do not fully mix the two components; the goal is distinct ribbons of pink and white. This technique ensures that every bite offers a burst of cherry flavor alongside the creamy cheese. Transfer the marbled filling into a piping bag fitted with a star tip.
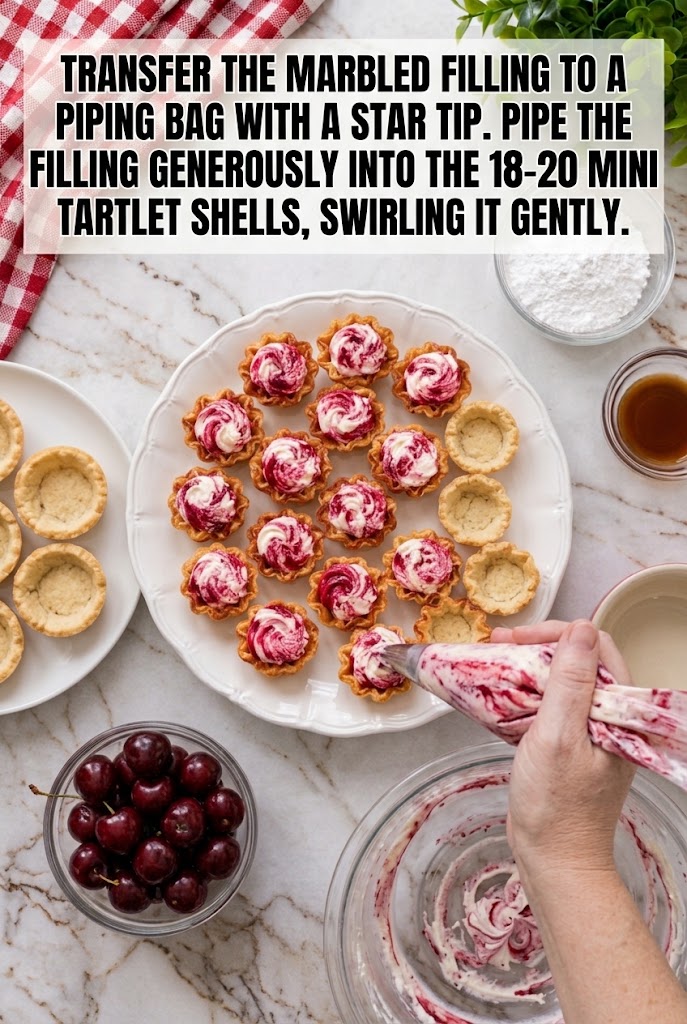
- Pipe the tartlets. Hold the piping bag vertically over the center of each mini tartlet shell. Squeeze the bag steadily to fill the shells generously, allowing the marbled filling to rise slightly above the rim for a professional look. As you pipe, you can gently rotate the bag to create a decorative swirl pattern on top. Fill all 18-20 shells until they are full but not overflowing to the point of spilling over the edges. Ensure the filling is packed evenly so the tartlets sit flat on the serving platter.
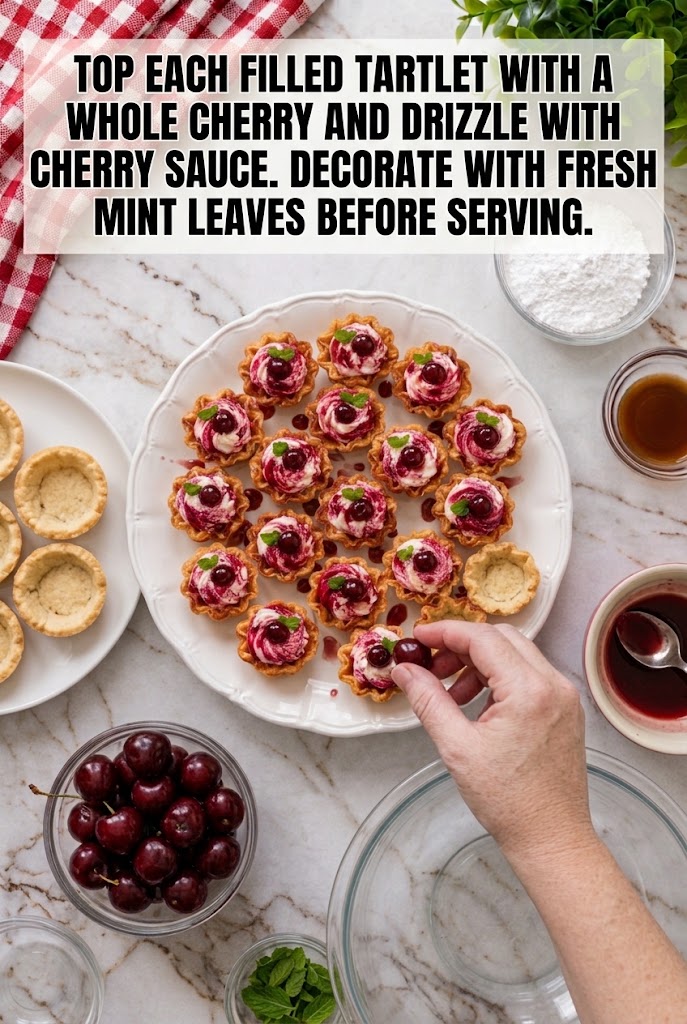
- Add the final garnishes. Place one whole cherry on top of each filled tartlet, pressing it gently into the cream so it stays in place. Drizzle the 1/4 cup of cherry sauce over the cherries and the surrounding cream in a zigzag or circular motion. Finally, tuck a small fresh mint leaf next to the cherry on each tartlet for a pop of color. Serve immediately or chill briefly to set the shapes before presenting.
Why This Recipe Works
The success of these tartlets relies heavily on the separation of fat phases. By whipping the heavy cream separately and then folding it into the cream cheese, we introduce air pockets that lighten the density of the traditional dense cheesecake. The instruction to “do not overmix” is the most critical factor here; preserving those air bubbles ensures the filling remains fluffy rather than heavy. Additionally, the cherry swirl is kept distinct from the main filling. By only partially combining the preserves with the cream cheese via a knife swirl, we maintain intense pockets of fruit flavor that contrast beautifully with the mild tang of the cheese. The addition of lemon juice in the swirl prevents the fruit from tasting cloying, balancing the sugar content effectively.
Doneness And Troubleshooting
If the cream cheese mixture appears lumpy after beating, it likely means the cheese was not sufficiently softened before mixing. Allow it to sit at room temperature for another 15 minutes and re-beat gently. If the filling collapses or becomes runny during piping, the whipped cream was likely under-whipped or overmixed during the folding stage. Always check for stiff peaks before folding. If the cherry swirl mixes too much with the white filling and loses its marbled appearance, use less pressure when dragging the knife and ensure the preserves are not too thin; if they are, chill them briefly before swirling. For the tartlet shells, if they become soggy, ensure they are completely cooled before filling and consider brushing the inside with a thin layer of melted chocolate to create a moisture barrier, though this is optional.
Substitutions And Variations
For a lighter version, you can substitute half of the heavy whipping cream with Greek yogurt, though this will result in a slightly denser texture and more tang. If you prefer a non-dairy option, use a plant-based cream cheese and coconut cream, keeping in mind that coconut cream may impart a subtle coconut flavor. Instead of cherry preserves, raspberry or strawberry preserves work well, provided you adjust the lemon juice amount to taste, as some berries are naturally sweeter. For a chocolate variation, replace the cherry swirl with a warm ganache or Nutella, swirling it into the filling for a chocolate-marble effect. If you cannot find mini tartlet shells, you can press the filling into a standard muffin tin lined with paper liners, though the cooking time and presentation will differ slightly.
Serving Suggestions
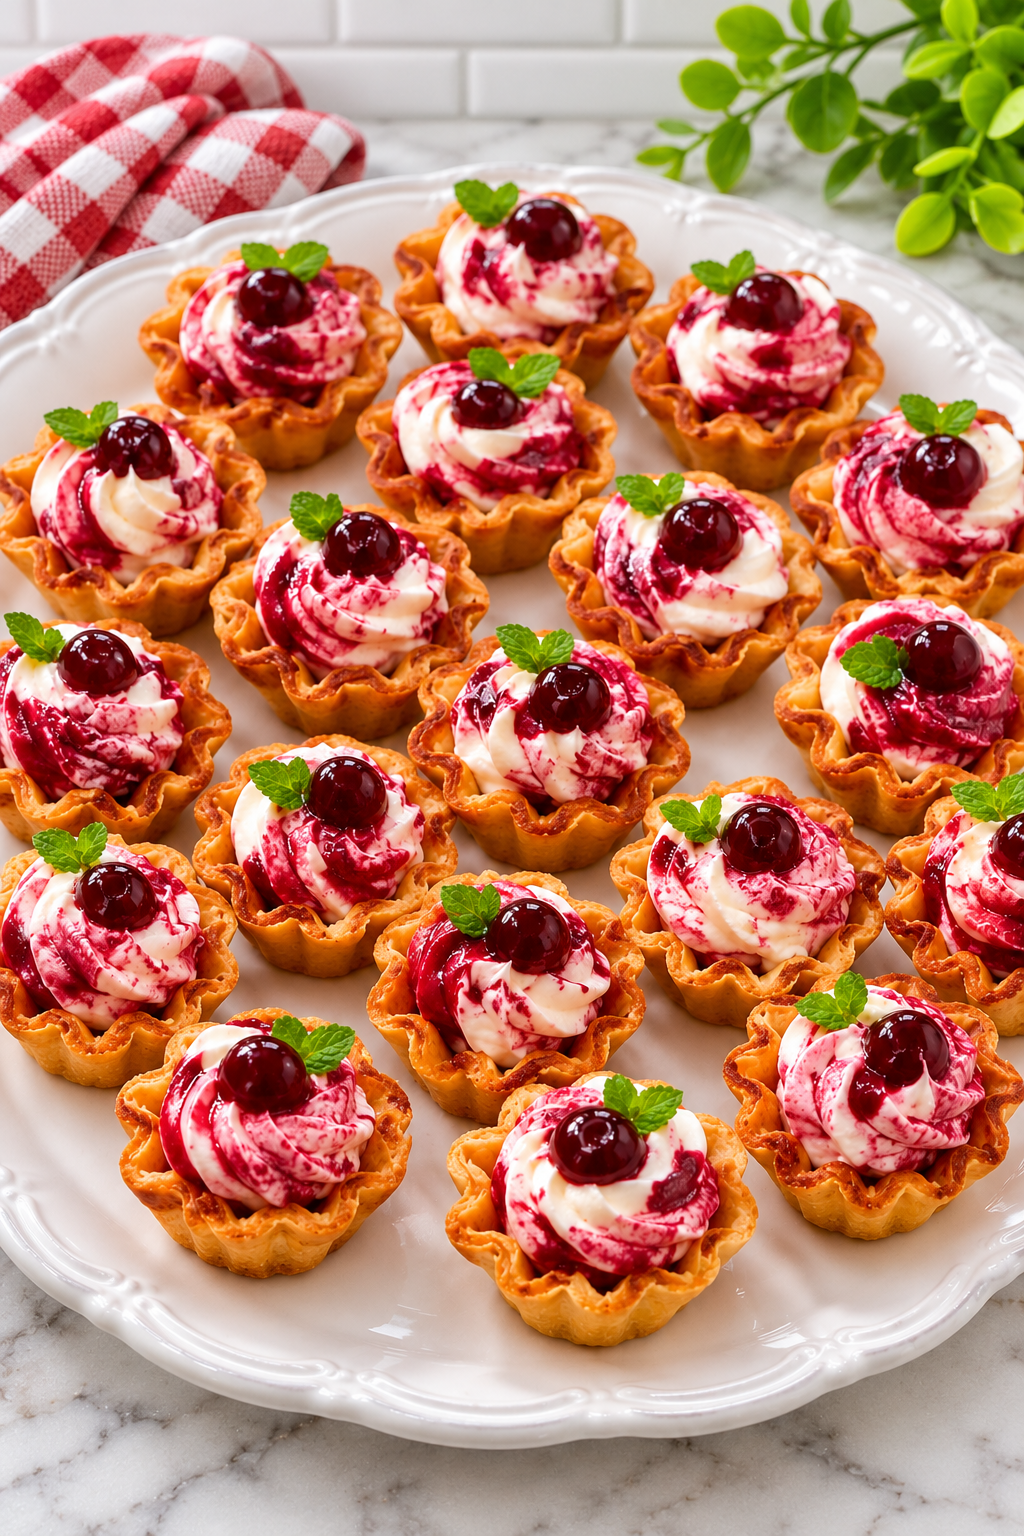
These tartlets are perfect for summer picnics, bridal showers, or evening tea parties due to their bite-sized nature. They pair exceptionally well with a hot cup of black coffee or Earl Grey tea, which complements the fruit flavors. For a festive presentation, arrange them on a tiered stand with alternating layers of red and white napkins. You can also serve them alongside a scoop of vanilla bean ice cream for a deconstructed dessert experience.
Storage And Reheating
Store any leftover tartlets in an airtight container in the refrigerator for up to 2 days. Because the filling contains fresh whipped cream and dairy, they should not be left at room temperature for more than two hours. Do not freeze the assembled tartlets, as the whipped cream will separate and lose its texture upon thawing, and the tartlet shells will become soggy. If you need to make ahead, prepare the filling and the cherry swirl separately and keep them chilled. Pipe and assemble the tartlets no more than 4 hours before serving to maintain the crispness of the shells. There is no need to reheat these tartlets; they are best served chilled.
With careful attention to the folding technique and the swirling method, you can create a bakery-quality dessert right in your own kitchen. For more delicious ideas and inspiration, Follow Hailee Recipes on Pinterest.
Mini Cherry Cheesecake Tartlets with Creamy Cherry Swirl
Ingredients
Method
- Whip 1 cup of heavy whipping cream with an electric mixer on medium-high speed until stiff peaks form. Set aside.
- Beat 8 oz softened cream cheese, 1/2 cup powdered sugar, and 1 tsp vanilla extract with an electric mixer on medium speed until smooth and creamy.
- Gently fold the whipped cream into the cream cheese mixture with a spatula until smooth and light. Do not overmix to keep it fluffy.
- Mix 1/2 cup cherry preserves, 2 tbsp cherry syrup, and 1 tbsp lemon juice until well combined.
- Spoon the cherry swirl mixture onto the cheesecake filling. Use a knife to swirl it gently for a marbled effect—do not fully mix.
- Transfer the marbled filling to a piping bag with a star tip. Pipe the filling generously into the 18-20 mini tartlet shells.
- Top each filled tartlet with a whole cherry and drizzle with cherry sauce. Decorate with fresh mint leaves before serving.