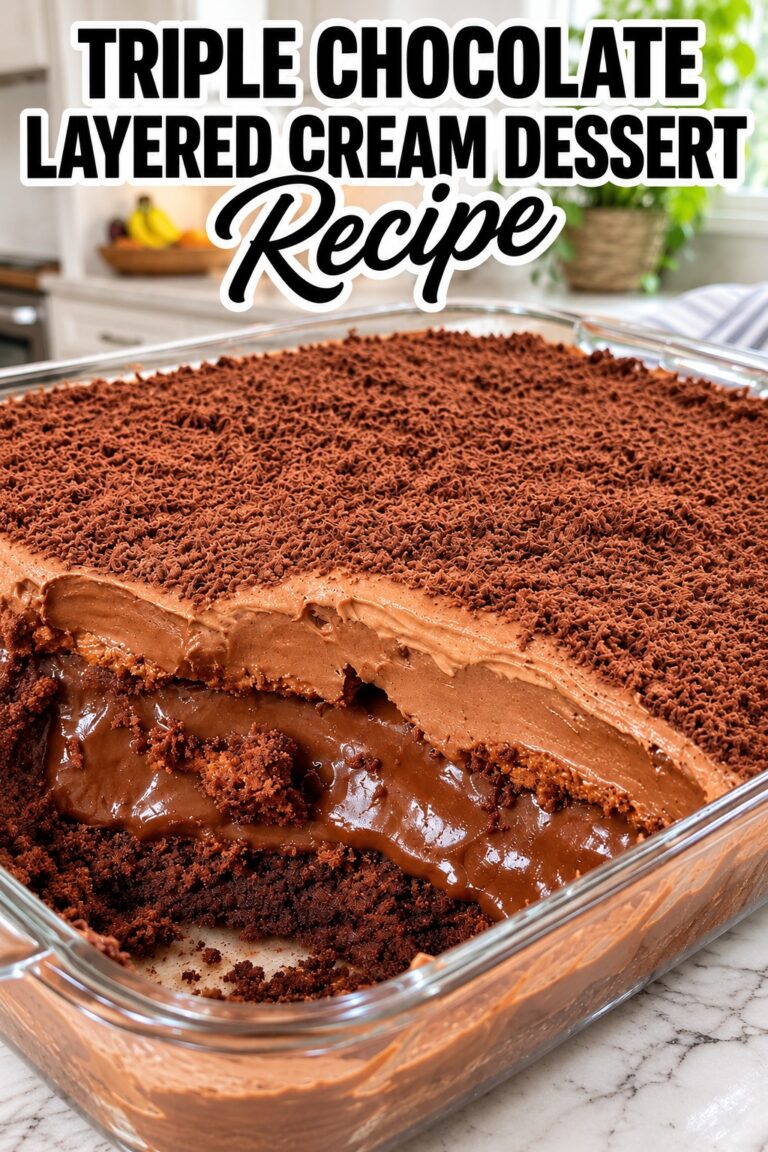
Christmas Red Velvet M&M Cookies
Christmas Red Velvet M&M Cookies

Christmas Red Velvet M&M Cookies deliver a festive red hue, a tender crumb with subtle cocoa notes, and bursts of sweet white chocolate and colorful candies perfect for holiday gatherings.
Ingredients
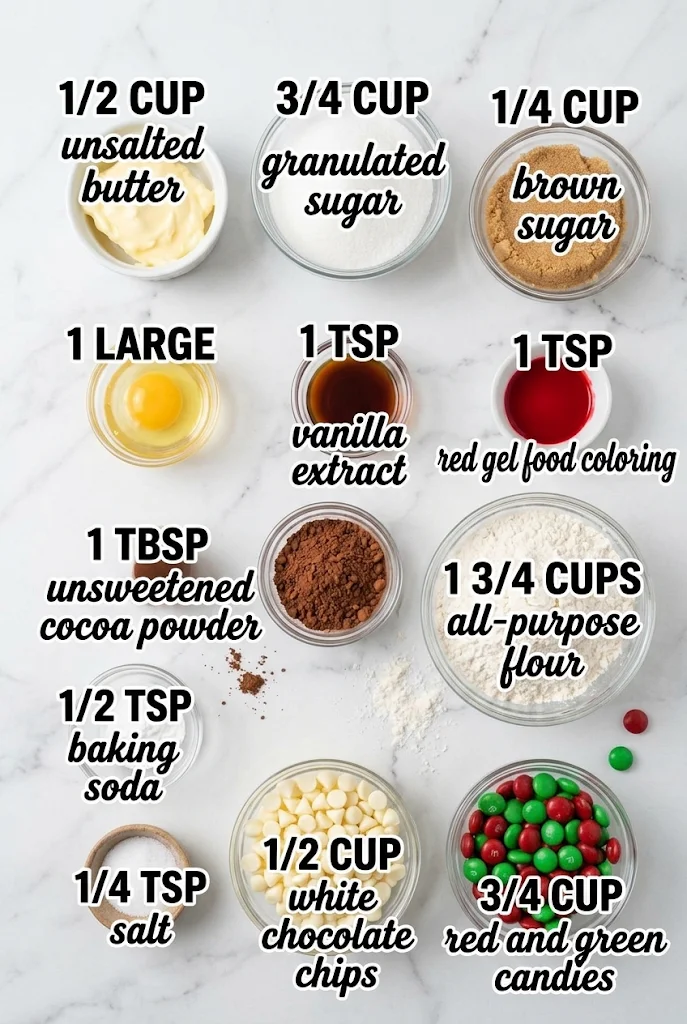
- Unsalted butter (1/2 cup): Use softened to room temperature so it creams properly with the sugars; this creates the airy texture essential for soft cookies.
- Granulated sugar (3/4 cup): Provides sweetness and helps create slightly crisp edges while keeping the centers chewy.
- Brown sugar (1/4 cup): Adds moisture and a hint of caramel flavor that complements the red velvet profile.
- Egg (1 large): Acts as the primary binder to hold the dough together and adds richness.
- Vanilla extract (1 tsp): Enhances the overall flavor depth and rounds out the cocoa taste.
- Red gel food coloring (1 tsp): Essential for achieving the vibrant holiday red without thinning the dough like liquid coloring would.
- Unsweetened cocoa powder (1 tbsp): Provides the classic red velvet undertone and deepens the color of the dough.
- All-purpose flour (1 3/4 cups): The structural base; measure by spooning into the cup and leveling off for accuracy to avoid dense cookies.
- Baking soda (1/2 tsp): Helps the cookies spread slightly and rise, creating a lighter texture.
- Salt (1/4 tsp): Balances the sweetness and intensifies the chocolate flavors.
- White chocolate chips (1/2 cup): Folded into the dough for creamy pockets of sweetness that contrast with the red velvet base.
- Red and green candies (3/4 cup): Adds festive crunch and visual appeal; use standard candy-coated chocolates or similar hard candies.
How To Make Christmas Red Velvet M&M Cookies
- Cream Butter and Sugars
Start by ensuring your unsalted butter is truly softened; it should yield slightly to gentle pressure but not be melted. In a large mixing bowl, combine the softened butter, granulated sugar, and brown sugar. Using an electric hand mixer or a stand mixer fitted with the paddle attachment, beat the mixture on medium speed until it becomes light, fluffy, and pale in color. This process usually takes about 2 to 3 minutes. Proper creaming incorporates air bubbles into the fat, which is the foundation for a cookie that rises well and has a tender, cake-like crumb rather than a flat, greasy one. If the mixture looks grainy or separated, you may need to beat it a little longer or ensure the butter wasn’t too cold to begin with. - Incorporate Wet Ingredients and Color
Once the butter mixture is fluffy, add the large egg, vanilla extract, and red gel food coloring. Beat on medium-low speed just until the ingredients are fully combined and the mixture appears smooth and uniform in color. It is crucial to use gel food coloring here rather than liquid drops because liquid can alter the hydration balance of the dough, potentially making it too wet and causing the cookies to spread excessively. Scrape down the sides of the bowl with a rubber spatula to ensure no streaks of raw egg or unmixed coloring remain. The dough should now have a consistent, vibrant red hue throughout.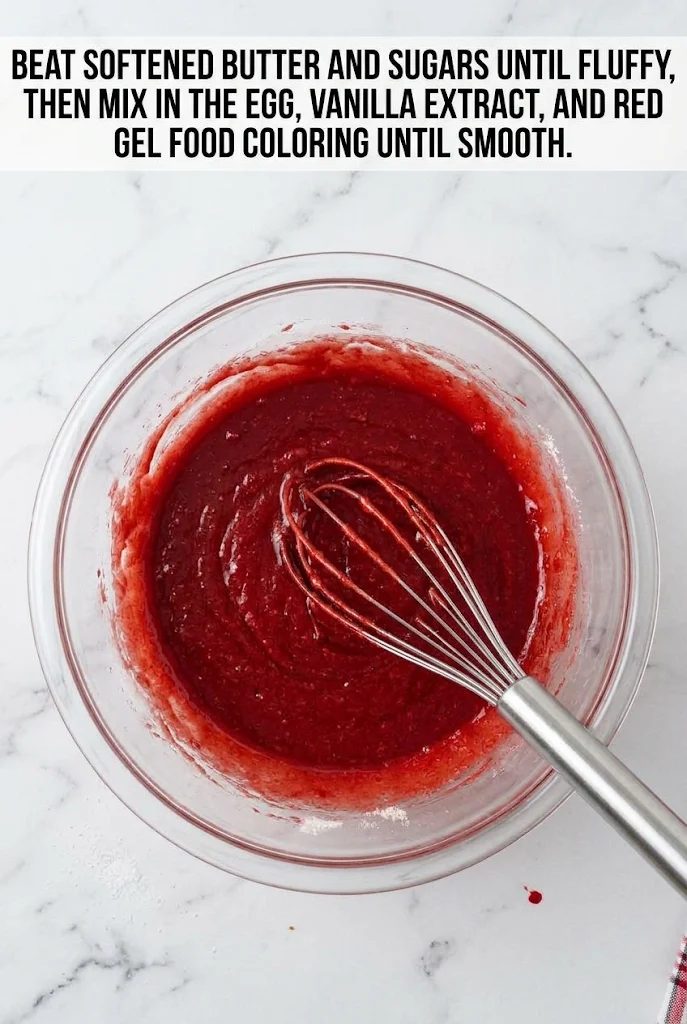
- Mix Dry Ingredients and Folds
In a separate medium bowl, whisk together the all-purpose flour, unsweetened cocoa powder, baking soda, and salt. Ensure there are no clumps of cocoa powder before adding them to the wet mixture. Gradually add the dry ingredients to the wet mixture, switching to low speed or stirring by hand once the flour begins to incorporate. Mix only until the flour streaks disappear; overmixing at this stage develops gluten, which leads to tough, chewy cookies instead of the desired soft texture. Once the flour is mixed in, stop the machine. Gently fold in the white chocolate chips and the red and green candies using a spatula. Be careful not to crush the candies during this step, as you want them to remain intact for those delightful pops of flavor and color in every bite.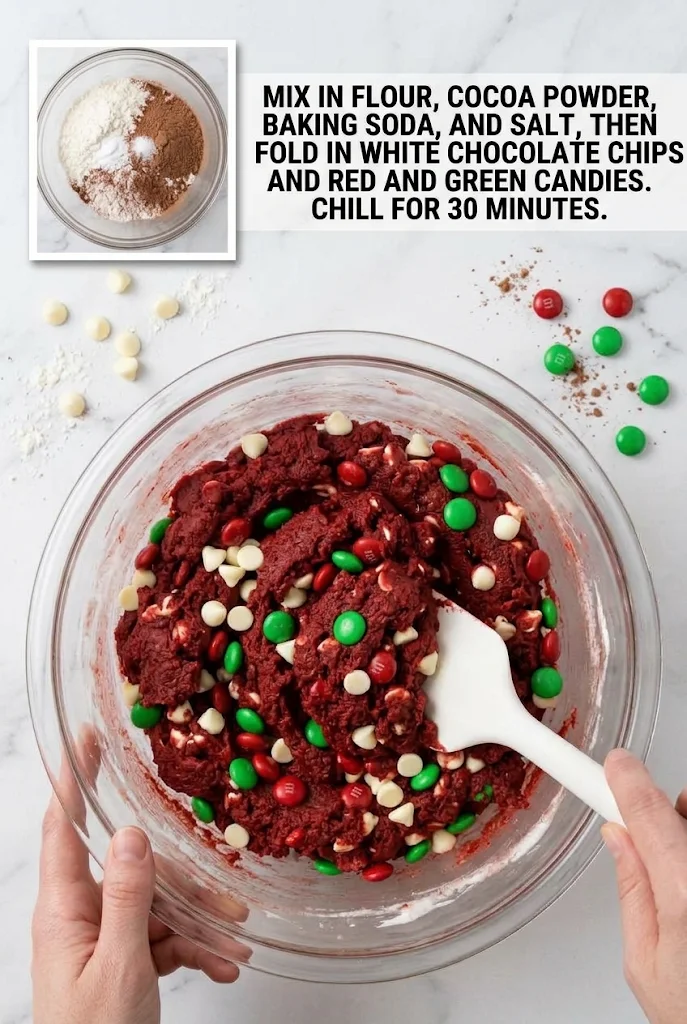
- Chill the Dough
Cover the bowl tightly with plastic wrap or transfer the dough to an airtight container. Place the dough in the refrigerator to chill for at least 30 minutes. While this recipe does not require an overnight chill, resting the dough for half an hour allows the flour to fully hydrate and the fats to firm up. This step is critical for preventing the cookies from spreading too much on the baking sheet. If you skip this step, the cookies may become flat and lose their shape. The chilled dough will also be easier to scoop into neat balls. - Scoop and Prepare Baking Sheets
Preheat your oven to 350°F (175°C). Line two large baking sheets with parchment paper to ensure even baking and easy cleanup. Remove the dough from the fridge. Using a cookie scoop or a tablespoon, portion the chilled dough into uniform balls, roughly 1.5 inches in diameter. Place the dough balls onto the prepared baking sheets, spacing them about 2 inches apart to allow room for slight spreading. Press a few extra white chocolate chips and additional red and green candies onto the tops of each dough ball. This decorative touch ensures every cookie looks festive and guarantees that the first bite is loaded with mix-ins.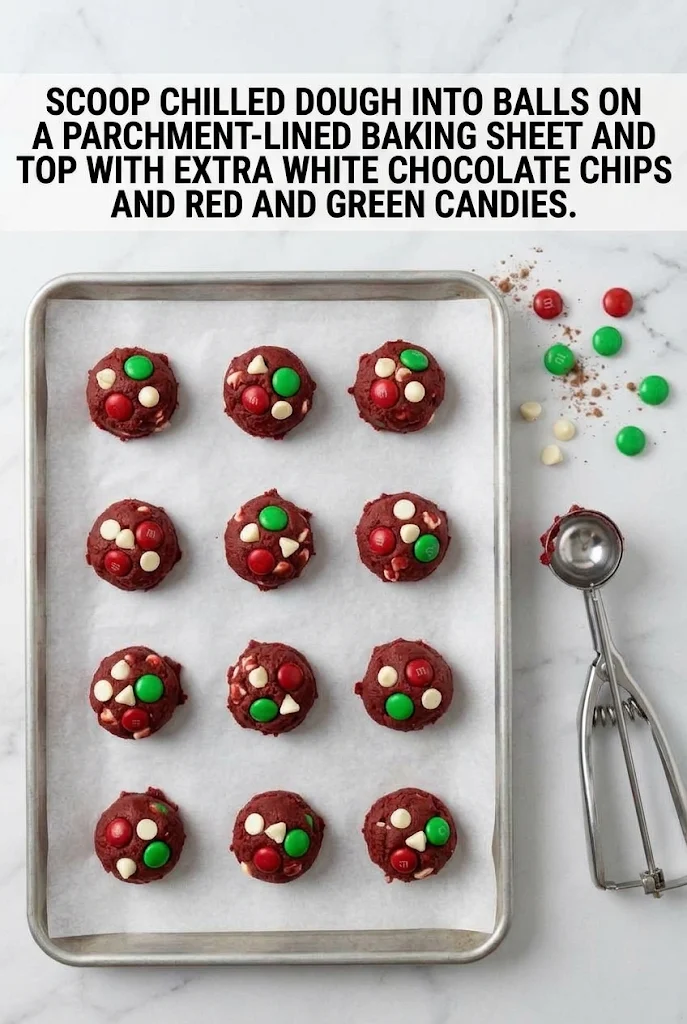
- Bake Until Edges Are Set
Place the baking sheets in the center rack of the preheated oven. Bake for 10 to 12 minutes. Watch the cookies closely toward the end of the time range. They are done when the edges look set and slightly golden, but the centers still appear soft and slightly underbaked. Do not wait for the centers to look fully firm, as they will continue to cook on the hot pan after removal. Overbaking will result in dry, hard cookies, whereas removing them just as the edges set yields a soft, chewy interior. Rotate the pans halfway through baking if your oven has hot spots to ensure even browning.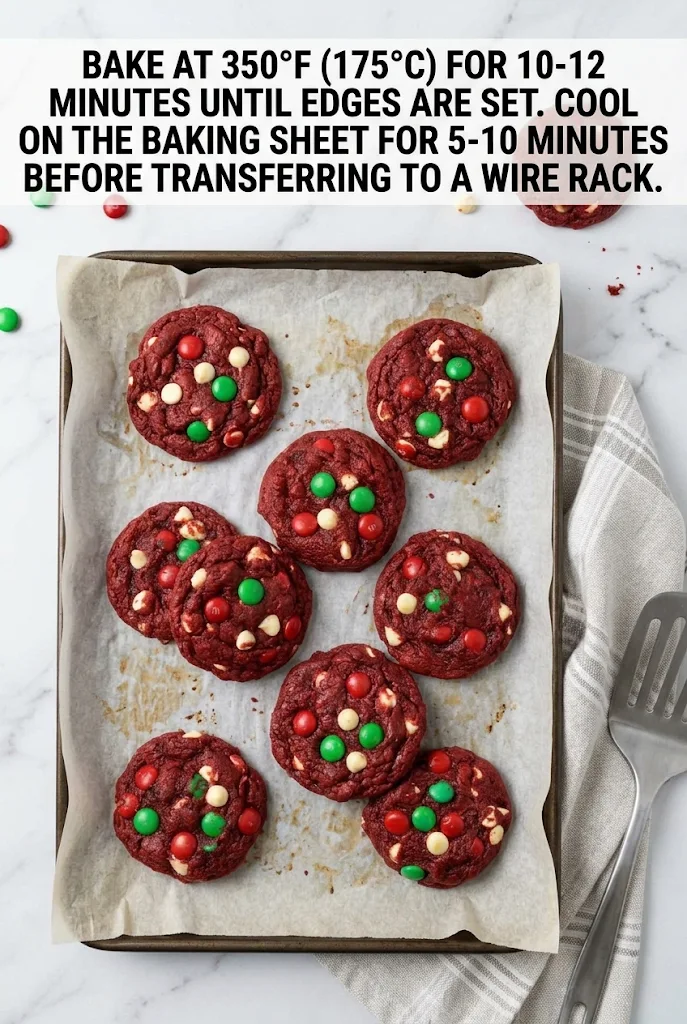
- Cool and Transfer
Remove the baking sheets from the oven and let the cookies cool directly on the hot baking sheet for 5 to 10 minutes. This resting period allows the cookies to set structurally so they do not fall apart when moved. After 5 minutes, carefully transfer the cookies to a wire cooling rack using a spatula. Allow them to cool completely on the rack before serving or storing. This final cooling step ensures the texture stabilizes and the white chocolate chips firm up slightly without melting away.
Why This Recipe Works
This recipe succeeds by balancing the classic elements of red velvet with the fun of holiday candies. The inclusion of both granulated and brown sugars creates a dual-texture experience: the granulated sugar promotes crispness at the edges, while the brown sugar retains moisture for a soft, chewy center. The small amount of cocoa powder provides the signature red velvet flavor without overpowering the sweetness of the white chocolate and candies. Chilling the dough is the secret weapon here; it solidifies the butter, which controls the spread rate, resulting in thick, puffy cookies that hold their shape perfectly. The gel food coloring ensures a vivid red appearance without compromising the dough’s consistency, making these cookies as visually striking as they are delicious.
Doneness And Troubleshooting
If your cookies spread too much and become flat, it is likely due to warm butter or skipping the chilling step. Always ensure your butter is softened but not melted, and never skip the 30-minute refrigeration. If the cookies are too cakey or dry, you may have overmixed the flour after adding it, or baked them for too long. Remember, the visual cue for doneness is “edges set, centers soft,” not “fully cooked through.” If the colors bleed significantly during baking, it could be due to using liquid food coloring instead of gel, or the candies melting too quickly. Using high-quality, heat-stable candies and gel coloring minimizes this issue. If the dough is too sticky to handle after chilling, let it sit at room temperature for 5 minutes before scooping.
Substitutions And Variations
You can substitute the unsalted butter with a plant-based butter stick designed for baking, though the texture might vary slightly. For a dairy-free version, use dairy-free white chocolate chips and ensure your candies are free of milk solids. If you prefer a darker red velvet flavor, increase the cocoa powder to 2 tablespoons, but note this may darken the dough color. You can swap the red and green candies for mini M&Ms in any holiday color combination, such as gold and silver for New Year’s Eve, or plain red M&Ms for a more traditional look. Adding 1/2 teaspoon of cinnamon to the dry ingredients can introduce a warm spice note that pairs beautifully with the cocoa and white chocolate.
Serving Suggestions
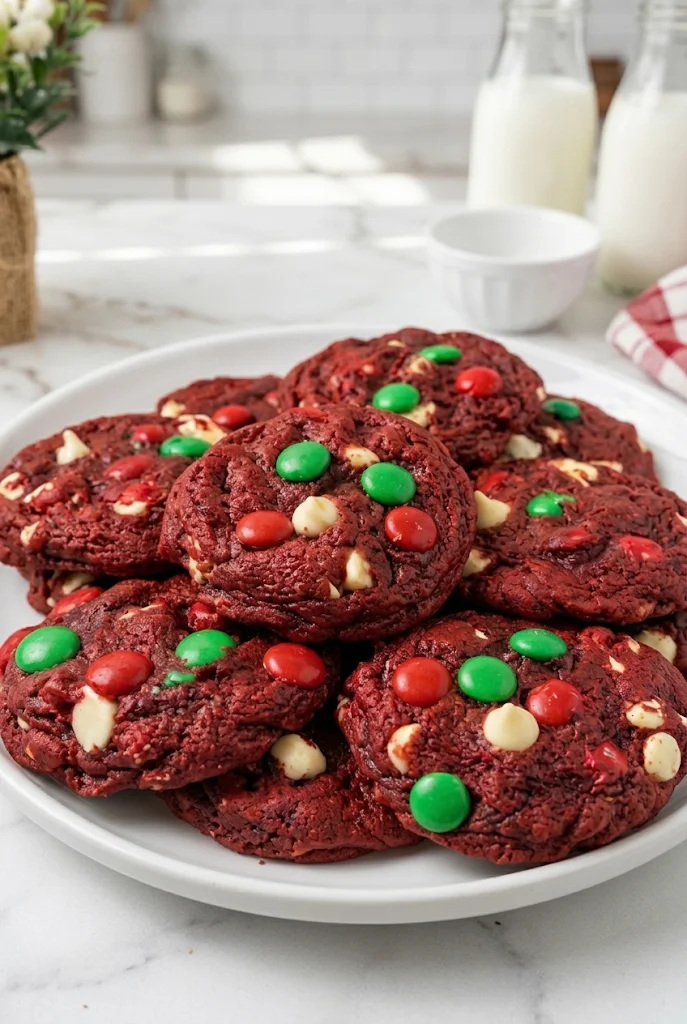
These cookies are ideal for holiday cookie exchanges, school parties, or as a festive treat with a glass of cold milk. They pair exceptionally well with hot cocoa or coffee, where the rich red velvet flavor shines against the warmth of the beverage. For a party presentation, arrange the cooled cookies on a tiered stand lined with red and green napkins. You can also serve them alongside other holiday treats like gingerbread men or peppermint bark to create a diverse dessert platter.
Storage And Reheating
Store cooled cookies in an airtight container at room temperature for up to 5 days. Layer them between sheets of parchment paper to prevent the candies from sticking to the lid or other cookies. For longer storage, freeze the unbaked dough balls on a baking sheet, then transfer them to a freezer bag; bake directly from frozen, adding 1-2 minutes to the baking time. Cooked cookies can also be frozen for up to 3 months. To reheat, place a cookie in the microwave for 10-15 seconds to restore its softness, or warm it in a 300°F oven for 5 minutes.
For more seasonal baking inspiration and reliable kitchen tips, Follow Hailee Recipes on Pinterest.
Christmas Red Velvet M&M Cookies
Ingredients
Method
- Cream softened butter and sugars until fluffy, then mix in egg, vanilla, and red gel coloring.
- Whisk flour, cocoa, baking soda, and salt; fold into wet mixture, then add white chocolate chips and candies.
- Chill dough for 30 minutes.
- Scoop dough into balls, top with extra candies, and place on parchment-lined sheets.
- Bake at 350°F (175°C) for 10-12 minutes until edges are set.
- Cool on sheet for 5-10 minutes, then transfer to wire rack.