
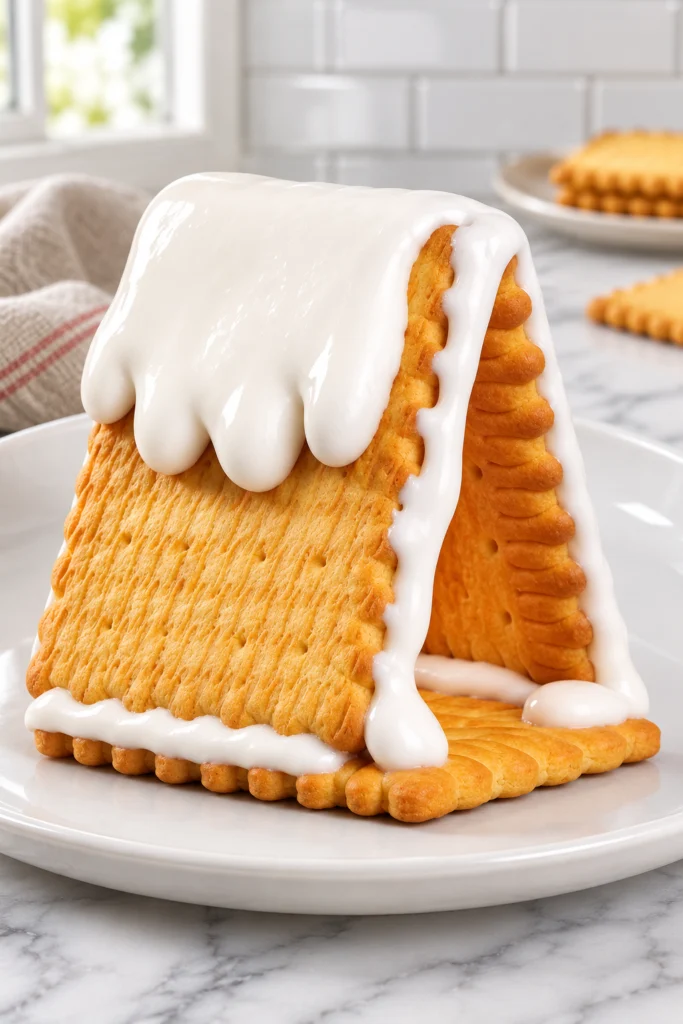
Christmas Cookie House Recipe
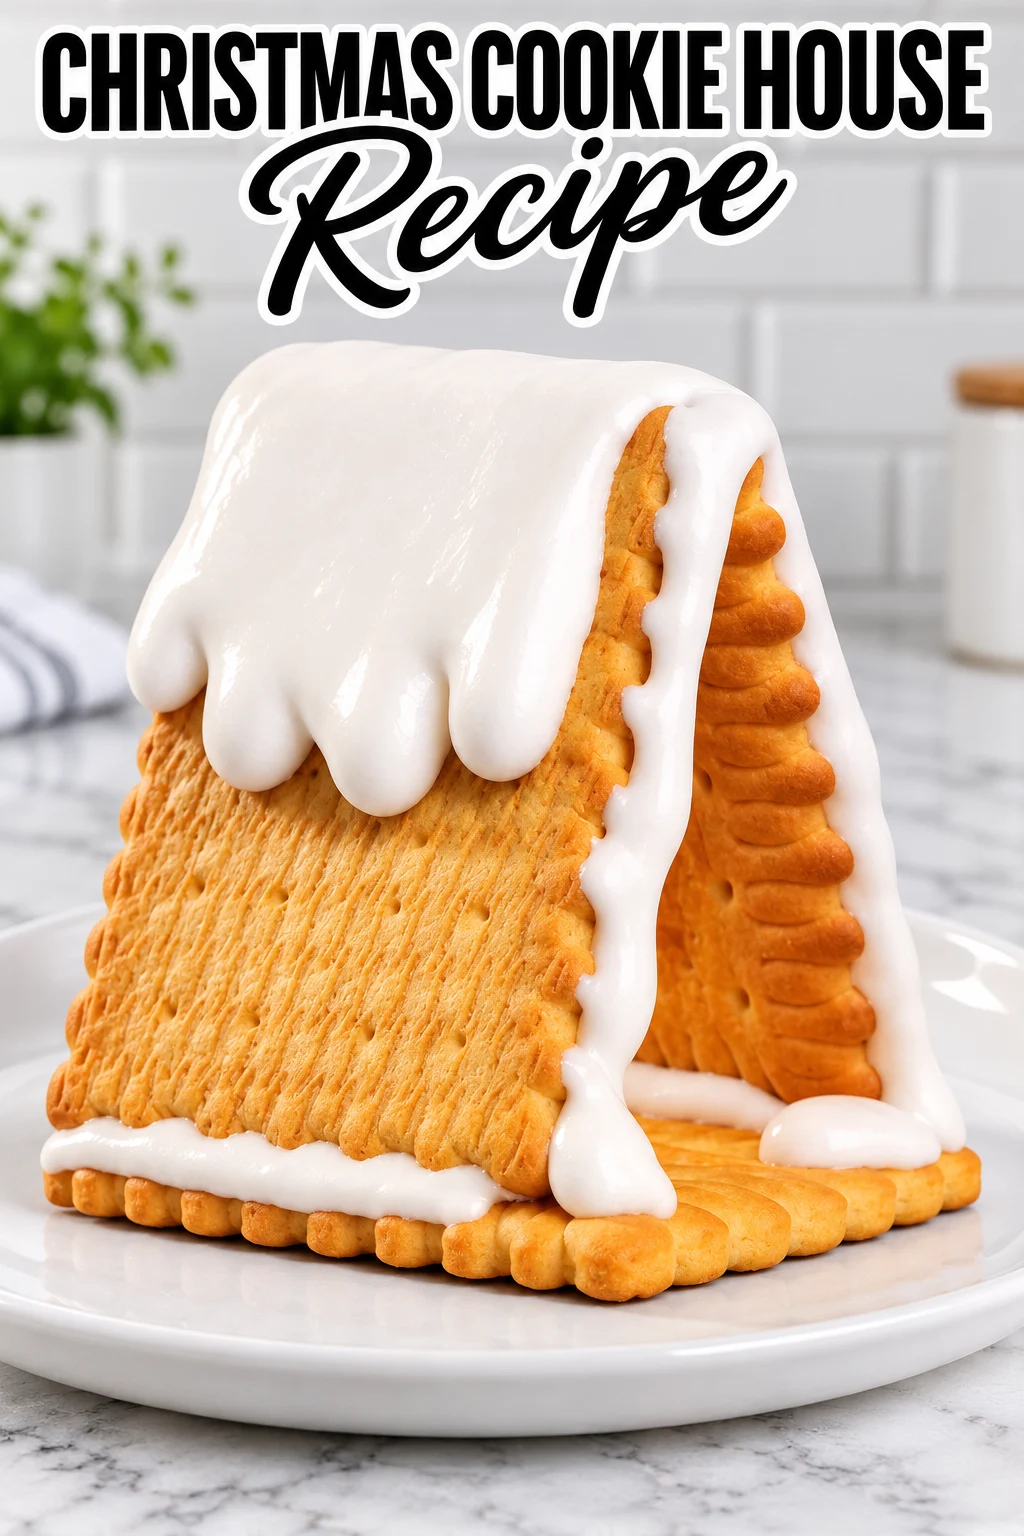
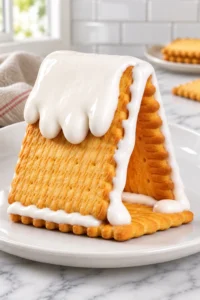
This Christmas cookie house is a cozy, low-stress project that looks impressive on a holiday table. The golden butter biscuits make simple walls and a roof, and the thick white royal icing gives you a snowy ridge that tastes sweet and crisp. It’s a fun build for a rainy afternoon, and it works for kids and grown-ups alike.
Ingredients
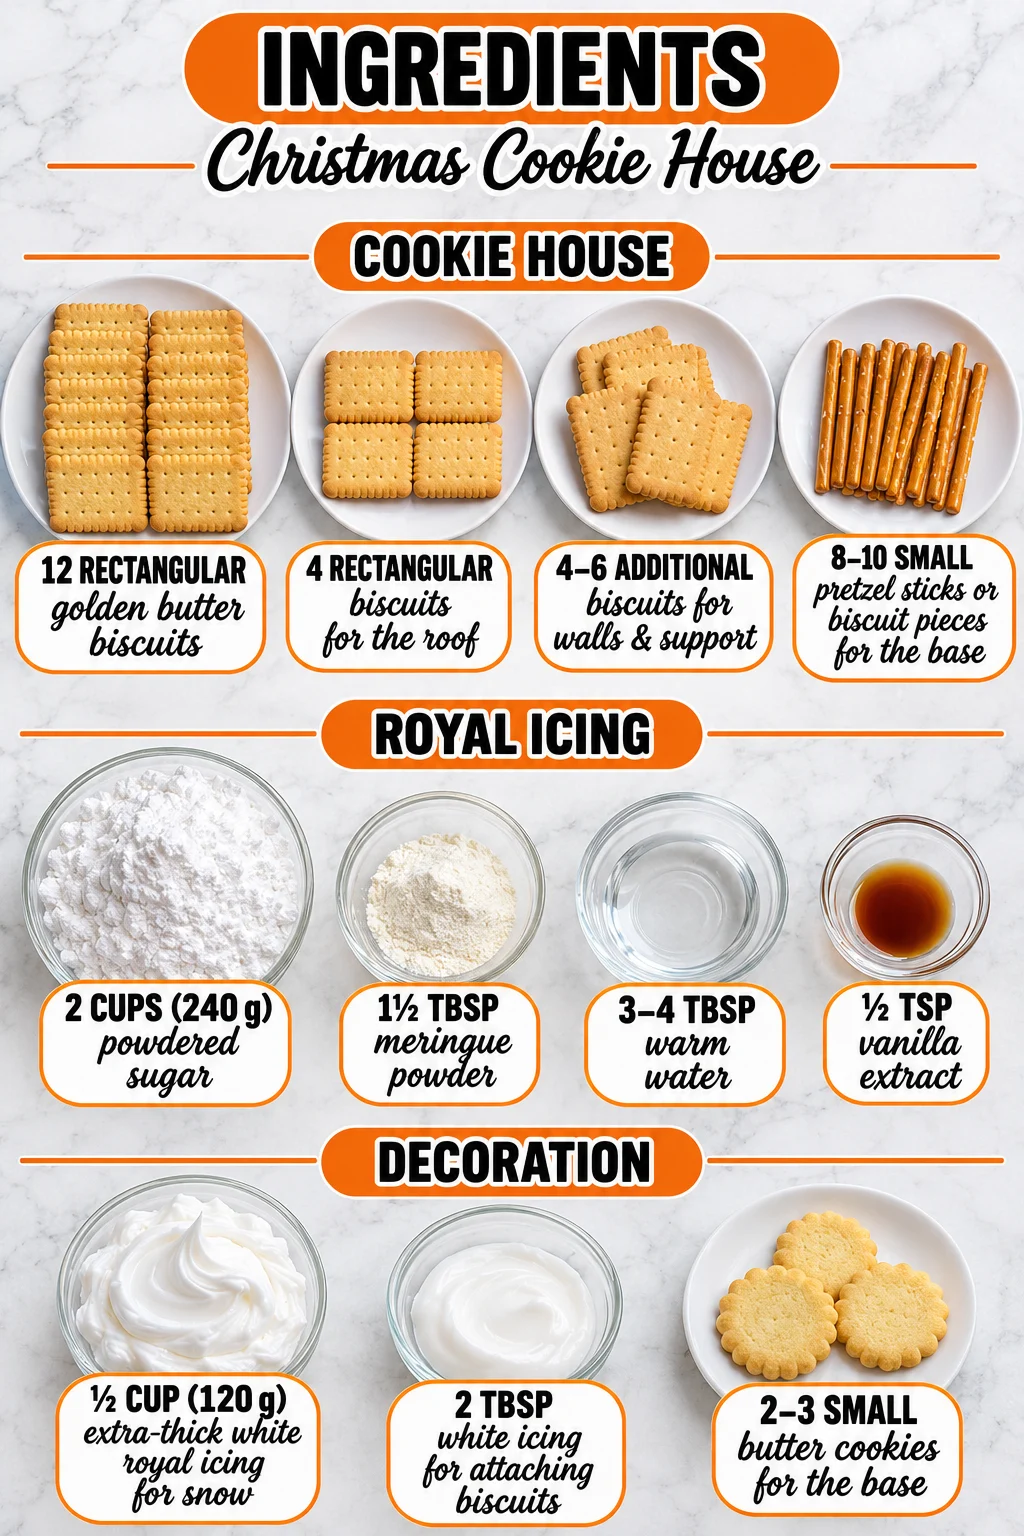
- 12 rectangular golden butter biscuits — These are the main building pieces for the walls and base. Pick flat, unbroken biscuits so the panels line up cleanly.
- 4 rectangular biscuits for the roof — Use these as the two roof panels. Keep them the same size as your walls so the A-frame sits evenly.
- 4-6 additional biscuits for walls and support — Extra biscuits give you spares and props for holding panels while the icing sets. Break any that crack, rather than forcing a bad piece into place.
- 8-10 small pretzel sticks or biscuit pieces for the base — These form a sturdy foundation and help the house stand flat. Pretzel sticks are firm and hold up well under icing.
- 2 cups (240 g) powdered sugar — This is the sweet base of the royal icing. Sift it first if it is clumpy, so the icing comes out smooth.
- 1½ tbsp meringue powder — This is what lets the icing dry hard enough to hold the house together. Regular egg whites are not a safe or reliable swap here.
- 3-4 tbsp warm water — Add it slowly to control the thickness of the icing. Too much water makes it runny and weak.
- ½ tsp vanilla extract — This adds a warm, familiar flavor to the icing. It does not change the structure.
- ½ cup (120 g) extra-thick white royal icing for snow — This stiffer batch is piped over the ridge and down the roof for the snowy look. Keep it thicker than your assembly icing so the drips hold their shape.
- 2 tbsp white icing for attaching biscuits — This is the glue for the small pieces and decorations. A little goes a long way.
- 2-3 small butter cookies for the base — These add a finished, cottage-style detail around the bottom edge. Choose small, sturdy cookies that sit flat.
How To Make Christmas Cookie House Recipe
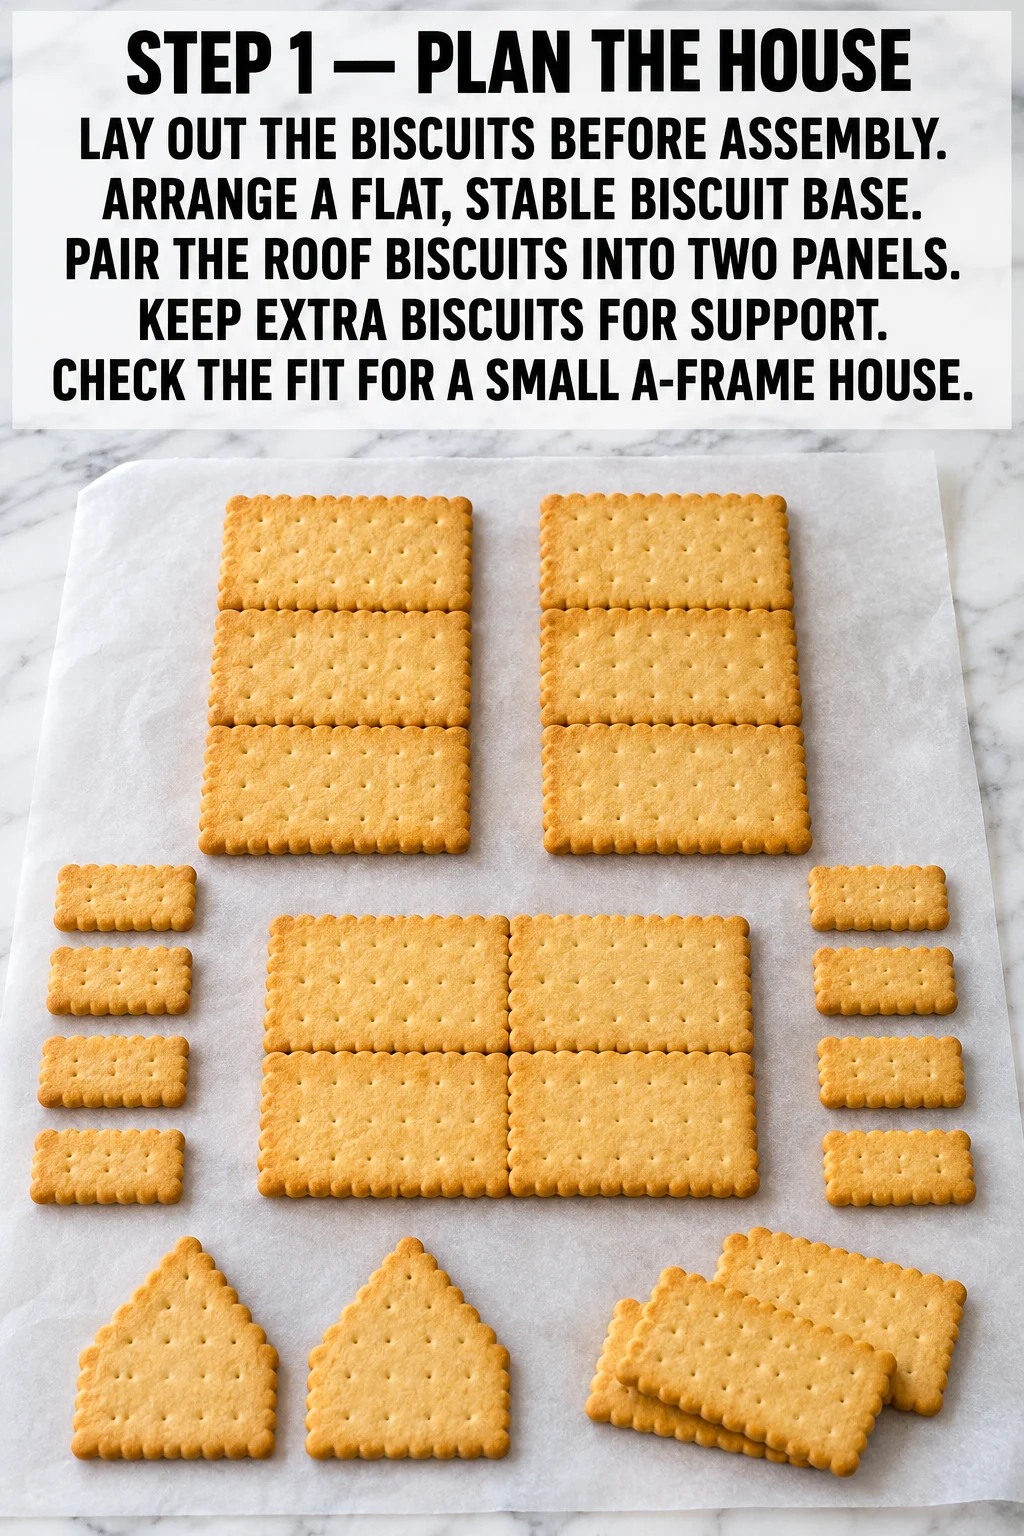
- Plan the house. Lay out the golden butter biscuits on a flat, clean work surface before you start icing anything. Arrange a stable base for the house and set the two roof panels aside. Keep the extra biscuits nearby for support. Check the fit by standing the pieces up in an A-frame shape. The roof panels should meet neatly at the top with no big gaps. Pro Tip: Do the dry fit first, because it’s much easier to trim or swap a biscuit now than after the icing has started to set.
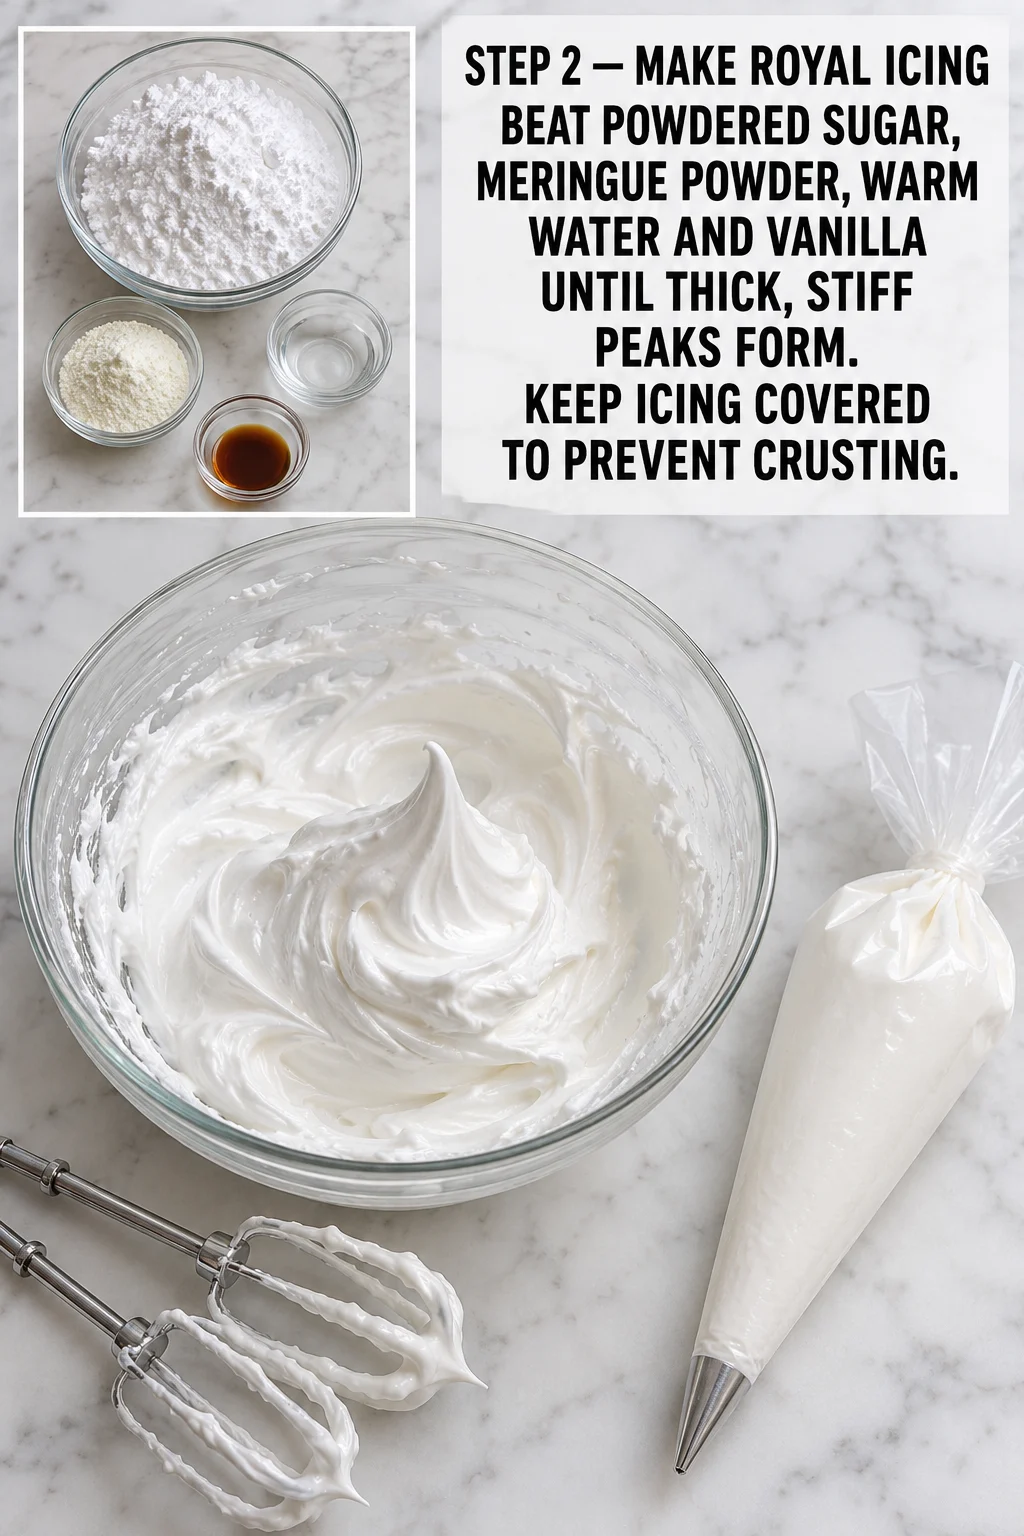
- Make the royal icing. In a large bowl, beat the 2 cups (240 g) powdered sugar, 1½ tbsp meringue powder, 3-4 tbsp warm water, and ½ tsp vanilla extract until thick and stiff peaks form. Start with 3 tbsp water and add the last tablespoon only if the icing is still too stiff to pipe. Stiff peaks should hold their shape when you lift the beater. Cover the bowl with a damp towel or plastic wrap right away, because the surface crusts quickly once it’s exposed to air.
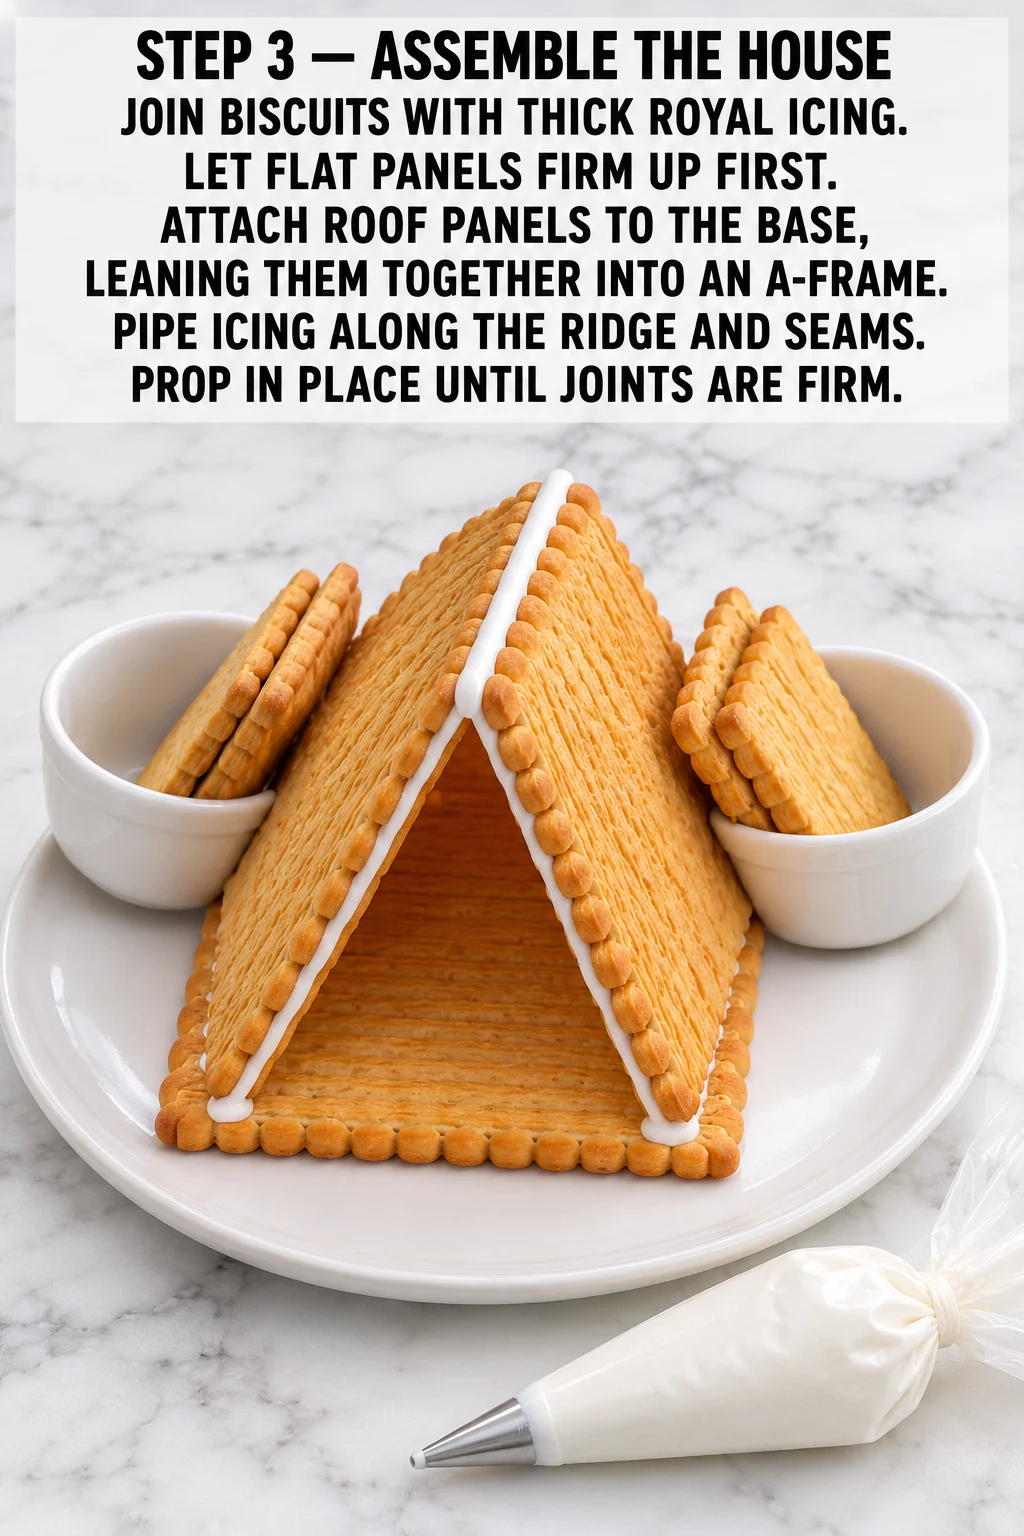
- Assemble the house. Use the 2 tbsp white icing to join the biscuits, piping a thick line along each edge that will meet another piece. Let the flat wall panels firm up for a few minutes before you add the roof. Attach the roof panels to the base, leaning them together into an A-frame. Pipe icing along the ridge and every seam for extra strength. Prop the walls and roof in place with extra biscuits or cups until the joints feel firm, which usually takes 20-30 minutes. Pro Tip: Don’t rush this step, because a wobbly joint that isn’t set will slide apart once you add weight to the roof.
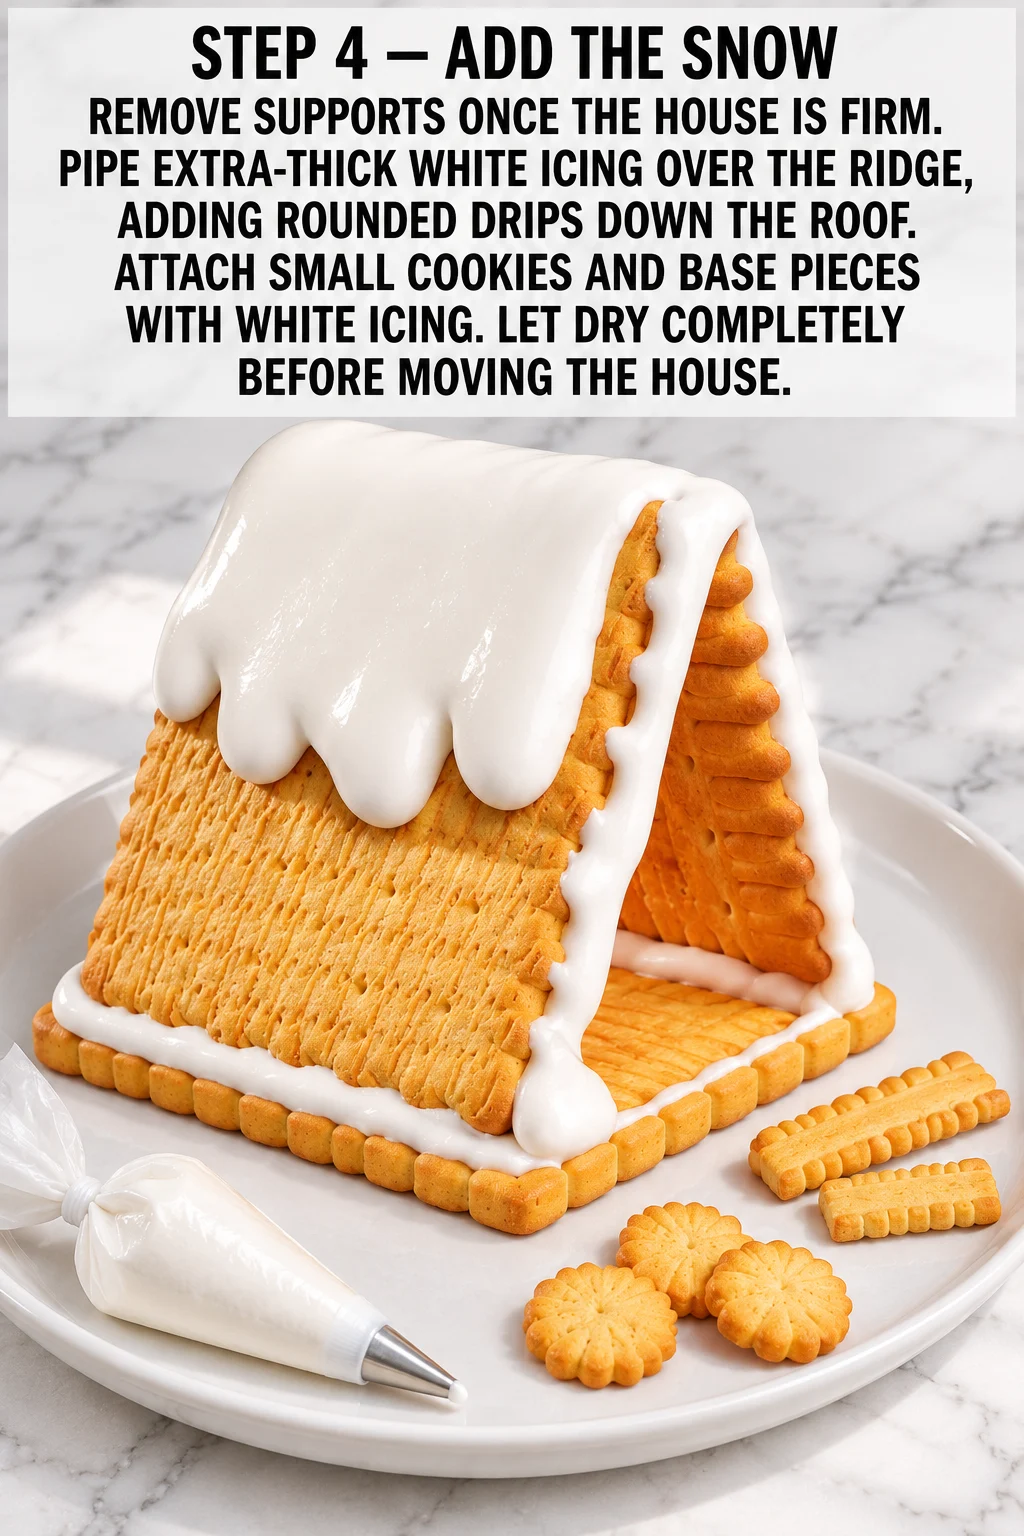
- Add the snow. Once the house feels firm and the supports can come out, gently remove them. Pipe the extra-thick white icing for the snow, starting along the ridge of the roof. Then add rounded drips down the sides so it looks like snow sliding off. Use the same thick white icing to attach the small butter cookies and the pretzel or biscuit base pieces, placing them along the bottom edge. Let the whole house dry completely before you move it. This usually takes several hours, and you’ll know it is ready when the icing feels hard to the touch.
What To Expect While The Cookie House Sets
The royal icing will look glossy and wet at first, and that is normal. Within about 20 minutes, the joints should feel firm when you gently press on them. The snow icing will look thick and a little lumpy as you pipe it, and that texture is exactly what you want for drips. Don’t worry if a biscuit looks slightly off-center while it is still soft; a bit of gentle adjusting before the icing sets is fine. Once fully dry, the icing should feel hard and matte rather than sticky.
Where This Recipe Can Go Wrong
Icing that is too thin. If the royal icing runs off the piping tip or spreads out too much, it has too much water. Add a small spoonful of powdered sugar to thicken it, a little at a time. Thin icing won’t hold walls together.
Walls that slide apart. This usually happens when you add the roof before the walls have set. Give each panel a few minutes to firm up, and keep the supports in place until the joints feel solid.
Icing that dries out. Royal icing crusts quickly when exposed to air, which makes it hard to pipe smoothly. Keep the bowl covered whenever you aren’t using it, and stir gently before each use.

Why This Recipe Works
Meringue powder makes the royal icing dry hard and strong, which is what turns simple biscuits into a structure that stands up. Powdered sugar gives the icing body and sweetness, and it sets firm as it dries. Warm water helps the powdered sugar dissolve smoothly so the icing pipes without lumps. Keeping two icing thicknesses, a stiffer snow batch and a glue-like assembly icing, lets each job get the right result.
Easy Ways To Switch It Up
Colored snow. Tint a small portion of the royal icing with gel food coloring for a festive pop. Keep the color light so the icing still dries firm.
Sprinkle finish. Press sprinkles or sanding sugar into the wet snow icing for extra sparkle. This is purely decorative and doesn’t change the structure.
Different base pieces. Try small chocolate-coated pretzels or extra butter cookies for the base. Either one works fine, as long as the pieces are sturdy and flat.
Serving Suggestions
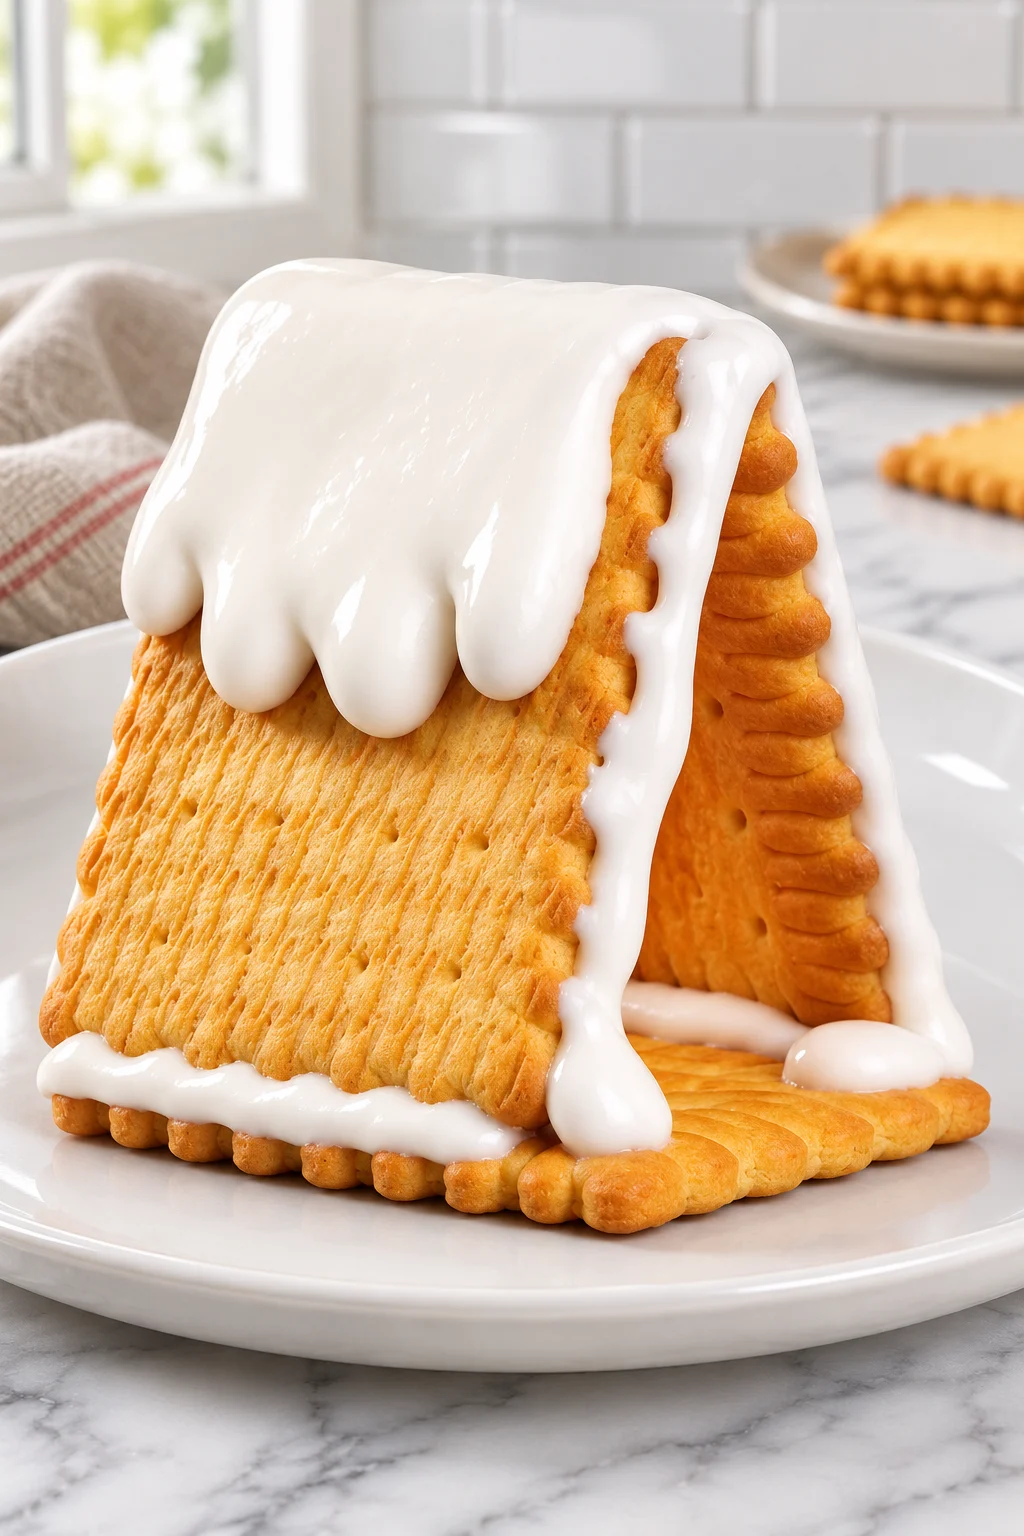
Set the cookie house on a platter or cake board in the center of your holiday table. Add a dusting of powdered sugar around the base for a snowy scene. It also looks lovely on a dessert buffet next to mugs of hot cocoa or cider. Keep it out of direct sunlight or a heat source so the icing stays dry and crisp.
Storage And Make-Ahead
Can you make this ahead? Yes, the house can be built up to two days before you need it. Keep it uncovered at room temperature in a dry spot, away from humidity, which can soften the icing. Store any leftover royal icing in an airtight container, and keep it at room temperature for up to 24 hours. Cookie houses are best kept at room temperature, not in the refrigerator, because moisture can make the icing tacky. Once the house is dry, store any unused biscuits and cookies in airtight containers, where they will stay crisp for several days.
Frequently Asked Questions
Can I use regular egg whites instead of meringue powder?
No, this recipe is built around 1½ tbsp meringue powder, and it’s the safest choice for royal icing that dries hard. Egg whites don’t dry as firm and can raise food safety concerns when used raw. Stick with meringue powder for the structure you need.
Why is my royal icing too runny?
Add powdered sugar a spoonful at a time until the icing holds stiff peaks. Too much warm water is the usual cause, and a small adjustment fixes it. Keep the bowl covered so it doesn’t dry out while you work.
How long does the house need to dry?
Let it dry completely before moving it, which usually takes several hours. The icing should feel hard and matte when it is ready. Give it extra time if you built it on a humid day.
Can kids help build the cookie house?
Yes, kids can help with decorating and placing the snow and base pieces. Keep the structural assembly with an adult, since the joints need careful support while they set. The decorating stage is a great way for everyone to get involved.
Want more holiday ideas? Follow Hailee Recipes on Pinterest for more seasonal projects.
Christmas Cookie House Recipe
Ingredients
Method
- Plan the house: Lay out the golden butter biscuits on a flat, clean work surface and arrange a stable base; set the two roof panels aside and keep extra biscuits nearby for support; stand the pieces in an A-frame shape to check the fit, ensuring the roof panels meet neatly at the top with no big gaps.
- Make the royal icing: In a large bowl, beat the 2 cups (240 g) powdered sugar, 1½ tbsp meringue powder, 3-4 tbsp warm water, and ½ tsp vanilla extract until thick and stiff peaks form; start with 3 tbsp water and add the last tablespoon only if needed; cover the bowl with a damp towel or plastic wrap right away to prevent crusting.
- Assemble the house: Use the 2 tbsp white icing to join the biscuits, piping a thick line along each edge that will meet another piece; let the flat wall panels firm up for a few minutes, then attach the roof panels to the base, leaning them together into an A-frame; pipe icing along the ridge and every seam, and prop the walls and roof in place with extra biscuits or cups for about 20-30 minutes until the joints feel firm.
- Add the snow: Once the house feels firm, gently remove the supports; pipe the extra-thick white icing along the ridge of the roof and add rounded drips down the sides; use the same thick white icing to attach the small butter cookies and the pretzel or biscuit base pieces along the bottom edge; let the house dry completely for several hours until the icing feels hard to the touch before moving it.


1 comment