Decadent Oreo Cheesecake Bars: Irresistible Indulgence
Decadent Oreo Cheesecake Bars: Irresistible Indulgence
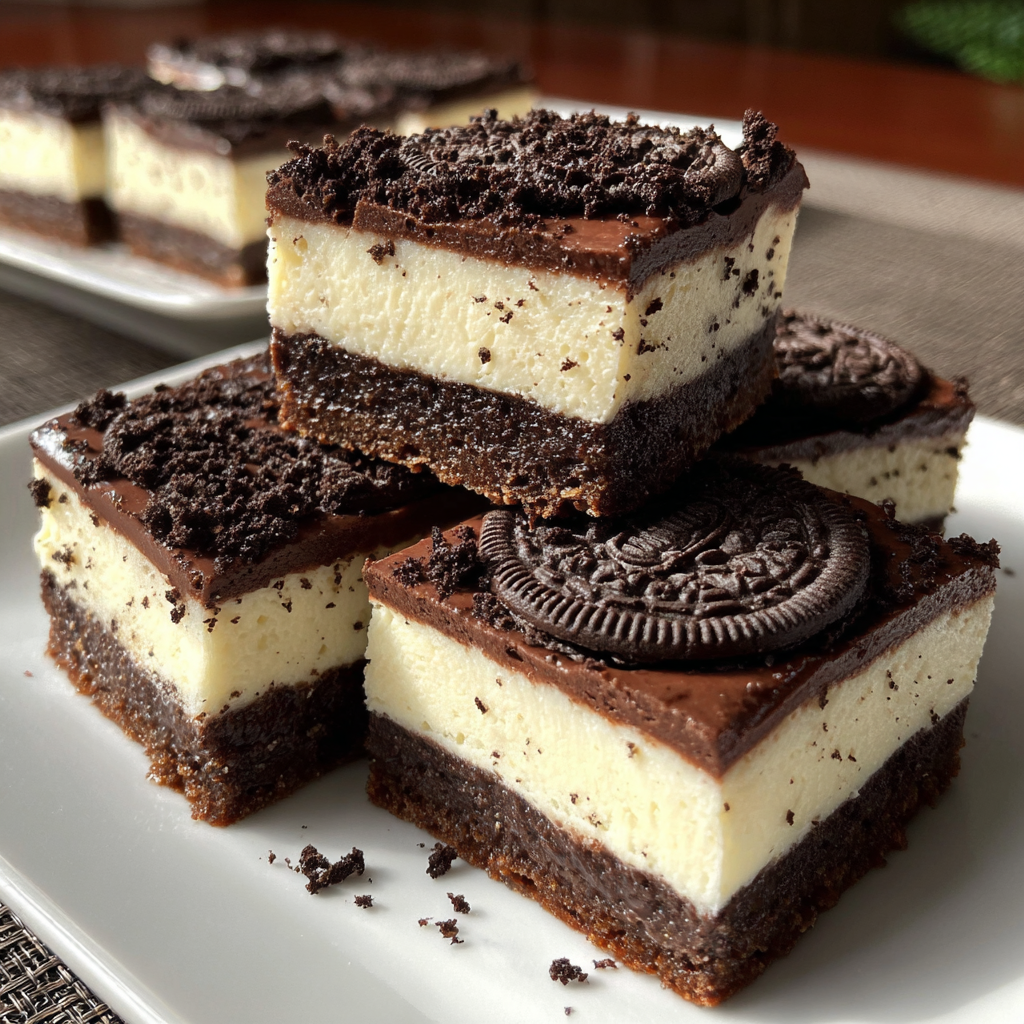
Oreo Cheesecake Bars: A Deliciously Decadent Treat for Any Occasion
You know those nights where you just need something sweet, creamy, and oh-so-indulgent? That’s exactly when these Oreo Cheesecake Bars come in handy! As a self-proclaimed dessert enthusiast and cozy-at-home food blogger, I’ve made my fair share of cheesecake recipes, but this one is a true showstopper.
Follow me on HaileeRecipes on Pinterest for more drool-worthy desserts and comforting recipes that’ll have you feeling right at home.
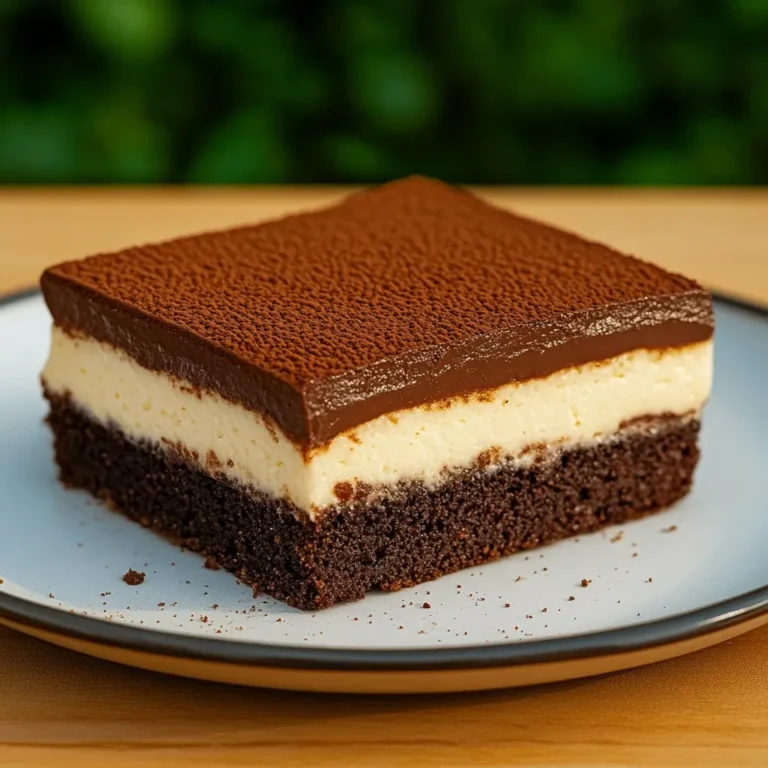
I first stumbled upon this Oreo Cheesecake Bar recipe a few years ago when I was craving something that would satisfy my sweet tooth but still feel homemade and comforting. Let me tell you, this recipe did not disappoint! The rich, creamy cheesecake filling paired with the crunchy Oreo cookie crust is an absolute dream. And the best part? They’re super easy to make, which is perfect for when those late-night cravings hit.
I’ve made these Oreo Cheesecake Bars for all sorts of occasions – from cozy family movie nights to holiday gatherings with friends. They’re always a hit, and I love seeing the pure joy on people’s faces when they take that first bite. There’s just something so satisfying about that perfect balance of chocolatey Oreo and smooth, velvety cheesecake.
So if you’re looking for a crowd-pleasing dessert that’s sure to impress, look no further than these Oreo Cheesecake Bars. Whether you’re baking for a special event or just treating yourself, this recipe is an absolute must-try. Let’s get started!
Why You’ll Love This Recipe
Alright, let’s dive into all the reasons why these Oreo Cheesecake Bars are about to become your new favorite dessert:
– **Decadent Flavor Combination**: The rich, creamy cheesecake filling paired with the crunchy, chocolatey Oreo crust is an unbeatable flavor duo. Trust me, one bite and you’ll be hooked!
– **Easy to Make**: Despite the impressive end result, these Oreo Cheesecake Bars are surprisingly simple to put together. The hardest part is waiting for them to chill in the fridge!
– **Crowd-Pleasing**: Whether you’re serving them at a party or keeping them all to yourself, these bars are guaranteed to be a hit. They’re the perfect mix of indulgence and comfort.
– **Versatile**: You can easily customize these Oreo Cheesecake Bars to fit any occasion or personal preference. More on that later!
– **Make-Ahead Friendly**: These bars actually get better the longer they chill, so you can make them in advance and enjoy them for days. Meal prep win!
So what are you waiting for? Grab your ingredients and let’s get baking!
Ingredients
**For the Oreo Crust:**
* 24 Oreo cookies, crushed into fine crumbs
* 5 tablespoons unsalted butter, melted
**For the Cheesecake Filling:**
* 24 ounces (3 packages) full-fat cream cheese, softened
* 1 cup granulated sugar
* 1/4 cup sour cream
* 2 teaspoons vanilla extract
* 2 large eggs
Hailee’s Tip
Make sure your cream cheese is at room temperature before starting. This will help it blend smoothly into the filling and prevent any lumps.
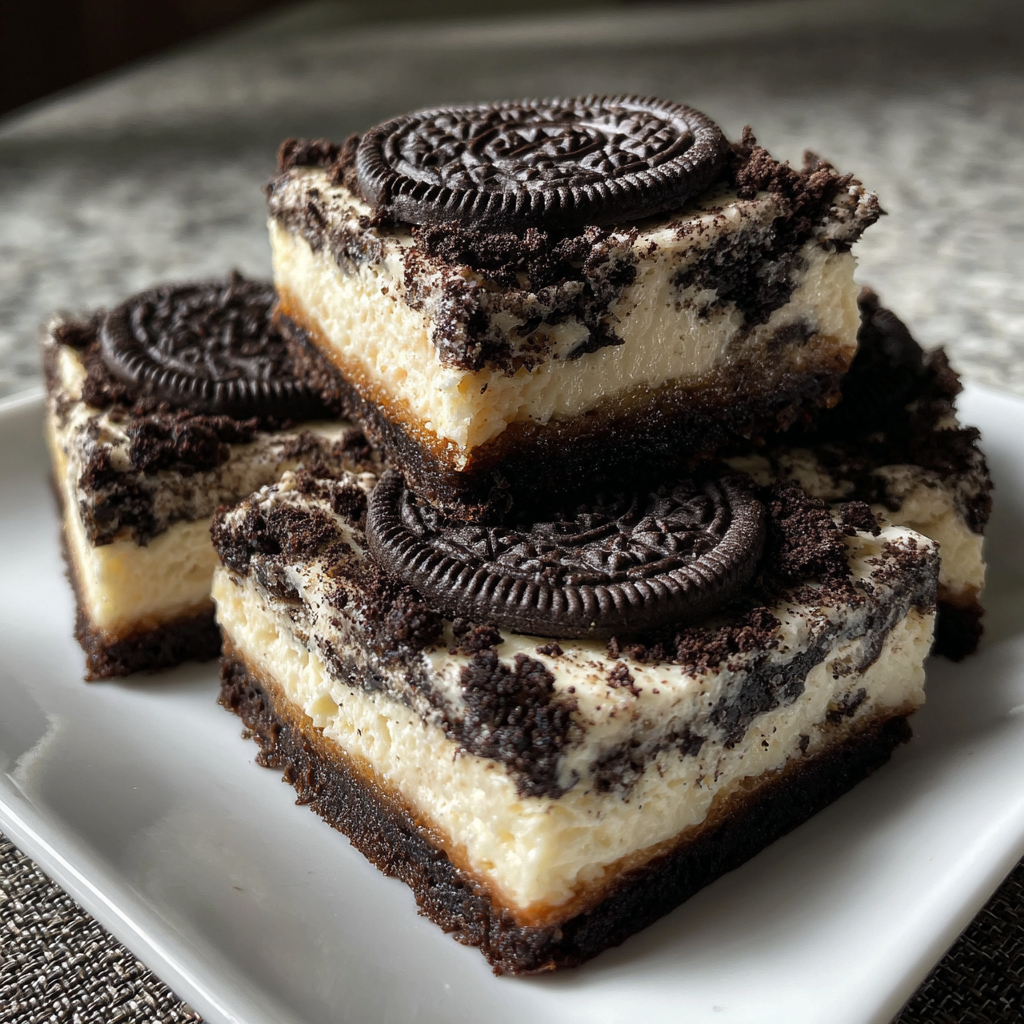
Optional Add-Ins and Variations
While the classic Oreo Cheesecake Bars are absolutely divine as-is, there are plenty of ways to customize this recipe to your liking:
– **Chocolate Chips**: Fold in 1 cup of semi-sweet or milk chocolate chips for an extra chocolatey twist.
– **Chopped Oreos**: Sprinkle some extra crushed Oreos on top of the cheesecake filling for a fun textural contrast.
– **Caramel Drizzle**: Drizzle the baked and cooled cheesecake bars with store-bought or homemade caramel sauce for a decadent finishing touch.
– **Whipped Cream**: Top each slice with a dollop of freshly whipped cream for an extra creamy indulgence.
– **Crushed Candy Canes**: For a festive twist around the holidays, sprinkle crushed candy canes over the top.
The possibilities are endless, so feel free to get creative and make these Oreo Cheesecake Bars your own!
Step-by-Step Method
Alright, let’s get to the good stuff – the step-by-step instructions for these drool-worthy Oreo Cheesecake Bars. As I mentioned, the process is pretty straightforward, but I’ll walk you through it with all the details.
1. Preheat your oven to 325°F (165°C) and grease an 8×8-inch baking pan.
2. In a food processor or blender, pulse the Oreo cookies until they’re finely crushed. Transfer the crumbs to a medium bowl and stir in the melted butter until well combined.
3. Press the Oreo mixture firmly into the bottom of the prepared baking pan, going all the way up the sides about 1 inch. Bake for 10 minutes, then let it cool completely.
What I Messed Up
The first time I made these, I didn’t press the Oreo crust firmly enough, and it ended up being a bit crumbly. Lesson learned – really pack that crust down tightly for the best texture!
4. In a large bowl, beat the cream cheese with an electric mixer on medium speed until light and fluffy, about 2-3 minutes. Gradually add in the sugar and continue beating until well combined.
5. Scrape down the sides of the bowl as needed, then mix in the sour cream and vanilla extract. Finally, add the eggs one at a time, beating well after each addition.
6. Pour the cheesecake filling over the prepared Oreo crust and use a spatula to smooth the top.
7. Bake for 35-40 minutes, until the center is almost set. The edges should be slightly puffed up, and the center should still have a slight jiggle to it.
8. Turn off the oven, prop the door open slightly, and let the cheesecake bars cool in the oven for 1 hour. This gradual cooling process helps prevent cracking.
9. Remove the pan from the oven and let the bars cool completely at room temperature, then refrigerate for at least 4 hours or overnight before slicing and serving.
Common Mistakes to Avoid
Here are a few tips to help you steer clear of any potential pitfalls when making these Oreo Cheesecake Bars:
– **Overbeating the Filling**: Be careful not to overmix the cheesecake filling, as this can cause air bubbles and cracks in the final baked product.
– **Overbaking**: Keep a close eye on the bars during the baking process. Overbaking can lead to a dry, crumbly texture.
– **Rushing the Cooling Process**: Taking the time to let the bars cool gradually in the oven helps prevent cracking on the surface.
– **Cutting Into Them Too Soon**: Patience is key! Letting the bars chill in the fridge for at least 4 hours (or overnight) ensures they’ll hold their shape when sliced.
My Tested Substitutions
While the classic Oreo Cheesecake Bars are pretty darn perfect as-is, I know some of you might have dietary restrictions or personal preferences. Here are a few tested substitutions that can work:
– **Gluten-Free Crust**: Use gluten-free Oreo cookies (or another gluten-free cookie) to make the crust.
– **Dairy-Free Filling**: Substitute the cream cheese with a high-quality dairy-free cream cheese alternative and the sour cream with a plant-based yogurt.
– **Sugar Substitutes**: You can use a 1:1 ratio of your preferred granulated sugar substitute in the filling.
Just keep in mind that any substitutions may slightly alter the texture and flavor, so be sure to taste as you go and make adjustments as needed.
How to Customize
As I mentioned earlier, these Oreo Cheesecake Bars are super versatile and easy to customize. Here are a few ideas to get your creative juices flowing:
– **Seasonal Toppings**: Top the chilled bars with fresh berries, crushed peppermint, or a dusting of cocoa powder for a festive twist.
– **Flavor Extracts**: Add a teaspoon of your favorite extract (like almond or peppermint) to the cheesecake filling.
– **Crust Variations**: Try using different types of cookies or graham crackers for the crust.
– **Swirls and Layers**: Get fancy by swirling in melted chocolate or caramel sauce, or creating layers of different fillings.
The possibilities are endless, so have fun and make these Oreo Cheesecake Bars your own!
Serving Ideas
These Oreo Cheesecake Bars are the perfect dessert for all sorts of occasions. Here are a few serving suggestions:
– **Casual Gatherings**: Slice them up and serve on a platter for movie nights, game days, or cozy family dinners.
– **Parties and Potlucks**: Cut into bite-sized squares for an easy, crowd-pleasing treat.
– **Holiday Celebrations**: Dress them up with festive toppings for Christmas, Thanksgiving, or New Year’s Eve.
– **Anytime Indulgence**: Keep a batch in the fridge for when those late-night sweet cravings hit.
No matter how you serve them, I guarantee these Oreo Cheesecake Bars will be the star of the show!
Meal Prep & Storage
One of the best things about these Oreo Cheesecake Bars is that they’re super make-ahead friendly. Here’s how you can prep and store them:
**To Make Ahead:**
– Prepare the entire recipe as directed, then refrigerate the uncut bars for up to 5 days.
– When ready to serve, slice and enjoy!
**Storing Leftovers:**
– Tightly cover the cut bars and refrigerate for up to 1 week.
– For longer storage, you can freeze the bars for up to 2 months. Thaw in the fridge before serving.
**Reheating:**
– If you’d like to enjoy the bars warm, you can pop individual slices in the microwave for 10-15 seconds.
See? I told you these Oreo Cheesecake Bars were the perfect make-ahead dessert! Now you can satisfy your sweet tooth anytime.
Nutritional Breakdown
Alright, let’s take a quick look at the nutritional info for these decadent Oreo Cheesecake Bars:
**Per Serving (based on 16 servings):**
– Calories: 340
– Protein: 5g
– Carbs: 26g
– Fat: 24g
– Fiber: 1g
I know, I know – these bars are definitely on the more indulgent side. But hey, a little bit of sweetness is good for the soul, right? As long as you enjoy them in moderation, these Oreo Cheesecake Bars can definitely be part of a balanced diet.
Final Thoughts
Well, there you have it, my friends – the ultimate recipe for Oreo Cheesecake Bars! I hope this guide has inspired you to get in the kitchen and whip up a batch (or two) of these decadent treats.
Remember, baking should be a fun, stress-free experience, so don’t sweat the small stuff. If you run into any hiccups along the way, just refer back to the troubleshooting tips, and you’ll be good as gold.
Whether you’re making these Oreo Cheesecake Bars for a special occasion or just because, I know they’ll bring a smile to your face (and your taste buds!). Enjoy every last bite, my friends. Bon appétit!
Ingredients
Method
- Preheat oven to 325°F (165°C). Grease an 8x8-inch baking pan.
- In a food processor or blender, pulse the Oreo cookies until finely crushed. Transfer to a medium bowl and stir in the melted butter until well combined.
- Press the Oreo mixture firmly into the bottom of the prepared pan, going up the sides about 1 inch. Bake for 10 minutes, then let cool completely.
- In a large bowl, beat the cream cheese with an electric mixer on medium speed until light and fluffy, about 2-3 minutes. Gradually add in the sugar and continue beating until well combined.
- Scrape down the sides of the bowl as needed, then mix in the sour cream and vanilla extract. Add the eggs one at a time, beating well after each addition.
- Pour the cheesecake filling over the prepared Oreo crust and use a spatula to smooth the top.
- Bake for 35-40 minutes, until the center is almost set. The edges should be slightly puffed up, and the center should still have a slight jiggle to it.
- Turn off the oven, prop the door open slightly, and let the cheesecake bars cool in the oven for 1 hour.
- Remove the pan from the oven and let the bars cool completely at room temperature, then refrigerate for at least 4 hours or overnight before slicing and serving.