Indulgent Classic New York Cheesecake: Creamy Delight
Indulgent Classic New York Cheesecake: Creamy Delight
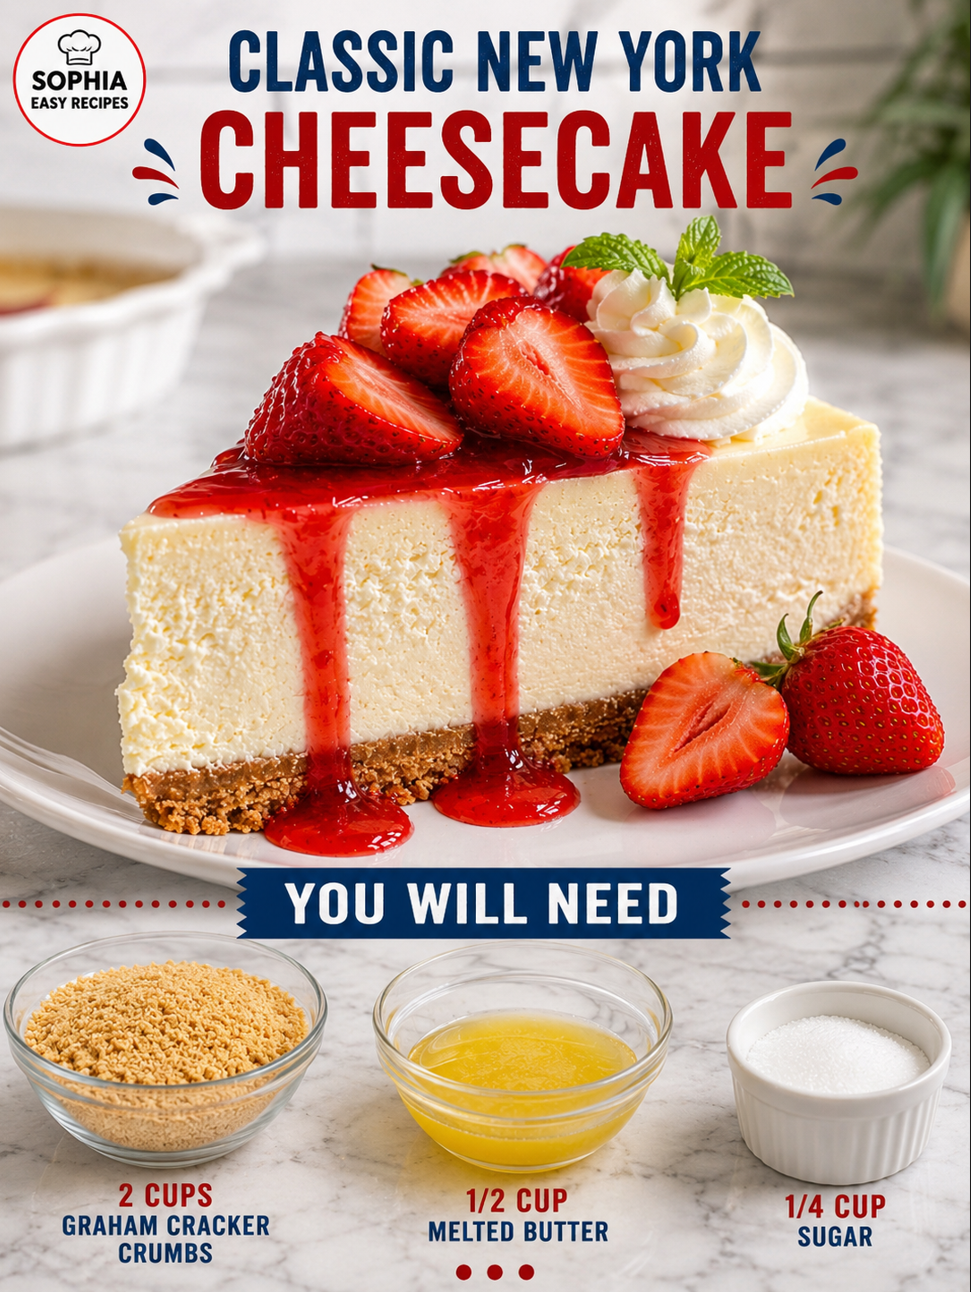
Classic New York Cheesecake: A Creamy, Decadent Slice of Heaven
Ahhh, the classic New York cheesecake. Is there anything more heavenly than that creamy, decadent slice of pure bliss? I don’t think so! This has been my go-to cheesecake recipe for years, and I’m so excited to share it with you.
You see, I’ve always been a bit of a cheesecake connoisseur. Growing up, my grandma would make the most amazing cheesecakes for special occasions, and I’d sneak back into the kitchen for just one more slice (or two). There was something so comforting and indulgent about that rich, velvety texture that just melted in your mouth. Fast forward to today, and I still find myself craving that same delicious, classic New York-style cheesecake.
That’s why I’m thrilled to share my foolproof recipe with you. Whether you’re a seasoned baker or a complete novice, this classic cheesecake is sure to impress. It’s the perfect dessert for any occasion – from cozy family gatherings to elegant dinner parties. Trust me, once you try this, you’ll be hooked!
Follow me on HaileeRecipes on Pinterest for more delicious recipe inspiration!
Why You’ll Love This Recipe
Alright, let’s dive in! What is it about this classic New York cheesecake that makes it so irresistible? Well, for starters, the texture is out of this world. It’s rich, creamy, and silky smooth – the kind of cheesecake that melts in your mouth with every bite. And the flavor? Perfectly balanced, with just the right amount of sweetness to complement the tangy cream cheese.
But what really sets this recipe apart is the attention to detail. I’ve spent years perfecting the technique, from the perfectly crisp graham cracker crust to the smooth, crack-free top. And the best part? It’s surprisingly easy to make at home, with no fancy equipment required. Just a few simple ingredients and a little bit of patience, and you’ll have a showstopping dessert that’s sure to impress.
Ingredients
Alright, let’s get started! Here’s what you’ll need to make the perfect classic New York cheesecake:
**For the Crust:**
* 1 1/2 cups (180g) graham cracker crumbs
* 5 tablespoons (70g) unsalted butter, melted
* 2 tablespoons (25g) granulated sugar
**For the Filling:**
* 4 (32oz) packages full-fat cream cheese, softened to room temperature
* 1 1/4 cups (250g) granulated sugar
* 1/4 cup (60ml) sour cream, at room temperature
* 1 tablespoon (15ml) vanilla extract
* 4 large eggs, at room temperature
Hailee’s Tip:
Make sure all your ingredients are at room temperature before you start. This helps ensure a smooth, creamy texture in the final cheesecake.
Optional Add-Ins and Variations
Now, while this classic New York cheesecake is pretty darn perfect as-is, there are a few fun ways you can switch it up:
**Toppings:** Feel free to get creative with your toppings! A drizzle of chocolate sauce, a sprinkling of crushed graham crackers, or a dollop of whipped cream can all take this cheesecake to the next level.
**Flavors:** For a little extra zing, try adding a tablespoon of lemon zest or a splash of almond extract to the filling. You could also swirl in some melted chocolate or a fruit compote for a delightful twist.
**Crust:** Not a fan of graham crackers? No problem! You can use crushed Oreos, gingersnaps, or even a simple buttery shortbread crust instead.
The possibilities are endless, so feel free to get creative and make this cheesecake your own!
Step-by-Step Method
Okay, let’s get baking! Here’s how to make the perfect classic New York cheesecake:
1. Preheat your oven to 325°F (165°C). Grease a 9-inch springform pan and wrap the outside with foil to prevent any leaks.
2. In a medium bowl, mix together the graham cracker crumbs, melted butter, and sugar until well combined. Press the mixture firmly into the bottom and slightly up the sides of the prepared pan.
What I Messed Up:
The first time I made this, I was a little too heavy-handed with the crust. It ended up being way too thick and overpowering. Now I make sure to just press the crumb mixture into an even layer on the bottom of the pan.
3. In a large bowl, beat the cream cheese with a hand mixer on medium speed until light and fluffy, about 2-3 minutes. Gradually add in the sugar and beat until well combined, scraping down the sides as needed.
4. Add in the sour cream and vanilla extract, and mix until just combined. Then, one at a time, add the eggs, beating well after each addition. Be careful not to overmix!
Hailee’s Tip:
When adding the eggs, make sure to incorporate them one at a time. This helps prevent the cheesecake from cracking later on.
5. Pour the cheesecake batter into the prepared pan, smoothing the top with a spatula. Bake for 55-65 minutes, until the center is almost set. The edges should be slightly puffed and the center should still be slightly jiggly.
6. Turn off the oven and keep the cheesecake inside with the door slightly ajar for 1 hour. This gradual cooling process helps prevent cracking.
7. Remove the cheesecake from the oven and let it cool completely on a wire rack, about 2-3 hours. Then, cover and refrigerate for at least 4 hours, or up to 5 days.
Common Mistakes to Avoid
Okay, let’s talk about a few common pitfalls to watch out for when making this classic New York cheesecake:
**Overmixing:** Be very careful not to overmix the batter, especially once the eggs are added. This can incorporate too much air, leading to cracks and a grainy texture.
**Overbaking:** Keep a close eye on the cheesecake as it bakes. You want the edges to be set but the center to still have a slight jiggle. Overbaking can cause the cheesecake to become dry and dense.
**Sudden Temperature Changes:** Sudden changes in temperature, like taking the cheesecake straight from the oven to the fridge, can also lead to cracking. That’s why the gradual cooling process is so important.
**Skipping the Water Bath:** While not strictly necessary, using a water bath (or bain-marie) can help create a beautifully smooth, crack-free top. The steam from the water helps the cheesecake bake evenly.
My Tested Substitutions
Now, I know not everyone has access to the exact ingredients I use, so here are a few tested substitutions that work great:
**Cream Cheese:** If you can’t find full-fat cream cheese, you can use a lower-fat version, but the texture may be slightly less rich and creamy.
**Sour Cream:** Plain Greek yogurt makes a great substitute for the sour cream. Just be sure to use the full-fat variety.
**Graham Crackers:** As I mentioned earlier, you can use a variety of cookie crumbs for the crust, like Oreos or gingersnaps. Just be sure to adjust the butter and sugar amounts accordingly.
And if you’re dairy-free, you can try using a plant-based cream cheese and cashew-based sour cream. The texture may be a bit different, but it should still work beautifully.
How to Customize
One of the best things about this classic New York cheesecake is how versatile it is. Here are a few ways you can customize it to your liking:
**Flavors:** As I mentioned earlier, you can easily add in different extracts, zests, or even melted chocolate to change up the flavor profile.
**Toppings:** Get creative with your toppings! Fruit compotes, caramel sauce, crushed cookies, and whipped cream are all delicious options.
**Crust:** Switch up the crust by using different cookie crumbs, nuts, or even a simple graham cracker or shortbread base.
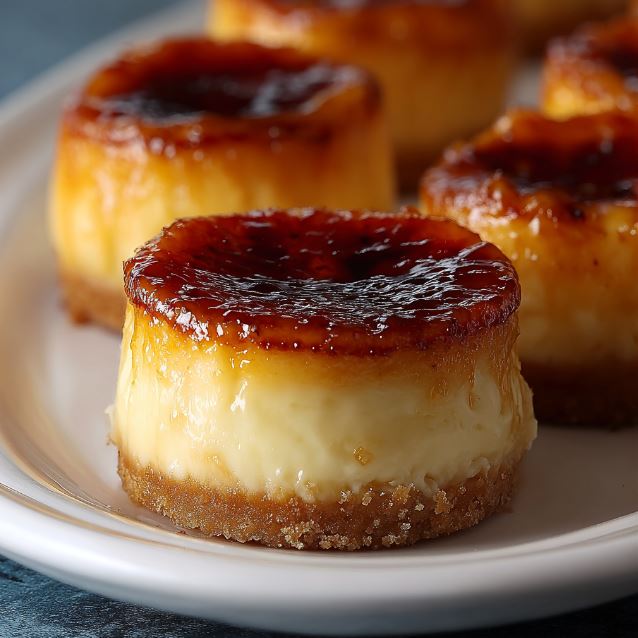
**Size:** This recipe is for a 9-inch cheesecake, but you can easily adjust the amounts to make a smaller 6-inch or even mini cheesecakes.
The possibilities are endless, so feel free to get creative and make this recipe your own!
Serving Ideas
Alright, now that you’ve got the perfect classic New York cheesecake, how should you serve it? Here are a few of my favorite ideas:
**Slice and Serve:** The classic way to enjoy this cheesecake is simply sliced and served as-is. Top with a dollop of whipped cream or a drizzle of chocolate sauce for an extra special touch.
**Cheesecake Bites:** For a fun, bite-sized treat, cut the cheesecake into small squares or triangles and serve on a platter.
**Cheesecake Parfaits:** Layer crumbled cheesecake with fruit compote, whipped cream, and crushed cookies for a delightful parfait-style dessert.
**Cheesecake Bars:** Press the cheesecake batter into a baking pan, bake, and then cut into bars for a handheld dessert.
The options are endless, so get creative and have fun with it!
Meal Prep & Storage
One of the best things about this classic New York cheesecake is that it’s super easy to make ahead of time. Here are my top tips for meal prepping and storing it:
**Refrigerator:** Once the cheesecake has cooled completely, you can cover it and store it in the fridge for up to 5 days. Just be sure to let it sit at room temperature for about 30 minutes before serving for the best texture.
**Freezer:** Cheesecake also freezes beautifully! Simply wrap the whole cake or individual slices tightly in plastic wrap and foil, and freeze for up to 3 months. Thaw in the fridge overnight before serving.
**Make-Ahead:** You can actually make the cheesecake batter up to 3 days in advance and keep it chilled in the fridge until you’re ready to bake. Just be sure to let it come to room temperature before pouring it into the crust.
So whether you’re planning a dinner party or just want a decadent dessert on hand, this classic New York cheesecake is the perfect make-ahead option.
Nutritional Breakdown
Alright, let’s talk about the nutrition facts for this classic New York cheesecake:
**Servings: 12**
* Calories: 430
* Protein: 8g
* Carbs: 33g
* Fat: 31g
* Fiber: 0g
Now, I know what you’re thinking – “Hailee, that’s a lot of calories and fat!” And you’re not wrong. Cheesecake is definitely a treat, and this one is no exception. But the good news is that a little goes a long way. A small slice is all you need to satisfy that sweet tooth.
And let’s be honest, when you’re indulging in a classic New York cheesecake, you’re not really thinking about the nutrition, are you? You’re just focused on that creamy, dreamy deliciousness. And that’s exactly how it should be!
Final Thoughts
Ahh, the classic New York cheesecake – is there anything more indulgent and satisfying? I don’t think so! This recipe has been a long-time favorite of mine, and I’m so excited to share it with you.
Whether you’re a seasoned baker or a complete novice, I promise this cheesecake is well worth the effort. With its rich, creamy filling and perfectly crisp crust, it’s sure to impress your friends and family. And the best part? It’s surprisingly easy to make at home.
So what are you waiting for? Grab your ingredients and let’s get baking! I can’t wait to hear how your classic New York cheesecake turns out. Happy baking, my friends!
Ingredients
Method
- Preheat your oven to 325°F (165°C). Grease a 9-inch springform pan and wrap the outside with foil to prevent any leaks.
- In a medium bowl, mix together the graham cracker crumbs, melted butter, and sugar until well combined. Press the mixture firmly into the bottom and slightly up the sides of the prepared pan.
- In a large bowl, beat the cream cheese with a hand mixer on medium speed until light and fluffy, about 2-3 minutes. Gradually add in the sugar and beat until well combined, scraping down the sides as needed.
- Add in the sour cream and vanilla extract, and mix until just combined. Then, one at a time, add the eggs, beating well after each addition. Be careful not to overmix!
- Pour the cheesecake batter into the prepared pan, smoothing the top with a spatula. Bake for 55-65 minutes, until the center is almost set. The edges should be slightly puffed and the center should still be slightly jiggly.
- Turn off the oven and keep the cheesecake inside with the door slightly ajar for 1 hour. This gradual cooling process helps prevent cracking.
- Remove the cheesecake from the oven and let it cool completely on a wire rack, about 2-3 hours. Then, cover and refrigerate for at least 4 hours, or up to 5 days.