
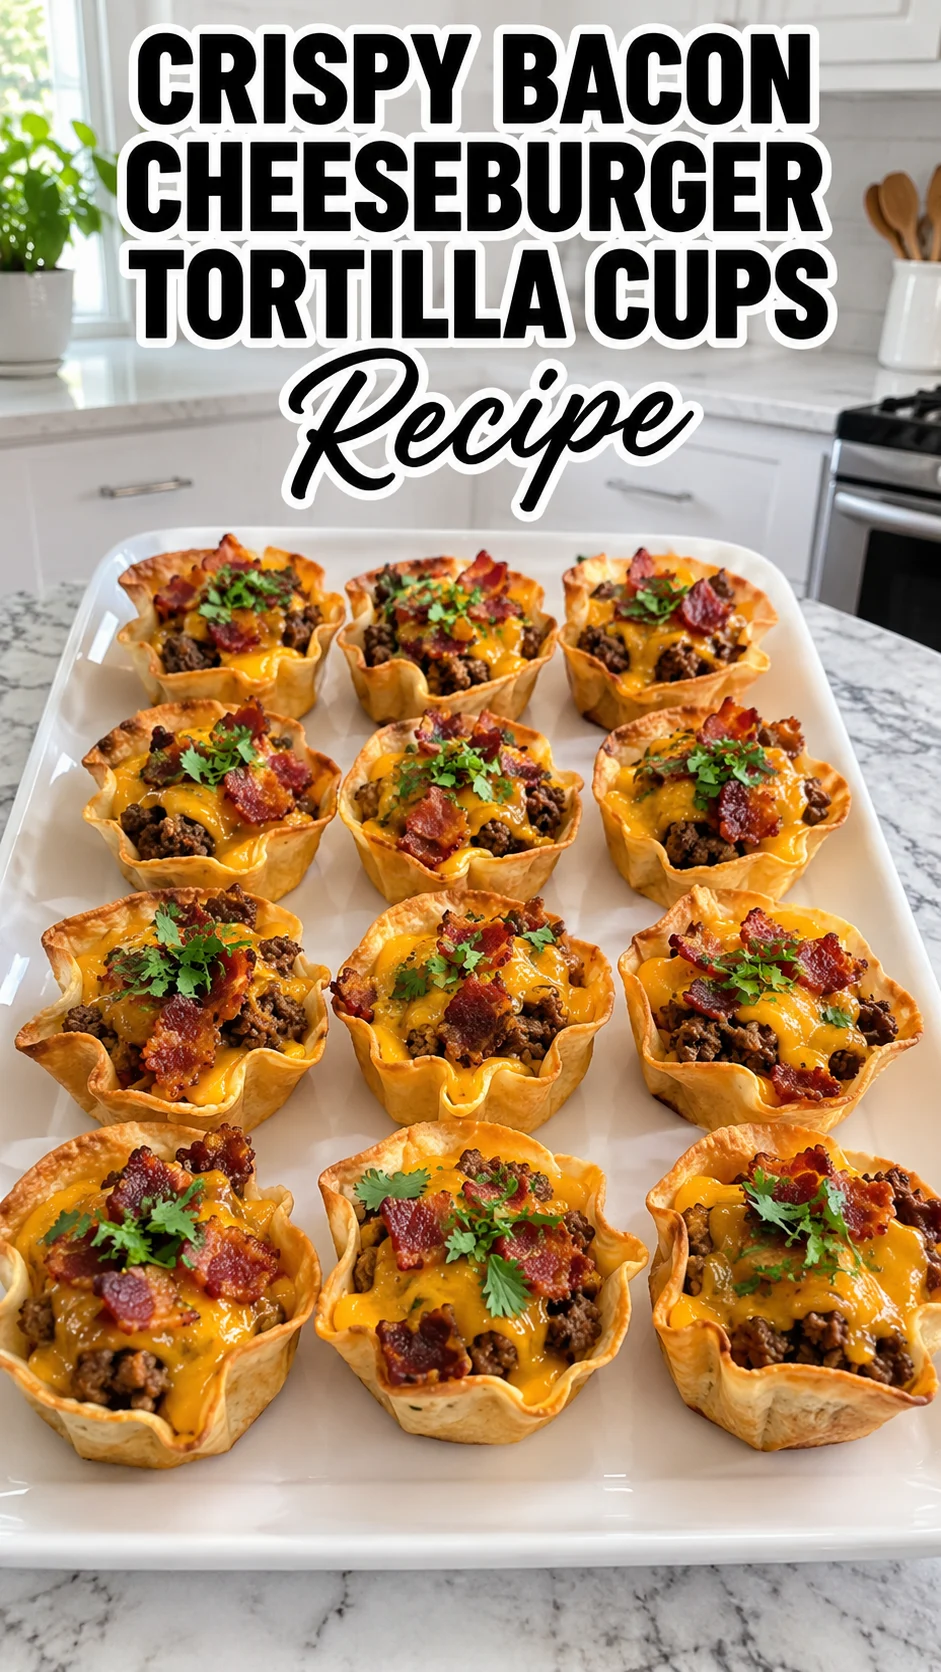
Bacon is the ingredient that carries these Crispy Bacon Cheeseburger Tortilla Cups, adding smoky crunch to every beefy bite. Seasoned beef, melted cheddar, and crumbled bacon sit inside each cup, giving you a juicy, cheesy center without the bun.
Yield: 12 cups | Prep: 15 min | Bake: 8-12 min after filling
Crispy Bacon Cheeseburger Tortilla Cups Ingredients
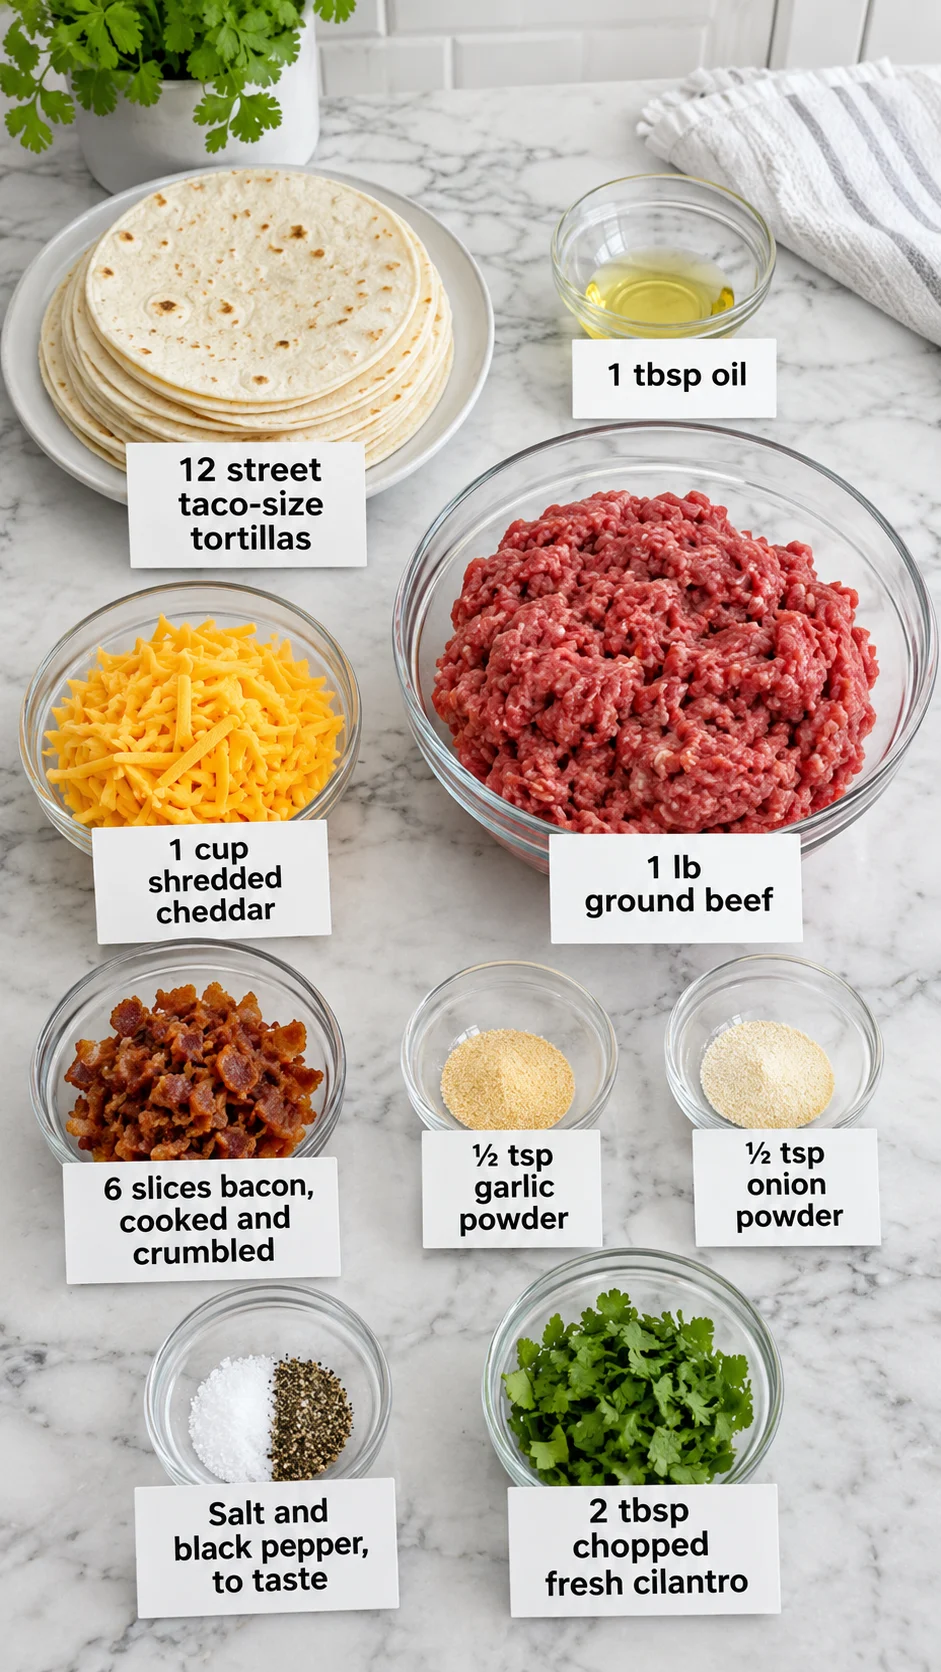
- 1 tbsp oil — Lightly coats the tortillas so they crisp in the muffin tin instead of drying out or sticking. Any neutral oil works.
- 12 street taco-size tortillas — These form the cups. Use soft flour or corn tortillas about 6 inches across, warmed so they bend without cracking.
- 1 lb (454 g) ground beef — The base of the filling. An 80/20 blend stays juicy; drain off the extra fat after browning.
- 1/2 tsp garlic powder — Adds savory, burger-style depth. Season the meat while it is still in the skillet.
- 1/2 tsp onion powder — Rounds out the cheeseburger flavor without adding onion chunks that could make the cups soggy.
- Salt and black pepper, to taste — Season the beef as it browns, then taste before filling the cups.
- 6 slices bacon, cooked and crumbled — Provides the signature crunch. Cook it until well done so it stays crisp under the cheese.
- 1 cup (about 4 oz / 113 g) shredded cheddar — Melts into a gooey layer that holds the filling together. Shredding from a block melts more smoothly than pre-shredded cheese.
- 2 tbsp chopped fresh cilantro — A bright, fresh finish added after baking so it stays green.
Substitutions And Additions
Ground Beef
Ground turkey or ground chicken can replace the beef. These leaner meats brown drier, so add a little extra oil to the skillet and consider a pinch more salt and pepper, since the flavor will be milder.
Bacon
Turkey bacon can stand in for pork bacon, though it crisps less and tastes milder. I’d use regular bacon here, since it gives the crunchiest texture in the finished cups.
Cheddar
Monterey Jack or a Mexican-style blend melts well and keeps the cups mild. Sharp cheddar adds more burger flavor but can release more oil, so blot the tops if they look greasy.
Tortillas
Corn tortillas make sturdy cups with a toasty corn flavor, though they may crack a little when pressed. Warm them well until flexible before shaping.
How To Make This Crispy Bacon Cheeseburger Tortilla Cups Recipe
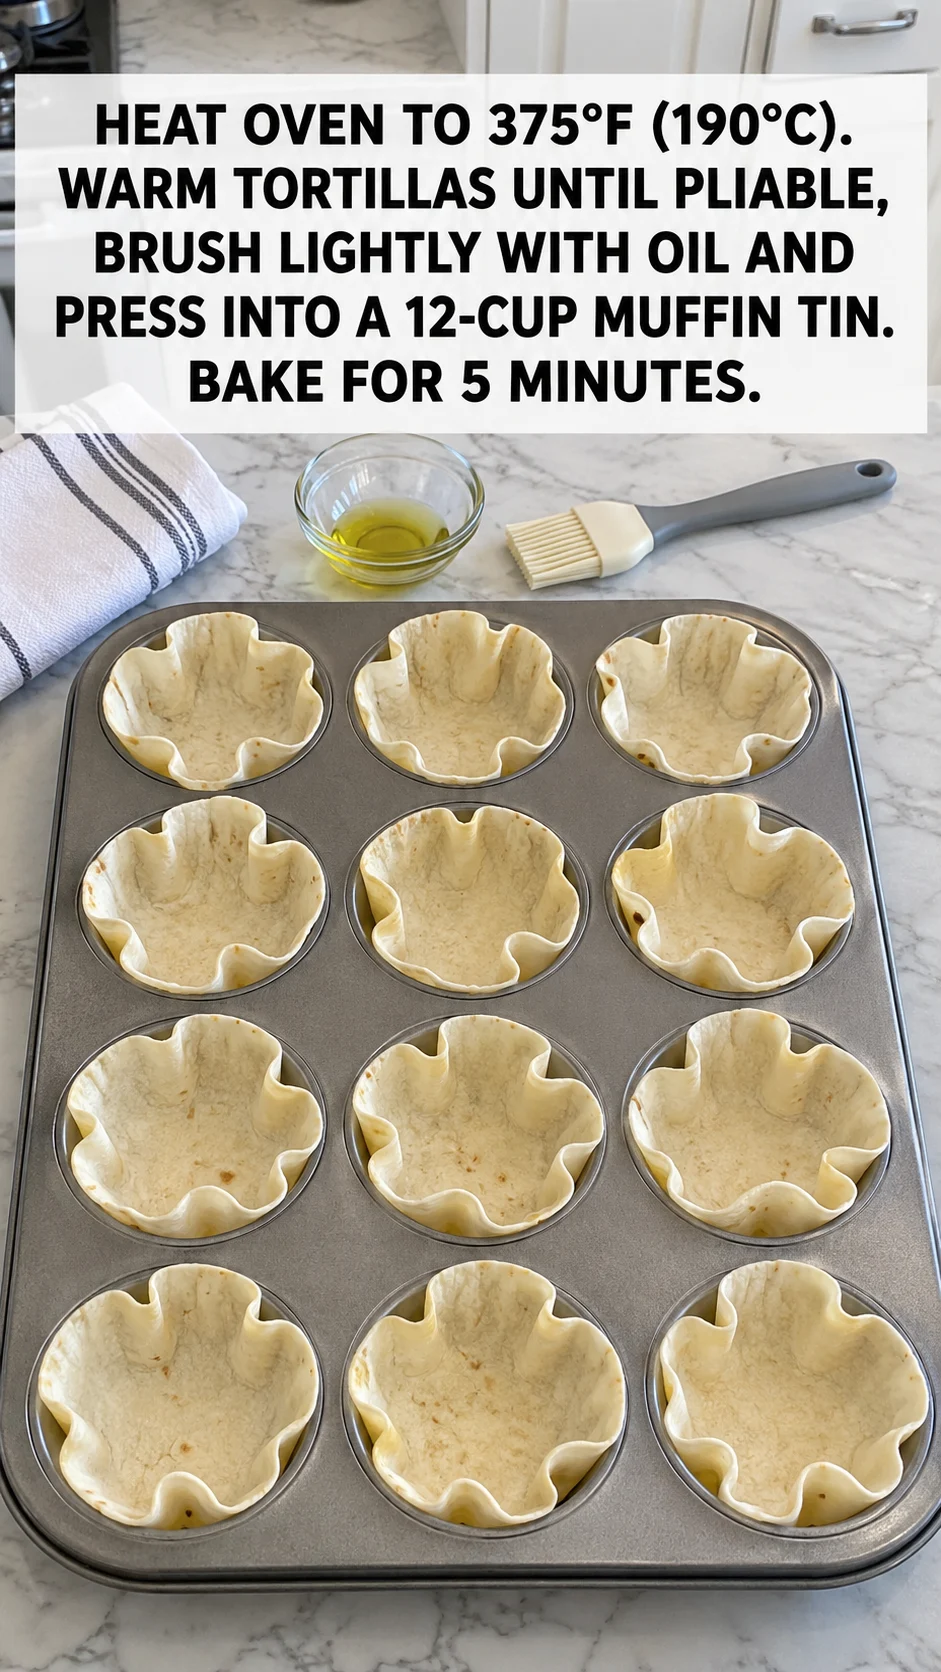
- Heat the oven and shape the cups. Heat the oven to 375°F (190°C). Warm the tortillas until pliable, then brush each one lightly with the oil and press it into a 12-cup muffin tin. Bake for 5 minutes, until the shells are just starting to firm up.
Pro Tip: Warm the tortillas under a damp towel so they don’t crack when pressed into the cups.
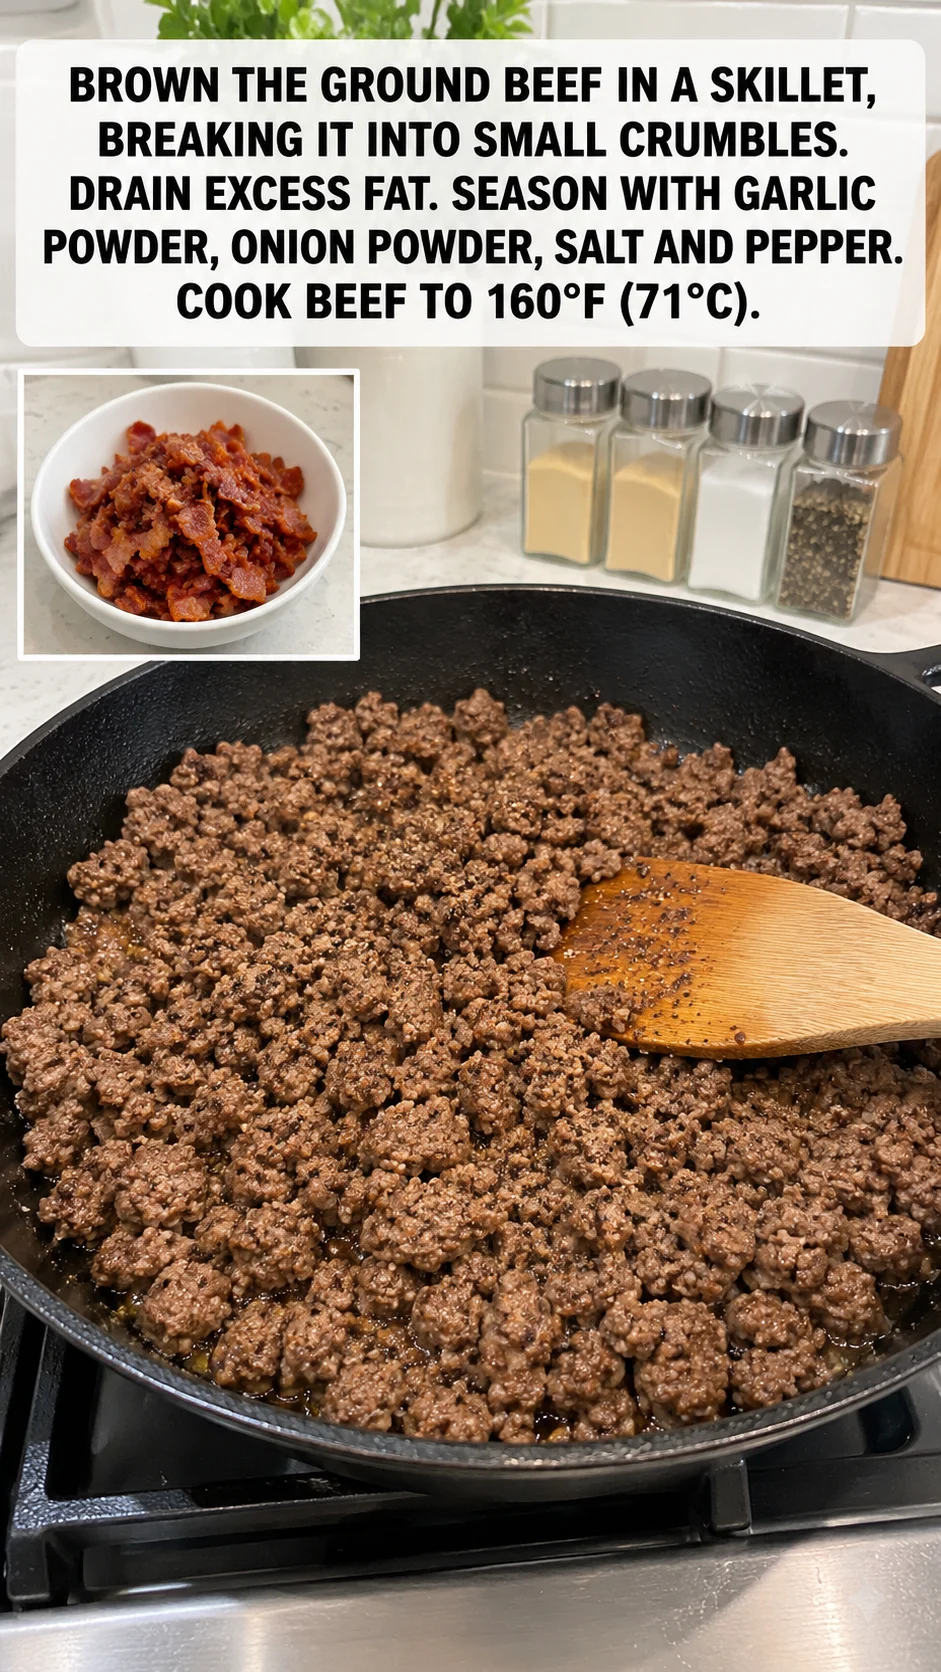
- Brown and season the beef. Brown the ground beef in a skillet over medium-high heat, breaking it into small crumbles as it cooks. Drain the excess fat, then season with the garlic powder, onion powder, salt, and pepper. Cook until the beef reaches 160°F (71°C) on an instant-read thermometer.
Pro Tip: Drain the fat well. Greasy beef is the most common reason these cups turn soggy.
- Fill the cups. Divide the cooked beef evenly among the tortilla cups. Top each one with shredded cheddar and crumbled cooked bacon, spreading the toppings so the cheese reaches the edges of the shell.
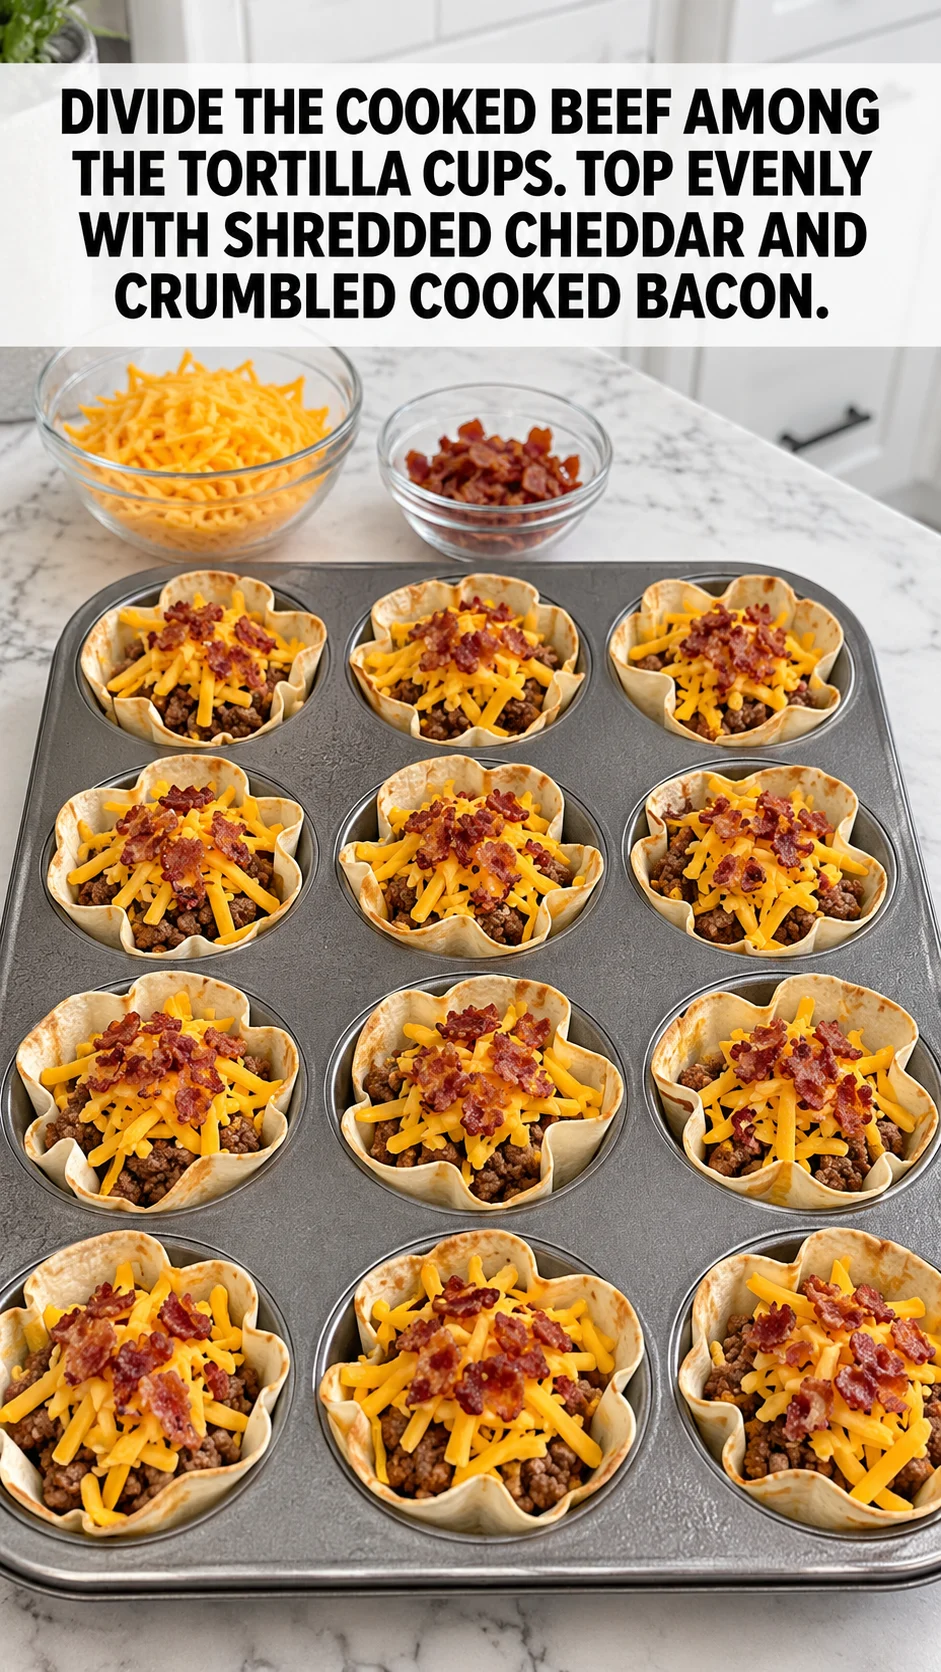
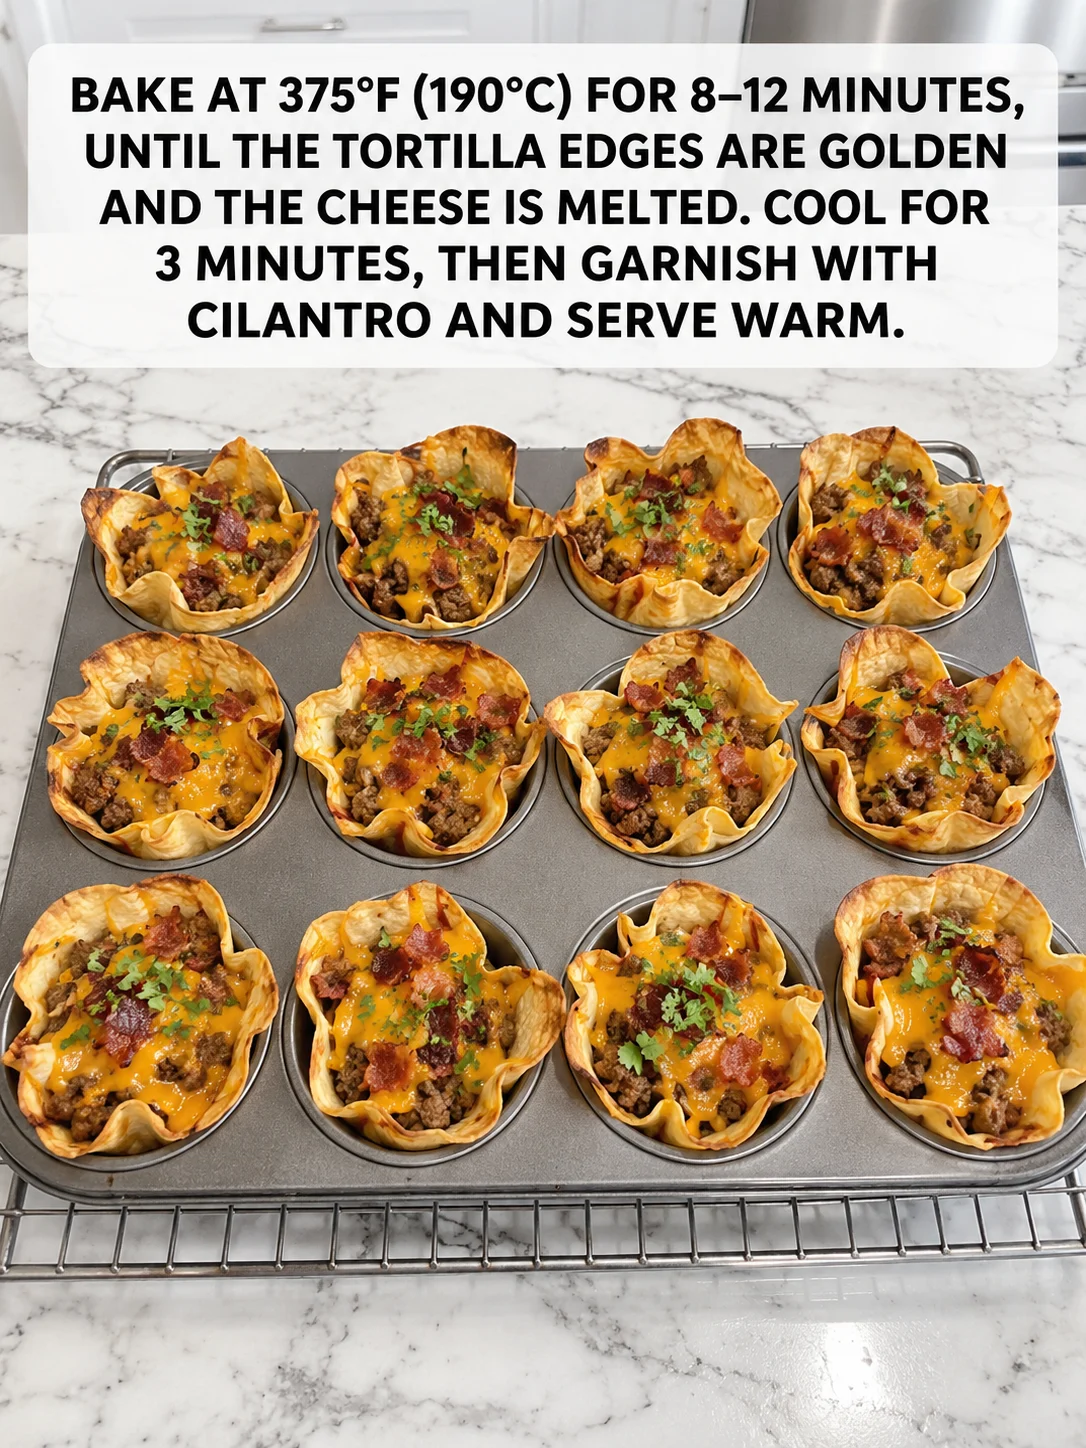
- Bake until golden and melted. Bake at 375°F (190°C) for 8-12 minutes, until the tortilla edges are golden and the cheese is fully melted. Check at 8 minutes, since ovens vary and the edges can brown quickly. If the shells still look pale, give them another minute or two. Let the cups cool in the pan for 3 minutes so the cheese sets slightly and the shells are easier to lift. Garnish with the cilantro and serve warm.

How To Serve And Store
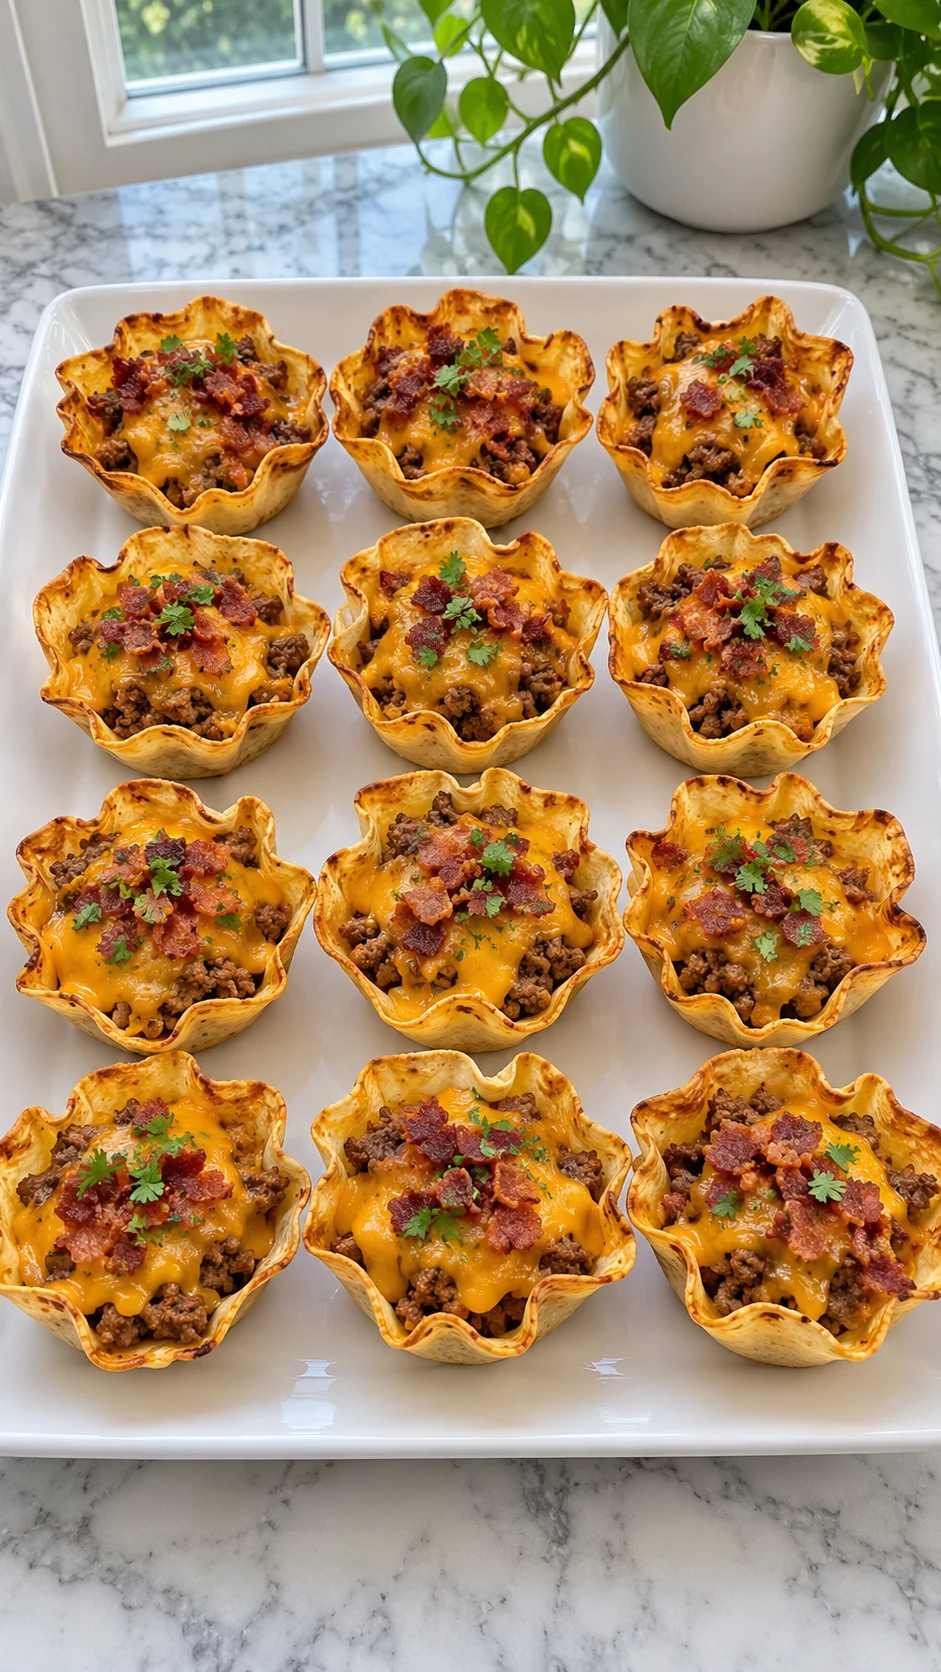
Serve these warm as an appetizer or a light meal alongside salsa, sour cream, or a simple green salad. Add sliced jalapeños on top for a little heat.
In The Fridge
Store leftover cups in an airtight container in the refrigerator for up to 3 days. Reheat them in a 350°F (180°C) oven for 5 to 8 minutes until hot and the shells crisp up again.
In The Freezer
These freeze well for up to 2 months. Freeze them on a baking sheet until firm, then transfer to a freezer bag. Reheat from frozen in a 350°F (180°C) oven for 12 to 15 minutes, until the center is hot.
Frequently Asked Questions
Can you make these ahead of time?
Yes. Brown the beef and crumble the bacon a day ahead and refrigerate them. Fill the tortilla cups and bake them right before serving so the shells keep their crunch.
Can I use pre-shredded cheese?
Yes, though it may melt slightly less smoothly because of the anti-caking starch. Freshly shredded cheddar gives the gooiest result.
How do I know when the cups are done?
They are done when the tortilla edges are golden and the cheese has melted completely.
Follow Hailee Recipes on Pinterest for more weeknight favorites you can make in one pan.
Follow Hailee Recipes on Pinterest
More Recipes You’ll Love
- Creamy Seafood Tortilla Pinwheels
- Santa Strawberry Cheesecake Cups with Chocolate Filling
- Holiday Slice and Bake Cookies
- Warm Chocolate Chip Cookies with Vanilla Ice Cream

Crispy Bacon Cheeseburger Tortilla Cups
Ingredients
Method
- Heat the oven to 375°F (190°C); warm the tortillas until pliable, brush each lightly with the oil, and press into a 12-cup muffin tin; bake for 5 minutes until the shells just begin to firm up.
- Brown the ground beef in a skillet over medium-high heat, breaking it into small crumbles; drain the excess fat, season with garlic powder, onion powder, salt, and pepper, and cook until the beef reaches 160°F (71°C).
- Divide the cooked beef evenly among the tortilla cups; top each with shredded cheddar and crumbled cooked bacon, spreading the toppings to the edges of the shells.
- Bake at 375°F (190°C) for 8-12 minutes, until the tortilla edges are golden and the cheese is fully melted; cool in the pan for 3 minutes, then garnish with cilantro and serve warm.