Decadent Reese’s Peanut Butter Cup Cheesecake
Decadent Reese’s Peanut Butter Cup Cheesecake
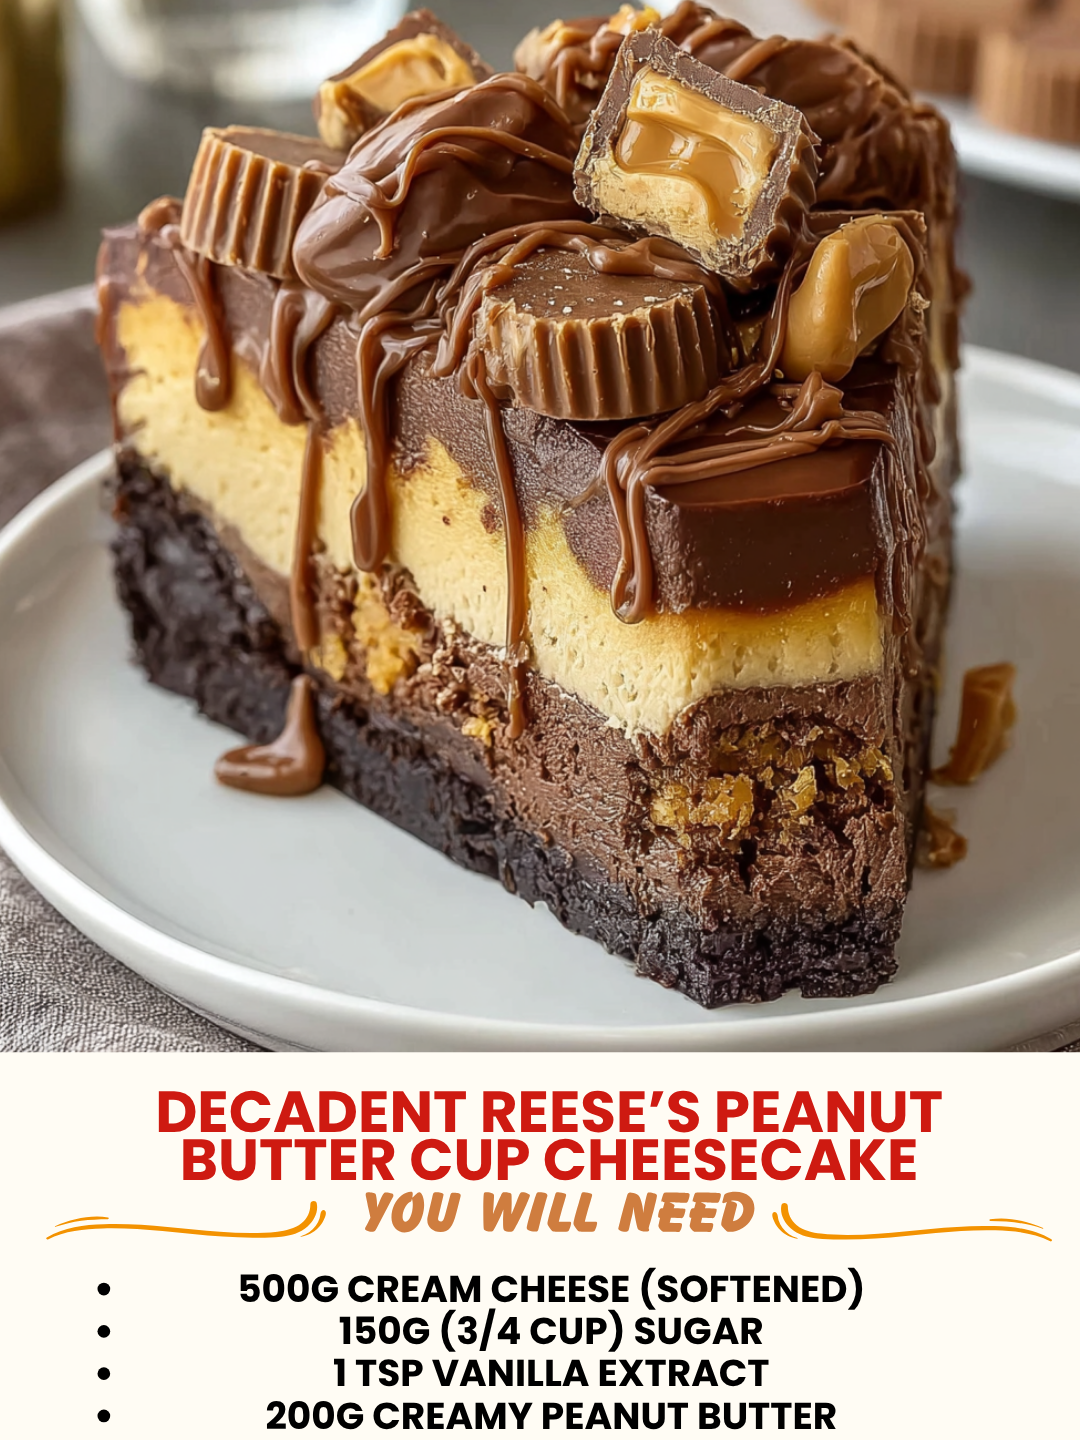
Decadent Reese’s Peanut Butter Cup Cheesecake: A Love Letter to Chocolate and Peanut Butter
Listen, I have a confession. Last February, I was deep in a peanut butter cup spiral. Like, the kind where you’re standing in your kitchen at 9 PM eating them straight from the bag while rewatching The Great British Baking Show for the third time. My partner walked in, took one look at me, and said, “You need to make something with these.” And honestly? He was right.
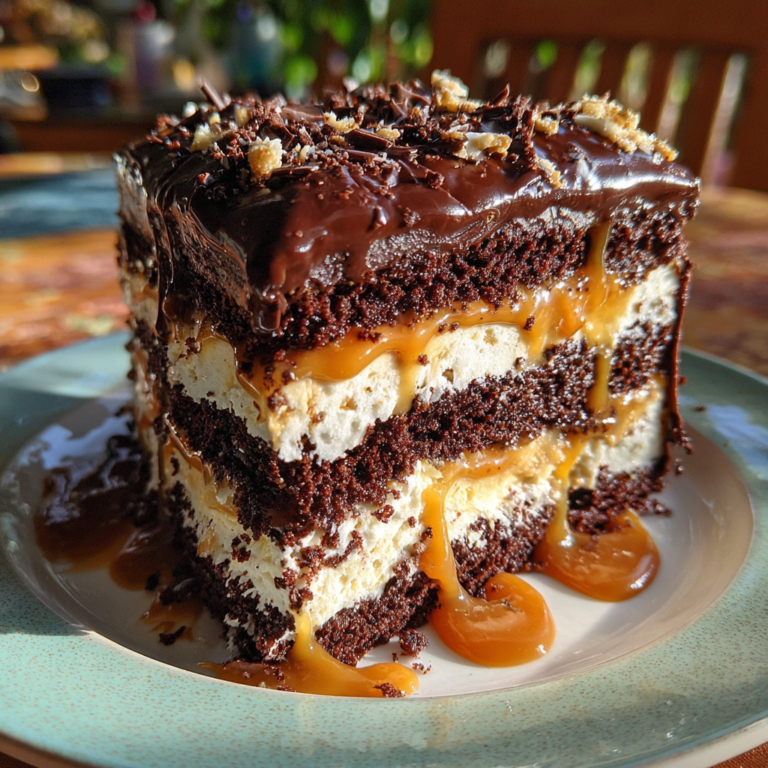
That night, I started sketching out what would become my absolute favorite dessert to make: a Decadent Reese’s Peanut Butter Cup Cheesecake. I’m talking layers of creamy peanut butter filling studded with actual Reese’s pieces, a chocolate cookie crust that’s basically fudgy heaven, and a silky chocolate ganache on top. The kind of cheesecake that makes people close their eyes when they take that first bite.
Here’s the thing about this recipe: it looks fancy, tastes like you spent six hours on it, but it’s actually pretty forgiving. You don’t need special equipment or fancy ingredients. Just patience, a good oven, and a genuine love for the peanut butter and chocolate combo. This is the dessert you make when you want to feel fancy but still want to stay in your cozy kitchen with good music playing.
I’ve tested this about fifteen times now (yes, really), and I’m sharing every trick I’ve learned. Whether you’re making this for a special occasion, a dinner party, or just because you deserve something ridiculously good, I’ve got you covered. Follow me on HaileeRecipes on Pinterest for more desserts that feel like a hug.
Why You’ll Love This Recipe
First, let’s talk about what makes this cheesecake special. It’s not just one flavor—it’s a whole experience. You get that satisfying crunch of the chocolate cookie crust, the smooth, rich peanut butter filling that tastes like actual Reese’s cups (because it has them), and then that glossy chocolate ganache on top that catches the light like it’s showing off.
The texture is what gets me every time. It’s creamy but not heavy, rich but not overwhelming. And because we’re using a water bath, you avoid those sad cracks on top that make you feel like you’ve failed at life. Trust me, I’ve been there.
This is also a dessert that works for basically any occasion. A birthday? Absolutely. A casual dinner party? Yes. Just a Tuesday night when you need comfort? I won’t judge. The recipe makes enough to serve 12-14 people, so it’s perfect for feeding a crowd or having plenty of leftovers for yourself.
Ingredients
For the Chocolate Cookie Crust
- 2 cups crushed Oreo cookies (about 20 cookies, filling removed)
- 6 tablespoons melted butter
- 2 tablespoons granulated sugar
- Pinch of sea salt
For the Peanut Butter Cheesecake Filling
- 24 ounces cream cheese, softened to room temperature
- 1 cup creamy peanut butter (natural or regular—I use Jif)
- 3/4 cup granulated sugar
- 1/4 cup light brown sugar, packed
- 3 large eggs, room temperature
- 1 teaspoon vanilla extract
- 1/2 teaspoon salt
- 1 cup Reese’s peanut butter cup pieces (or mini cups chopped up)
For the Chocolate Ganache Topping
- 1 cup heavy cream
- 8 ounces semi-sweet chocolate, chopped
- 2 tablespoons butter
- 1 tablespoon light corn syrup (makes it extra glossy, but optional)
- Pinch of sea salt
Additional Equipment
- One 9-inch springform pan
- Aluminum foil
- A roasting pan large enough to fit your springform pan
- A water bath (hot water to fill roasting pan halfway)
Hailee’s Tip: Room temperature cream cheese is non-negotiable here. Cold cream cheese leads to lumps, and lumpy cheesecake is sad cheesecake. Take it out of the fridge at least an hour before you start.
Hailee’s Tip: If you can’t find Reese’s pieces, chop up actual peanut butter cups. It works just as well and honestly tastes even better.
Hailee’s Tip: Don’t skip the water bath. I know it feels like an extra step, but it’s literally the difference between a cracked, dry cheesecake and a creamy, perfect one.
Optional Add-Ins and Variations
This is where you can make this recipe your own. I love the classic version, but I also love playing around with it.
- Swirl it: Pour half the filling into the crust, add a ribbon of chocolate ganache (made ahead), then top with remaining filling. It looks stunning and tastes amazing.
- Make it salted: Add 1/2 teaspoon of fleur de sel to the peanut butter filling. The salt brings out the chocolate and peanut butter flavors even more.
- Add crunch: Mix crushed pretzels into the ganache for a sweet and salty situation.
- Go darker: Use dark chocolate ganache instead of semi-sweet if you like deeper chocolate notes.
- Peanut butter swirl: Dollop spoonfuls of peanut butter on top of the filling before baking, then swirl with a knife.
Step-by-Step Method
Prep Work (This Matters)
Step 1: Preheat your oven to 325 degrees Fahrenheit. Yes, 325, not 350. Lower heat means slower, more even cooking, which means fewer cracks. Wrap the outside of your 9-inch springform pan tightly with aluminum foil—and I mean really wrap it. You want water-tight security here.
Step 2: Take your cream cheese and eggs out of the fridge now if you haven’t already. Seriously, do this first thing. Cold ingredients are the enemy of smooth cheesecake.
Making the Crust
Step 3: Crush your Oreos. I do this by putting them in a food processor and pulsing until they’re fine crumbs—not powder, but not chunks either. You want them to hold together when pressed. If you don’t have a food processor, put them in a zip-top bag and go to town with a rolling pin. It’s actually kind of therapeutic.
Step 4: Mix the crushed Oreos with melted butter, sugar, and salt. Stir until it looks like wet sand. Press this mixture firmly into the bottom of your foil-wrapped springform pan. Use the bottom of a measuring cup to really pack it down. This crust is going to be your foundation, so don’t skimp.
Step 5: Bake the crust for 8 minutes at 325 degrees. This helps it hold together and prevents a soggy bottom. While it’s baking, start on your filling.
Making the Filling
Step 6: In a large bowl, beat the softened cream cheese with an electric mixer on medium speed for about 2 minutes. This is important—you’re aerating it and making it smooth. Scrape down the sides of the bowl with a spatula.
Step 7: Add the peanut butter, both sugars, vanilla, and salt. Beat on medium speed for another 2-3 minutes until everything is combined and smooth. Stop and scrape the bowl again. You want zero lumps here.
Step 8: Add the eggs one at a time, beating on low speed after each addition and scraping down the bowl. This is crucial—overmixing once you add eggs can incorporate too much air, which causes cracking. So go low and slow here. After all three eggs are in, beat just until combined.
Step 9: Fold in the Reese’s pieces with a spatula. Don’t use the mixer for this—just gently fold them in by hand. You want them distributed throughout but not broken up.
Baking the Cheesecake
Step 10: Remove the crust from the oven and let it cool for just a minute. Pour the peanut butter filling onto the crust and smooth the top with a spatula.
Step 11: Place your springform pan inside a larger roasting pan. Pour hot water into the roasting pan until it comes halfway up the sides of the springform pan. This is your water bath. It keeps the cheesecake cooking gently and evenly.
Step 12: Carefully place the roasting pan in the oven. Bake for 55-65 minutes. The cheesecake is done when the edges are set but the center still jiggles slightly when you gently shake the pan—like a 2-inch circle in the middle should have just a tiny bit of wobble. It will continue cooking as it cools.
What I Messed Up: The first time I made this, I baked it for 70 minutes because I was paranoid about it being underdone. Result? A slightly dry, overcooked cheesecake. Now I set a timer for 55 minutes and check it then. Patience, friend.
Step 13: Turn off the oven and crack the door open about 4 inches. Let the cheesecake sit in the cooling oven for 30 minutes. This gradual temperature change prevents cracks. I know it’s hard to wait, but it’s worth it.
Step 14: Remove the cheesecake from the oven and let it cool completely at room temperature for about an hour. Then refrigerate for at least 6 hours, preferably overnight. Yes, overnight. This is when it sets properly and the flavors meld together.
Making the Ganache
Step 15: Heat the heavy cream in a saucepan over medium heat until it just starts to steam. Don’t let it boil. Pour it over the chopped chocolate in a bowl and let it sit for 2 minutes. This is called the bloom, and it’s magic.
Step 16: Stir the chocolate and cream together until smooth. Add the butter, corn syrup, and salt, stirring until everything is incorporated and glossy.
Step 17: Let the ganache cool for about 10 minutes so it’s pourable but not piping hot. Pour it over the chilled cheesecake, smoothing it with a spatula. Let it set in the fridge for at least 2 hours before serving.
Common Mistakes to Avoid
Using cold cream cheese: This is the number one culprit for lumpy filling. Cold cream cheese doesn’t blend smoothly with the other ingredients. Always let it sit out for an hour.
Overmixing the batter: Once you add eggs, keep the mixer on low and stop as soon as everything is combined. Overmixing incorporates air bubbles that expand in the oven and create cracks.
Skipping the water bath: I get it—it’s an extra step. But it’s the difference between a cheesecake that’s creamy throughout and one that’s dry on the edges. Just do it.
Opening the oven door too early: The sudden temperature change can cause cracking. Resist the urge to peek before 55 minutes.
Not letting it cool gradually: This is another cracking culprit. The slow cool-down in the turned-off oven is essential.
Cutting it while it’s still warm: Warm cheesecake is soft and will fall apart on your knife. Always slice when it’s fully chilled.
My Tested Substitutions
For the peanut butter: I’ve tried almond butter, and it works, but the flavor is milder. I’ve also tried powdered peanut butter mixed with a bit of oil, and it’s less rich but still good. Stick with regular creamy peanut butter if you can.
For the cookies: You can use chocolate graham crackers or even brownie crumbs if you want to go full chocolate mode. The texture will be slightly different, but it’s still delicious.
For the chocolate: Dark chocolate works beautifully if you prefer less sweetness. I use 70% cacao and it’s perfect.
For the eggs: Don’t substitute these. Eggs are structural here, and there’s no good substitute that works the same way.
How to Customize
Want to make this recipe your own? Here are some ideas I’ve tested:
- Espresso lover? Add 1 tablespoon of instant espresso powder to the filling. The coffee deepens the chocolate and peanut butter flavors.
- Caramel fan? Drizzle caramel sauce over the ganache before it sets.
- Texture person? Top the ganache with crushed pretzels, chopped peanuts, or even crushed Reese’s cups.
- Mini versions? This recipe works in a muffin tin lined with cupcake liners. Bake for 20-25 minutes instead of 55-65. They’re perfect for portion control and gifting.
Serving Ideas
This cheesecake is stunning on its own, but here are my favorite ways to serve it:
- With a simple dollop of whipped cream and a sprinkle of sea salt
- Drizzled with warm peanut butter sauce
- With fresh berries on the side (the tartness balances the richness beautifully)
- As part of a dessert board with chocolate truffles and candied nuts
- Warmed slightly with a scoop of vanilla ice cream (controversial opinion, but I love it)
Slice it with a hot, wet knife—dip in hot water and wipe between each slice for clean cuts.
Meal Prep and Storage
Make-ahead: You can make this cheesecake up to 3 days in advance. Actually, I think it tastes better on day 2 or 3 when the flavors have really settled.
Storage: Keep it covered in the fridge for up to 5 days. Cover it with plastic wrap or store it in an airtight container so it doesn’t pick up fridge flavors.
Freezing: This freezes beautifully for up to 3 months. Wrap slices individually in plastic wrap and then foil, or freeze the whole cheesecake wrapped well. Thaw in the fridge overnight before serving.
Leftover slices: Store them in an airtight container for up to 4 days. They’re perfect for a sneaky midnight snack (not that I would know anything about that).
Nutritional Breakdown
This is a rich dessert, so portions are on the smaller side. Each serving (1/14th of the cheesecake) contains approximately:
- Calories: 485
- Protein: 10g
- Carbohydrates: 42g
- Fat: 31g
- Fiber: 1g
These numbers are estimates based on standard ingredients. Actual values may vary depending on specific brands used.
Final Thoughts
Making a Decadent Reese’s Peanut Butter Cup Cheesecake is one of those cooking experiences that feels fancy but also feels manageable. You’re not doing anything crazy—you’re just taking time, following steps, and trusting the process. And honestly? That’s what makes it so satisfying.
The first time you pull this out of the oven and see that perfect, glossy ganache, you’re going to feel like a legitimate baker. And you are. The fact that you took the time to do this right means you deserve to feel proud.
I genuinely hope you make this soon. I hope it becomes your go-to dessert for special occasions. I hope your people close