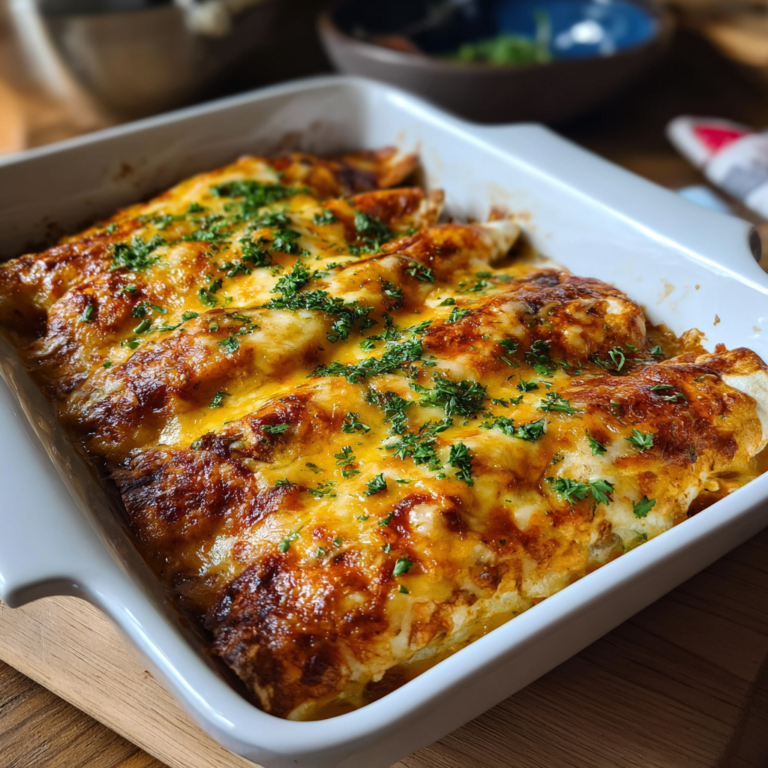
Deep Dish Meat Lovers Pizza
Deep Dish Meat Lovers Pizza
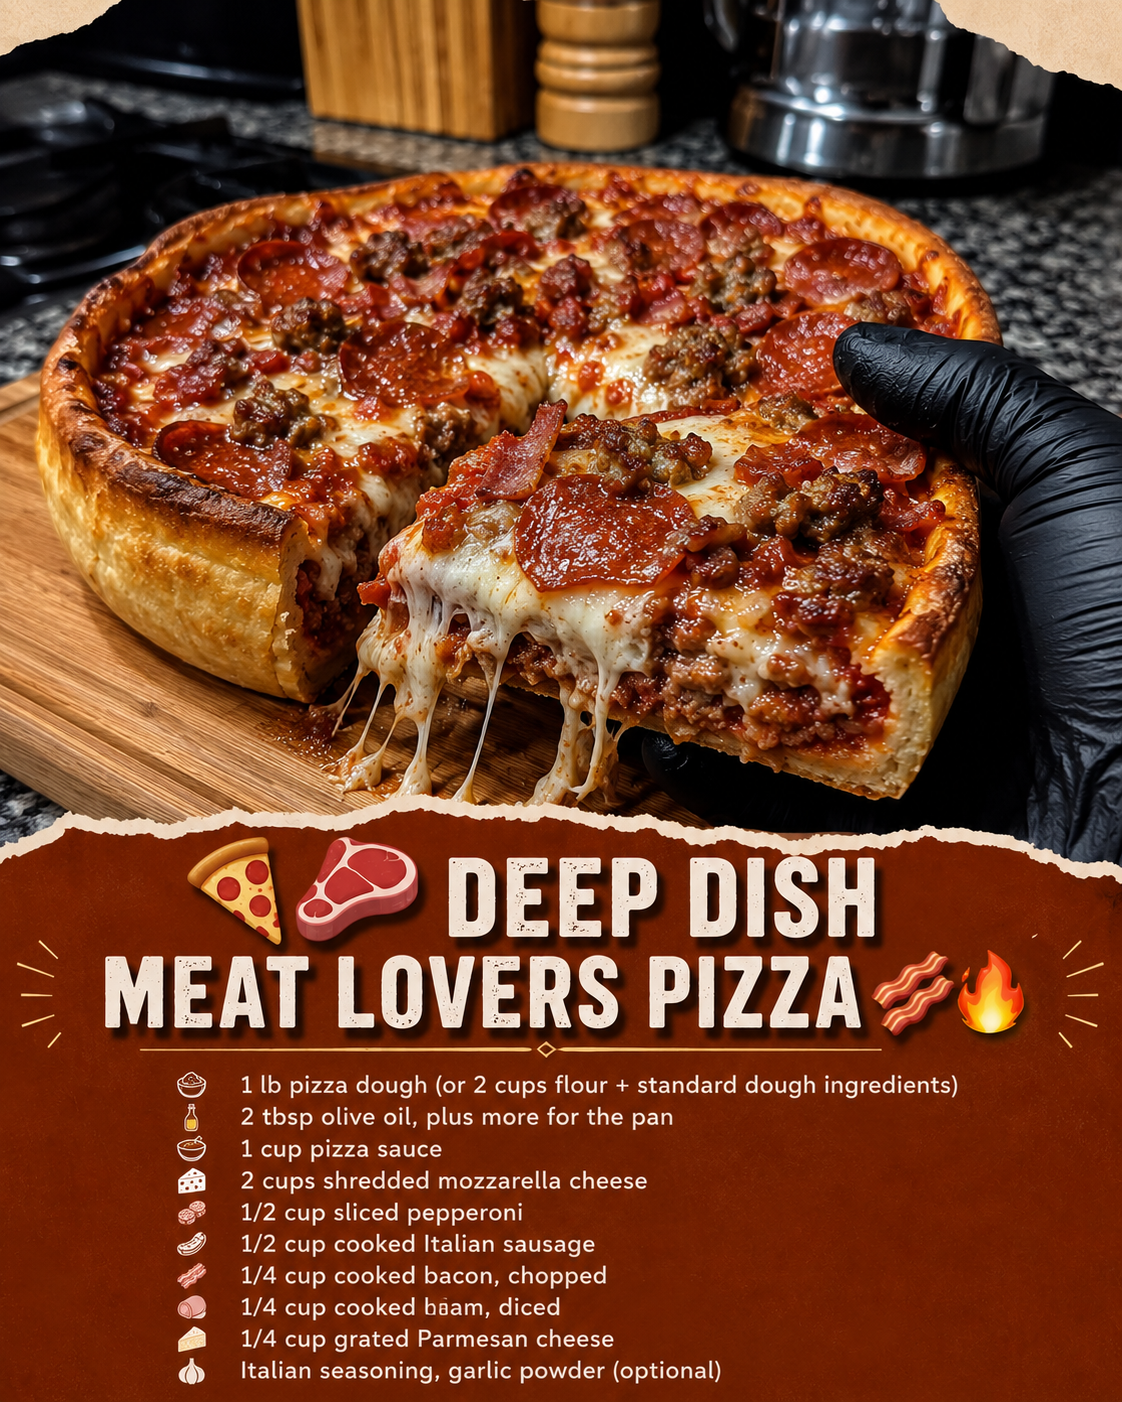
Deep Dish Meat Lovers Pizza: A Love Letter to Carbs, Cheese, and Everything In Between
I still remember the first time I made a deep dish pizza at home. It was a random Tuesday night, I was craving that Chicago-style pizza I’d had years ago, and I was tired of paying thirty dollars for delivery. My kitchen smelled like a pizzeria for the next three days—and honestly, I wasn’t even mad about it.
That first attempt wasn’t perfect. My crust was a little too thick in some spots, the toppings slid around like they were on ice, and I definitely didn’t use enough sauce. But you know what? My partner took one bite and looked at me like I’d just won the lottery. That’s when I knew I was onto something.
Fast forward to now, and I’ve made this Deep Dish Meat Lovers Pizza probably fifty times. I’ve tweaked it, messed it up, learned what works, and figured out how to make it feel less like a restaurant project and more like a totally doable weeknight dinner (or weekend flex). The thing about deep dish pizza is that it *looks* intimidating, but it’s really just good dough, a hot oven, and toppings you actually love.
This recipe is for anyone who wants that thick, crispy-on-the-outside, tender-on-the-inside crust loaded with pepperoni, sausage, bacon, and enough cheese to make you feel like you’re treating yourself. It’s for cozy nights in, for impressing people, for feeding a crowd without breaking the bank. If you’re a meat lover, this is your pizza. If you’re not, well, I’ve got variations for you too.
Want to save this for later? Follow me on HaileeRecipes on Pinterest for more recipes like this one.
Why You’ll Love This Recipe
Let me be real with you: deep dish pizza is an investment of time, but it’s not complicated. You’re not doing anything you haven’t done before—mixing dough, spreading toppings, baking. The magic is in the layers and the quality of your ingredients.
The crust is everything. It’s thick and pillowy, with those crispy, golden edges that you find yourself picking at even after the pizza’s gone. It’s not bread, and it’s not thin crust—it’s this perfect middle ground that holds up to a ton of toppings without getting soggy.
The cheese pull is real. I’m talking that satisfying, stretchy moment when you lift a slice. It’s not just a thin layer—it’s generous and melty and does exactly what cheese should do.
You control the meat situation. Want extra pepperoni? Go for it. Prefer more sausage than bacon? Do your thing. This recipe is a starting point, not a rulebook.
It actually freezes beautifully. Make two, freeze one, and you’ve got a future version of yourself to thank you.
Ingredients
For the Dough:
- 2 and 1/4 teaspoons instant yeast (one packet)
- 1 and 1/4 cups warm water (around 110 degrees Fahrenheit)
- 3 and 1/2 cups all-purpose flour
- 2 tablespoons sugar
- 1 and 1/2 teaspoons salt
- 2 tablespoons olive oil, plus more for the pan
Hailee’s Tip: Don’t skip the warm water step. Cold water means your yeast won’t activate properly, and you’ll end up with a sad, flat crust. I learned this the hard way.
For the Sauce:
- One 15-ounce can crushed tomatoes
- 2 cloves garlic, minced
- 1 tablespoon tomato paste
- 1 teaspoon dried oregano
- 1/2 teaspoon salt
- 1/4 teaspoon black pepper
- 1/2 teaspoon sugar (to balance acidity)
For the Toppings:
- 8 ounces pepperoni slices (I buy the thicker kind, not the super thin stuff)
- 8 ounces Italian sausage, browned and crumbled
- 6 ounces bacon, cooked and chopped
- 3 cups shredded mozzarella cheese (low moisture, whole milk if possible)
- 1/2 cup grated Parmesan cheese
- 1/2 teaspoon Italian seasoning (for finishing)
Hailee’s Tip: Buy whole milk mozzarella if you can find it. It melts better and tastes richer than the part-skim stuff. And yes, you need both mozzarella and Parmesan—they do different things.
Optional Add-Ins and Variations
The beauty of pizza is that you can make it yours. Here’s what I sometimes throw on there:
- Extra vegetables: Sautéed mushrooms, caramelized onions, or roasted bell peppers work great alongside the meat. Just drain them well so they don’t make your pizza watery.
- Different cheeses: A little bit of smoked gouda or sharp cheddar mixed in with the mozzarella adds complexity.
- Fresh herbs: A sprinkle of fresh basil right after the pizza comes out of the oven is always a good call.
- Hot honey: Drizzle this over the finished pizza if you want a sweet-spicy thing happening.
- Garlic butter crust: Mix softened butter with minced garlic and brush the edges before baking for that pizzeria edge.
Step-by-Step Method
Step 1: Make Your Dough (10 minutes active time, 1 hour rise)
Pour your warm water into a large mixing bowl. Sprinkle the yeast over it and let it sit for about a minute. Add the sugar and stir—you should see it get foamy after a couple of minutes. This is your yeast saying hello.
Add the flour, salt, and olive oil. Mix with your hands or a wooden spoon until everything comes together in a shaggy ball. It’ll look a little rough, and that’s fine.
Now knead for about 8 to 10 minutes. If you have a stand mixer with a dough hook, use it—your arms will thank you. The dough should go from sticky and rough to smooth and elastic. You’ll know it’s ready when you poke it and it springs back slowly.
Oil a clean bowl, pop your dough in, cover it with a damp towel or plastic wrap, and let it rise for about an hour at room temperature. It should roughly double in size.
Hailee’s Tip: If your kitchen is cold, turn your oven on to 200 degrees for two minutes, turn it off, and let your dough rise in there. It creates a warm, cozy environment for the yeast to do its thing.
Step 2: Prepare Your Toppings (15 minutes)
While your dough is rising, brown your sausage in a skillet over medium-high heat. Break it into small chunks as it cooks. Drain off excess fat and set it aside.
Cook your bacon until it’s crispy, chop it, and set it aside too. You want it cooked through but still a little chewy—not shattered into dust.
For the sauce, heat a little olive oil in a saucepan over medium heat. Add your minced garlic and cook for about a minute until it’s fragrant. Add the tomato paste and cook for another minute. Pour in the crushed tomatoes, oregano, salt, pepper, and sugar. Simmer for about 10 minutes. Taste it. Does it need more salt? More oregano? Adjust. This sauce is your base, so make it taste good.
What I Messed Up: I used to skip the simmering step and just dump the sauce straight on the pizza. It tasted thin and one-note. Those 10 minutes make all the difference.
Step 3: Prep Your Pan (5 minutes)
Generously oil a 9-inch or 10-inch round cake pan or cast-iron skillet. I mean really coat it—you want that crispy, golden edge on your crust. Some people use a square baking pan for a more rectangular shape, which is totally fine.
Step 4: Shape Your Dough (10 minutes)
Turn your risen dough out onto a lightly floured surface. Gently press it down to release some gas. Don’t be aggressive—you want to keep some of those air bubbles.
Pick it up and stretch it into a round shape about the size of your pan. This is easier than it sounds, I promise. Just work from the center outward, letting gravity help you. If it springs back, let it rest for a minute and try again.
Lay it in your oiled pan and gently press it up the sides and into the corners. It should cover the bottom and come up the sides a bit. If you have dough hanging over, that’s okay—it’ll bake down.
Step 5: Layer Your Toppings (10 minutes)
Spread about half of your sauce on the bottom of the dough, leaving a little border around the edges for the crust. You don’t want it swimming in sauce.
Now here’s the key: layer your cheese first, then your meats. I do about 1 and 1/2 cups of mozzarella on the sauce, then scatter your pepperoni, sausage, and bacon over that. Then the remaining mozzarella and the Parmesan on top.
Hailee’s Tip: Layering cheese, then meat, then cheese again means the meat gets encased and stays in place while baking. It’s a game-changer.
What I Messed Up: I used to put all my toppings on at once, and everything would slide around during baking. Now I layer strategically, and it stays put.
Step 6: The Second Rise (30 to 45 minutes)
Cover your topped pizza with plastic wrap or a towel and let it rise again for 30 to 45 minutes. You want the dough to puff up a bit more—not double, but noticeably thicker. This is what gives you that pillowy texture.
Step 7: Bake (25 to 30 minutes)
Preheat your oven to 425 degrees Fahrenheit. When it’s ready and your dough has risen, pop the pizza in.
Bake for 25 to 30 minutes, until the crust is golden brown and the cheese is bubbly and slightly browned on top. The edges should be crispy and deep golden. If your edges are browning too fast but the cheese isn’t melted yet, tent the top loosely with foil.
Step 8: Rest and Finish (5 minutes)
Take it out of the oven and let it rest for about 5 minutes. This helps the cheese set slightly so your slices don’t all slide off when you cut into it. Sprinkle with a little Italian seasoning and maybe some fresh parsley if you’re feeling fancy.
Common Mistakes to Avoid
Using cold water for the dough: Your yeast won’t activate properly. Aim for that 110-degree sweet spot.
Skipping the second rise: This is what makes the crust thick and pillowy. Don’t rush it.
Overloading with sauce: A soggy pizza is nobody’s friend. Use about half a cup of sauce total—you can always add more after baking.
Not draining your meat toppings: Excess grease makes for a greasy pizza. Cook your sausage and bacon, let them cool on paper towels, and drain well.
Using low-moisture mozzarella that’s been sitting out: Cold cheese doesn’t melt as evenly. Let it sit at room temperature for a few minutes before topping.
Opening the oven constantly: I know it’s tempting to peek, but every time you open that door, you’re letting heat escape. Resist the urge.
My Tested Substitutions
If you don’t have instant yeast: Active dry yeast works, but you might need to let it rise a little longer. Don’t use rapid-rise yeast—it can make your dough tough.
If you don’t have a cast-iron skillet or cake pan: A 9-by-13-inch baking dish works great, and you’ll get a more rectangular pizza. Baking time might be slightly less since the dough is spread thinner.
If you want to use store-bought dough: You can, and I won’t judge. Let it come to room temperature, then shape and top it. You’ll save about an hour and a half. The texture won’t be quite the same, but it’ll still be delicious.
If you want to make this gluten-free: Use a quality gluten-free flour blend designed for bread. You might need slightly more water. Follow the same steps, but know that your rise time might be different.
If you want to go lighter on meat: Use half the amount of pepperoni and sausage, and add sautéed vegetables. You’ll still get that meaty flavor without feeling like you need to nap afterward.
How to Customize
One of my favorite things about this recipe is how flexible it is. Here’s how I change it up depending on my mood or what I have on hand:
The Breakfast Version: Skip the pepperoni and sausage. Use bacon and add a handful of diced ham. After baking, brush the crust with a little maple syrup. Trust me on this.
The Loaded Veggie Version: Use the same dough and sauce, but layer sautéed mushrooms, caramelized onions, roasted red peppers, and fresh spinach under the cheese. Keep some of the bacon for smokiness.
The Spicy Version: Add red pepper flakes to the sauce, use spicy Italian sausage instead of regular, and throw some sliced jalapeños on there.
The Fancy Version: Use fresh mozzarella torn into chunks (add it halfway through baking so it doesn’t brown too much), add fresh basil after baking, and drizzle with good olive oil.
Serving Ideas
This pizza is honestly perfect on its own, but here’s what I like to serve alongside it:
- A simple green salad with a light vinaigrette to cut through the richness
- Garlic bread or breadsticks (I know, it’s a lot of carbs, but we’re not counting today)
- Roasted vegetables like broccoli or green beans
- A cold beer or crisp white wine
- Marinara for dipping the crust edges (yes, really)
For a crowd, I usually make two pizzas and let people help themselves. One with meat, one with vegetables, so everyone’s happy.
Meal Prep and Storage
Storing leftovers: Keep pizza in an airtight container in the fridge for up to 4 days. Reheat it in a 350-degree oven for about 8 minutes until it’s warm and the cheese is melty again. The microwave works, but the crust gets a little chewy.
Freezing unbaked pizza: After you’ve topped your pizza but before it goes in the oven, cover it tightly with plastic wrap and foil, and freeze for up to 2 months. When you want to bake it, don’t thaw it—just add about 10 minutes to the baking time.
Freezing baked pizza: Cool it completely, slice it, wrap each slice in foil, and freeze in a freezer bag for up to 3 months. Reheat in the oven or toaster oven.
Making dough ahead: You can make the dough, let it rise, then refrigerate it for up to 24 hours. Bring it to room temperature before shaping and topping.
Nutritional Breakdown
This is a rough estimate per slice, assuming the pizza is cut into 8 slices:
- Calories: 520