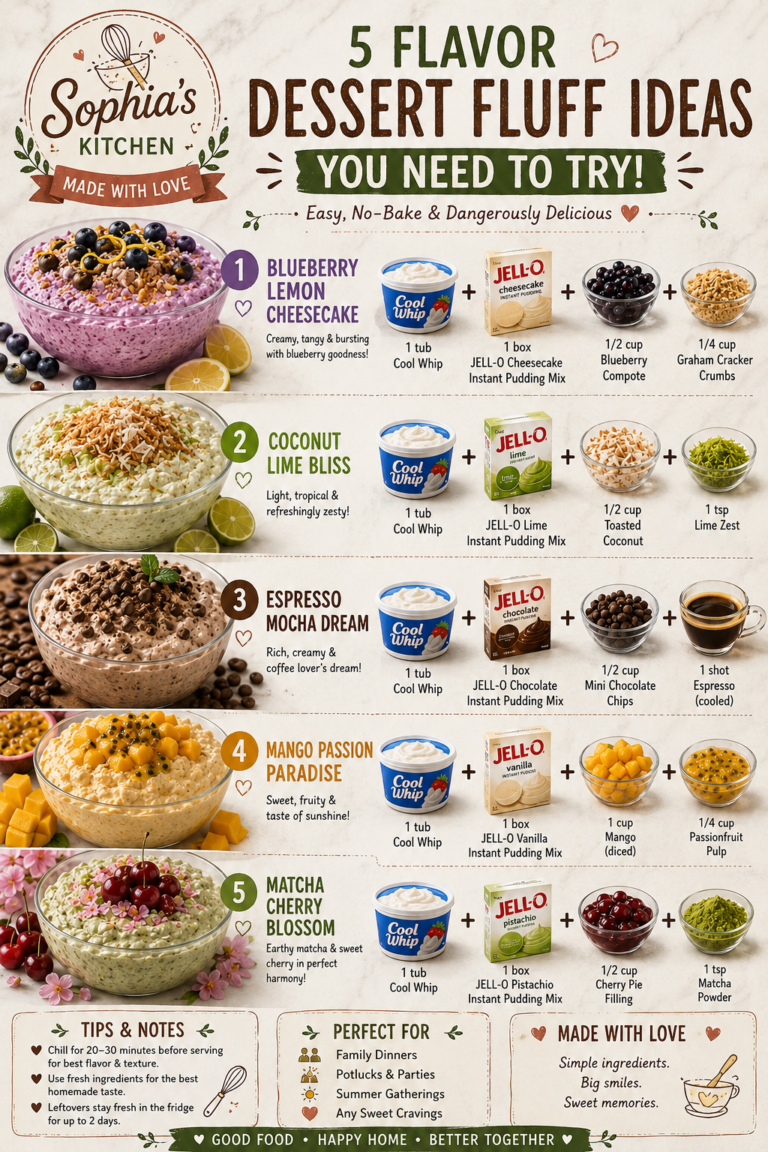
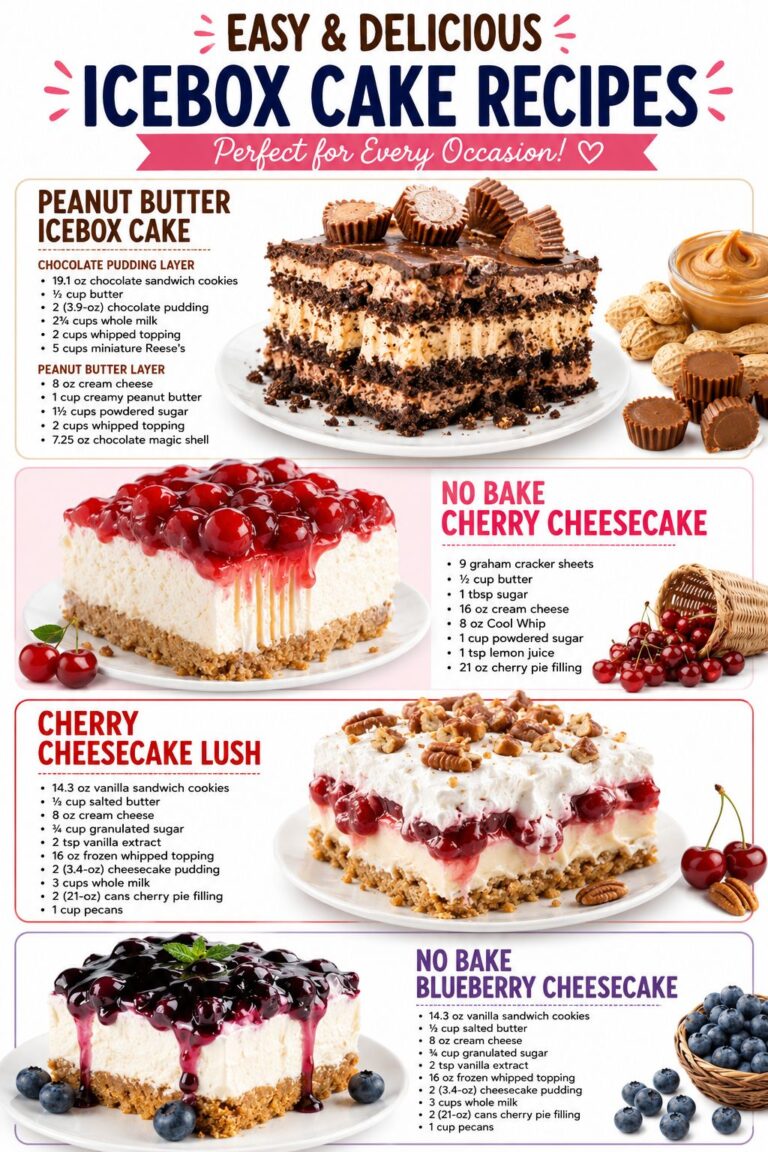
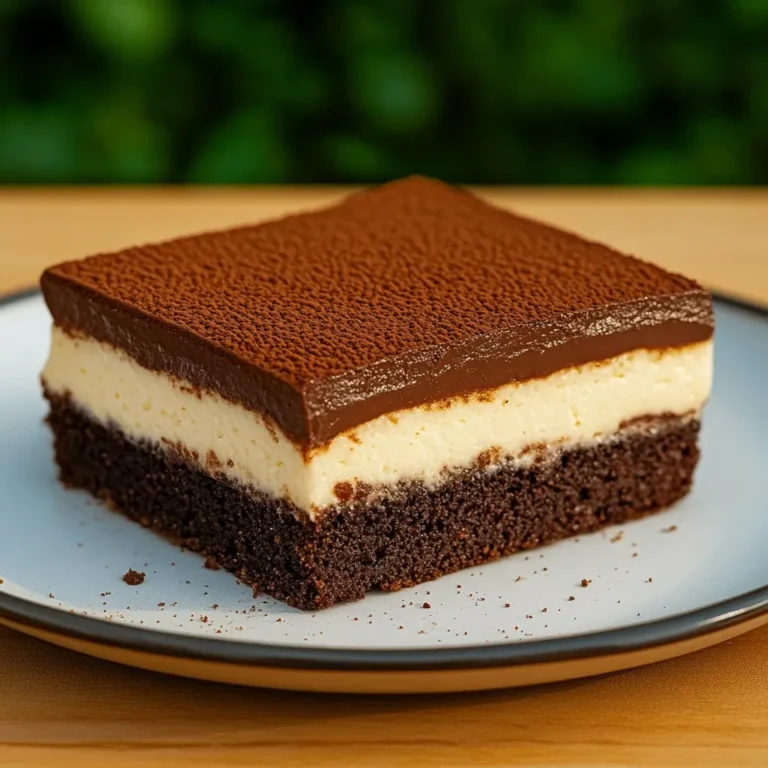
Mini Brownie Fruit Tarts with Cream Cheese Frosting and Chocolate Syrup
Mini Brownie Fruit Tarts with Cream Cheese Frosting and Chocolate Syrup
Mini Brownie Fruit Tarts with Cream Cheese Frosting and Chocolate Syrup: A Recipe That Feels Like a Hug
I was having one of those days. You know the kind—nothing catastrophic, just that low-grade exhausted feeling where you want something that tastes like joy but doesn’t require you to stand at the stove for three hours. I was scrolling through my phone, half-watching my kids argue about Lego colors, when I realized what I really wanted: brownie. But also fruit. But also cream cheese frosting. But also I didn’t want to commit to a full-sized dessert.
That’s when these mini brownie fruit tarts were born.
I started tinkering with the idea of combining everything I love about individual desserts into one bite-sized package. The fudgy richness of a brownie base, the bright freshness of berries or stone fruit on top, a cloud of tangy cream cheese frosting, and a drizzle of chocolate syrup to tie it all together. The result? Something that feels fancy enough to impress, but honest enough to make on a Tuesday night.
These mini brownie fruit tarts are perfect for people who want to feel like they’re eating something indulgent without the guilt spiral. They’re small enough that you can have one (or let’s be real, two) without overdoing it. They’re impressive enough to serve at a dinner party or pack into a lunchbox. And they’re forgiving enough that even if your frosting isn’t perfectly smooth or your fruit placement is a little wonky, they still look and taste absolutely delicious.
I’ve made these probably fifty times now in different iterations, and I’m excited to share exactly how I do it. Follow me on HaileeRecipes on Pinterest for more recipes like this one that prove dessert doesn’t have to be complicated to be memorable.
Why You’ll Love This Recipe
Let me be honest about what makes these special. First, they’re genuinely easy. You’re not making puff pastry or tempering chocolate or doing anything that requires a culinary degree. You’re making a simple brownie batter, pressing it into a muffin tin, baking it, and then topping it with frosting and fruit. That’s it.
Second, they’re portion-controlled in the best way. Each tart is one satisfying bite of dessert—not too much, not too little. Perfect for people who want to enjoy something sweet without feeling stuffed afterward.
Third, they’re endlessly customizable. Don’t like raspberries? Use strawberries. Allergic to cream cheese? Try mascarpone. Want them vegan? I’ve got you covered later in this article. The base is so flexible that you can make it your own.
And honestly, they just look impressive. Your family will think you spent way more time on these than you actually did. That’s my favorite kind of recipe.
Ingredients
For the Brownie Base:
- 4 tablespoons unsalted butter
- 3 ounces semi-sweet chocolate, chopped (or chocolate chips)
- 1/4 cup granulated sugar
- 1/4 cup brown sugar
- 1 large egg
- 1/4 teaspoon vanilla extract
- 1/3 cup all-purpose flour
- 2 tablespoons unsweetened cocoa powder
- 1/4 teaspoon baking powder
- Pinch of salt
For the Cream Cheese Frosting:
- 4 ounces cream cheese, softened to room temperature
- 2 tablespoons unsalted butter, softened
- 1/2 cup powdered sugar
- 1/4 teaspoon vanilla extract
- Pinch of salt
For Topping:
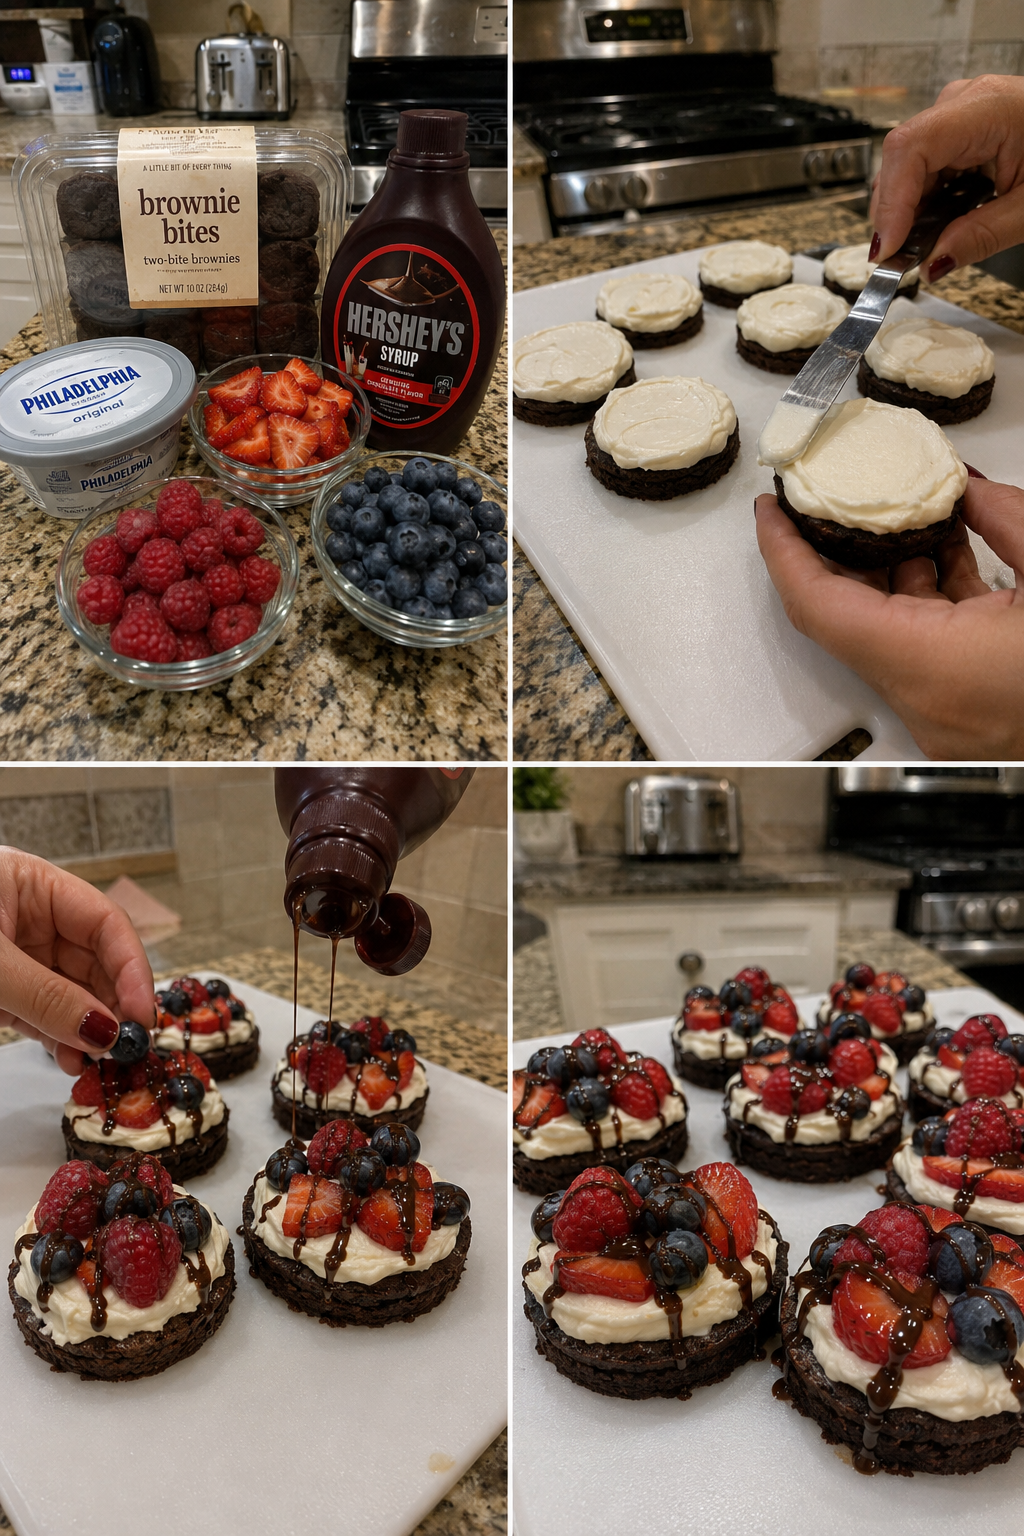
- 1 cup fresh fruit (raspberries, blueberries, sliced strawberries, sliced peaches, or blackberries)
- 3 tablespoons chocolate syrup (store-bought is totally fine)
- Optional: fresh mint leaves for garnish
Hailee’s Tip: Room temperature cream cheese is non-negotiable here. Cold cream cheese will be lumpy, and nobody wants lumpy frosting. Take it out of the fridge about 30 minutes before you start.
Hailee’s Tip: I use a mix of semi-sweet and dark chocolate for depth, but use whatever you have. Chocolate chips work just as well as chopped chocolate bars.
Optional Add-Ins and Variations
This is where you get to play around. Here are some of my favorite additions:
- Espresso powder: Add 1/4 teaspoon to the brownie batter for a deeper chocolate flavor that doesn’t taste like coffee.
- Sea salt: A tiny sprinkle on top of the frosting before adding fruit is chef’s kiss.
- Almond extract: Use 1/8 teaspoon in the frosting instead of vanilla for something different.
- Liqueur: A teaspoon of raspberry liqueur or Kahlúa mixed into the frosting is lovely.
- Lemon zest: Adds brightness if you’re using berries that need a little punch.
Step-by-Step Method
Step 1: Prep Your Pan
Preheat your oven to 350 degrees Fahrenheit. Line a 12-cup muffin tin with paper liners or grease it well with cooking spray. I prefer liners because they make cleanup easier and the tarts are easier to remove, but either way works. If you only have a 6-cup muffin tin, that’s fine—you’ll just make fewer tarts and bake them in two batches.
Step 2: Melt the Chocolate
In a small microwave-safe bowl, combine the butter and chopped chocolate. Microwave in 30-second intervals, stirring between each one, until everything is melted and smooth. This usually takes me about 60 to 90 seconds total. Don’t rush this or you’ll end up with scorched chocolate, which tastes bitter and sad. If you’re nervous about the microwave, you can use a double boiler instead—just set a bowl over a pot of simmering water and stir until melted.
Hailee’s Tip: The chocolate mixture should be warm but not piping hot when you add the egg. If it’s too hot, it’ll scramble the egg and you’ll have little bits of cooked egg in your batter. Not ideal.
Step 3: Combine Wet Ingredients
Pour the melted chocolate mixture into a medium bowl. Add both sugars and stir until combined. Let it cool for about 2 minutes, then add the egg and vanilla extract. Whisk until everything is smooth and well combined. This is where I usually pause and taste the batter. Yes, I eat raw brownie batter. Don’t judge me.
Step 4: Mix Dry Ingredients
In a small bowl, whisk together the flour, cocoa powder, baking powder, and salt. This step prevents lumps in your batter and makes sure the leavening agent is evenly distributed.
Step 5: Combine Everything
Pour the dry ingredients into the wet ingredients and fold gently with a spatula until just combined. Don’t overmix—you want a few flour streaks to be okay. Overmixing develops gluten and makes brownies tough and cakey instead of fudgy.
Step 6: Fill the Muffin Cups
Divide the batter evenly among the muffin cups, filling each one about three-quarters full. I use a small cookie scoop for this because it’s faster and more even than trying to spoon it in. Smooth the tops gently with the back of a spoon.
What I Messed Up: The first time I made these, I filled the cups too full and the batter overflowed everywhere. Now I’m very careful about the three-quarter-full mark. It matters.
Step 7: Bake
Bake for 12 to 14 minutes. The brownie bases should look set on top but still have a tiny bit of jiggle in the center when you gently shake the pan. They’ll continue to cook as they cool. If you overbake them, they’ll be cakey instead of fudgy, and that defeats the whole purpose of a brownie.
Step 8: Cool Completely
Remove the pan from the oven and let it cool for about 10 minutes in the pan, then transfer the tarts to a wire rack to cool completely. This is important because the frosting will melt if you frost warm brownies. I know it’s tempting to frost them right away, but trust me on this. Patience is your friend here.
Step 9: Make the Frosting
While the brownies cool, make the cream cheese frosting. In a medium bowl, beat together the softened cream cheese and butter until light and fluffy, about 2 minutes. Add the powdered sugar, vanilla, and salt, and beat until smooth and spreadable. If it looks too thick, add a splash of milk. If it looks too thin, add a bit more powdered sugar. You want something that’s easy to spread but holds its shape.
Hailee’s Tip: Don’t skip the salt in the frosting. It balances the sweetness and makes everything taste better.
Step 10: Frost the Tarts
Once the brownie bases are completely cool, pipe or spread a generous dollop of frosting on top of each one. I use a small offset spatula to spread it, but you can also pipe it with a piping bag if you want something fancier. Spread it all the way to the edges so it’s visible from the side.
Step 11: Add the Fruit
Top each frosted tart with your choice of fresh fruit. I usually do a small cluster of raspberries or blueberries, or a slice of strawberry. Whatever looks pretty and sounds good to you is the right choice. Press the fruit gently into the frosting so it sticks.
Step 12: Drizzle with Chocolate Syrup
Finish each tart with a small drizzle of chocolate syrup. I usually do a thin zigzag across the top, but you can do whatever you like. The chocolate syrup adds both flavor and visual appeal.
Step 13: Chill and Serve
Pop the finished tarts into the fridge for at least 30 minutes before serving. This lets the frosting set and makes them easier to handle. You can serve them chilled or at room temperature—both are delicious.
Common Mistakes to Avoid
Using Cold Cream Cheese: I mentioned this before, but it bears repeating. Cold cream cheese will not mix smoothly with the butter and sugar. You’ll end up with a lumpy frosting that’s frustrating to spread. Take it out of the fridge early.
Overbaking the Brownies: The line between perfectly fudgy and overdone is thin. Start checking at 12 minutes. The tops should look set, but there should be a tiny bit of movement in the very center when you shake the pan gently.
Frosting Warm Brownies: I’ve done this, and the frosting melts and slides off. Not fun. Let them cool completely. I promise it’s worth the wait.
Overmixing the Batter: This makes brownies dense and cakey. Fold the dry ingredients in gently, and stop as soon as you don’t see flour streaks anymore.
Using Wet Fruit Without Patting It Dry: Wet fruit will make the frosting slide around. Pat your berries dry with a paper towel before topping the tarts.
My Tested Substitutions
Dairy-Free Version: Use vegan butter and dairy-free cream cheese. The tarts still come out delicious. You might need to add a tiny splash of unsweetened plant milk to the frosting to get the right consistency.
Gluten-Free Version: Swap the all-purpose flour for a one-to-one gluten-free flour blend. The texture will be slightly different—a bit more crumbly—but they still taste great.
Vegan Version: Use vegan butter and dairy-free cream cheese, and replace the egg with a flax egg (1 tablespoon ground flaxseed mixed with 3 tablespoons water, let sit for 5 minutes). The brownies will be a touch less fudgy, but still delicious.
Lower-Sugar Version: Use monk fruit sweetener or erythritol instead of sugar. You might need to adjust the amount slightly since these sweeteners behave differently. Start with the same amount and adjust to taste.
Different Chocolate: Dark chocolate brownies are amazing if you prefer a less sweet, more intense chocolate flavor. Use dark chocolate instead of semi-sweet. You might want to add a tiny pinch of salt to balance it.
How to Customize
The beauty of mini brownie fruit tarts is that they’re a blank canvas. Here are some fun combinations I’ve tried:
- Strawberry and Balsamic: Top with sliced strawberries and drizzle with balsamic reduction instead of chocolate syrup.
- Peach and Almond: Use sliced peaches and add almond extract to the frosting.
- Berry Medley: Mix raspberries, blueberries, and blackberries on top for a colorful look.
- Chocolate-Covered Cherry: Top with a cherry and use dark chocolate in the brownie base.
- Citrus and White Chocolate: Use white chocolate frosting instead of cream cheese and top with a tiny slice of lemon or orange.
Serving Ideas
These tarts are versatile. Here’s how I usually serve them:
- For a Dinner Party: Arrange them on a pretty platter with some fresh mint for garnish. They look fancy and people always think you spent hours on them.
- For a Lunchbox: Pack one in a container with a small fork. It’s a special treat that feels fancier than a regular brownie.
- For a Picnic: Make them ahead, chill them well, and transport them in a container. They hold up great in warm weather because the frosting keeps the fruit in place.
- With Coffee or Tea: One tart and a cup of coffee is my ideal afternoon break.
- As a Gift: Pack a few in a box with parchment paper between each one. People love receiving homemade desserts.
- Straight from the Fridge: Sometimes I just grab one when I need a little something sweet. They’re perfect for that.
Meal Prep and Storage
These tarts are great for making ahead. Here’s what I do:
Make-Ahead Timeline: You can bake the brownie bases up to 3 days ahead. Store them in an airtight container at room temperature. When you’re ready to serve, make the frosting fresh and top the tarts with frosting and fruit a few hours before serving.
Storage: Finished tarts keep in the fridge for up to 2 days in an airtight container. The frosting stays creamy and the brownie stays fudgy. They’re also fine at room temperature for about 4 hours if you’re taking them somewhere.
Freezing: You can freeze the unfrosted brownie bases for up to a month. Thaw them at room temperature, then frost and top with fruit when you’re ready to serve.
Hailee’s Tip: Don’t freeze the finished tarts with the frosting and fruit on top. The fruit gets weird, and the frosting texture changes. Freeze just the brownie bases.
Nutritional Breakdown
Here’s what you’re looking at per tart (these are estimates because it depends on your exact ingredients and how much frosting you use):
- Calories: 185
- Protein: 2.5g
- Carbohydrates: 24g
- Fat: 9g
- Fiber: 1g
- Sugar: 19g