No-Bake Chocolate Caramel Cream Cakes offer a rich, layered dessert with a buttery cookie crust, a velvety cream cheese filling, and a gooey caramel center that sets perfectly in the refrigerator.
Ingredients
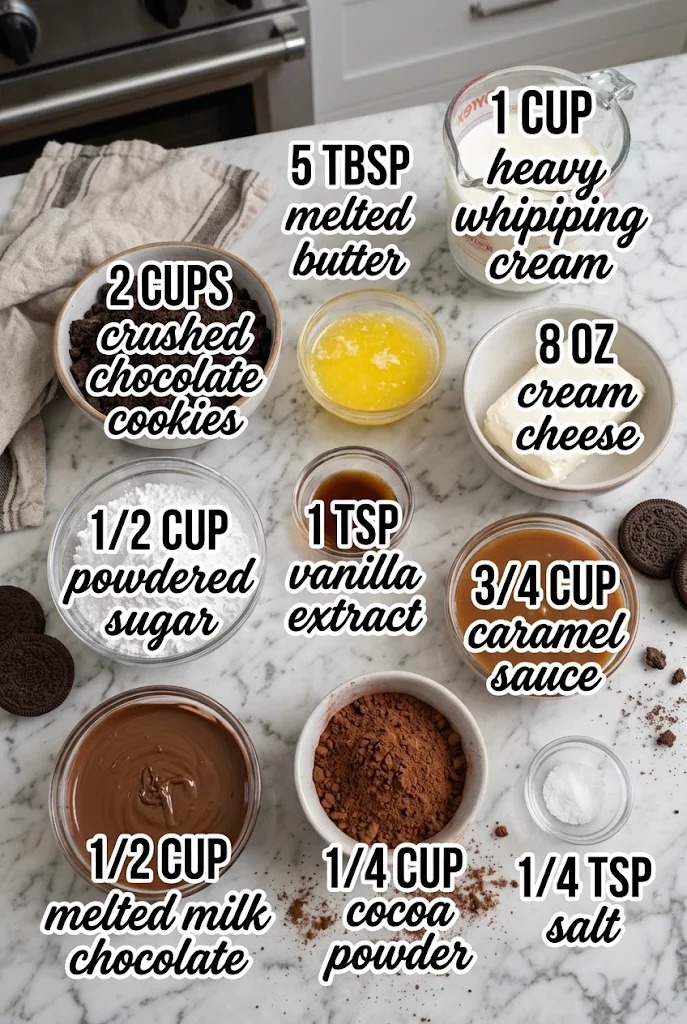
- Crushed chocolate cookies (2 cups): Use a sturdy chocolate wafer or Oreo-style cookie. You need fine crumbs for a cohesive crust; if using whole cookies, pulse them in a food processor until they resemble wet sand.
- Melted butter (5 tablespoons): Unsalted is preferred so you can control the salt level. Melt it completely but let it cool slightly so it doesn’t melt the cookies further before mixing.
- Salt (1/4 teaspoon): A pinch of salt enhances the sweetness of the cookies and balances the richness of the chocolate and caramel.
- Cream cheese (8 ounces): Must be softened to room temperature. Cold cream cheese creates lumps that are impossible to whip out, resulting in a grainy texture.
- Heavy whipping cream (1 cup): This provides the necessary fat content to whip into stiff peaks, giving the cake its airy, light structure without baking.
- Powdered sugar (1/2 cup): Also known as confectioners’ sugar, this dissolves instantly into the cream cheese mixture, unlike granulated sugar which would leave a gritty mouthfeel.
- Vanilla extract (1 teaspoon): Adds a warm, aromatic depth that complements both the chocolate and the dairy notes.
- Caramel sauce (3/4 cup): Choose a thick, store-bought sauce or homemade version. It should be pourable but not runny like water; if too thin, chill it briefly before using.
- Melted milk chocolate (1/2 cup): Use high-quality chips or bars. Melt gently to avoid seizing, ensuring a smooth seal over the top of the cakes.
- Cocoa powder (1/4 cup): Unsweetened natural cocoa powder is used for dusting the final product to add a professional finish and a hint of extra chocolate flavor.
How To Make No-Bake Chocolate Caramel Cream Cakes
- Prepare the Cookie Crust Base
Start by crushing your chocolate cookies into very fine crumbs. If you have a food processor, pulse them until they look like coarse sand; if doing it by hand, place them in a sealed bag and crush with a rolling pin until no large chunks remain. In a medium bowl, combine the 2 cups of crushed cookies with the 5 tablespoons of melted butter and the 1/4 teaspoon of salt. Stir thoroughly with a spatula until every crumb is coated in butter and the mixture resembles wet sand. Take four mini cake rings or individual springform pans (approximately 3 to 4 inches in diameter) and press the mixture firmly into the bottom and up the sides of each ring. Use the bottom of a flat measuring cup or glass to pack the crust down tightly; this step is crucial because a loose crust will crumble when you unmold the cakes later. Place the prepared crusts in the refrigerator while you make the filling to help them set.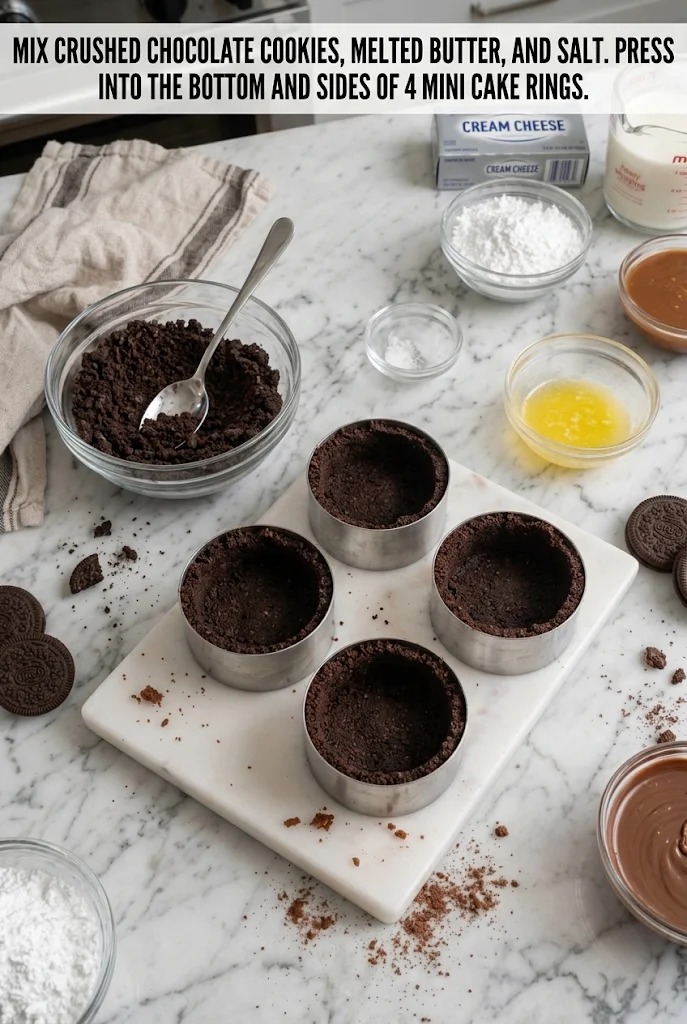
- Whip the Cream Cheese Filling
Ensure your 8 ounces of cream cheese are truly soft; if they are still cold, microwave them in 10-second bursts or let them sit on the counter for at least an hour. In a large mixing bowl, beat the softened cream cheese with an electric mixer on medium speed until it is completely smooth and free of lumps, scraping down the sides of the bowl as needed. Add the 1/2 cup of powdered sugar and 1 teaspoon of vanilla extract, continuing to mix until fully incorporated. In a separate small bowl or the clean bowl of your mixer, whip the 1 cup of heavy cream until stiff peaks form. This means when you lift the beaters, the cream should stand up straight without drooping. Gently fold the whipped cream into the cream cheese mixture in three additions. Use a large rubber spatula and cut through the middle and fold over the top to maintain the air bubbles; overmixing here will deflate the filling and result in a dense, heavy cake rather than a fluffy one.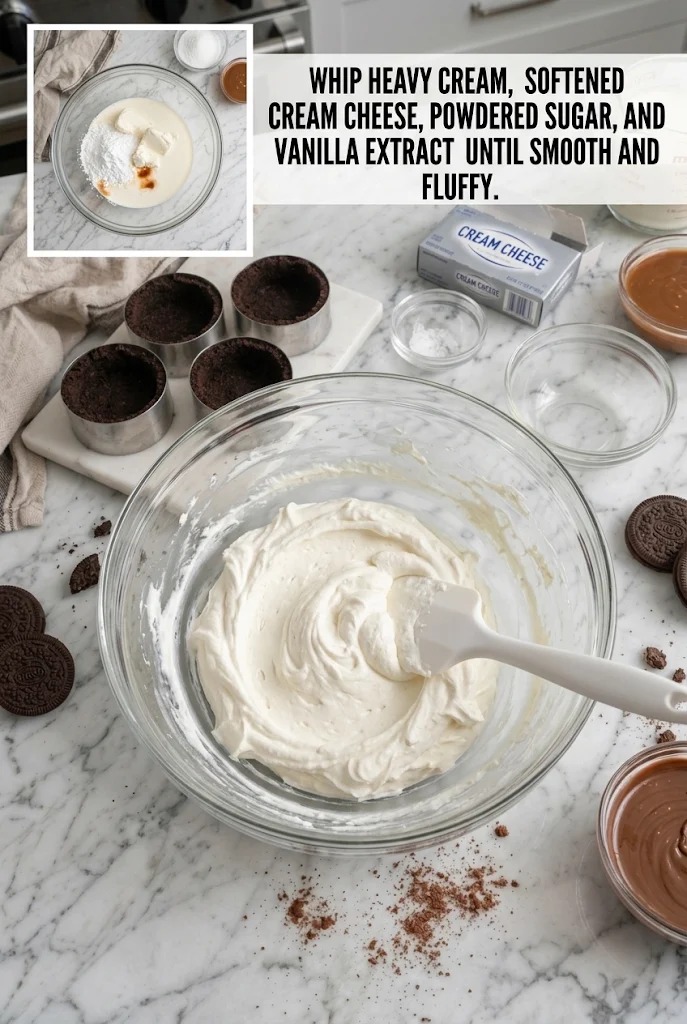
- Assemble the Layers
Remove the chilled crusts from the refrigerator. Using a piping bag fitted with a large round tip (or a zip-top bag with the corner snipped off), pipe a generous layer of the cream cheese filling into each crust, filling them about halfway. Create a small well or indentation in the center of the cream layer with the back of a spoon. Carefully spoon the 3/4 cup of caramel sauce into these indentations, aiming for a concentrated pool in the middle of each cake. Top immediately with the remaining cream cheese filling, covering the caramel completely and smoothing the tops so they are even with the rim of the cake rings. The goal is to encase the caramel so it stays centered and doesn’t leak out during chilling.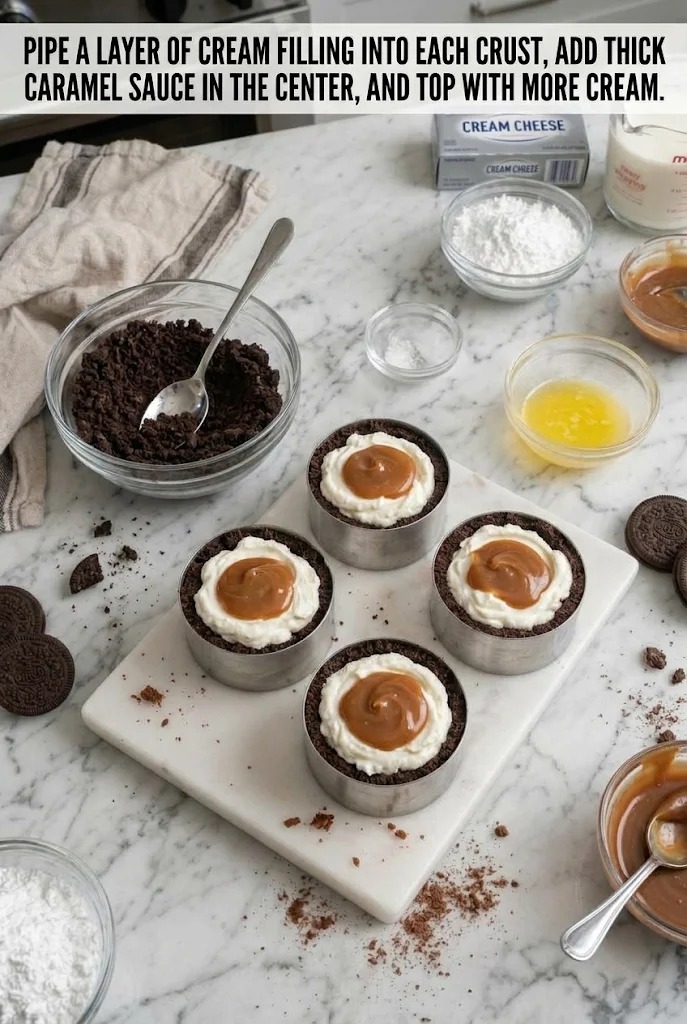
- Seal and Chill
Melt the 1/2 cup of milk chocolate in a heatproof bowl over a pan of simmering water or in short bursts in the microwave, stirring frequently until smooth. Dip the top of each cake into the melted chocolate or use a spoon to drizzle a thick layer over the cream filling, ensuring the entire surface is covered to create a seal. Sprinkle a few extra cookie crumbs over the wet chocolate if desired for texture, though this is optional based on the visual clues provided. Transfer the cakes to the refrigerator and chill for at least 4 hours, or preferably overnight. This extended chilling time is non-negotiable; the cakes must be completely firm to hold their shape when unmolded. Do not rush this step, or the layers may slide apart.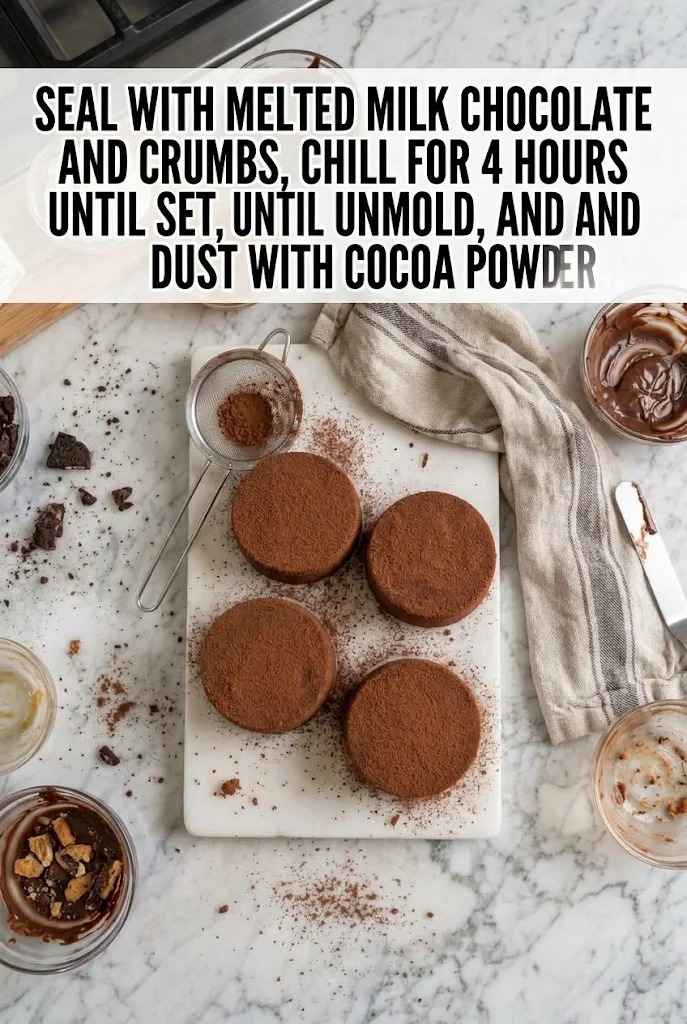
- Unmold and Finish
Once the cakes are fully set, carefully run a thin knife around the inner edge of the cake rings to loosen the sides. Gently release the springs or remove the rings, taking care not to pull on the delicate chocolate coating. Place the finished cakes on serving plates. Sift the 1/4 cup of cocoa powder evenly over the tops of the cakes just before serving. This adds a beautiful matte finish and a subtle dusting of chocolate flavor that contrasts nicely with the glossy chocolate seal. Serve immediately after dusting to prevent the cocoa from absorbing moisture and becoming pasty.
Why This Recipe Works
The success of this dessert relies on the structural integrity of the butter-bound cookie crust, which acts as a sturdy vessel for the soft fillings. By separating the heavy cream and cream cheese, we ensure maximum volume; the whipped cream provides lift while the cream cheese offers tanginess and stability. Encasing the caramel sauce within the cream layer prevents it from making the crust soggy, allowing the sauce to remain a distinct, gooey center rather than soaking into the bottom. The final chocolate seal not only looks elegant but also protects the creamy interior from drying out in the refrigerator.
Doneness And Troubleshooting
If your crust falls apart when you try to press it into the mold, it likely needs more butter. Add an extra tablespoon of melted butter and mix again until the mixture holds together when squeezed. If the filling appears lumpy after mixing, your cream cheese was likely too cold; ensure ingredients are at room temperature before starting. When unmolding, if the cake sticks to the ring, run a warm, damp towel around the outside of the metal ring for a few seconds to slightly soften the outer edge, then gently push the cake up from the bottom. If the caramel leaks out during assembly, you may have made the well too deep or added too much sauce; aim for a moderate amount that sits comfortably within the cream layer.
Substitutions And Variations
For a gluten-free version, simply swap the standard chocolate cookies for a certified gluten-free brand, ensuring they crush similarly. If you prefer dark chocolate, replace the milk chocolate seal with dark chocolate chips and reduce the powdered sugar in the filling by 2 tablespoons to balance the bitterness. To add a nutty crunch, fold 1/4 cup of chopped toasted pecans or hazelnuts into the cream cheese filling before piping. For a dairy-free option, use a plant-based cream cheese alternative and coconut cream instead of heavy whipping cream, though note that the texture will be slightly different and may require longer chilling to set firmly.
Serving Suggestions
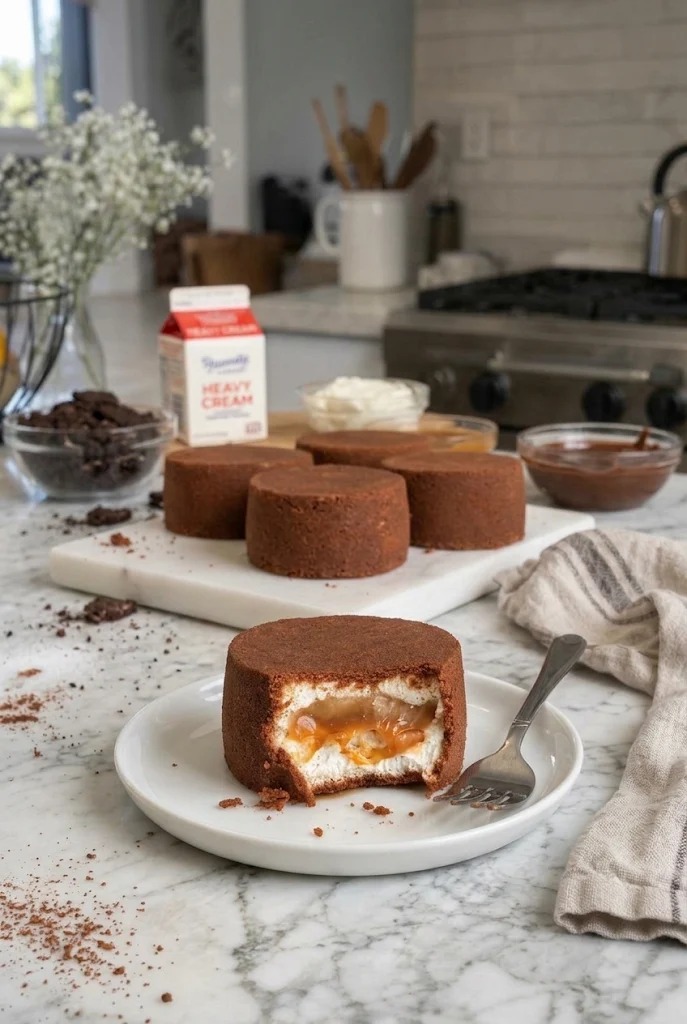
These cakes are best served chilled directly from the refrigerator. They pair beautifully with a hot cup of coffee or espresso, as the bitterness cuts through the sweetness of the caramel and chocolate. For a festive presentation, garnish with a single fresh raspberry or a mint leaf on top of the cocoa dusting. They are ideal for potlucks, dinner parties, or holiday gatherings where advance preparation is essential.
Storage And Reheating
Store any leftovers in an airtight container in the refrigerator for up to 3 days. Do not freeze these cakes, as the cream cheese filling can separate and become grainy upon thawing, ruining the texture. There is no need to reheat; they are intended to be eaten cold. If the chocolate seal becomes dull after a day, you can quickly wipe the tops with a damp cloth to refresh the appearance, though the flavor remains unchanged.
This recipe delivers a sophisticated dessert experience with minimal effort, relying on quality ingredients and proper technique to achieve restaurant-quality results at home. For more delicious no-bake ideas and seasonal treats, Follow Hailee Recipes on Pinterest.
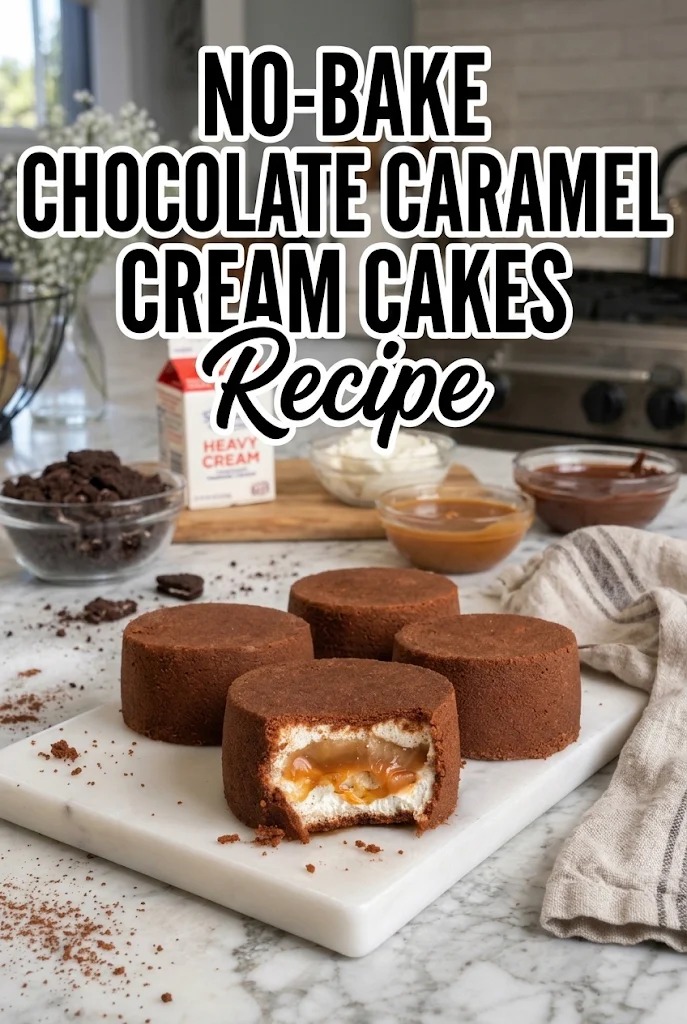
No-Bake Chocolate Caramel Cream Cakes
Ingredients
Method
- Mix crushed cookies, melted butter, and salt; press into the bottom and sides of 4 mini cake rings.
- Whip heavy cream, softened cream cheese, powdered sugar, and vanilla extract until smooth and fluffy.
- Pipe a layer of cream filling into each crust, add thick caramel sauce in the center, and top with more cream.
- Seal with melted milk chocolate and crumbs, chill for 4 hours until set.
- Unmold and dust with cocoa powder before serving.