Santa Puff Pastry Pies
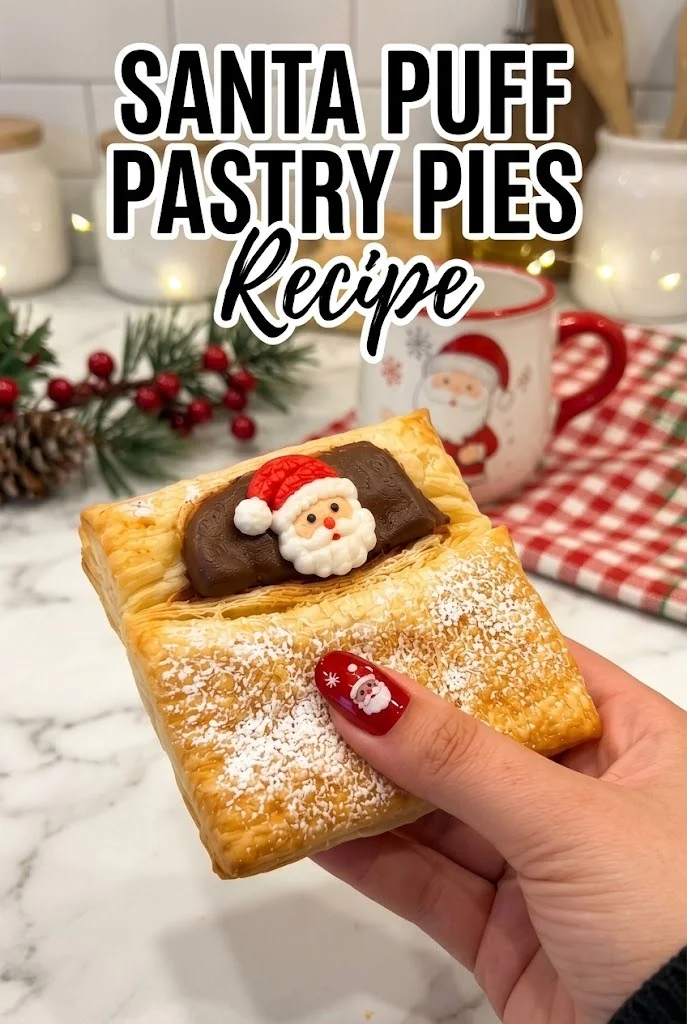
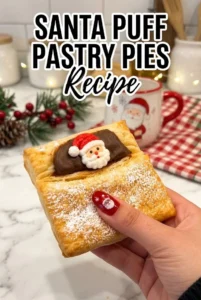
Nobody wants a dry, bland pastry, and these Santa Puff Pastry Pies avoid that with flaky layers around a warm, gooey Nutella center. Finished with melted chocolate Santa faces and a light dusting of powdered sugar, these pies are a playful holiday bake.
Yield: 8 pies | Prep: 15 min | Bake: 15 to 20 min | Total: 35 min
Santa Puff Pastry Pies Ingredients
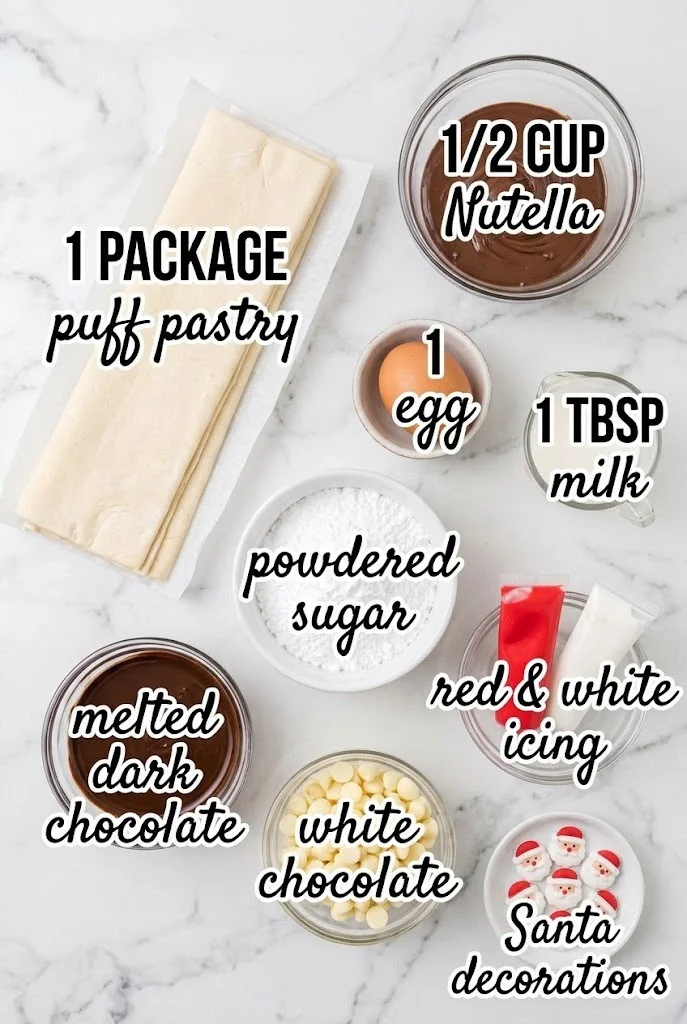
- 1 package puff pastry: This is the flaky base for the pies. Keep it cold until you are ready to cut it so the layers stay distinct and puff in the oven.
- 1/2 cup Nutella: This is the sweet, melty filling. It is divided among the bottom squares, so each pie gets a portion of the total.
- 1 egg: Beaten with the milk to make the egg wash that gives the pastry its shiny, golden color.
- 1 tbsp milk: Whisked into the egg so the wash thins out and brushes on evenly without clumping.
- powdered sugar: Dusted over the finished pies just before serving for a light, snowy finish.
- melted dark chocolate: Used to draw on the facial details and to attach the decorations. It firms up as it cools.
- Santa decorations: Edible decorations to finish the faces.
- red & white icing: Used to decorate the Santa faces, for the hats and trim.
- white chocolate: Used for the beards and trim on the Santa faces.
How To Make This Santa Puff Pastry Pies Recipe
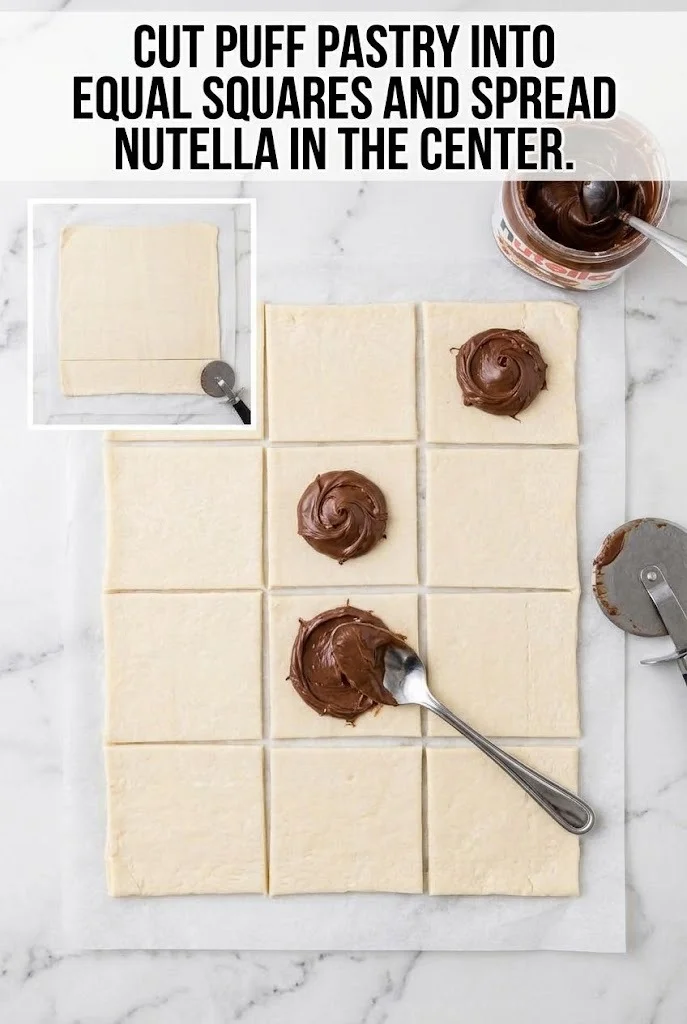
- Cut the pastry into squares. Unroll the puff pastry on a lightly floured surface and cut it into equal squares. You need an even number of squares, with a matching top and bottom for each pie. Keep the squares the same size so the pies bake at the same rate. If the pastry turns soft and sticky while you work, return it to the fridge for about 10 minutes before continuing. Divide the 1/2 cup Nutella evenly among the bottom squares, spreading it in the center of each one and leaving a small border around the edges. Because the total amount is shared across all the pies, keep each portion modest. Too much filling will leak out during baking. Keep the border clean and dry so the edges seal properly.
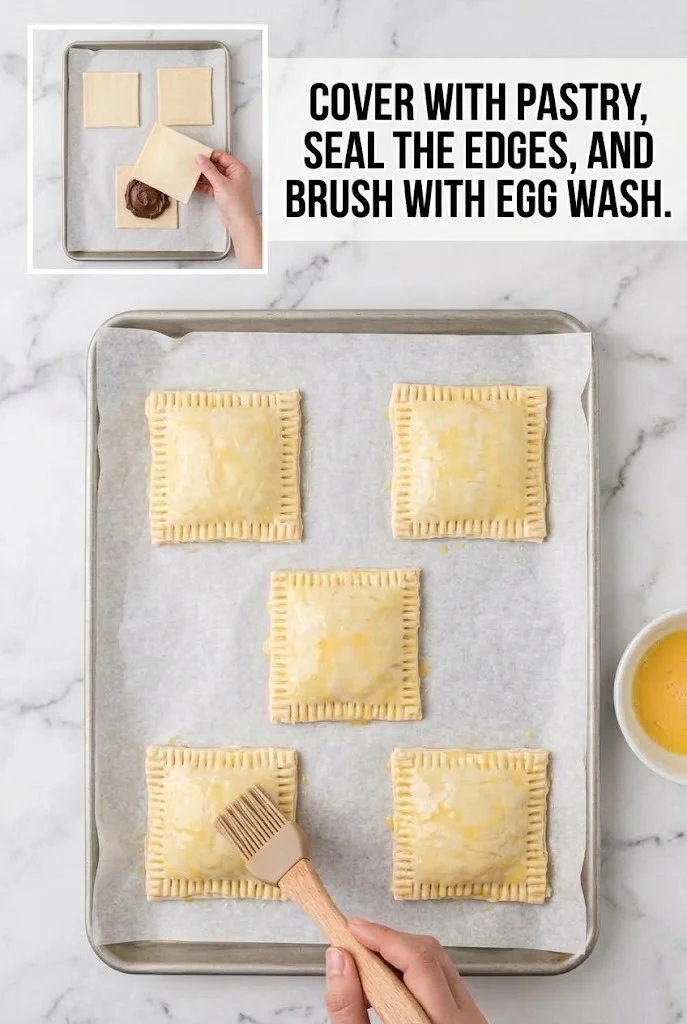
- Seal the pies. Place a second square over each filled bottom, matching the edges. Press the edges together firmly with a fork or your fingertips so the Nutella stays inside. If the edges will not stick, brush them lightly with a little water before pressing. Sealed edges keep the filling from escaping and help the pies puff upward. Whisk the 1 egg with the 1 tbsp milk until smooth. Brush the top of each pie with the egg wash for a shiny, golden finish. I don’t recommend letting the wash pool at the base of the pie, since it can glue the pastry to the pan and stop it from rising.
- Bake until golden. Arrange the pies on a baking sheet, leaving space between them, and bake at 375°F (190°C) until golden brown, puffed, and crispy. This usually takes about 15 to 20 minutes, so check at the 15-minute mark. The pies are ready when the tops are deep golden and the layers look airy. If the bottoms brown too quickly, move the pan to a lower rack for the final few minutes.
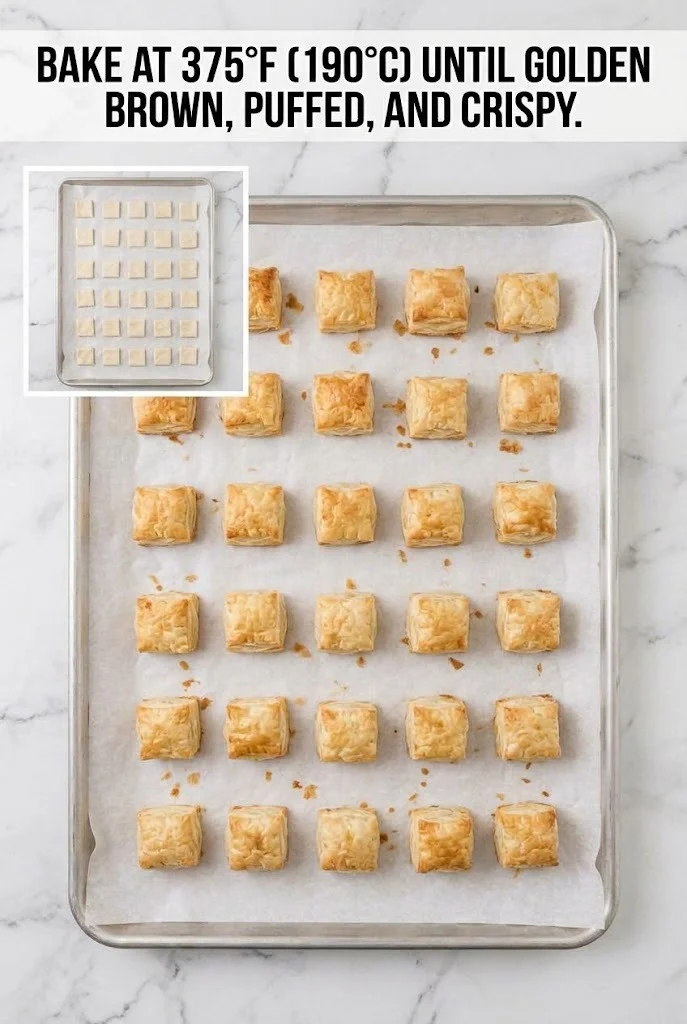
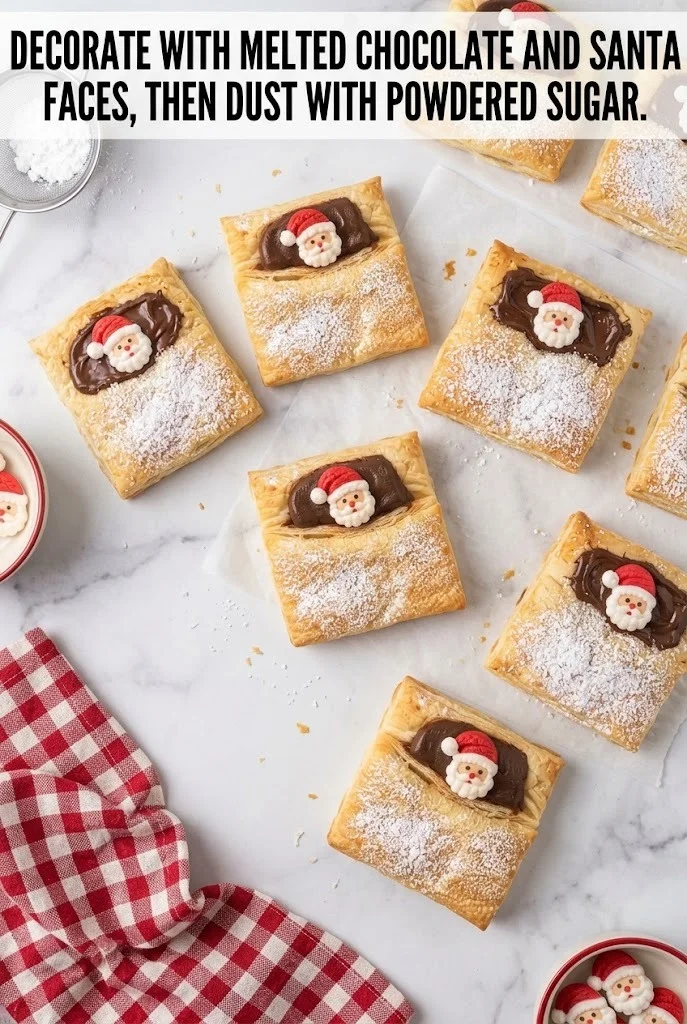
- Cool completely before decorating. Let the pies cool on the pan or a wire rack until they are no longer hot. Decorating warm pies makes the chocolate slide off and the Nutella stay soft and runny. Cooling also lets the pastry set so it holds the decorations. Use the melted dark chocolate to draw on the facial details, such as eyes and mouths. Use the white chocolate for the beards and trim. Add the red and white icing for the hats and trim, then press on the Santa decorations to finish each face. Let the chocolate set before moving the pies. Just before serving, dust the pies with powdered sugar using a fine-mesh sieve. Dusting at the last minute keeps the sugar from absorbing moisture and looking patchy.
How To Serve And Store
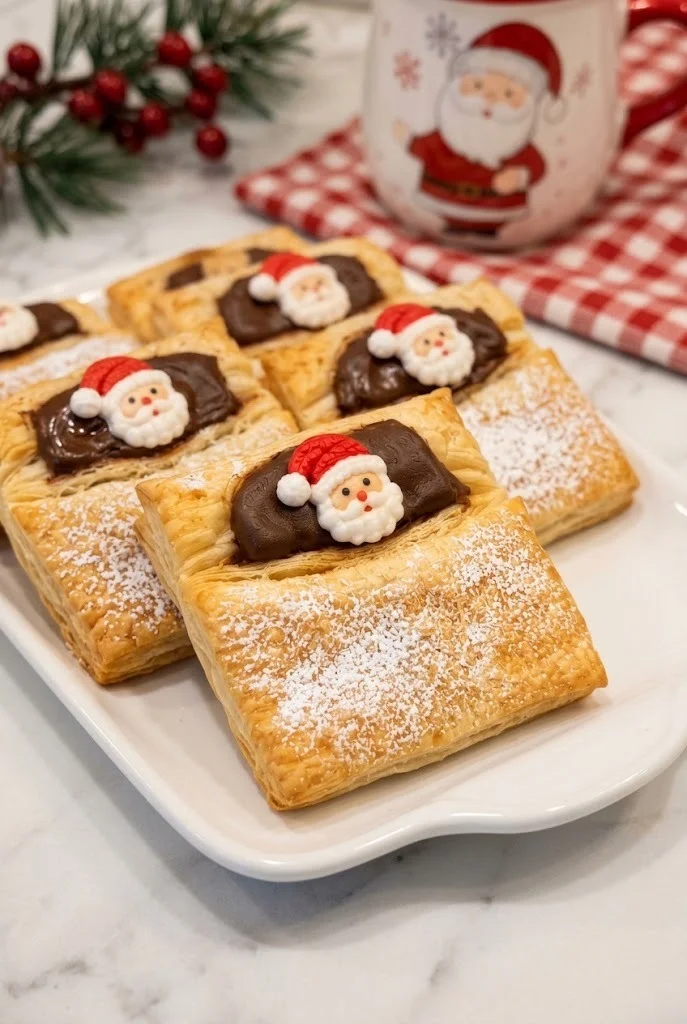
Serve these pies warm or at room temperature with coffee or hot cocoa. They make a fun addition to a holiday dessert table.
In The Fridge
Store leftover pies in an airtight container in the refrigerator for up to 3 days. Reheat them in a 350°F (180°C) oven for a few minutes to bring back some crispness. Cool reheated pies completely before adding any new decorations.
In The Freezer
Freeze baked and cooled pies, undecorated if possible, in a sealed container for up to 2 months. Thaw them in the refrigerator overnight, then reheat in a 350°F (180°C) oven until warm. Let them cool completely again, then decorate.
Substitutions And Additions
Puff Pastry
A sheet of refrigerated pie crust can stand in for puff pastry in a pinch. It will not puff as dramatically, so the result will be more tender and less flaky.
Nutella
Any smooth hazelnut spread can replace Nutella. Check the sweetness, since some brands are sweeter or runnier than others. I’d choose a thicker spread, since it holds its shape better in the oven.
White Chocolate
White candy melts can replace white chocolate for the decorations. They set a little firmer and are easier to pipe, though they taste sweeter.
Frequently Asked Questions
Can you make these ahead?
Baked pies can be made ahead and stored in an airtight container. Decorate them the day you plan to serve them so the chocolate and powdered sugar look fresh.
Can you use a different spread?
Yes, a smooth hazelnut spread works well. Choose a thick one so the filling stays in the center while it bakes.
How do I know when the pies are done?
The pies are done when they are deep golden brown, puffed, and crispy to the touch. The layers should look airy, and the Nutella inside should be warm and melted.
More Recipes You’ll Love
- Crispy Cheesy Zucchini Grilled Cheese with Ham
- Crispy Zucchini & Carrot Fritters
- Crispy Garlic Parmesan Bread Fries
- Christmas Shirley Temple Mocktail with Whipped Cream
Santa Puff Pastry Pies
Ingredients
Method
- Cut puff pastry into equal squares. Divide the Nutella evenly and spread it in the center of each bottom square.
- Cover each filled square with a second square, seal the edges, and brush with egg wash made from the egg and milk.
- Bake at 375°F (190°C) until golden brown, puffed, and crispy, about 15 to 20 minutes.
- Cool completely, decorate with melted dark chocolate, white chocolate, red and white icing, and Santa decorations, then dust with powdered sugar just before serving.