Twinkie Cake
Twinkie Cake
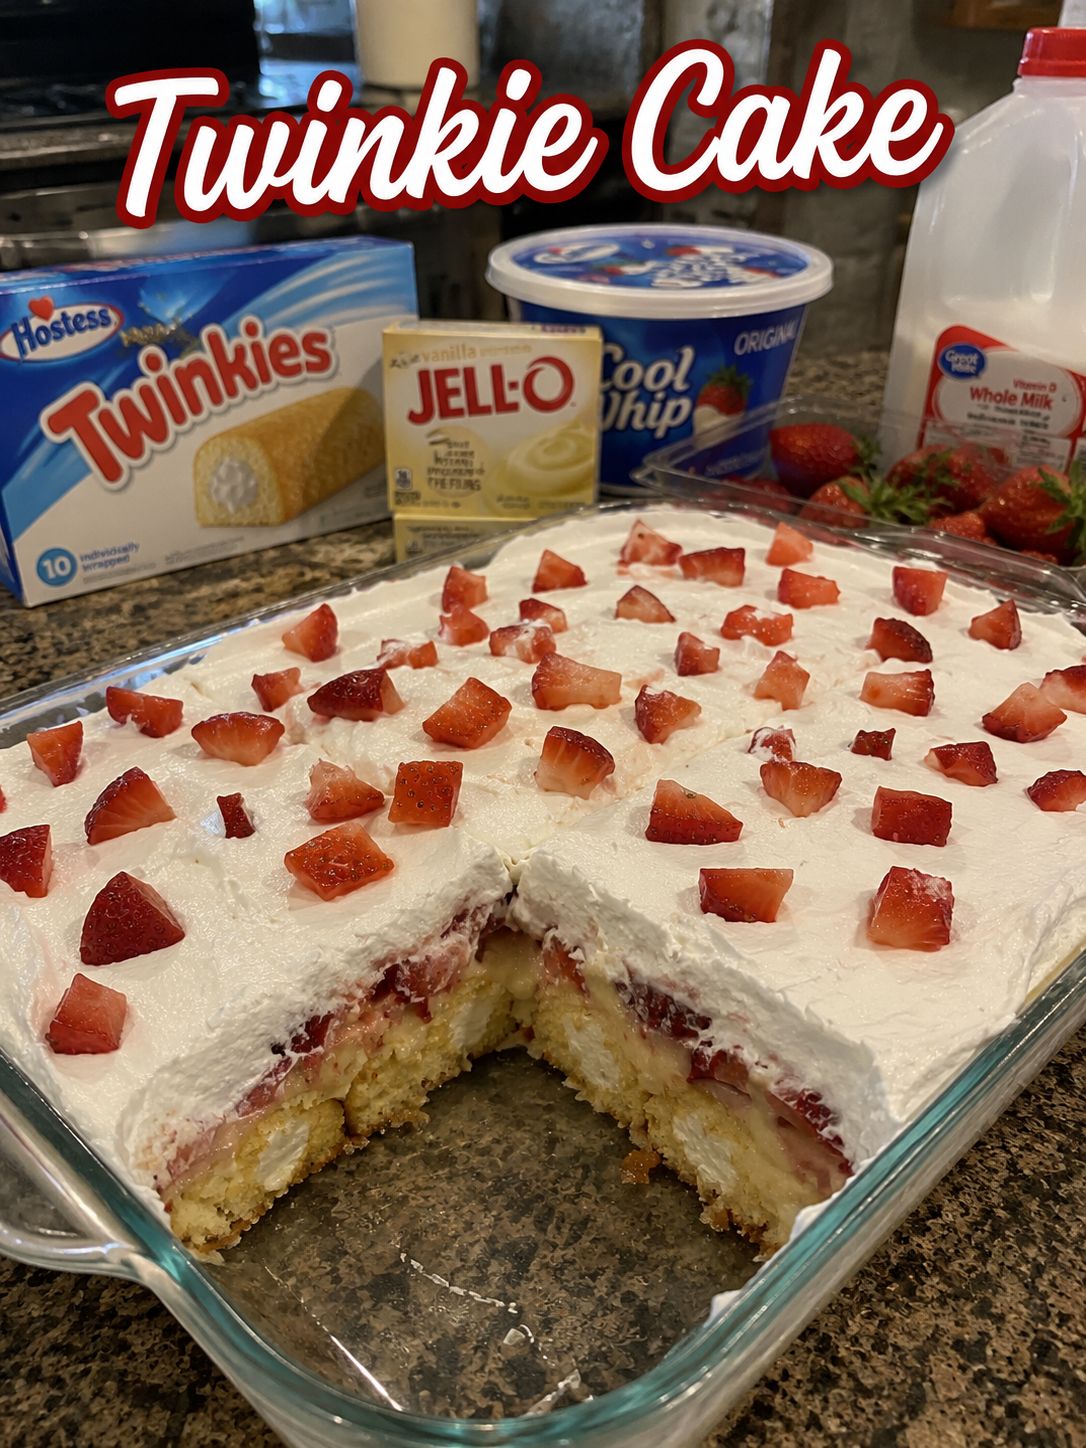
Homemade Twinkie Cake: A Nostalgic Golden Sponge with Creamy Filling
I grew up sneaking Twinkies from my mom’s pantry, and honestly? I still think about them. There’s something so satisfying about that cloud-soft sponge cake and that sweet vanilla filling that just hits different. But as I got older, I started craving a homemade version—something I could make in my own kitchen that tasted just as good, if not better, and didn’t require me to feel quite so guilty about the ingredient list.
So I set out to recreate that magic. After a few test runs (and a few kitchen mishaps I’ll tell you about later), I landed on this Twinkie Cake recipe that genuinely tastes like the real deal. It’s a light, fluffy golden sponge layered with a silky vanilla cream filling, all wrapped up in a thin chocolate coating. The best part? You can pronounce every ingredient, and it actually tastes homemade in the most wonderful way.
This recipe is for anyone who wants that nostalgic comfort food vibe without the mystery ingredients. It’s perfect for potlucks, lunchboxes, late-night cravings, or just because you want to feel like a kid again—but with better cake. And if you’re the type who loves recreating childhood favorites at home, you’re going to absolutely love this one. Follow me on HaileeRecipes on Pinterest for more cozy baking projects like this.
Why You’ll Love This Recipe
First, let’s talk about why this is worth your time. This Twinkie Cake is ridiculously easy to make, even if you’re not a confident baker. The sponge comes together in about ten minutes, and the filling is literally just butter, powdered sugar, and vanilla.
Second, the texture is *chef’s kiss*. That sponge is impossibly light and fluffy—it’s not dense or heavy like some homemade versions I’ve tried. It actually tastes like the original, but better because it’s fresh and you made it.
Third, you can customize it however you want. Want to use almond extract instead of vanilla? Go for it. Prefer a thicker filling? Easy. Want to dip it in dark chocolate instead of milk chocolate? Absolutely. This recipe is your canvas.
And honestly? Making these at home is way more fun than buying them. There’s something really satisfying about biting into a cake you made yourself that tastes like pure nostalgia.
Ingredients
For the Sponge Cake:
- 1 cup all-purpose flour
- 1 teaspoon baking powder
- 1/4 teaspoon salt
- 3 large eggs, separated
- 1/2 cup granulated sugar, divided
- 1/3 cup whole milk
- 1 teaspoon vanilla extract
- 2 tablespoons vegetable oil
Hailee’s Tip: Separating your eggs is key here. The egg whites give you that airy, cloud-like texture. Don’t skip this step, even if it feels fussy.
For the Vanilla Cream Filling:
- 1/2 cup (1 stick) unsalted butter, softened
- 2 cups powdered sugar
- 2 tablespoons whole milk
- 1 1/2 teaspoons vanilla extract
- 1/4 teaspoon salt
Hailee’s Tip: Make sure your butter is actually soft. Cold butter won’t whip up properly and you’ll end up with a lumpy filling. Leave it on the counter for 20 minutes if you need to.
For the Chocolate Coating:
- 6 ounces milk chocolate, chopped
- 1 tablespoon coconut oil or shortening
Hailee’s Tip: The coconut oil helps the chocolate stay smooth and dippable. Don’t skip it, or your coating will be too thick and crack when you bite into it.
Optional Add-Ins and Variations
This is where you can have fun and make this recipe your own. Here are some tweaks I’ve tried and loved:
- Almond extract filling: Use 1 teaspoon almond extract instead of vanilla for a totally different flavor profile. It’s subtle but delicious.
- Thicker filling: Add an extra 1/2 cup powdered sugar to the filling for a richer, more decadent cream.
- Dark chocolate coating: Swap the milk chocolate for dark chocolate if you want less sweetness and more sophistication.
- Strawberry filling: Mix 1/4 cup freeze-dried strawberries (crushed) into the cream filling for a strawberry-vanilla twist.
- Coffee cake version: Add 1 teaspoon instant coffee powder to the sponge batter and use a mocha-flavored filling instead.
- Mini versions: Pipe the filling into mini sponge cakes for bite-sized snacks that are perfect for parties.
Step-by-Step Method
Making the Sponge Cake
Step 1: Preheat and prep. Heat your oven to 350°F. Line a 9×13-inch baking pan with parchment paper. This is important—it makes getting your cake out so much easier.
Step 2: Mix your dry ingredients. Whisk together the flour, baking powder, and salt in a small bowl. Set it aside. This prevents lumps later, which I learned the hard way after my first attempt came out a little gritty.
Step 3: Combine egg yolks with half the sugar. In a larger bowl, whisk together your egg yolks and 1/4 cup of the sugar until the mixture is pale and creamy. This takes about 2-3 minutes. Add the milk, vanilla, and oil, then whisk until combined. Fold in your flour mixture gently—don’t overmix. You want to keep this light and airy.
Hailee’s Note: This is where I messed up the first time. I stirred instead of folded, and I worked out all the air I’d built up. Use a spatula and be gentle.
Step 4: Whip your egg whites. In a separate, very clean bowl, beat your egg whites with an electric mixer until they’re foamy. Gradually add the remaining 1/4 cup sugar while beating. Keep going until you have stiff peaks—the whites should look glossy and hold their shape when you lift the beaters.
Step 5: Fold it all together. Gently fold the egg white mixture into your batter in two additions. Use a spatula and work slowly. You want to keep those air bubbles intact. This is what makes your cake fluffy.
Step 6: Bake. Pour the batter into your prepared pan and smooth the top. Bake for 15-18 minutes, until a toothpick inserted in the center comes out clean and the top is light golden. Don’t overbake—a slightly underbaked cake is better than a dry one.
Step 7: Cool completely. Let the cake cool in the pan for 10 minutes, then turn it out onto a wire rack. Let it cool all the way down. This is important for the next steps.
Making the Filling
Step 8: Beat the filling. In a clean bowl, beat your softened butter until it’s pale and fluffy, about 2-3 minutes. Gradually add your powdered sugar, then the milk, vanilla, and salt. Beat until the filling is smooth and spreadable. If it’s too thick, add another tablespoon of milk.
Hailee’s Note: Don’t use cold butter here. I learned that lesson when my filling came out lumpy and I had to start over.
Assembling Your Twinkie Cake
Step 9: Slice your cake. Once the cake is completely cool, slice it horizontally into two even layers. A long serrated knife works best. Take your time here—you want clean cuts.
Step 10: Spread the filling. Place the bottom layer on a clean surface. Spread about half of your filling evenly across it. Place the top layer on top, then spread the remaining filling on top of that. You can also pipe the filling if you want it to look fancy.
Step 11: Chill before coating. Pop this in the fridge for at least 30 minutes. This helps the filling set so it doesn’t squeeze out when you coat it in chocolate.
Chocolate Coating
Step 12: Melt your chocolate. Chop your milk chocolate and place it in a microwave-safe bowl with the coconut oil. Microwave in 30-second intervals, stirring between each one, until it’s smooth and pourable. Don’t let it get too hot or it’ll be thick and difficult to work with.
Step 13: Coat your cake. Remove your chilled cake from the fridge. Cut it into individual Twinkie-sized pieces (roughly 2×3 inches works great). Using a fork or dipping tool, dip each piece into the chocolate, coating all sides. Place them on a parchment-lined baking sheet. You can drizzle extra chocolate on top if you want.
Step 14: Set the coating. Let the chocolate set at room temperature for about 30 minutes, or pop the whole tray in the fridge for 10 minutes if you’re impatient like me.
Common Mistakes to Avoid
Overmixing the batter: This is the biggest culprit for dense, heavy cake. Mix just until combined, especially after you add the flour. The egg whites are doing the heavy lifting here.
Using cold butter for the filling: Cold butter won’t incorporate smoothly, and you’ll end up with a grainy, lumpy filling. Give it 20 minutes on the counter.
**Not cooling the cake completely:** If your cake is warm when you assemble it, the filling will melt and slide around. Patience is your friend here.
Skipping the chill before chocolate coating: This step is non-negotiable if you want your filling to stay inside the cake. Trust me on this one.
Chocolate that’s too hot: If your chocolate is too warm, it’ll be runny and won’t coat evenly. Let it cool slightly before dipping.
My Tested Substitutions
All-purpose flour: You can use cake flour for an even lighter crumb, but you’ll need to reduce it slightly to 3/4 cup plus 2 tablespoons. I’ve done this and loved it, but it’s a bit more finicky.
Whole milk: Any milk works here—2%, skim, or even oat milk. I’ve used them all and the difference is minimal. Almond milk works too, but the flavor is slightly different.
Powdered sugar: If you only have granulated sugar, you can blend it in a food processor for a minute to make a substitute. It’s not perfect, but it works in a pinch.
Milk chocolate: Dark chocolate, white chocolate, or even semi-sweet chocolate all work beautifully. Dark chocolate makes it less sweet and more sophisticated. White chocolate makes it richer and sweeter.
Butter: I haven’t tested this with margarine or dairy-free butter, but I imagine it would work. Just make sure whatever you use is soft and at room temperature.
How to Customize
The beauty of making this at home is that you get to make it exactly how you want it. Here are some fun ways to personalize your Twinkie Cake:
Filling flavors: Try adding lemon zest, peppermint extract, or even a tablespoon of jam to your filling. Each one completely changes the vibe.
Sponge variations: Add a tablespoon of cocoa powder to the sponge for a chocolate version. Or add 1/2 teaspoon of almond extract to the sponge batter.
Size and shape: Make mini versions in a loaf pan and slice them into smaller pieces. Or make one large cake and cut it into bigger slices for a dessert that feels more special.
Toppings: Sprinkle crushed cookies, sprinkles, or chopped nuts on top of the chocolate coating before it sets.
Extra filling: If you’re a filling person like me, make extra and pipe it into the center with a piping bag for a more dramatic effect.
Serving Ideas
Honestly, you can eat these straight up and they’re perfect. But here are some fun ways to serve them:
- Pack them in lunchboxes for that nostalgic snack moment.
- Serve them with a cold glass of milk for the ultimate comfort combo.
- Crumble them over vanilla ice cream for a homemade snack cake sundae.
- Pair them with coffee for an afternoon pick-me-up that’s way better than store-bought.
- Arrange them on a platter for a party—they’re always a crowd-pleaser.
- Dunk them in hot chocolate for a cozy winter treat.
Meal Prep and Storage
Room temperature storage: These keep beautifully in an airtight container at room temperature for up to 3 days. The chocolate coating protects the cake from drying out.
Refrigerator storage: You can store them in the fridge for up to 5 days. They’ll stay fresher longer, but they’ll firm up a bit. Let them come to room temperature for 10 minutes before eating for the best texture.
Freezer storage: These freeze really well for up to 2 weeks. Wrap each one individually in plastic wrap, then place them in a freezer bag. Thaw at room temperature for about an hour before eating.
Make-ahead tip: You can make the sponge cake and the filling a day ahead. Assemble them the day you want to eat them or the day before. The chocolate coating can be done up to 2 days in advance.
Pro tip: If you’re making these for a party, assemble and coat them the morning of. They’ll look fresher and taste better than if you make them days in advance.
Nutritional Breakdown
Keep in mind that this is a treat, not a health food. But here’s what you’re looking at per piece (assuming you cut the cake into 12 pieces):
- Calories: approximately 280
- Protein: 3g
- Carbohydrates: 35g
- Fat: 14g
- Fiber: 0g
- Sugar: 28g
These numbers can vary depending on your specific ingredients and how you cut your cake, but this gives you a ballpark idea.
Final Thoughts
Making homemade Twinkie Cake has genuinely become one of my favorite baking projects. It’s nostalgic and comforting, but it’s also impressive enough to serve to guests without feeling like you’re just recreating junk food. Because here’s the thing—when you make it at home with real ingredients, it stops being junk food and becomes a genuine treat.
I love that this recipe is approachable for beginner bakers but feels special enough for someone who’s been baking for years. There’s something really satisfying about biting into a cake you made yourself that tastes like your childhood.
If you make this, I’d genuinely love to hear how it turns out. Drop me a comment or tag me on social media—I read every single one, and it makes my day to see what you’ve created. And if you have your own twist on this recipe, please share it. That’s how we all get better at this.
Happy baking, friends. May your kitchen smell like nostalgia and your Twinkie Cakes be perfectly fluffy.
Recipe Card
**Ingredients**
For the Sponge Cake:
* 1 cup all-purpose flour
* 1 teaspoon baking powder
* 1/4 teaspoon salt
* 3 large eggs, separated
* 1/2 cup granulated sugar, divided
* 1/3 cup whole milk
* 1 teaspoon vanilla extract
* 2 tablespoons vegetable