Bacon Cheeseburger Pie
Bacon Cheeseburger Pie
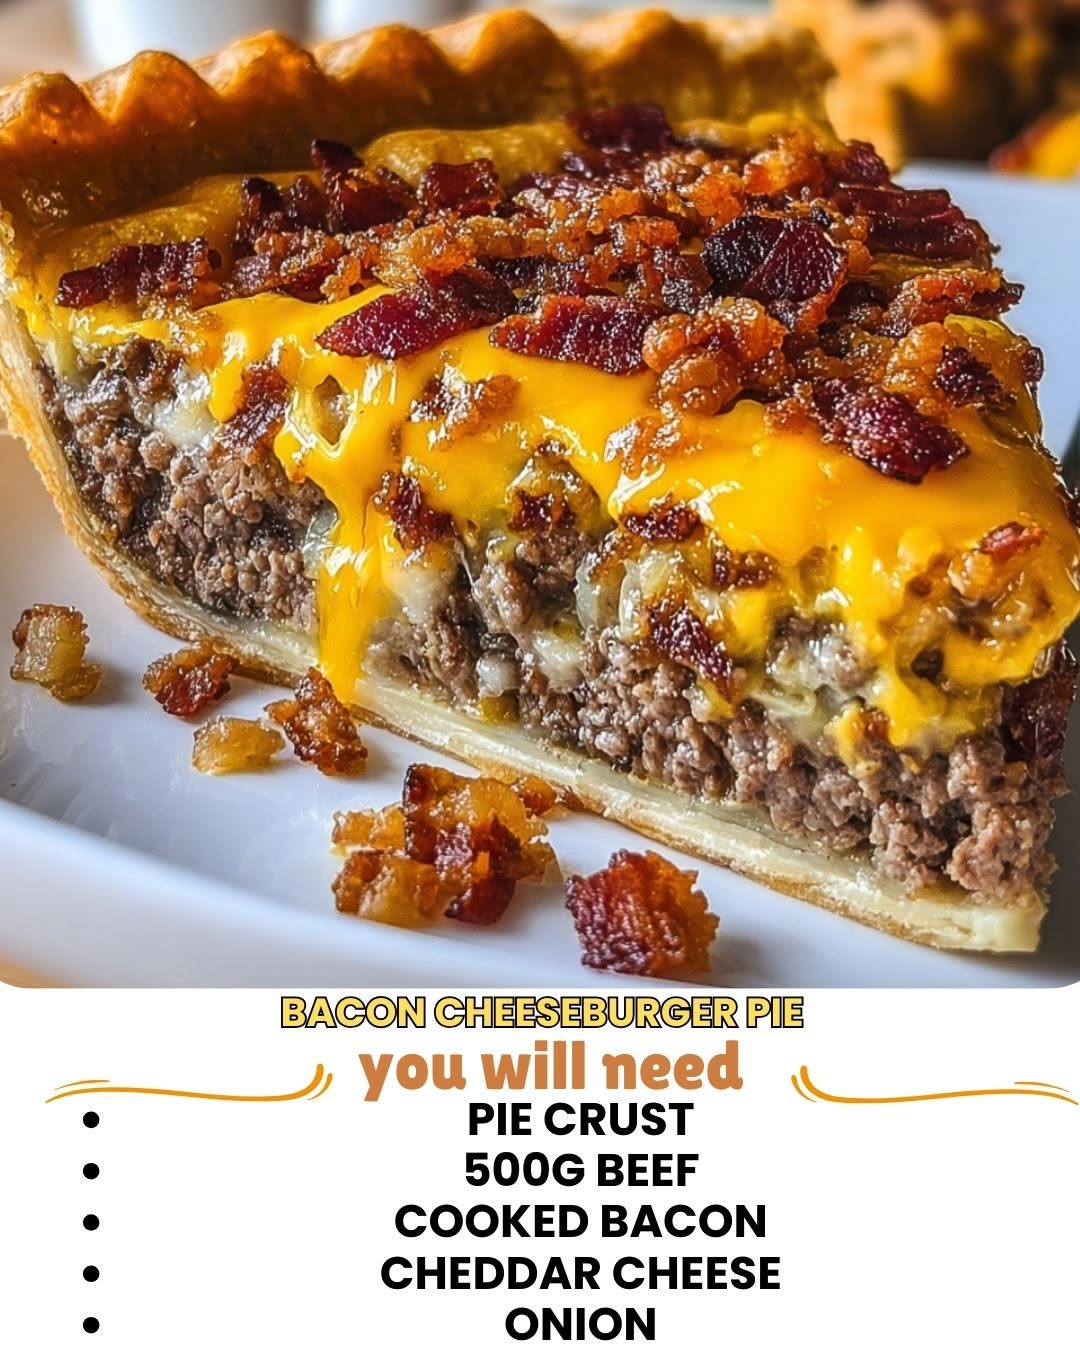
Bacon Cheeseburger Pie: A Cozy Weeknight Dinner That Feels Like a Hug
I created this recipe on a Tuesday night when I was standing in my kitchen feeling completely uninspired. My family was hungry, I had leftover bacon in the fridge, and honestly, I was tired of making the same old ground beef casserole everyone expects me to whip up. So I started thinking: what if I took all the flavors we actually crave—crispy bacon, melted cheese, juicy burger meat, caramelized onions—and baked them into something that felt a little more special? Something that looked like I actually tried?
That’s how Bacon Cheeseburger Pie was born. And let me tell you, it’s become one of those recipes I make at least once a month now because it checks every single box. It’s hearty without being heavy. It looks impressive when you bring it to the table, but it’s genuinely simple to pull together. It tastes like comfort food should taste—familiar and indulgent and a little bit fancy at the same time. Your family will ask for seconds, and your partner might actually volunteer to do the dishes.
This is not a complicated recipe. I’m talking maybe 20 minutes of hands-on time before it goes in the oven. It’s the kind of dinner that works for busy weeknights, potlucks, or those Sunday gatherings where you want to impress people without spending all day in the kitchen. If you love cheeseburgers, bacon, and the kind of food that makes your house smell absolutely incredible while it bakes, this is for you. If you follow me on HaileeRecipes on Pinterest, you know I’m all about recipes that deliver real flavor without unnecessary fuss—and this one is exactly that.
Why You’ll Love This Recipe
First, let’s talk about what makes this dish so craveable. Every element of a classic cheeseburger is here—the savory ground beef, crispy bacon, melted cheese, soft bread—but they’re layered together in a way that feels intentional and cozy. You get that perfect ratio of toppings to meat to crust in every single bite, which honestly is the whole reason I stopped making regular burgers for family dinner.
It’s also incredibly forgiving. You’re not working with delicate pastry or temperamental techniques. This is straightforward comfort food cooking. The filling comes together in one skillet, the crust is just a simple biscuit topping, and everything bakes together until it’s golden and bubbly. Even if something isn’t perfectly symmetrical or picture-perfect, it’s still going to taste amazing.
And then there’s the practical side: this recipe is genuinely budget-friendly. You’re using ground beef, bacon, cheese, and pantry staples. Nothing fancy or expensive. But somehow it feels indulgent enough to serve when you have people over. That’s the sweet spot I always aim for.
Ingredients
- 1 pound ground beef (80/20 blend works best)
- 6 slices bacon, chopped
- 1 medium onion, diced
- 2 cloves garlic, minced
- 1 cup sharp cheddar cheese, shredded
- 1/2 cup American cheese or provolone (optional but recommended)
- 1/2 cup whole milk
- 2 tablespoons butter
- 2 tablespoons all-purpose flour
- 1 teaspoon salt
- 1/2 teaspoon black pepper
- 1/4 teaspoon garlic powder
- 1/4 teaspoon onion powder
- 1 tablespoon mustard (yellow or Dijon, your choice)
- 1 tablespoon ketchup
- 1 cup all-purpose flour (for topping)
- 1 1/2 teaspoons baking powder
- 1/4 teaspoon salt (for topping)
- 4 tablespoons cold butter, cubed (for topping)
- 1/2 cup whole milk (for topping)
- 2 tablespoons grated cheddar cheese (for garnish)
- 2 slices bacon, cooked and crumbled (for garnish)
Hailee’s Tip: Buy good bacon. I know that sounds obvious, but the difference between grocery store bacon and quality bacon is huge here. You want bacon that actually crisps up and has real flavor, not something that turns into rubber. Same goes for the cheese—sharp cheddar makes a real difference in the final taste.
Hailee’s Tip: Don’t skip the mustard and ketchup in the filling. I know they seem small, but they add this subtle burger-ness that makes people ask what your secret ingredient is. It’s not secret—it’s just condiments doing what they do best.
Optional Add-Ins and Variations
This is where you can make this recipe completely yours. I’ve tested a bunch of different additions, and here’s what actually works:
- Diced pickles or pickle relish: Add about 2 tablespoons to the filling for that classic burger flavor. It’s genuinely delicious.
- Caramelized onions: If you have time, cook your onions low and slow until they’re golden and sweet. It elevates this from weeknight dinner to something restaurant-quality.
- Jalapeños: Diced fresh or pickled, about 1/4 cup adds a nice kick without overwhelming the dish.
- Crispy fried onions: Sprinkle some on top of the biscuit crust before baking for extra crunch.
- Different cheeses: Swiss, pepper jack, or even a smoked gouda would be amazing here. Mix and match what you have.
- Mushrooms: Sautéed with the onions and garlic, about 1 cup adds earthiness and makes it feel more sophisticated.
Step-by-Step Method
Step 1: Cook the bacon and set it aside
Chop your bacon into bite-sized pieces and cook it in a large skillet over medium-high heat until it’s crispy and gorgeous. This takes about 8 minutes. Transfer it to a paper towel-lined plate, but leave about 2 tablespoons of that bacon fat in the pan. That’s liquid gold for flavor, my friend.
Step 2: Brown the ground beef
Add your ground beef to that bacon-fat-coated pan and cook it over medium-high heat, breaking it up as you go. You want it to brown nicely, which takes about 5-7 minutes. Don’t rush this step. Good browning means good flavor. Once it’s cooked through, drain off any excess fat if needed (though honestly, with the bacon fat, you probably won’t have much).
Step 3: Sauté the aromatics
Add your diced onion to the pan with the cooked beef and cook for about 3 minutes until it starts to soften. Then add your minced garlic and cook for another minute until it smells absolutely incredible. This is my favorite part—your kitchen is going to smell like a burger joint in the best possible way.
Step 4: Make a quick sauce
Sprinkle the 2 tablespoons of flour over the beef mixture and stir it around for about a minute to coat everything. This is going to thicken your filling and make it less watery. Then add the 1/2 cup of milk slowly while stirring, so you don’t get lumps. Keep stirring until it’s smooth and slightly thickened, about 2 minutes. It should look like a loose gravy.
Step 5: Season and finish the filling
Now stir in your salt, pepper, garlic powder, onion powder, mustard, and ketchup. Add back your cooked bacon and most of your shredded cheddar cheese (save some for the top). Taste it. Seriously, taste it. Does it need more salt? More cheese? This is your chance to adjust. Transfer this filling to a 9-inch pie dish or a shallow baking dish.
Hailee’s Tip: I once forgot to add the cheese to the filling and added it all on top instead. It still tasted good, but the cheese didn’t distribute evenly. Lesson learned—most of the cheese goes in the filling.
Step 6: Make the biscuit topping
In a separate bowl, whisk together your 1 cup of flour, baking powder, and 1/4 teaspoon of salt. Add your 4 tablespoons of cold, cubed butter and use a fork or your fingertips to work it into the flour until it looks like coarse breadcrumbs. This should take about 2 minutes.
Step 7: Add the milk to the topping
Pour in your 1/2 cup of milk and stir gently with a fork until a soft dough comes together. Don’t overmix—you want it shaggy and tender, not tough. A few lumps are totally fine and actually preferred.
Step 8: Top the pie
Drop spoonfuls of this biscuit dough over the filling, leaving a little space between each one. You don’t need to cover it completely—this isn’t a full crust situation. Just scatter it across the top. Sprinkle your reserved cheddar cheese and bacon crumbles over the top.
Step 9: Bake
Pop it into a preheated 375-degree oven for 25-30 minutes, until the biscuit topping is golden brown and the filling is bubbling around the edges. You’ll know it’s done when you can see those little bubbles of filling peeking out around the biscuits.
Step 10: Rest and serve
Let it sit for about 5 minutes before serving. I know it’s hard to wait, but this gives the filling time to set slightly so it doesn’t fall apart when you scoop it out. Serve it straight from the baking dish, and watch everyone’s faces light up.
Common Mistakes to Avoid
Using ground beef that’s too lean: An 80/20 blend is perfect here. If you go too lean, your filling will be dry. If you go too fatty, you’ll have a greasy mess. Stick with 80/20.
Overmixing the biscuit dough: This is the number one way to end up with tough, dense biscuits instead of fluffy ones. Mix until just combined, and then stop. Those little lumps will cook out.
Not seasoning the filling enough: Taste as you go. The filling should taste delicious on its own, before the biscuit topping even goes on. Don’t be shy with the salt and seasonings.
Skipping the resting time: I get it—you’re hungry. But those 5 minutes make a real difference in how cleanly you can scoop and serve this dish.
Opening the oven door too much: I know you want to peek, but every time you open that door, you’re letting heat out and potentially deflating your biscuits. Trust the process and check it only once, toward the end.
My Tested Substitutions
If you don’t have whole milk: Use half-and-half, cream, or even evaporated milk. Water works in a pinch, but your sauce won’t be quite as rich. Don’t skip the liquid though—it’s important for texture.
If you don’t have bacon: I’ve made this with pancetta, prosciutto, or even smoked turkey bacon. It’s different but still delicious. Use about the same amount.
If you’re out of sharp cheddar: Monterey Jack, Colby, or even mild cheddar works. You might want to add an extra pinch of salt to compensate for the milder flavor.
If you don’t have baking powder: You can use self-rising flour for the topping instead. Just skip the baking powder and salt in the topping recipe and use 1 cup of self-rising flour with your butter and milk.
If you want to make it gluten-free: Use a 1-to-1 gluten-free flour blend for both the filling and the topping. It works surprisingly well. The texture might be slightly different, but it’s still really good.
How to Customize
This recipe is genuinely flexible, and I encourage you to make it your own. If you love a specific burger style, you can recreate it here. Do you like your burgers loaded with sautéed mushrooms? Add them. Do you prefer Swiss cheese to cheddar? Go for it. Do you want to make it a little spicy with jalapeños and pepper jack? Absolutely.
The only things I wouldn’t mess with are the ratio of filling to topping and the baking temperature. Those are what make this work structurally. But everything else? Fair game.
Serving Ideas
This dish is delicious on its own, but here’s how I like to serve it:
- With a simple green salad: The acidity cuts through the richness beautifully. Dress it with a basic vinaigrette.
- With roasted or air-fried french fries: Because if we’re doing cheeseburger, we’re doing it all the way.
- With coleslaw: Creamy or vinegar-based, both work. It adds a fresh crunch.
- With pickles on the side: Because pickles are essential to the burger experience.
- With a cold beer or iced tea: Just trust me on this one.
- As leftovers, cold or reheated: It’s honestly good either way, which is a huge bonus.
Meal Prep and Storage
Make-ahead: You can prepare the filling up to 2 days in advance and store it in an airtight container in the fridge. Keep the biscuit topping separate—mix it fresh when you’re ready to bake. This makes weeknight cooking even easier.
Freezing the unbaked pie: Assemble everything in your baking dish, cover it tightly with plastic wrap and foil, and freeze for up to 3 months. Bake straight from frozen, adding about 10-15 minutes to the baking time.
Storing leftovers: Cover any leftover pie and refrigerate for up to 4 days. Reheat in a 350-degree oven for about 10 minutes, or microwave individual portions for 1-2 minutes. It stays really moist, which is one of my favorite things about this recipe.
Nutritional Breakdown
This recipe makes about 6 servings. Each serving contains approximately:
- Calories: 520
- Protein: 28g
- Carbohydrates: 32g
- Fat: 32g
- Fiber: 1g
Keep in mind these are estimates based on standard ingredients. Using different cheeses, adding extra toppings, or making substitutions will change these numbers. If you’re tracking macros, adjust accordingly.
Final Thoughts
I genuinely love this recipe, and I hope you will too. It’s the kind of dish that reminds me why I started cooking in the first place—because food brings people together, because homemade tastes better, and because sometimes the best meals are the ones that feel effortless but taste like you spent hours in the kitchen.
Your family is going to ask for this again. Your friends are going to ask for the recipe. You’re going to find yourself making it on random Tuesdays just because you’re craving it. That’s how good this is.
Make it, enjoy it, and please come back and tell me how it turned out. I love hearing from you.
Happy cooking,
Hailee
—
Bacon Cheeseburger Pie
Ingredients
Method
- Step 1: Cook the bacon and set it aside Chop your bacon into bite-sized pieces and cook it in a large skillet over medium-high heat until it's crispy and gorgeous. This takes about 8 minutes. Transfer it to a paper towel-lined plate, but leave about 2 tablespoons of that bacon fat in the pan. That's liquid gold for flavor, my friend. Step 2: Brown the ground beef Add your ground beef to that bacon-fat-coated pan and cook it over medium-high heat, breaking it up as you go. You want it to brown nicely, which takes about 5-7 minutes. Don't rush this step. Good browning means good flavor. Once it's cooked through, drain off any excess fat if needed (though honestly, with the bacon fat, you probably won't have much). Step 3: Sauté the aromatics Add your diced onion to the pan with the cooked beef and cook for about 3 minutes until it starts to soften. Then add your minced garlic and cook for another minute until it smells absolutely incredible. This is my favorite part—your kitchen is going to smell like a burger joint in the best possible way. Step 4: Make a quick sauce Sprinkle the 2 tablespoons of flour over the beef mixture and stir it around for about a minute to coat everything. This is going to thicken your filling and make it less watery. Then add the 1/2 cup of milk slowly while stirring, so you don't get lumps. Keep stirring until it's smooth and slightly thickened, about 2 minutes. It should look like a loose gravy. Step 5: Season and finish the filling Now stir in your salt, pepper, garlic powder, onion powder, mustard, and ketchup. Add back your cooked bacon and most of your shredded cheddar cheese (save some for the top). Taste it. Seriously, taste it. Does it need more salt? More cheese? This is your chance to adjust. Transfer this filling to a 9-inch pie dish or a shallow baking dish. Hailee's Tip: I once forgot to add the cheese to the filling and added it all on top instead. It still tasted good, but the cheese didn't distribute evenly. Lesson learned—most of the cheese goes in the filling. Step 6: Make the biscuit topping In a separate bowl, whisk together your 1 cup of flour, baking powder, and 1/4 teaspoon of salt. Add your 4 tablespoons of cold, cubed butter and use a fork or your fingertips to work it into the flour until it looks like coarse breadcrumbs. This should take about 2 minutes. Step 7: Add the milk to the topping Pour in your 1/2 cup of milk and stir gently with a fork until a soft dough comes together. Don't overmix—you want it shaggy and tender, not tough. A few lumps are totally fine and actually preferred. Step 8: Top the pie Drop spoonfuls of this biscuit dough over the filling, leaving a little space between each one. You don't need to cover it completely—this isn't a full crust situation. Just scatter it across the top. Sprinkle your reserved cheddar cheese and bacon crumbles over the top. Step 9: Bake Pop it into a preheated 375-degree oven for 25-30 minutes, until the biscuit topping is golden brown and the f