Chili Cheese Dog Casserole
Chili Cheese Dog Casserole
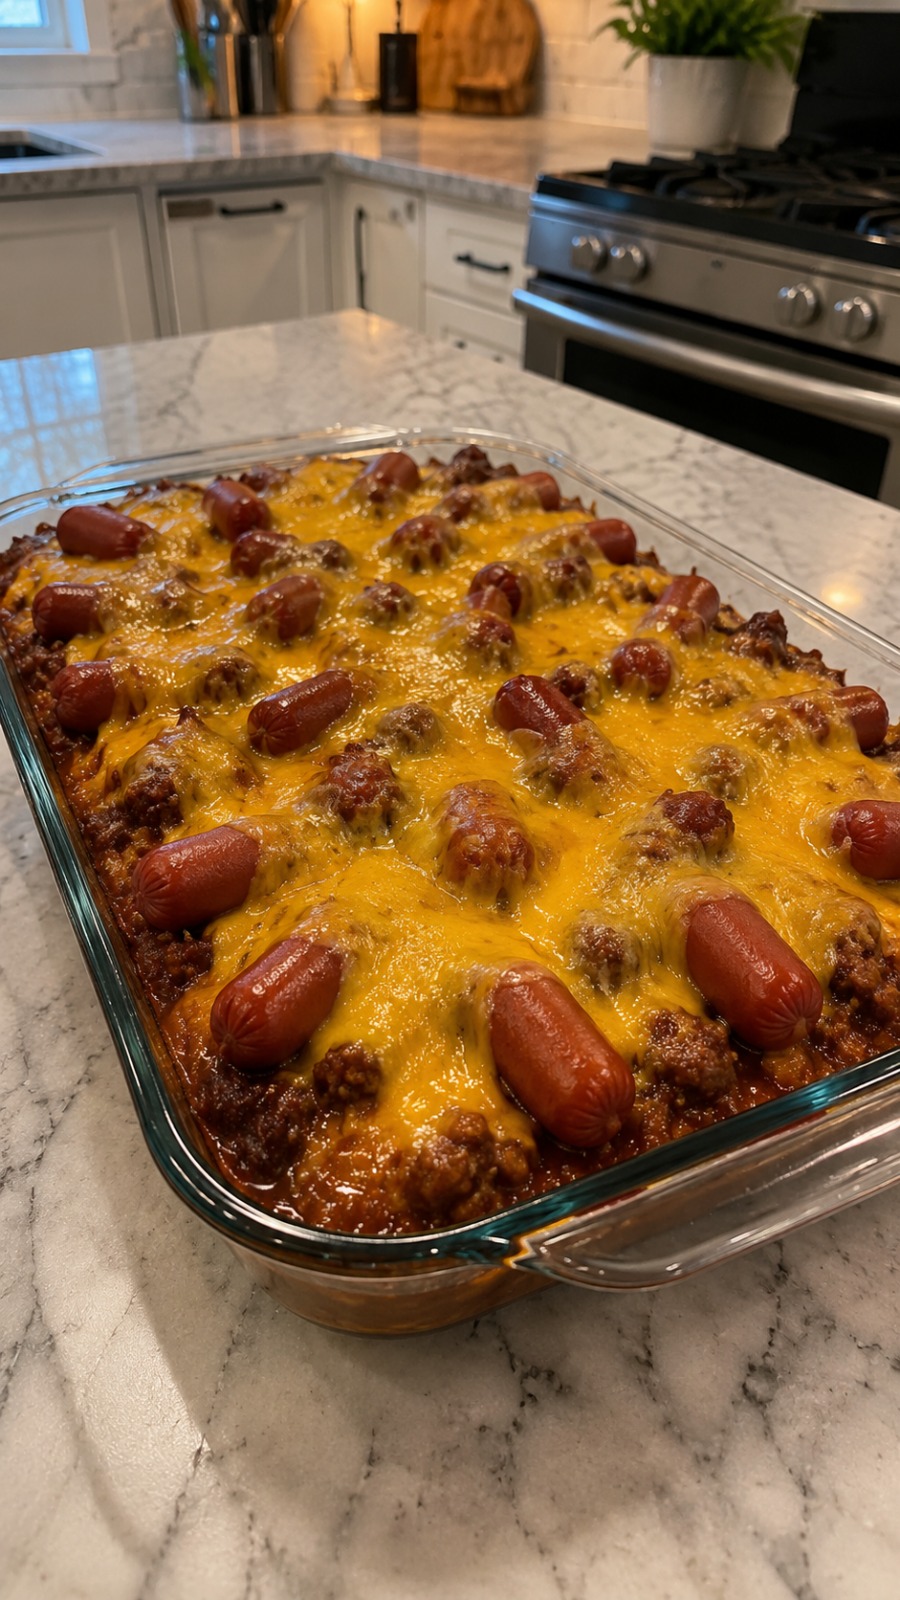
Chili Cheese Dog Casserole
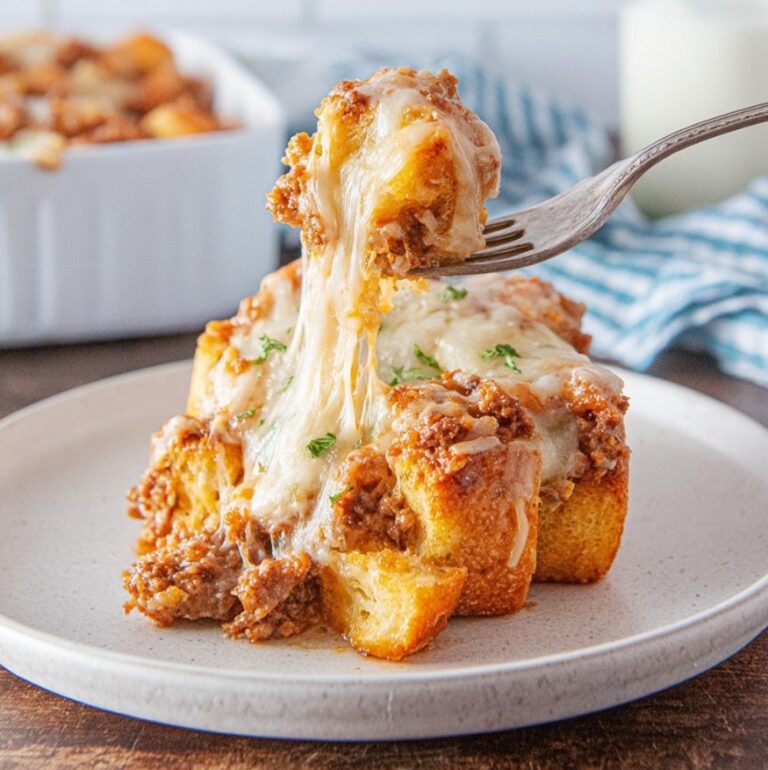
This Chili Cheese Dog Casserole transforms the classic ballpark favorite into a hearty, scoopable bake that feels like a warm hug on a busy weeknight. Imagine layers of savory ground beef and beans simmered in a rich tomato chili sauce, topped with halved hot dogs nestled into the mix, all crowned with a blanket of melted cheddar cheese and a sprinkle of crunchy corn chips. The texture is a delightful balance of creamy, tender meat and soft buns, contrasted by the slight crunch of the topping. It is an ideal dish for family dinners when you need something substantial yet quick to assemble, perfect for potlucks where it travels well, or for feeding a crowd without spending hours in the kitchen. This recipe captures the nostalgic flavors of a summer cookout but delivers them in a convenient, oven-ready format.
If you are looking for a way to use up leftover chili or simply want to create a comforting meal that appeals to both adults and children, this casserole hits the mark. It relies on familiar ingredients found in most pantries, making it accessible for any home cook. The dish is designed to be robust enough to satisfy hungry appetites while remaining simple enough to prepare after a long day at work. By combining the elements of a hot dog stand with the ease of a baked pasta dish, you get a meal that feels special without requiring advanced culinary skills.
For more inspiration and visual guides on comfort foods, Follow Hailee Recipes on Pinterest.
Why This Recipe Works
The success of this dish lies in its structural simplicity and the way the flavors meld together during baking. Unlike traditional casseroles that can become dry or soggy, this version maintains moisture through the combination of the thick chili sauce and the natural fats from the hot dogs and cheese. Using pre-cooked hot dogs ensures they heat through quickly without becoming tough or rubbery, which can happen if raw sausages are used in a short bake time.
The choice of toppings is critical here. A layer of crushed corn chips added just before serving provides a necessary textural contrast to the soft interior. If added too early, they would lose their crunch and become mushy. The cheese acts as a binding agent, melting over the hot dogs and chili to create a cohesive unit that holds together when scooped. This method avoids the need for heavy thickeners or roux, keeping the flavor profile clean and focused on the core ingredients: beef, beans, tomatoes, and cheese.
Ingredients
To make this casserole, you will need a straightforward list of items. Ensure you have a standard 15-ounce can of chili with beans ready, as this forms the base of the sauce. You will also need eight standard-sized frankfurters or hot dogs, cut into quarters lengthwise. For the cheese component, four cups of shredded sharp cheddar works best, as it melts smoothly and offers a bold flavor that stands up to the spices in the chili. One cup of crushed corn chips, such as Fritos or similar brands, adds the final crunch. To round out the dish, you will need one large onion, diced small, and two cloves of garlic, minced. Finally, season with salt and black pepper to taste, though the canned chili often contains enough sodium to require little addition.
- 1 tablespoon vegetable oil
- 1 medium yellow onion, finely diced
- 2 cloves garlic, minced
- 1 pound (16 oz) ground beef
- 1 can (15 oz) chili with beans
- 8 hot dogs or frankfurters, cut into quarters lengthwise
- 4 cups shredded sharp cheddar cheese
- 1 cup crushed corn chips
- Salt and black pepper to taste
How To Make Chili Cheese Dog Casserole
- Preheat and Prepare: Begin by preheating your oven to 375°F (190°C). Lightly grease a 9×13 inch baking dish with non-stick cooking spray or a thin layer of butter to prevent sticking. While the oven heats, gather all your ingredients and measure them out so the assembly process flows smoothly.
- Sauté Aromatics and Beef: Heat the vegetable oil in a large skillet over medium-high heat. Add the diced onion and cook for about 3 to 4 minutes until it becomes translucent and slightly softened. Stir in the minced garlic and cook for another minute until fragrant, being careful not to burn it. Add the ground beef to the skillet, breaking it apart with a wooden spoon as it cooks. Continue cooking until the beef is no longer pink and has browned nicely, which should take about 6 to 8 minutes. Drain any excess fat from the pan if necessary, leaving about a tablespoon for flavor.
- Combine Base Ingredients: Pour the entire can of chili with beans directly into the skillet with the cooked beef and onions. Stir well to combine everything evenly. Taste the mixture and add salt and black pepper only if needed, remembering that the chili and cheese are already seasoned. Simmer this mixture for 2 to 3 minutes to allow the flavors to marry slightly before transferring it to the baking dish.
- Assemble the Layers: Spread the beef and chili mixture evenly across the bottom of the prepared 9×13 inch baking dish. Arrange the quartered hot dogs on top of the meat mixture, placing them cut-side down or scattered throughout so they are visible. Sprinkle half of the shredded cheddar cheese over the hot dogs and the chili base, ensuring an even distribution.
- Bake Until Bubbly: Place the dish in the center of the preheated oven. Bake for 20 to 25 minutes. You are looking for the cheese to be fully melted and the edges of the casserole to be bubbling vigorously. The internal temperature of the dish should reach at least 165°F (74°C) to ensure the hot dogs are heated through safely.
- Add Topping and Finish: Remove the casserole from the oven and immediately sprinkle the remaining half of the cheddar cheese over the top. Follow this with the crushed corn chips, distributing them evenly across the surface. Return the dish to the oven for an additional 3 to 5 minutes, just until the chips begin to toast slightly and the top layer of cheese is golden. Watch closely during this step to prevent the chips from burning.
- Cool and Serve: Take the casserole out of the oven and let it rest on a wire rack for 5 to 10 minutes before serving. This brief cooling period allows the cheese to set slightly, making it easier to slice and serve neat portions without everything sliding off the plate.
Doneness And Troubleshooting
Knowing when your casserole is done is mostly visual. The primary indicator is the cheese; it should be completely melted with no solid white patches remaining. The edges of the dish should show active bubbling, indicating that the center is hot. If you are unsure about the internal temperature of the hot dogs, insert an instant-read thermometer into the center of the dish; it should read 165°F (74°C).
If the top browns too quickly before the inside is hot, cover the dish loosely with aluminum foil for the remainder of the baking time. Conversely, if the cheese isn’t melting after the full time, you may need to extend the bake by another 5 minutes. Another common issue is a runny consistency. If the casserole seems too soupy, it may be due to the liquid content in the canned chili. In this case, draining some of the liquid from the can before adding it to the skillet can help thicken the final result. If the corn chips become soggy, it means they were added too early; always add them in the last few minutes of baking to preserve their texture.
Substitutions And Variations
This recipe is flexible enough to accommodate various dietary preferences and ingredient swaps. For a leaner option, you can substitute the ground beef with ground turkey or chicken, though the flavor will be slightly milder. If you prefer plant-based options, replace the beef with a textured vegetable protein or a high-quality plant-based ground meat alternative, and use vegetarian hot dogs. Dairy-free versions are easily made by using a vegan cheddar-style shreds that melt well, though the texture might differ slightly from real cheese.
You can also vary the bean content. If you prefer a smoother sauce, drain the beans from the chili can before adding it to the skillet, or swap the chili with beans for a plain tomato-based chili. Adding a pinch of cumin or smoked paprika to the beef mixture can introduce a deeper, smokier flavor profile that complements the corn chips. For those who enjoy heat, stir in a diced jalapeño with the onions or add a dash of cayenne pepper to the chili mixture.
Serving Suggestions
Because this casserole is quite rich and filling, it pairs beautifully with lighter sides to balance the meal. A crisp green salad with a vinaigrette dressing cuts through the heaviness of the cheese and meat. Cornbread is a classic companion that echoes the corn chip element of the topping. You might also serve it with pickled vegetables, such as dill pickles or pickled onions, which provide a bright, acidic contrast to the savory casserole. For a complete meal, a bowl of chilled coleslaw or roasted broccoli florets works well alongside the main dish.
Storage And Reheating
Leftovers can be stored in an airtight container in the refrigerator for up to 3 days. When storing, it is best to wait until the casserole has cooled completely to room temperature before sealing the container to prevent condensation from making the corn chips soggy. If you plan to keep the leftovers longer, you can freeze individual portions for up to 2 months. Note that the corn chips will lose their crunch upon freezing and reheating, so it is advisable to add fresh crushed chips after reheating if you want to restore that texture.
To reheat, place a portion in a microwave-safe dish and heat on medium power for 2 to 3 minutes, stirring halfway through to ensure even heating. Alternatively, reheat in an oven at 350°F (175°C) for about 15 minutes covered with foil, removing the foil for the last 5 minutes to crisp the top. Always ensure the internal temperature reaches 165°F (74°C) before consuming.
This dish is a testament to the idea that comfort food does not have to be complicated. With minimal prep and a single pan for cooking the base, you can have a delicious, satisfying meal on the table in under an hour. It is a reliable option for busy nights and a crowd-pleaser for gatherings alike.
Chili Cheese Dog Casserole
Ingredients
Method
- Preheat oven to 375°F (190°C) and grease a 9x13 inch baking dish.
- Sauté onion and garlic in oil, then brown ground beef; drain excess fat.
- Stir in chili with beans and simmer for 2 minutes.
- Spread beef mixture in dish, arrange hot dog quarters, and sprinkle half the cheese.
- Bake for 20 minutes, then top with remaining cheese and corn chips.
- Bake 3-5 more minutes until bubbly and chips are toasted; cool 5 minutes before serving.