
Chocolate Pine Cone Cookies
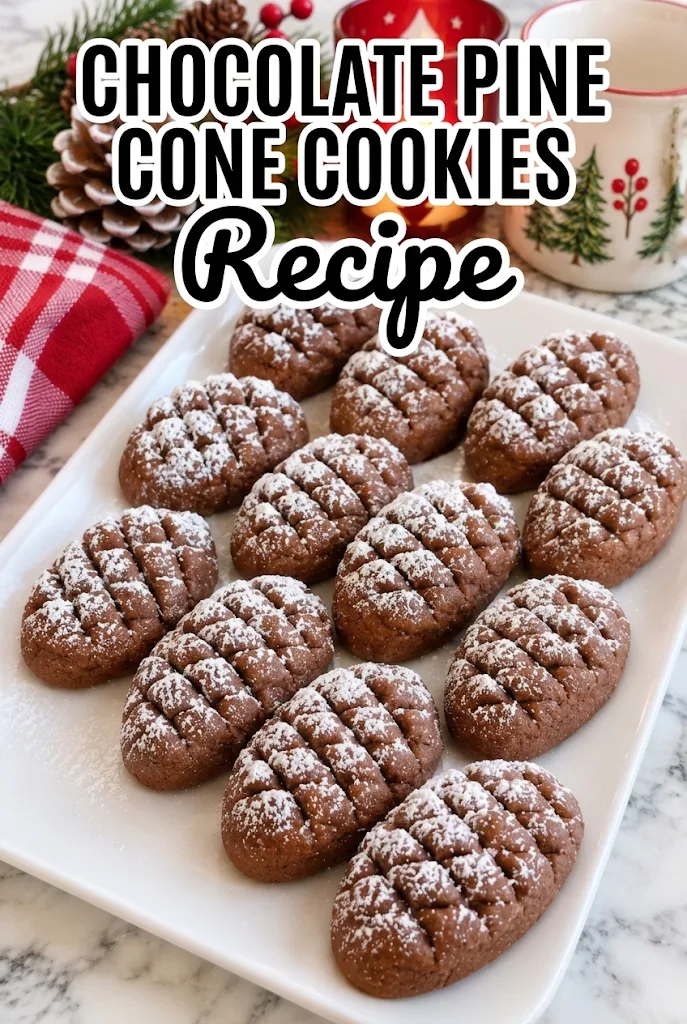
Scooped straight from the pan, these chocolate pine cone cookies are sturdy and cocoa-rich, with a soft, slightly chewy center and a textured top that resembles pine cone scales. They are simple to shape by hand and make a nice addition to a holiday cookie tray or a casual coffee break. Their deep chocolate flavor comes from cocoa powder rather than chips, so every bite tastes like cocoa and butter.
Chocolate Pine Cone Cookies Ingredients
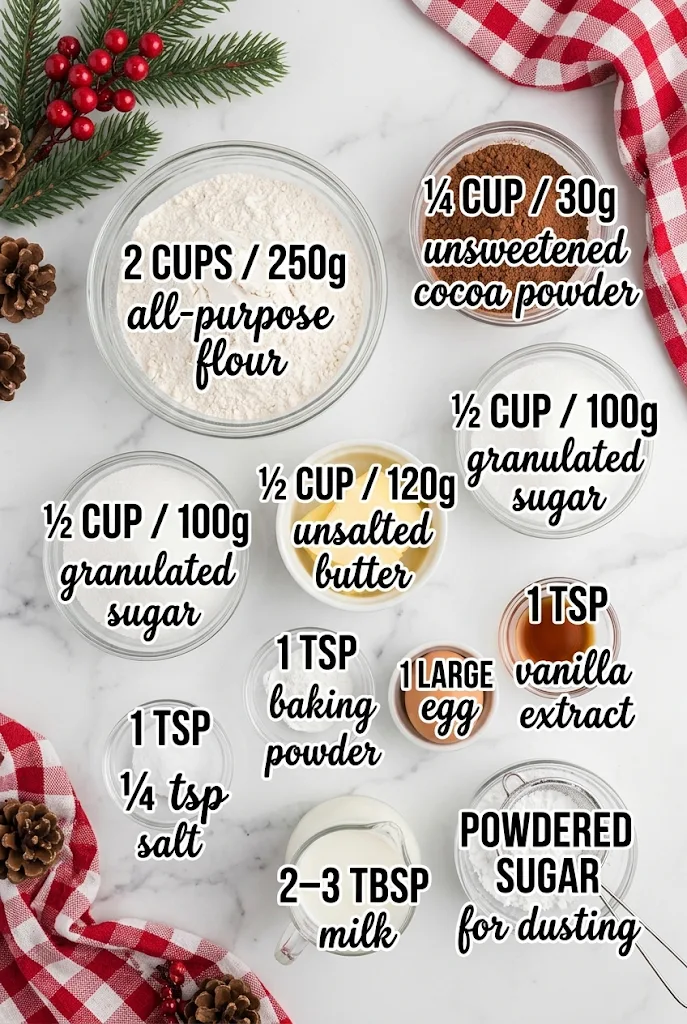
- 1/2 cup (120 g) unsalted butter — This is the fat that gives the dough its tender crumb. I like to bring the butter out ahead of time so it softens and creams easily with the sugar without turning greasy.
- 1/2 cup (100 g) granulated sugar — Creaming this with the butter adds air and helps the cookies hold their shape. It also adds a light crisp edge.
- 1 large egg — The egg binds the dough and adds moisture. Add it to the creamed butter and sugar before the dry ingredients.
- 1 tsp vanilla extract — A small amount rounds out the cocoa so the chocolate flavor tastes richer, not bitter.
- 2 cups (250 g) all-purpose flour — This is the structure of the cookie. Spoon it into your measuring cup and level it with a knife so the dough isn’t stiff.
- 1/4 cup (30 g) unsweetened cocoa powder — Use natural or Dutch-process cocoa here. Dutch-process gives a darker, smoother chocolate taste.
- 1 tsp baking powder — This gives the cookies a little lift so they don’t spread flat in the oven.
- 1/4 tsp salt — Salt brings out the chocolate flavor and balances the sugar.
- 2-3 tbsp milk — Add this only if the dough is too dry to come together. It keeps the dough soft enough to shape.
- Powdered sugar, as needed — Used only for dusting the cooled cookies. It gives a snowy contrast to the dark chocolate.
Substitutions And Additions
Unsalted Butter
I’d stick with unsalted butter here and keep the salt at a pinch, since that gives you more control over the seasoning if you choose salted instead. The cookies will taste a little saltier and may spread slightly more.
Milk
Any milk works, including oat or almond milk. Plant milks are thinner, so add them a teaspoon at a time so the dough doesn’t turn sticky.
Cocoa Powder
Dutch-process cocoa gives a deeper, smoother flavor and a darker color. Natural cocoa has a sharper chocolate bite, so it’s a good choice if you want more tang.
All-Purpose Flour
Swapping in cake flour makes the cookies more tender and delicate, but they may be more fragile when you press in the scale pattern.
How To Make This Chocolate Pine Cone Cookies Recipe
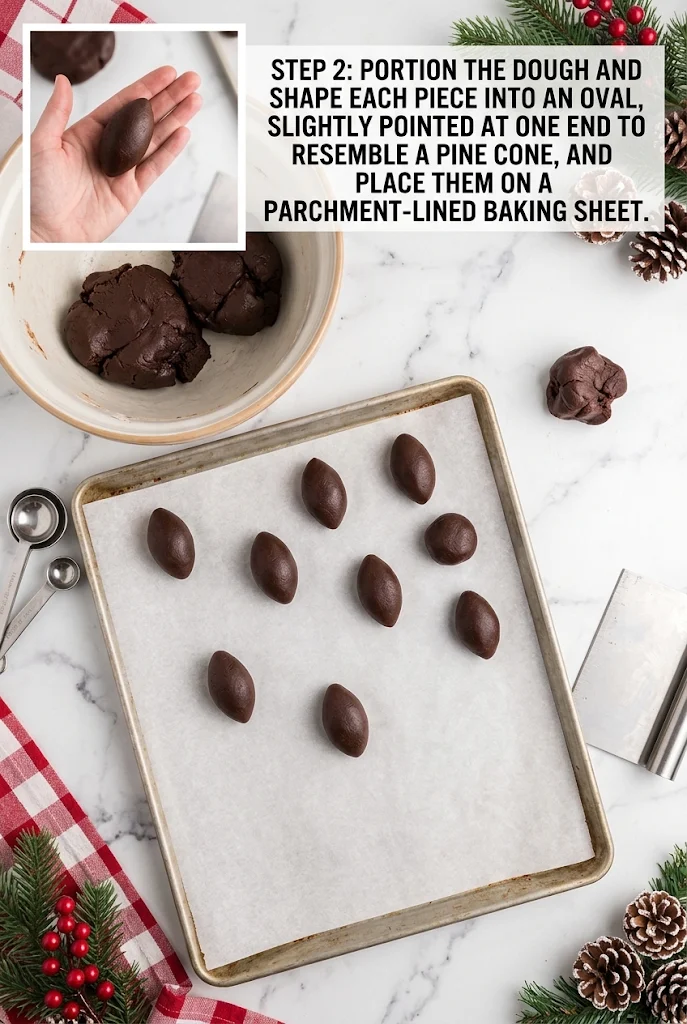
- Cream the butter and sugar and mix the dough. In a large bowl, beat the softened butter and sugar until fluffy, about 2 minutes with a hand mixer. Mix in the egg and vanilla until smooth. Gradually stir in the flour, cocoa powder, baking powder, and salt until a dough forms. If the dough stays crumbly, add the milk 1 tbsp at a time, up to 2-3 tbsp total. Pro Tip: Add the milk slowly, because too much makes the dough sticky and hard to shape.
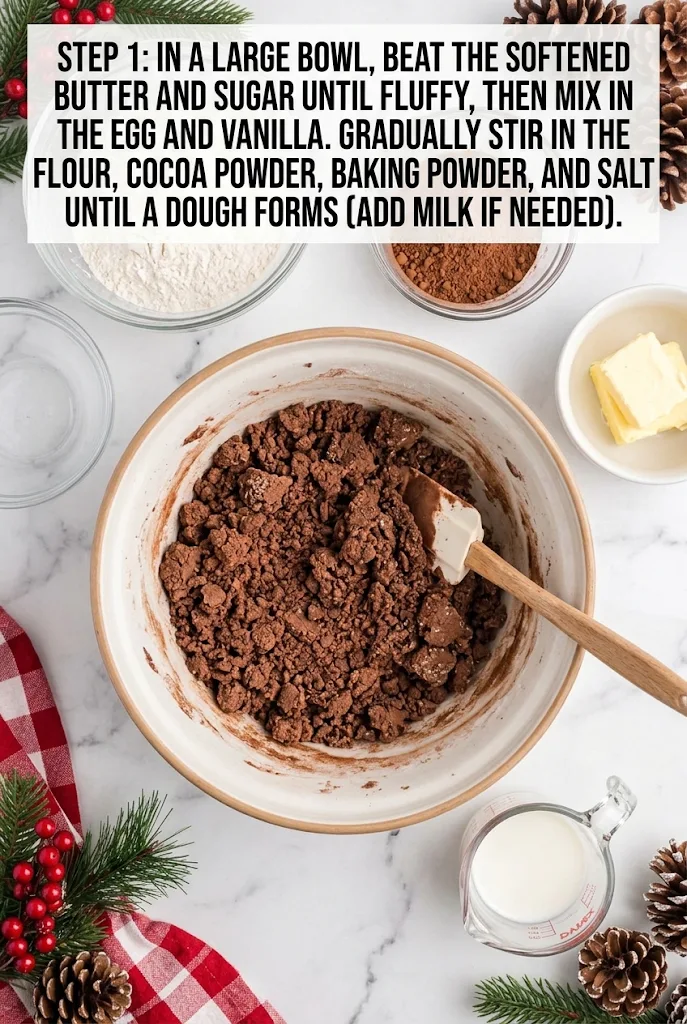
- Shape the pine cone pieces. Portion the dough into equal pieces, then roll each one into an oval. Pinch one end slightly to make a point so it resembles a pine cone. Place the shapes on a parchment-lined baking sheet, leaving room between them. Pro Tip: Keep the dough cool to the touch, because warm dough loses its shape and spreads.
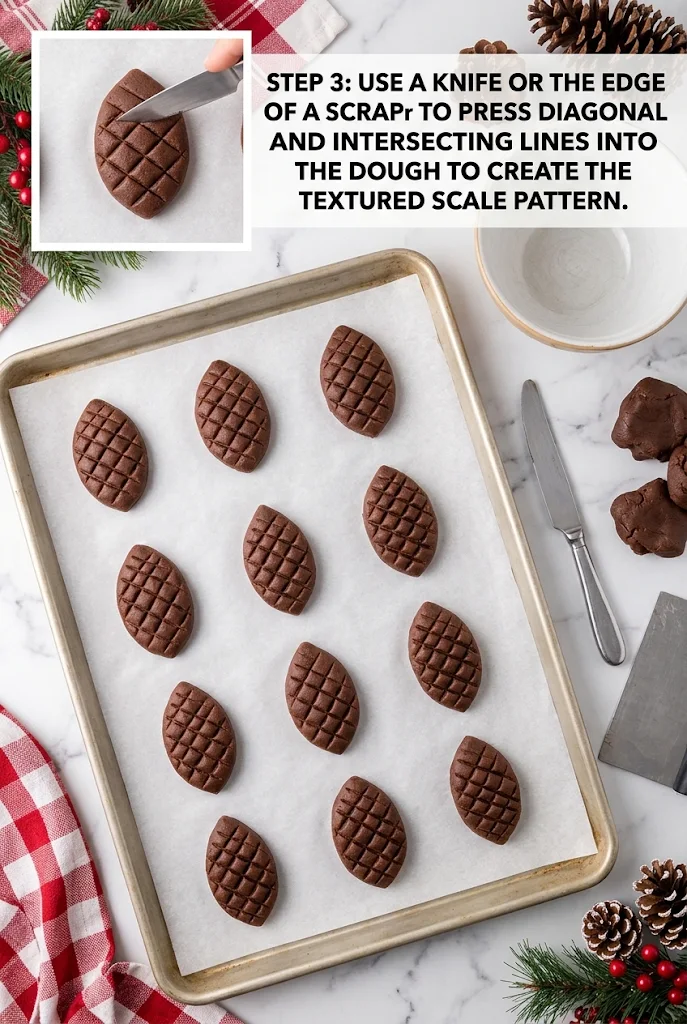
- Press the scale pattern. Use the tip of a knife or the edge of a bench scraper to press diagonal and intersecting lines into each dough shape. The lines should look like overlapping scales. Press firmly enough to leave clear marks, but not so deep that the dough tears.
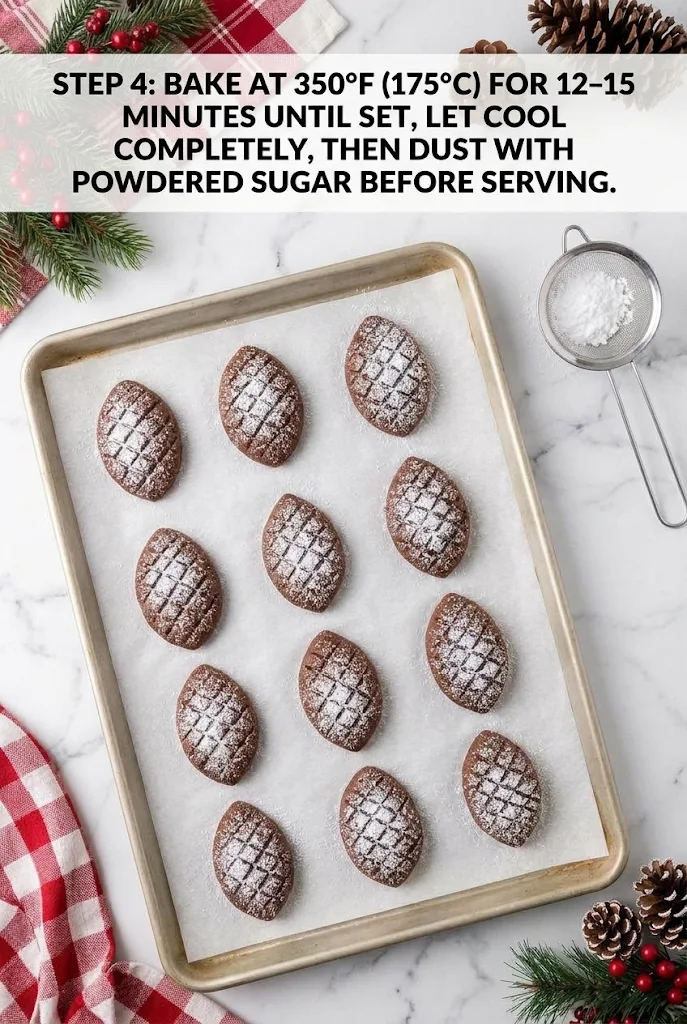
- Bake until set. Bake the cookies at 350°F (175°C) for 12-15 minutes, until the tops look set and the edges feel firm when touched. Pro Tip: Pull them out at the low end of the time if they look dry, because cocoa cookies go from fudgy to dry quickly. Let the cookies cool completely on the baking sheet or a wire rack before handling. Once cool, dust them with powdered sugar using a fine sieve. Pro Tip: Dust only after they cool, because powdered sugar melts into the warm surface and turns patchy.
How To Serve And Store
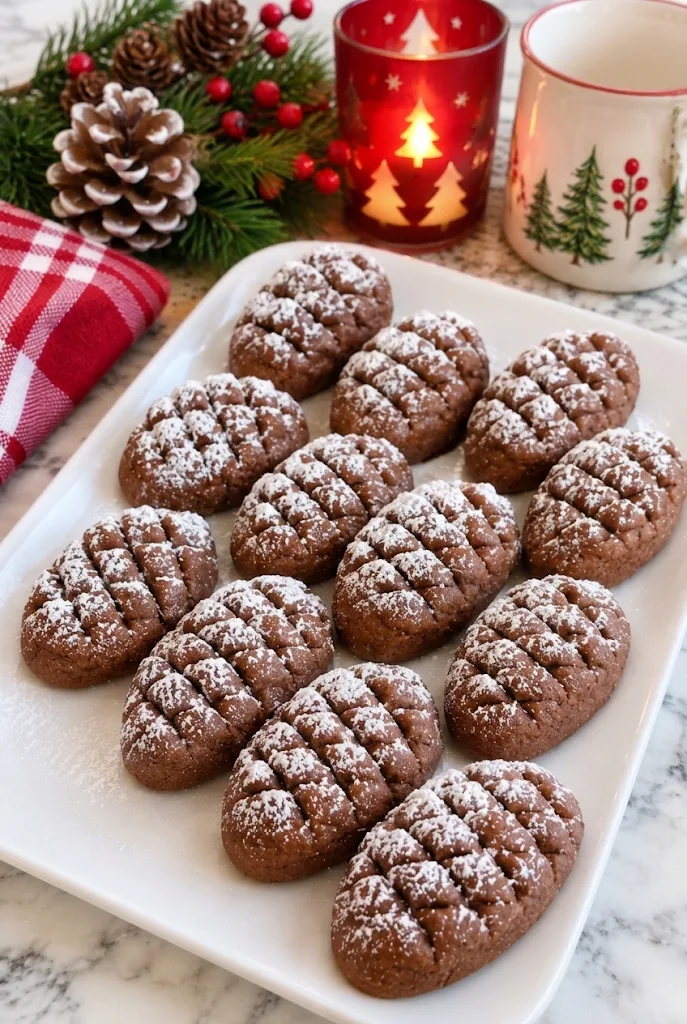
Serve these cookies on a platter with coffee, hot cocoa, or a glass of cold milk. They also look nice stacked in a jar as a gift. Dust them just before serving so the powdered sugar stays bright white.
In The Fridge
Store the cooled cookies in an airtight container at room temperature for up to 5 days. Keep them away from heat and moisture, because humidity makes the powdered sugar look wet. Refrigerate only if your kitchen runs very warm, and bring them to room temperature before serving.
In The Freezer
Freeze undusted cookies in a freezer-safe container for up to 3 months. Thaw them at room temperature for about 1 hour, then dust with powdered sugar before serving.
Frequently Asked Questions
Can you make these cookies ahead of time?
Yes, the dough can be made up to 2 days ahead and kept covered in the refrigerator. Let it sit at room temperature for about 15 minutes so it’s easy to shape before baking.
How do I know when the cookies are done?
They are done when the tops look set and the edges feel firm, usually within 12-15 minutes. The centers should still look slightly soft, since they firm up as they cool.
Can I use a different sugar?
Yes, light brown sugar works and adds a deeper, toffee-like flavor. The cookies will be softer and a little chewier.
More Recipes You’ll Love
- Christmas Marshmallow Popcorn Balls Recipe
- White Chocolate Raspberry Mousse Domes
- Christmas Snowman Truffles
- Christmas Snowman Oreo Balls
Enjoy these with someone you like sharing cookies with. Follow Hailee Recipes on Pinterest for more easy baking ideas.

Chocolate Pine Cone Cookies
Ingredients
Method
- In a large bowl, beat the softened butter and sugar until fluffy, then mix in the egg and vanilla; gradually stir in the flour, cocoa powder, baking powder, and salt until a dough forms, adding milk if needed.
- Portion the dough and shape each piece into an oval, slightly pointed at one end to resemble a pine cone, then place them on a parchment-lined baking sheet.
- Use a knife or the edge of a scraper to press diagonal and intersecting lines into the dough to create the textured scale pattern.
- Bake at 350°F (175°C) for 12-15 minutes until set, let cool completely, then dust with powdered sugar before serving.


2 comments