Cinnamon Roll Honeybun Cheesecake
Cinnamon Roll Honeybun Cheesecake
Cinnamon Roll Honeybun Cheesecake: A Cozy Dessert That Tastes Like a Warm Hug
I created this Cinnamon Roll Honeybun Cheesecake on a random Tuesday night when I couldn’t decide between my two biggest cravings: a fluffy cinnamon roll fresh from the oven and a slice of creamy cheesecake. My husband walked into the kitchen to find me staring into the fridge like it held the answers to life’s biggest questions. “Just make both,” he said with that knowing smile. So I did—and then I combined them into one absolutely ridiculous, completely delicious dessert that I haven’t stopped thinking about since.
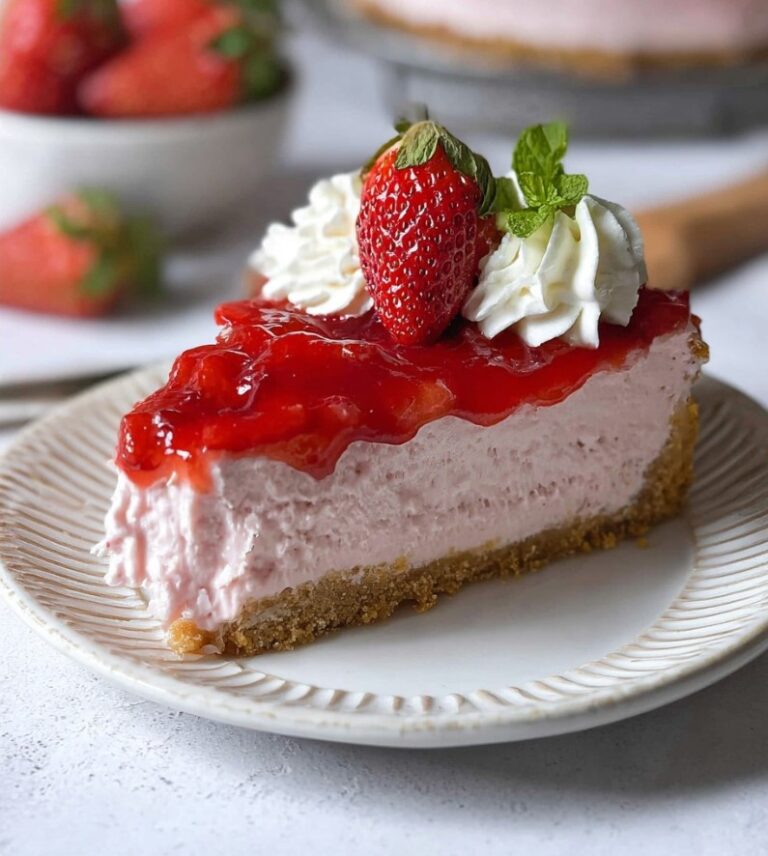
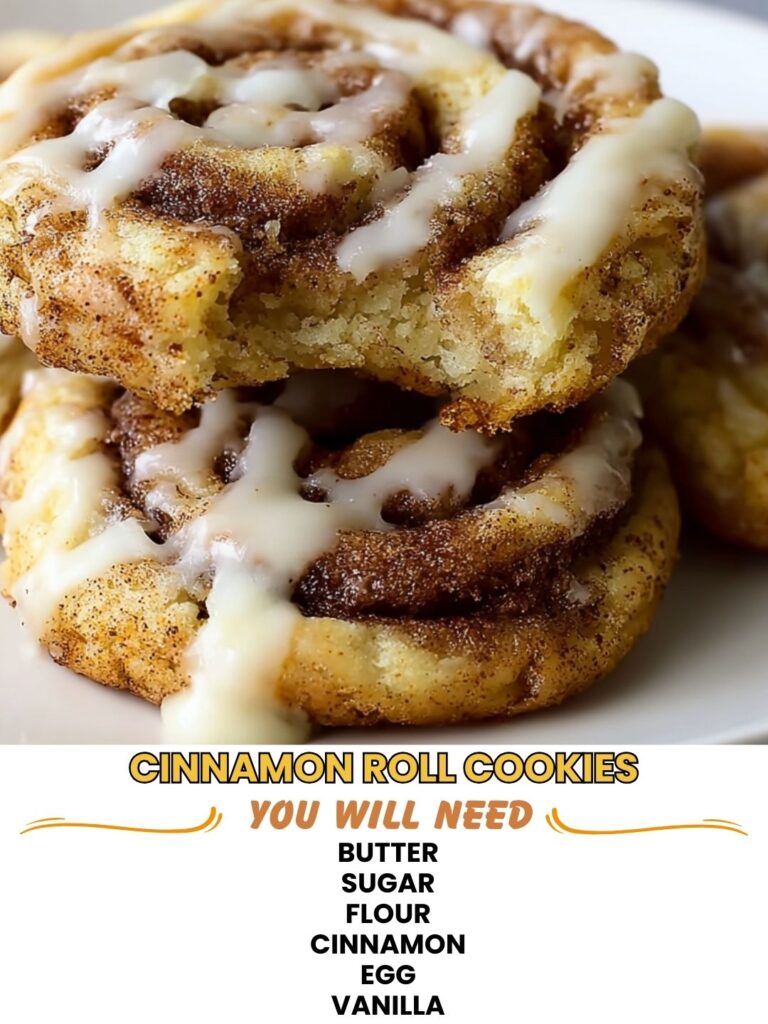
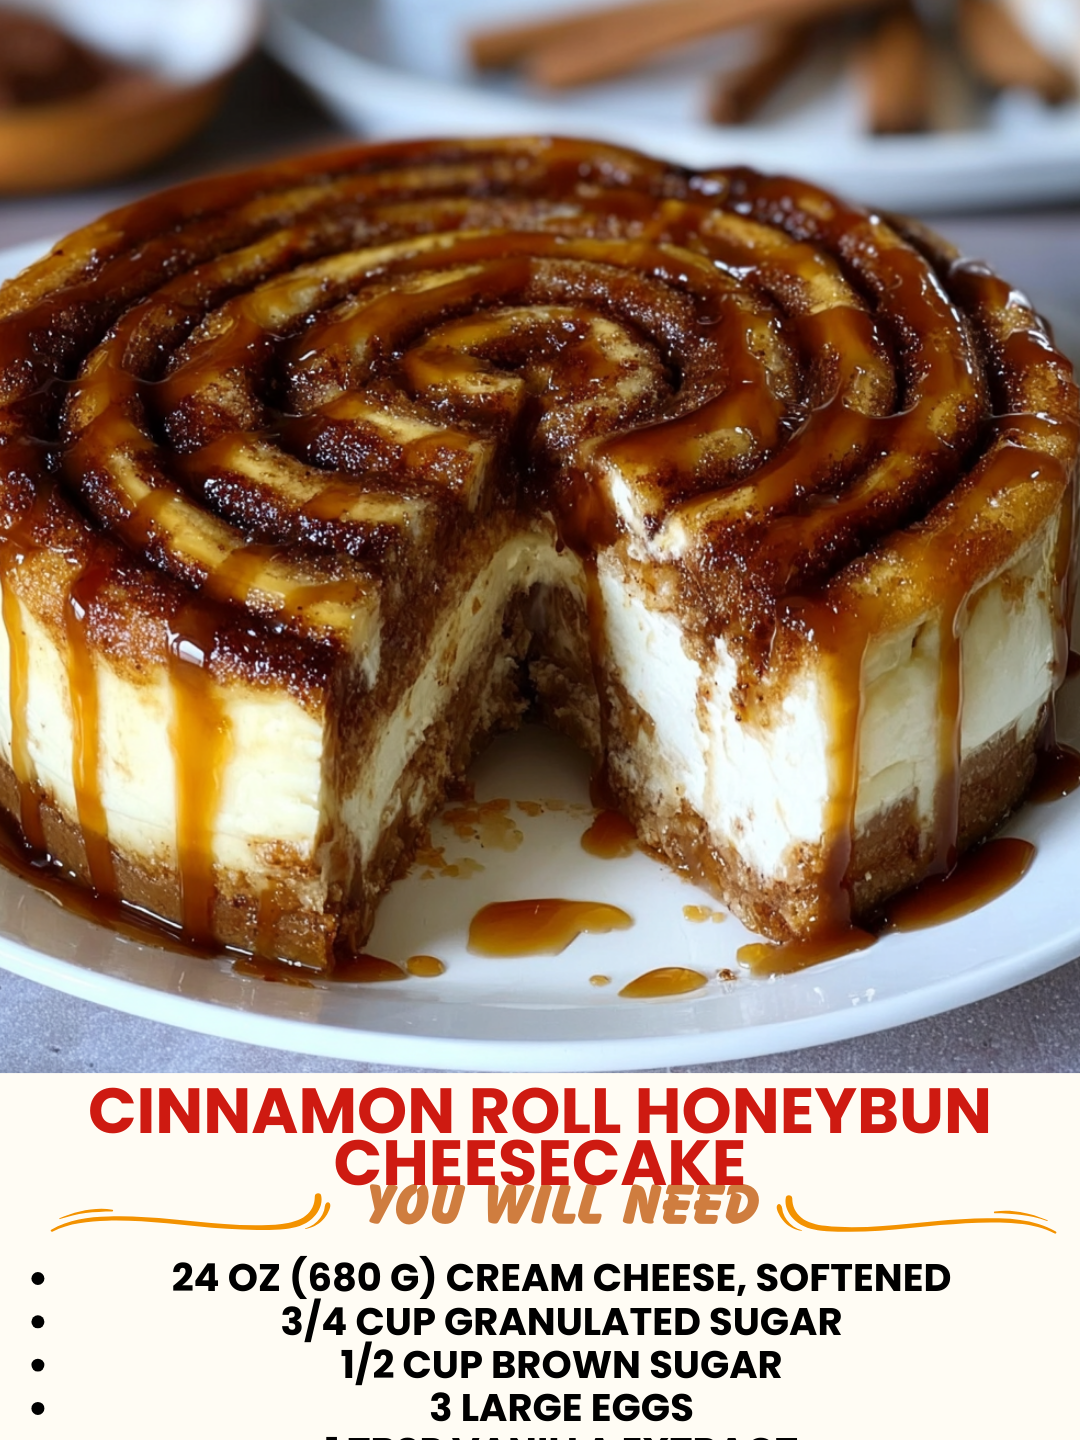
This cheesecake is basically layers of nostalgia and indulgence. You’ve got a buttery graham cracker crust on the bottom, a silky smooth cheesecake middle swirled with cinnamon and brown sugar (just like a real cinnamon roll), and then—here’s where it gets fun—a honeybun-inspired glaze drizzled on top that’s sticky, sweet, and absolutely impossible to resist. It’s the kind of dessert that looks fancy enough to impress people at a dinner party but tastes like comfort food you’d make for yourself on a quiet Sunday afternoon.
The best part? It’s not nearly as intimidating as it sounds. I know cheesecake has a reputation for being finicky, but I’ve tested this recipe about a dozen times to make sure it comes out perfect every single time. No cracks, no sinking, no disappointment. Just pure, creamy, cinnamon-swirled joy.
This recipe is for anyone who loves cinnamon rolls, cheesecake, or basically anything that combines sweet and cozy flavors. It’s perfect for holidays, special occasions, or just because Tuesday exists. If you’re looking for more comforting desserts like this, follow me on HaileeRecipes on Pinterest where I share all my favorite cozy kitchen moments.
Why You’ll Love This Recipe
Let me be honest: this dessert is a showstopper. When you bring this to a potluck or set it on your dinner table, people are going to lose their minds. It looks like you spent hours on it (you didn’t), it tastes like a professional bakery made it (you did), and it feeds a crowd without requiring you to bake multiple desserts.
Beyond the presentation, here’s what really gets me about this recipe: the flavor combination is genuinely special. You’ve got warm cinnamon and brown sugar creating that familiar cinnamon roll feeling, but then the creamy cheesecake adds this luxurious richness that cinnamon rolls don’t have. And the honeybun glaze on top brings everything together with a sticky-sweet finish that makes you want to go back for another slice immediately.
It’s also surprisingly make-ahead friendly. You can bake this a day or two before you need it, which means less stress and more time to actually enjoy your guests. Plus, it slices cleanly when it’s been chilled, which honestly makes the whole experience more pleasant.
Ingredients for Cinnamon Roll Honeybun Cheesecake
For the Crust
- 2 cups graham cracker crumbs (about 14-16 crackers)
- 6 tablespoons melted butter
- 3 tablespoons granulated sugar
- Pinch of salt
Hailee’s Tip: Don’t skip the salt in the crust. It sounds small, but it really makes the buttery flavor pop and prevents the crust from tasting one-dimensional.
For the Cheesecake Filling
- 32 ounces cream cheese (four 8-oz packages), softened to room temperature
- 1 cup granulated sugar
- 1/2 cup sour cream, room temperature
- 2 tablespoons all-purpose flour
- 1 teaspoon vanilla extract
- 3 large eggs, room temperature
Hailee’s Tip: Room temperature ingredients are non-negotiable here. Cold cream cheese and eggs will create lumps, and nobody wants a lumpy cheesecake. Set everything out 30 minutes before you start mixing.
For the Cinnamon Swirl
- 1/2 cup packed brown sugar
- 2 tablespoons ground cinnamon
- 2 tablespoons melted butter
For the Honeybun Glaze
- 1 cup powdered sugar
- 3 tablespoons heavy cream or whole milk
- 1 tablespoon honey
- 1/2 teaspoon vanilla extract
- Pinch of salt
Hailee’s Tip: The glaze should be thick but pourable. If it’s too thick, add cream one teaspoon at a time. If it’s too thin, add more powdered sugar. You want it to drip slightly but still coat the cheesecake.
Optional Add-Ins and Variations
This is where you get to make the recipe your own. I love the classic version, but I also love playing around with it.
- Cream cheese swirl: Mix a few tablespoons of softened cream cheese with the cinnamon mixture for an extra decadent swirl. It creates pockets of tanginess that balance the sweetness beautifully.
- Candied pecans or walnuts: Sprinkle these on top of the glaze for crunch. You can buy them or make your own by tossing nuts with brown sugar and cinnamon, then baking at 350 degrees for about 8 minutes.
- Maple glaze instead of honeybun: If you want to lean into the breakfast vibe, replace the honey with pure maple syrup and add a tiny pinch of nutmeg to the glaze.
- Caramel drizzle: After the honeybun glaze sets, drizzle some salted caramel on top. I know it sounds like overkill, but trust me.
- Almond extract boost: Add 1/4 teaspoon almond extract to the cheesecake filling for a subtle nod to marzipan. It’s sophisticated and unexpected.
Step-by-Step Method
Prep Work (15 minutes)
Step 1: Preheat your oven to 325 degrees. Line a 9-inch springform pan with parchment paper on the bottom and sides. This prevents sticking and makes cleanup infinitely easier. Trust me on this.
Step 2: Make the crust by combining graham cracker crumbs, melted butter, sugar, and salt in a bowl. Mix until it looks like wet sand. Press this firmly into the bottom of your prepared pan, using the bottom of a measuring cup to create an even layer. Bake for 8-10 minutes until it’s just set and smells toasty. Remove and let it cool while you prep the filling.
What I Messed Up: The first time I made this, I didn’t press the crust down hard enough and it stayed crumbly. Now I really press it, almost aggressively, and it stays intact perfectly.
Making the Filling (20 minutes)
Step 3: In a large bowl, beat the softened cream cheese on medium speed for about 2 minutes until it’s completely smooth. Scrape down the sides of the bowl as you go. This is important—lumpy cream cheese will ruin the texture.
Step 4: Add the sugar and beat for another 2 minutes. The mixture should look pale and fluffy. Then add the sour cream, flour, and vanilla extract. Beat until combined, but don’t overmix. Overmixing incorporates too much air, which can cause cracks.
Step 5: Add the eggs one at a time, beating on low speed after each addition until just combined. This is where patience matters. Don’t rush this step.
Step 6: Pour about three-quarters of the cheesecake batter into your crust-lined pan, smoothing the top gently.
Creating the Cinnamon Swirl (5 minutes)
Step 7: In a small bowl, mix the brown sugar, cinnamon, and melted butter until it forms a paste. This is your magic swirl mixture.
Step 8: Drop spoonfuls of this mixture over the cheesecake batter, then use a knife or skewer to swirl it through. Don’t overdo it—you want visible swirls, not a muddy brown cheesecake. I usually do about 8-10 gentle swirls across the top.
Step 9: Pour the remaining cheesecake batter over the swirls to seal them in slightly. This prevents them from burning on top.
The Bake (1 hour)
Step 10: Place the springform pan in a larger roasting pan. Pour hot water into the roasting pan until it comes halfway up the sides of the springform pan. This water bath is crucial—it keeps the cheesecake moist and prevents cracking.
Step 11: Bake for 55-65 minutes. The cheesecake is done when the edges are set but the center still jiggles slightly when you gently shake the pan. It should feel like it has just a tiny bit of give in the very middle. If it’s completely firm, you’ve overbaked it.
What I Messed Up: I once baked this for 75 minutes because I got distracted, and the edges were slightly dry. Now I set a timer and check at 55 minutes.
Cooling (2 hours plus overnight chill)
Step 12: Turn off the oven and crack the door open about 4 inches. Leave the cheesecake in there for 30 minutes. This gradual temperature change prevents the dreaded cracks.
Step 13: Remove the cheesecake from the oven and water bath. Let it cool to room temperature on the counter for about 1.5 hours. Then refrigerate for at least 8 hours, preferably overnight. This isn’t just about chilling it—it’s about letting the flavors set and the texture become perfectly creamy.
The Glaze (5 minutes)
Step 14: Once the cheesecake is completely chilled, make the honeybun glaze. Whisk together powdered sugar, cream, honey, vanilla, and salt until smooth and pourable. It should be thicker than you think—like a thick frosting that still drips slightly.
Step 15: Drizzle the glaze over the top of the cheesecake in a crosshatch pattern or however makes you happy. Let it set for about 15 minutes before slicing.
Common Mistakes to Avoid
Using cold cream cheese: This is the number one culprit for lumpy cheesecake. Set it out for 30 minutes before mixing. I cannot stress this enough.
Overmixing the batter: Once you add the eggs, keep the mixer on low speed. Overmixing incorporates air, which creates cracks during baking. Mix until just combined and stop.
Skipping the water bath: I know it seems like extra work, but it’s the difference between a creamy cheesecake and a dry, cracked one. Don’t skip it.
Not letting it cool gradually: Pulling a hot cheesecake straight from the oven into the fridge will cause cracks. The gradual cooling in the oven and then at room temperature is essential.
Overbaking: Check at 55 minutes. The center should jiggle just slightly. If it’s completely firm, you’ve gone too far.
Cutting too early: Slice this when it’s completely chilled. Warm cheesecake is delicious but won’t slice cleanly. A warm, wet knife helps create neat slices.
My Tested Substitutions
For the crust: You can use vanilla wafer crumbs or even crushed cinnamon toast instead of graham crackers. The ratio stays the same: 2 cups crumbs, 6 tablespoons butter, 3 tablespoons sugar.
For sour cream: Greek yogurt works perfectly and adds a bit more tang. Use the same amount.
For the glaze: If you don’t have honey, use corn syrup or even a tablespoon of molasses for depth. The texture will be slightly different, but it’ll still be delicious.
For cinnamon: You could use pumpkin pie spice for a fall twist, or even cardamom for something more exotic. Use the same amount.
For eggs: I don’t recommend substituting eggs in cheesecake—they’re crucial for structure. But if you have an allergy, there are egg replacers on the market. Follow the package directions.
How to Customize
Make this recipe yours by playing with the flavors. Love chocolate? Swirl some melted chocolate into the batter before the cinnamon swirl. Prefer a spiced vibe? Add nutmeg, cloves, and ginger to the cinnamon mixture. Want it less sweet? Reduce the sugar in the filling by a quarter cup and the glaze by a few tablespoons.
You could also make mini cheesecakes in a muffin tin—just reduce the baking time to about 20-25 minutes and skip the water bath. They’re perfect for portion control and easier to serve at parties.
Serving Ideas
This cheesecake is beautiful on its own, but here are some ways to take it further:
- Serve with a dollop of whipped cream and a sprinkle of cinnamon on top
- Pair it with a cup of strong coffee or espresso for breakfast vibes
- Drizzle extra caramel sauce on individual slices
- Top with crushed honeybun pieces for extra texture and nostalgia
- Serve alongside vanilla ice cream for a warm-and-cold contrast
- Add candied cinnamon strips as a garnish
Meal Prep and Storage
This cheesecake actually improves after a day or two in the fridge as the flavors meld together. Store it in an airtight container or cover the springform pan tightly with plastic wrap. It’ll keep for up to 5 days in the refrigerator.
You can also freeze it for up to 3 months. Wrap the entire cheesecake (still in the springform pan) with plastic wrap and then foil. Thaw it overnight in the refrigerator before serving. The texture might be slightly different after freezing—a tiny bit less creamy—but it’s still absolutely delicious.
Make-ahead tip: You can prepare the crust and even make the filling a day ahead. Keep the filling covered in the fridge and just pour it into the crust before baking.
Nutritional Breakdown
This recipe makes 12 generous servings. Here’s what you’re looking at per slice:
- Calories: approximately 485
- Protein: 8g
- Carbohydrates: 48g
- Fat: 28g
- Fiber: 0g
Keep in mind that this is an estimate and can vary based on your specific ingredients. The glaze adds about 80 calories per serving, so if you skip it, you’ll save a bit there.
Final Thoughts
I genuinely love this Cinnamon Roll Honeybun Cheesecake because it brings together two of my favorite things and makes something even better than either one alone. It’s the kind of dessert that feels special but isn’t so complicated that you need a culinary degree to pull it off.
The best part about sharing recipes like this is knowing that someone out there is going to make it for their family, maybe mess up one tiny thing, and still end up with something absolutely delicious. Because honestly, that’s how cooking works. We try, we learn, we adjust, and then we share it with the people we love.
If you make this, I’d love to hear how it goes. Did you add your own twist? Did your family go crazy for it? These are the things that make my day. And if you need more cozy dessert inspiration, you know where to find me in the kitchen.
Happy baking, friends.
—