Easy Ham and Cheese Sticks
Easy Ham and Cheese Sticks
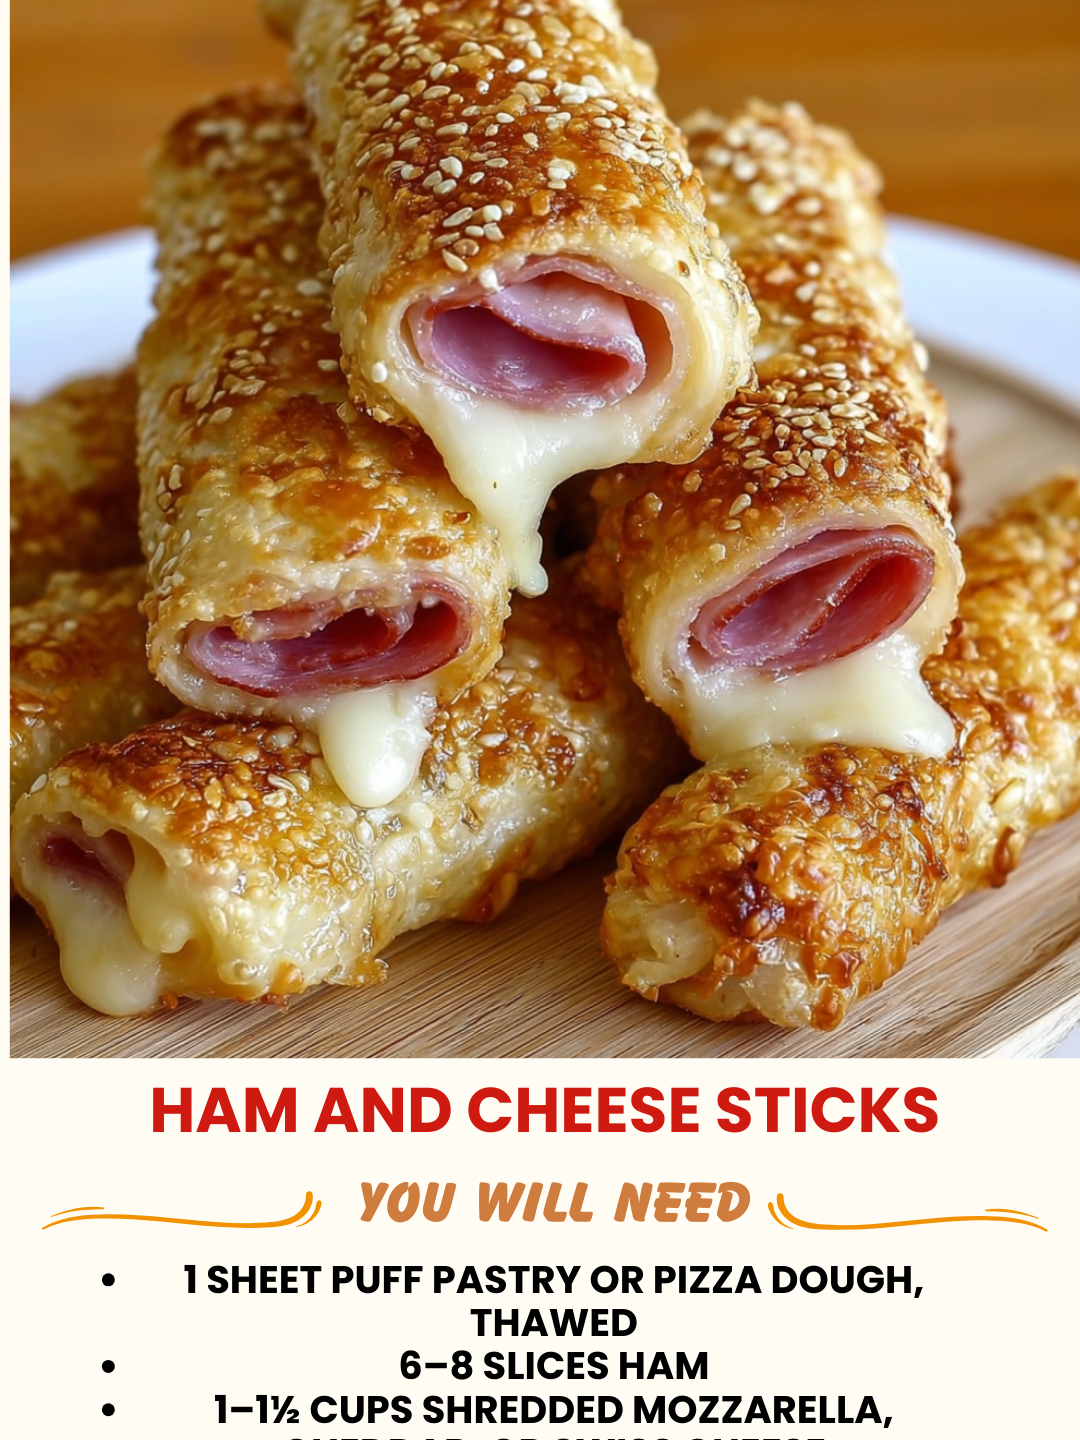
Easy Ham and Cheese Sticks: A Snack That Actually Tastes Like Love
I’m sitting here on a Tuesday afternoon, and my kids just demolished a batch of ham and cheese sticks I threw together in about fifteen minutes. Not the store-bought kind that taste like plastic and regret—I’m talking about the homemade version that’s crispy on the outside, melty on the inside, and honestly kind of addictive. My oldest asked for seconds before I’d even finished plating the first round, which tells you everything you need to know.
Here’s the thing about easy ham and cheese sticks: they’re one of those recipes that feels fancy enough to serve to guests but simple enough that you won’t stress making them on a random weeknight. I originally came up with this version when I was looking for something that wasn’t fried but still had that satisfying crunch, something my family would actually eat without complaint, and something I could make ahead without it falling apart in my lunchbox.
These little sticks are basically seasoned ham wrapped around melty cheese, then either baked until golden or pan-fried until crispy. They’re protein-packed, they come together in minutes, and they work for breakfast, lunch, dinner, or that 3 p.m. snack when everyone’s getting hangry. I’ve made them for game day parties, school lunches, and quiet nights when I just want something warm and comforting that doesn’t require me to think too hard.
If you’re looking for a reliable, people-first recipe that actually delivers on its promise, you’re in the right place. I’ve tested this a hundred different ways, messed up more than I’d like to admit, and figured out exactly what makes these turn out perfect every single time. Whether you’re a seasoned home cook or someone who thinks cooking is intimidating, this recipe is for you. Follow me on HaileeRecipes on Pinterest for more recipes like this one.
Why You’ll Love This Recipe
Let me be real with you: I love this recipe because it checks every box. It’s fast. It’s forgiving. It tastes way better than it has any right to, given how little effort goes into it.
- Minimal prep time. We’re talking five to ten minutes from start to oven. No fancy knife skills required.
- Protein-packed. Ham and cheese are both solid protein sources, so these actually keep you full.
- Kid-approved. My kids call them “the sticks,” and they’ll eat them without negotiation. Parents, you know what a win that is.
- Adaptable. You can bake them, pan-fry them, air-fry them, or even grill them. They work with what you’ve got.
- Budget-friendly. A package of deli ham and some cheese goes a long way. You’re not spending a fortune here.
- Make-ahead magic. Assemble them the night before and bake fresh in the morning, or cook a big batch and reheat as needed.
- No weird ingredients. Everything in this recipe is something you probably already have or can grab at any grocery store.
Ingredients
- 8 slices of deli ham (I use honey ham, but any kind works)
- 8 sticks of mozzarella cheese (the kind that comes pre-cut, about 1 ounce each)
- 1 tablespoon butter, melted
- 1 teaspoon garlic powder
- 1/2 teaspoon smoked paprika
- 1/4 teaspoon black pepper
- 1/4 teaspoon salt (adjust based on how salty your ham is)
- Optional: 1/2 teaspoon Italian seasoning or dried parsley for garnish
Hailee’s Tip: Don’t skip the melted butter and seasonings. I know it sounds like a tiny step, but brushing that seasoned butter on top is what gives these that restaurant-quality finish instead of looking like something you threw together (even though you kind of did).
Hailee’s Tip: Buy the pre-cut mozzarella sticks, not the string cheese. They’re thicker, they don’t leak everywhere, and they stay intact while cooking. String cheese is great for other things, but not this.
Hailee’s Tip: If your ham slices are really thin, use two per stick. If they’re thick-cut deli ham, one slice per stick is perfect. You want enough ham to wrap around the cheese without it being so much that it gets chewy.
Optional Add-Ins and Variations
This is where you get to play around. The base recipe is solid, but here are some tweaks I’ve tested that work beautifully:
- Spicy version: Add a pinch of cayenne pepper to the butter mixture, or brush each stick with a tiny bit of sriracha before baking.
- Everything bagel vibes: Mix the seasonings with a tablespoon of everything bagel seasoning instead of the individual spices.
- Pesto twist: Spread a tiny bit of pesto on the ham before wrapping around the cheese.
- Jalapeño kick: Tuck a thin slice of jalapeño inside the ham before rolling up the cheese stick.
- Herb garden: Use fresh herbs like basil or oregano mixed into the butter.
- Different cheeses: Try cheddar sticks, pepper jack, or even a mix. Just make sure they’re firm enough to hold their shape while cooking.
Step-by-Step Method
What I Messed Up: The first time I made these, I didn’t pat the ham slices dry, and the seasoning just slid right off. Now I give them a quick pat with a paper towel, and everything stays put.
- Preheat your oven to 400 degrees Fahrenheit. Line a baking sheet with parchment paper or a silicone mat. This step saves you from scrubbing melted cheese off your pan later, which is worth its weight in gold.
- Pat your ham slices dry. Lay them out on a clean cutting board. This helps the seasoning stick and prevents a watery bake.
- Mix your seasonings. In a small bowl, combine the garlic powder, smoked paprika, black pepper, and salt. Stir it together so it’s evenly mixed. This takes about 30 seconds and makes a huge difference.
- Melt the butter. You can do this in the microwave for about 20 seconds, or on the stovetop. Pour it into a shallow dish and stir in your seasoning mixture.
- Wrap the ham around the cheese. Take one ham slice and one mozzarella stick. Lay the ham flat, place the cheese stick at one end, and roll it up snugly. The ham should overlap slightly so it stays sealed. Place it seam-side down on your prepared baking sheet.
- Repeat with all eight sticks. Line them up on the baking sheet. They can be close together but shouldn’t be touching.
- Brush with seasoned butter. Using a pastry brush or the back of a spoon, lightly brush the seasoned butter over the top of each ham and cheese stick. Don’t drown them—a light coating is all you need.
- Bake for 12 to 15 minutes. You’re looking for the ham to start curling slightly at the edges and the cheese to be melty but not leaking everywhere. Every oven is different, so start checking at 12 minutes. The cheese should be soft when you press it gently, but the ham should still have some structure.
- Let them cool for 2 to 3 minutes. I know it’s tempting to dive right in, but this gives the cheese a second to set slightly so it doesn’t burn your mouth. Plus, they’re easier to pick up when they’ve cooled just a bit.
- Serve warm. These are best right out of the oven, but they’re still good at room temperature if you’re packing them for lunch.
What I Messed Up: I once forgot to line my baking sheet and ended up with a cheese-stuck-to-metal situation that required serious scrubbing. Parchment paper is your friend here.
Common Mistakes to Avoid
Overcooking. The biggest mistake I see is leaving these in too long. The ham can get tough, and the cheese can actually start leaking out. Twelve to fifteen minutes is the sweet spot. Set a timer and stick to it.
Using thin ham. If you use those paper-thin slices, the ham basically disappears, and you’re left with just a melted cheese stick. Not the vibe. Go for deli counter ham or the thicker packaged kind.
Skipping the parchment paper. I mentioned this above, but it’s worth repeating. Cheese and metal baking sheets are not friends.
Wrapping too loosely. If the ham isn’t snug around the cheese, it’ll unroll while cooking, and you’ll end up with a mess. Roll it tight.
Using cold butter. Cold butter won’t distribute the seasonings evenly. Melt it first, mix in your spices, and then brush.
My Tested Substitutions
I’ve made these recipe dozens of times, and I’ve tried every substitution I could think of. Here’s what actually works:
Pan-frying instead of baking: Heat a tablespoon of butter in a skillet over medium-high heat. Add your wrapped sticks and cook for about two minutes per side until the ham is browned and the cheese is melty. This gives you a crispier exterior and takes about half the time. I do this on weeknights when I’m in a rush.
Air fryer method: Set your air fryer to 380 degrees and cook for eight to ten minutes. No butter needed—the cheese will crisp up beautifully on its own. This is my go-to method now, honestly.
Different deli meats: Turkey, roast beef, or even prosciutto work here. Just adjust your cooking time slightly if using something thicker.
Cream cheese instead of mozzarella: This is a game-changer if you like something richer. Use the pre-portioned cream cheese sticks, and everything works the same way. The texture is different—creamier, more decadent—but equally good.
Whole wheat or regular flour coating: If you want extra crunch, you can lightly dredge the wrapped sticks in flour before brushing with butter. It’s not necessary, but it does add a nice texture.
How to Customize
The beauty of this recipe is that it’s a blank canvas. Here’s how I customize based on what I’m craving or what I have on hand:
Make it breakfast-y: Add a tiny bit of maple syrup to the butter mixture. Wrap the ham around a stick of cheddar cheese instead of mozzarella. Suddenly you’ve got a breakfast-adjacent snack that tastes like ham and cheese with a hint of sweetness.
Go fancy: Use prosciutto instead of regular ham, add a touch of Dijon mustard to the butter, and sprinkle fresh thyme on top before baking. You’ve got something that feels restaurant-quality.
Kid-friendly version: Skip the spices entirely and just use butter. Sometimes the simplest version is the one that actually gets eaten.
Meal prep edition: Make a big batch, cool them completely, and freeze them in an airtight container. Reheat in a 350-degree oven for five to seven minutes, and they taste almost as good as fresh.
Serving Ideas
These aren’t just a standalone snack, though they’re great that way. Here’s how I serve them:
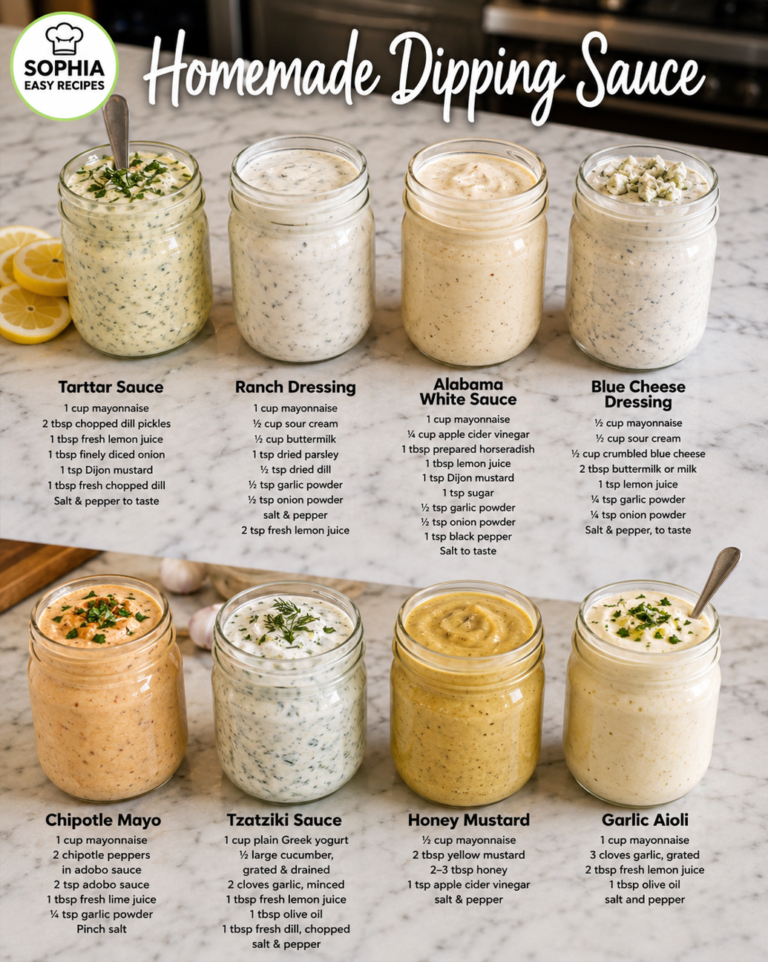
- With a dipping sauce: Marinara, ranch, honey mustard, or even a spicy mayo all work beautifully.
- As a lunch box addition: Pack them cold alongside some fruit and crackers for a balanced lunch.
- For game day: Make a double batch and serve them warm with toothpicks for easy grabbing.
- With eggs for breakfast: Bake a batch and serve alongside scrambled eggs and toast.
- Alongside a salad: A big green salad with these on the side makes a light but satisfying dinner.
- As an appetizer: Arrange them on a platter with some fresh herbs for garnish, and suddenly you’ve got an impressive-looking appetizer that took you ten minutes to make.
Meal Prep and Storage
This is where the recipe really shines for busy people like me.
Make-ahead: You can assemble these the night before and store them in an airtight container in the fridge. Bake them fresh in the morning. They’ll cook in the same time, and you’ll have warm ham and cheese sticks ready to go.
Leftovers: Store cooled sticks in an airtight container in the fridge for up to three days. Reheat in a 350-degree oven for five minutes, or microwave for 30 to 45 seconds if you’re in a rush.
Freezing: You can freeze them raw or cooked. Raw: assemble, freeze on a baking sheet, then transfer to a freezer bag. Cook from frozen, adding two to three minutes to the baking time. Cooked: cool completely, freeze in a single layer, then transfer to a freezer bag. They’ll keep for up to two months. Reheat from frozen at 350 degrees for eight to ten minutes.
Pro tip: I like to make a big batch on Sunday, cook half for the week, and freeze the other half raw for later. It’s a tiny bit of effort that pays off big time when I need a quick snack or lunch box addition.
Nutritional Breakdown
Per ham and cheese stick (based on the recipe above):
- Calories: approximately 90 to 110
- Protein: 9 to 11 grams
- Carbs: less than 1 gram
- Fat: 5 to 7 grams
- Fiber: 0 grams
These are genuinely protein-packed, which is why they keep my kids full and satisfied. They’re also low-carb, which makes them a great option if you’re watching your carb intake. The fat content is from the cheese and ham, both of which are nutrient-dense foods, so it’s not something to worry about.
Final Thoughts
I’m writing this on a rainy afternoon, and I just made a fresh batch of these ham and cheese sticks while my kids did homework at the kitchen table. They smelled amazing, they took me less time than it would have taken to order takeout, and everyone was happy. That’s the whole point of this recipe for me.
Cooking doesn’t have to be complicated or time-consuming to be good. Sometimes the best meals are the simplest ones, made with ingredients you already have, in less time than you’d think possible. These easy ham and cheese sticks are proof of that.
I hope you make these, love them, and come back to them again and again. I hope they become a regular part of your lunch box rotation, your game day spread, or your 3 p.m. snack situation. And I really hope that when you bite into one and the warm cheese and salty ham come together, you feel that same little spark of joy that I do every single time.
Happy cooking, friend. You’ve got this.
Hailee
—
Easy Ham and Cheese Sticks
Ingredients
Method
- Preheat oven to 400 degrees Fahrenheit and line a baking sheet with parchment paper.
- Pat ham slices dry with a paper towel.
- In a small bowl, mix garlic powder,