Lime Cheesecake Slice
Lime Cheesecake Slice
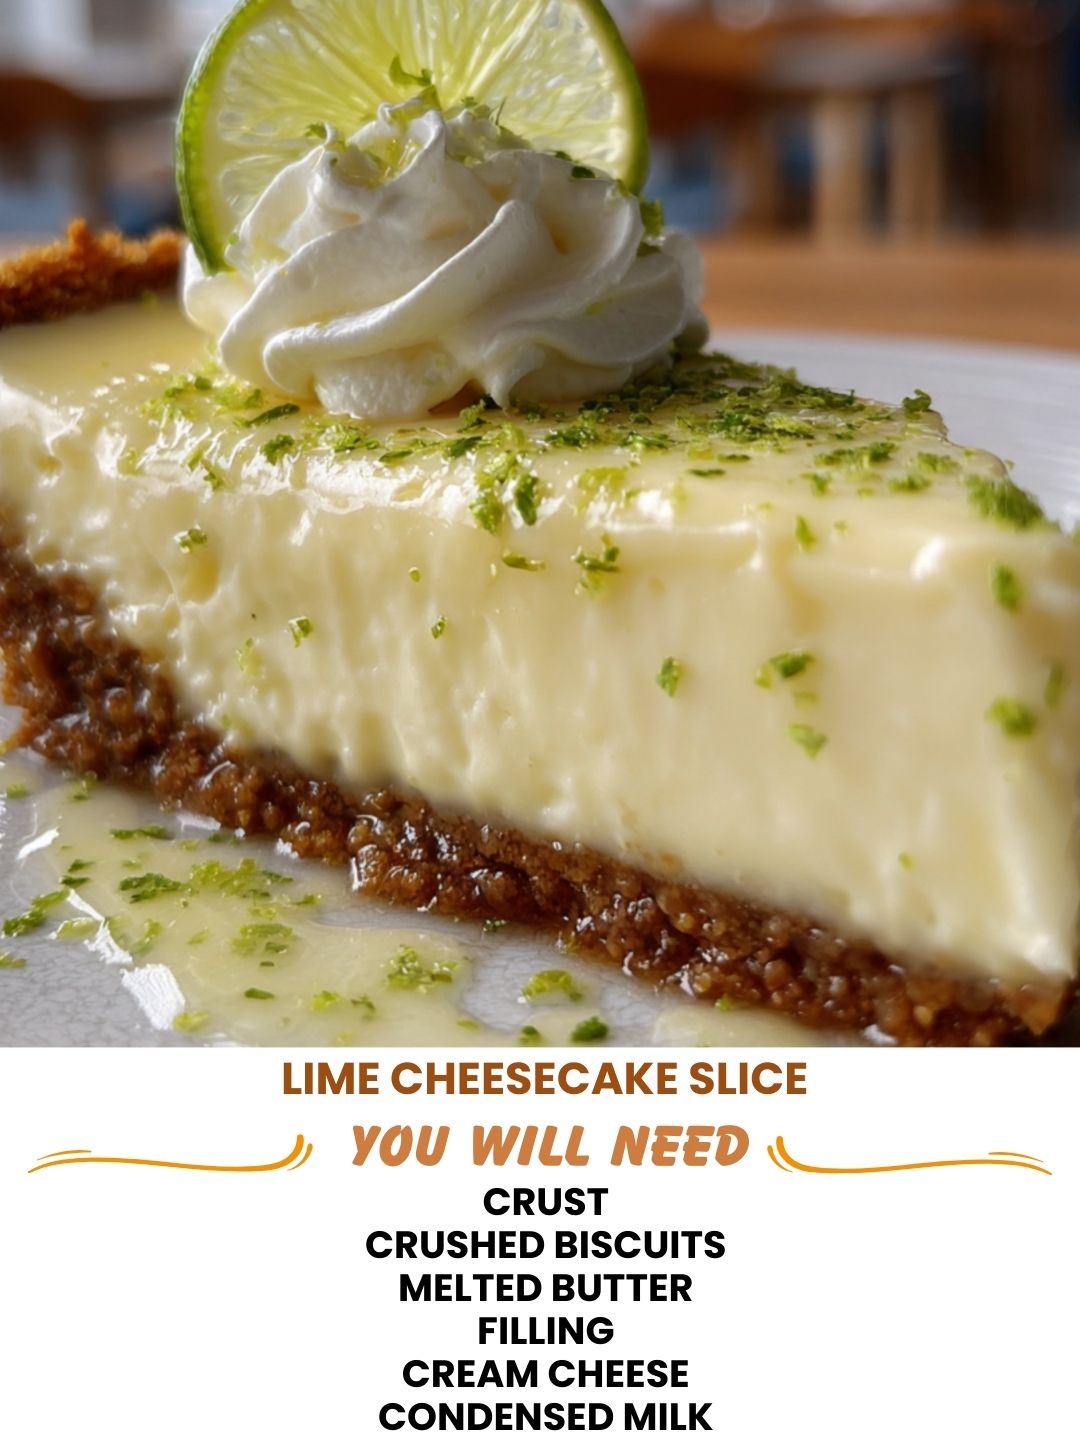
Lime Cheesecake Slice: A No-Fuss Dessert That Tastes Like Summer
I created this lime cheesecake slice recipe on a Tuesday afternoon when I was craving something bright and citrusy, but honestly? I didn’t have the energy to fuss with a full springform pan and a water bath. You know that feeling. Life was hectic, my kitchen was small, and I needed dessert that didn’t require a culinary degree.
So I did what I always do when I’m tired of complicated recipes: I simplified. I grabbed a regular baking pan, mixed up a buttery graham cracker crust, poured in a silky lime cheesecake filling, and baked it low and slow until it was just barely set. The result? A lime cheesecake slice that tastes like you spent hours perfecting it, but actually came together in about fifteen minutes of active work.
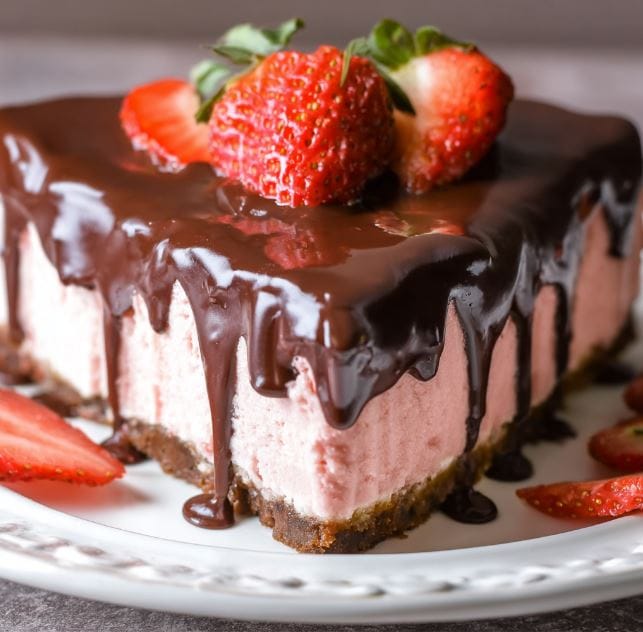
This is the kind of dessert I make when I want to impress people without the stress. It’s tangy, creamy, and has this gorgeous pale green color that makes everyone assume you’re some kind of pastry wizard. The secret is really just good ingredients, a little patience, and knowing that “rustic” is just another word for “I didn’t overthink this.”
Whether you’re planning a dinner party, need a make-ahead dessert for the weekend, or just want something special that doesn’t require a stand mixer, this lime cheesecake slice is going to become your go-to. It feeds a crowd, travels well, and honestly tastes even better the next day. I’m sharing exactly how I make it, plus all the tweaks and shortcuts I’ve learned along the way. If you love recipes like this, follow me on HaileeRecipes on Pinterest for more cozy desserts that actually work in real life.
Why You’ll Love This Recipe
It’s actually simple. No water bath, no springform pan fussing, no cracking disasters. You mix, you pour, you bake. That’s it.
The flavor is bright and balanced. Lime is the star here, but it’s not overwhelming. The cream cheese keeps it rich and smooth, and there’s just enough sweetness to make it feel like a proper dessert instead of eating straight citrus.
It’s make-ahead friendly. Bake it today, serve it tomorrow. It actually gets better as the flavors meld. Perfect for when you’re hosting and want one less thing to worry about on the day.
It looks fancy without the fuss. People see that pale green color and creamy texture and assume you’re basically a pastry chef. We don’t have to tell them how easy it was.
You can customize it endlessly. Want it more tart? Add extra lime juice. Like it sweeter? Adjust the sugar. Want to add coconut or a hint of vanilla? Go for it. This recipe is flexible and forgiving.
Ingredients
For the crust:
- 1 and 1/2 cups graham cracker crumbs (about 10-12 full crackers)
- 5 tablespoons melted butter
- 2 tablespoons granulated sugar
- Pinch of sea salt
For the filling:
- 16 ounces cream cheese, softened to room temperature
- 3/4 cup granulated sugar
- 1/4 cup sour cream
- Zest of 3 limes (about 1 tablespoon)
- 1/3 cup fresh lime juice (about 3-4 limes)
- 2 large eggs, room temperature
- 1 teaspoon vanilla extract
- Pinch of sea salt
For topping (optional but recommended):
- Whipped cream or Greek yogurt
- Extra lime zest
- Thin lime slices
Hailee’s Tip: Room temperature cream cheese and eggs are non-negotiable here. Cold cream cheese won’t blend smoothly, and you’ll end up with lumps. Let them sit on the counter for about 30 minutes before you start. Also, make sure you’re using fresh lime juice. The bottled stuff tastes like sadness, and this dessert deserves better.
Hailee’s Tip: If you don’t have a kitchen scale and need to measure graham crackers, just crush them in a bag with a rolling pin until you have fine crumbs. It takes two minutes and honestly feels therapeutic.
Optional Add-Ins and Variations
Coconut lovers: Add 1/3 cup shredded coconut to the filling and top with toasted coconut flakes. It’s like a tropical vacation in dessert form.
Want it richer: Swap half the sour cream for mascarpone. It makes the whole thing silkier and more luxurious.
Going herbal: A tiny pinch of fresh mint zest or even a whisper of basil in the filling is stunning. Just a pinch though—you’re not making a salad.
Texture person: Mix crushed freeze-dried lime chips or candied lime peel into the filling, or sprinkle them on top before serving.
Boozy version: Replace 2 tablespoons of lime juice with white rum or coconut rum. Nobody needs to know, and yes, it’s delicious.
Step-by-Step Method
Step 1: Prepare your pan and preheat. Line an 8×8 inch baking pan (or 9×9 if you prefer thinner slices) with parchment paper, leaving some overhang on two sides so you can lift the whole thing out later. Preheat your oven to 325 degrees Fahrenheit. This lower temperature is key—it bakes the cheesecake gently so it stays creamy instead of cracking.
Step 2: Make the crust. In a small bowl, combine graham cracker crumbs, melted butter, sugar, and salt. Stir until it looks like wet sand. Press it firmly into the bottom of your prepared pan. Use the bottom of a measuring cup to really pack it down—you want a solid, even layer. Bake for 5 minutes just to set it slightly, then remove and let it cool for 2 minutes while you make the filling.
Step 3: Start the filling. In a large bowl, beat the softened cream cheese with a hand mixer on medium speed for about 2 minutes until it’s completely smooth and creamy. Scrape down the sides with a spatula because cream cheese loves to hide in corners.
Step 4: Add the sugar and flavorings. With the mixer still running on medium, gradually add the sugar. Beat for another minute. Add the sour cream, lime zest, lime juice, vanilla extract, and salt. Mix until everything is combined and smooth. This should take about 2 minutes.
Hailee’s Tip: Don’t overmix once you add the eggs—that’s when you risk incorporating too much air and ending up with cracks. Mix just until combined.
Step 5: Add the eggs. Add the eggs one at a time, mixing on low speed after each addition. Once both eggs are in, mix for just another 30 seconds until everything is combined. You want a smooth, creamy batter with no streaks of egg white.
Step 6: Pour and bake. Pour the filling over your crust and smooth the top gently with a spatula. Bake for 25-30 minutes. Here’s the thing about cheesecake: it should jiggle slightly in the center when you gently shake the pan, but the edges should be set. Don’t overbake it trying to make it completely firm—that’s how you get cracks. It’ll continue to set as it cools.
What I Messed Up: The first time I made this, I baked it for 35 minutes because I was nervous it wasn’t done. It came out slightly overcooked and had a tiny crack down the middle. Still tasted amazing, but I learned my lesson. Trust the jiggle test.
Step 7: Cool slowly. Turn off the oven and crack the door open about 2 inches. Let the cheesecake sit in the warm oven for 15 minutes. This gradual temperature change prevents the dreaded crack. Then remove it completely and let it cool to room temperature on the counter—about 30 minutes.
Step 8: Chill thoroughly. Transfer to the refrigerator and chill for at least 4 hours, but ideally overnight. This is when the flavors really settle and the texture becomes perfectly creamy.
Step 9: Slice and serve. Use a sharp knife dipped in hot water (wipe between cuts) to get clean slices. The parchment paper overhang makes it easy to lift the whole thing out of the pan before slicing if you prefer.
Common Mistakes to Avoid
Using cold cream cheese: This is the number one reason for lumpy filling. Room temperature is non-negotiable. If you forget, cut it into cubes and let it sit for 10 minutes—it’ll warm up faster.
Overbaking: That jiggle in the center is your friend. It means it’s done. Overbaking is what causes cracks and a dense, dry texture.
Skipping the slow cool-down: I know it’s tempting to just pull it out and let it cool on the counter, but that temperature shock causes cracks. The oven-door crack method really does work.
Not using fresh lime juice: Bottled lime juice has a weird metallic aftertaste. Fresh limes take five minutes and make all the difference.
Forgetting to zest before juicing: Zest your limes first, then juice them. Once they’re juiced, you can’t get the zest off easily. Trust me on this one.
My Tested Substitutions
If you don’t have sour cream: Use Greek yogurt or even regular yogurt. It won’t be quite as rich, but it still works beautifully and adds a nice tang.
If you can’t find fresh limes: Lemon works in a pinch, though the flavor will be different. You might need slightly less juice since lemon is more acidic. Start with 1/4 cup and taste as you go.
Dairy-free version: Use dairy-free cream cheese and coconut cream instead of sour cream. The texture won’t be identical, but it’s honestly pretty close and still delicious.
If you only have frozen limes: They work! The juice is just as good as fresh. Just thaw them first and squeeze gently.
How to Customize
More or less tartness: Add up to 1/2 cup lime juice if you like it seriously tart, or reduce to 1/4 cup if you prefer it sweeter. Adjust the sugar accordingly.
Different crust: Use digestive biscuits, vanilla wafers, or even coconut cookies instead of graham crackers. Just crush them and follow the same method.
Flavor additions: A splash of coconut extract, a pinch of cardamom, or even a tiny bit of ginger powder can take this in interesting directions.
Texture change: Want it more mousse-like? Fold in whipped cream at the very end instead of sour cream. Want it denser? Add an extra egg yolk.
Serving Ideas
Serve these slices with a dollop of whipped cream and a sprinkle of lime zest for something simple and elegant. A thin lime slice on top looks beautiful and tastes great. I also love serving them with fresh berries—raspberries and blueberries look stunning against that pale green and add a nice tartness that complements the lime.
For something more indulgent, drizzle with a bit of honey or a simple coconut glaze. A small glass of something cold—sparkling water with lime, iced tea, or even a light dessert wine—pairs perfectly.
These are great for brunch too, honestly. I’ve served them at morning gatherings and people always seem delighted to have cheesecake with their coffee.
Meal Prep and Storage
In the refrigerator: Cover tightly with plastic wrap or store in an airtight container. These keep for up to 5 days. They actually taste better on day 2 or 3 when the flavors have really melded.
In the freezer: Wrap individual slices tightly in plastic wrap, then place in a freezer-safe container. They freeze beautifully for up to 3 months. Thaw in the fridge overnight before serving.
Make-ahead tip: You can prepare the filling up to 24 hours ahead—just cover it and refrigerate. Pour into the crust and bake when you’re ready. You can also bake the crust a day ahead and store it covered on the counter.
Nutritional Breakdown
Per slice (makes 9 slices):
- Calories: 285
- Protein: 5g
- Carbohydrates: 28g
- Fat: 17g
- Fiber: 0g
These numbers can vary slightly depending on your specific ingredients and how thick you cut the slices. If you cut into 12 pieces instead of 9, the calories per slice will be lower.
Final Thoughts
This lime cheesecake slice has become my go-to dessert for literally every occasion. It’s fancy enough for dinner parties, simple enough for Tuesday nights, and forgiving enough that even if something goes slightly wrong, it still tastes incredible. The combination of bright lime and rich cream cheese is just magic, and I love that it comes together without any special equipment or complicated techniques.
I genuinely believe that the best recipes are the ones that work in real life—when you’re tired, when you’re busy, when you just want something delicious without a three-hour production. This is that recipe. Make it this week. Serve it to people you love. Watch their faces light up when they taste that first bright, creamy bite.
And if you make it, I’d love to know how it turns out. Drop by and tell me your favorite topping, or if you tried one of the variations. I read every comment, and your real-life kitchen stories are my favorite part of this whole thing.
—
Recipe Card
Lime Cheesecake Slice
Ingredients
Method
- Preheat oven to 325 degrees Fahrenheit. Line an 8x8 inch baking pan with parchment paper.
- Mix graham cracker crumbs, melted butter, sugar, and salt in a small bowl until it resembles wet sand. Press firmly into the bottom of the prepared pan. Bake for 5 minutes, then remove and cool for 2 minutes.
- In a large bowl, beat softened cream cheese on medium speed for 2 minutes until smooth and creamy. Scrape down the sides.
- Gradually add sugar and beat for another minute. Add sour cream, lime zest, lime juice, vanilla extract, and salt. Mix until combined.
- Add eggs one at a time, mixing on low speed after each addition. Mix just until combined after the second egg.
- Pour filling over crust and smooth the top gently. Bake for 25-30 minutes until the edges are set but the center jiggles slightly when you gently shake the pan.
- Turn off the oven and crack the door open about 2 inches. Let the cheesecake sit in the warm oven for 15 minutes.
- Remove from oven and let cool to room temperature, about 30 minutes.
- Transfer to refrigerator and chill for at least 4 hours, ideally overnight.
- Slice with a sharp knife dipped in hot water. Top with