

Melted Snowman Sugar Cookies

A bite of these Melted Snowman Sugar Cookies gives way to a soft, tender center, then a crisp edge. They’re a fun, easy holiday bake that looks playful on the plate without any special skills. Make them when you want a cookie that’s cheerful, simple, and ready to decorate with the kids or on your own.
Melted Snowman Sugar Cookies Ingredients
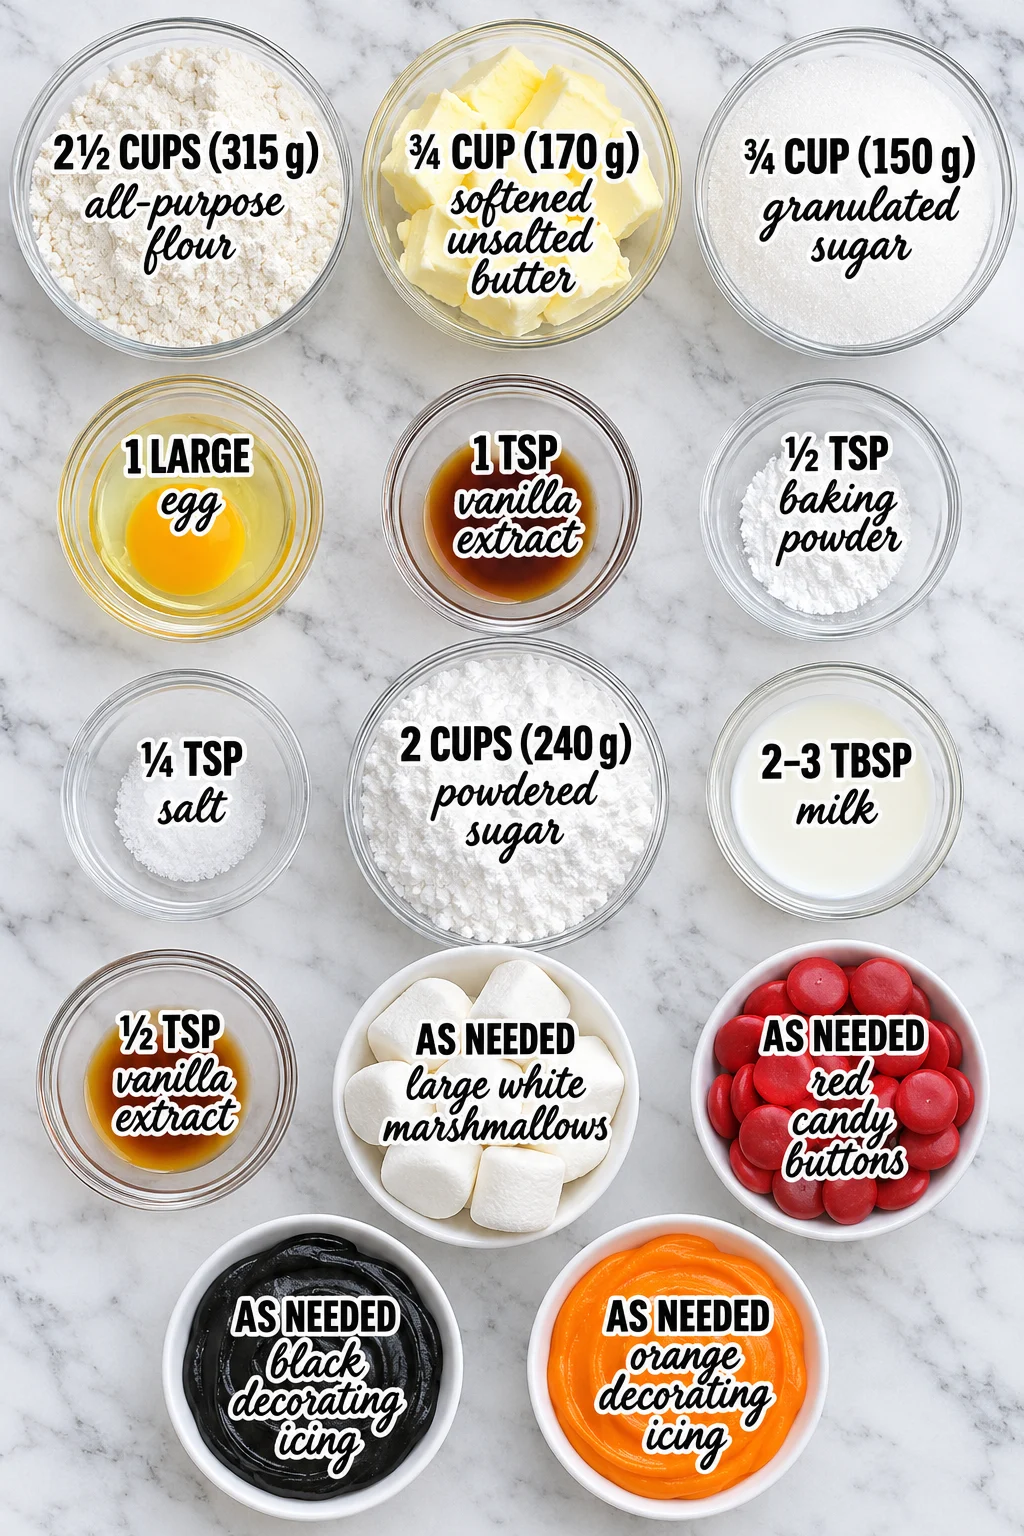
- 3/4 cup (170 g) softened unsalted butter — Softened butter creams with the sugar to make the dough light. It should give slightly when pressed but still hold its shape.
- 3/4 cup (150 g) granulated sugar — Sugar sweetens the dough and helps the butter whip up fluffy at the start.
- 1 large egg — The egg binds the dough and adds richness to the cookie.
- 1 tsp vanilla extract — Vanilla gives the cookie its warm, familiar flavor. I like to use the same vanilla in the glaze as in the dough so the flavors line up.
- 2 cups (240 g) powdered sugar — This is the base of the white glaze that forms the snowman’s body.
- 1/2 tsp vanilla extract — A second splash of vanilla rounds out the glaze.
- 2 1/2 cups (315 g) all-purpose flour — The cookie base is what holds the whole snowman shape together. Press the dough into the pan evenly, leaving no thin spots that could dry out in the oven.
- 1/2 tsp baking powder — This gives the cookies just enough lift so they bake up soft instead of dense.
- 1/4 tsp salt — Salt balances the sweetness and keeps the sugar from tasting flat.
- Black decorating icing, as needed — Use this for the eyes, smile, and arms. A thin tube or piping bag gives the cleanest lines.
- Orange decorating icing, as needed — This makes the carrot nose. Pipe a small triangle so it stands out on the white glaze.
- 2-3 tbsp milk — Add milk slowly to the powdered sugar. You want a thick glaze that still flows slowly off the spoon.
- Large white marshmallows, as needed — Each marshmallow makes the snowman’s head. Choose large, fresh ones so they sit neatly on the glaze.
- Red candy buttons, as needed — These are the snowman’s smile and buttons. Two per cookie works well.
Substitutions And Additions
Butter
I’d use salted butter if that’s what’s in your fridge, but I don’t recommend adding any extra salt to the dough, and I’d taste before seasoning more. The cookies will be a touch saltier and slightly less buttery-tasting in the glaze, which is still a pleasant result.
Milk
A splash of cream or half-and-half works in place of the milk and makes the glaze a little richer and more opaque. Add it the same way, a tablespoon at a time, so the glaze stays thick enough to pool on the cookie.
Marshmallows
Mini marshmallows can stand in for large ones, but you’ll need two or three per snowman to make a proper head. They sit less neatly, so press them gently into the glaze before it sets.
Candy Buttons
Mini chocolate chips or red sprinkles can replace the red candy buttons if you don’t have them. The look shifts a little, but the snowman still reads well on a white glaze.
How To Make This Melted Snowman Sugar Cookies Recipe
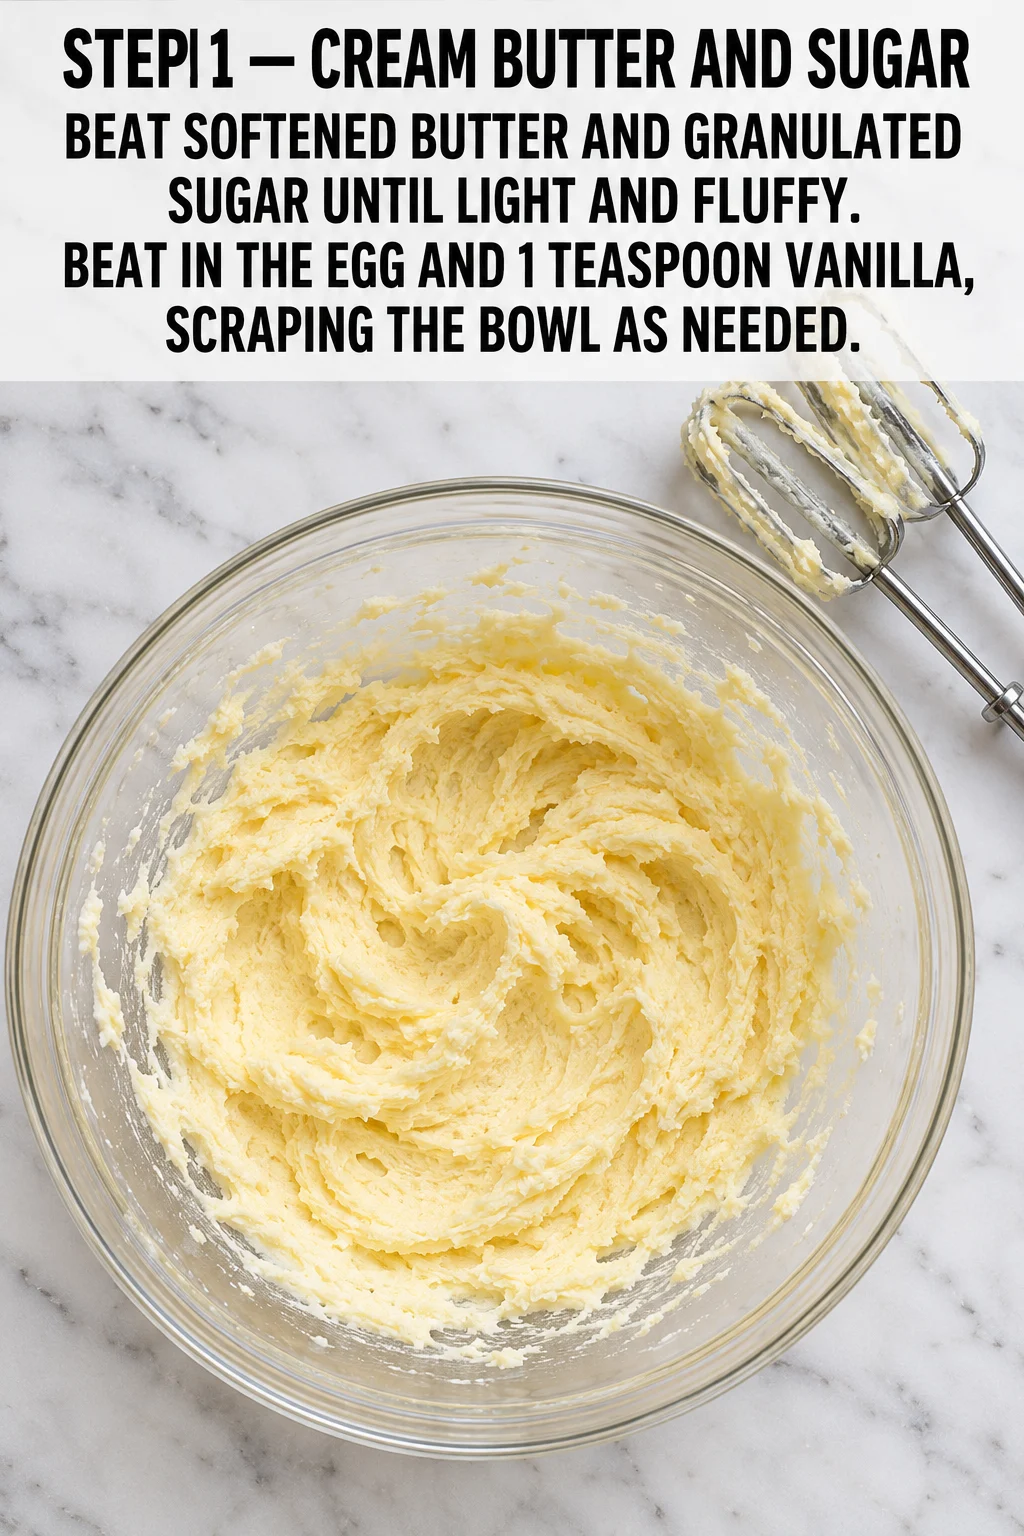
- Cream the butter and sugar. Beat the softened butter and granulated sugar in a large bowl until light and fluffy, about 2 to 3 minutes with a mixer. Beat in the egg and 1 tsp vanilla, scraping down the bowl as needed. Pro Tip: Scrape the sides often so no pockets of butter hide at the bottom.
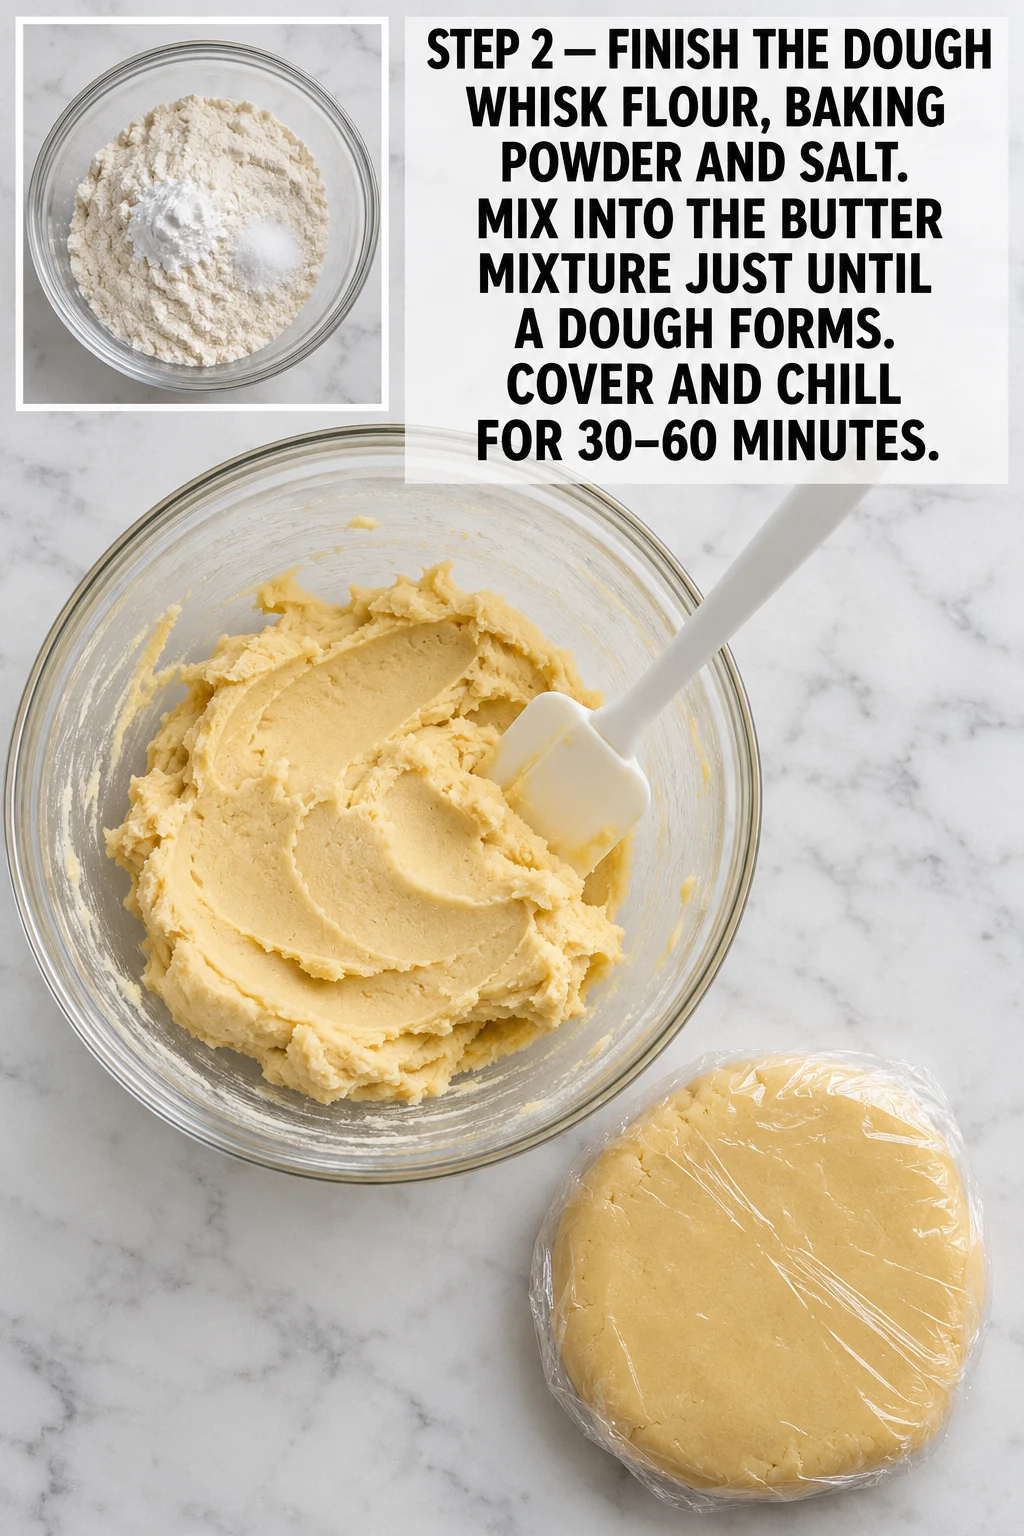
- Finish the dough. Whisk the flour, baking powder, and salt together in a separate bowl. Mix them into the butter mixture just until a dough forms, then cover and chill for 30 to 60 minutes. Pro Tip: Stop mixing as soon as the dough comes together so the cookies stay tender.
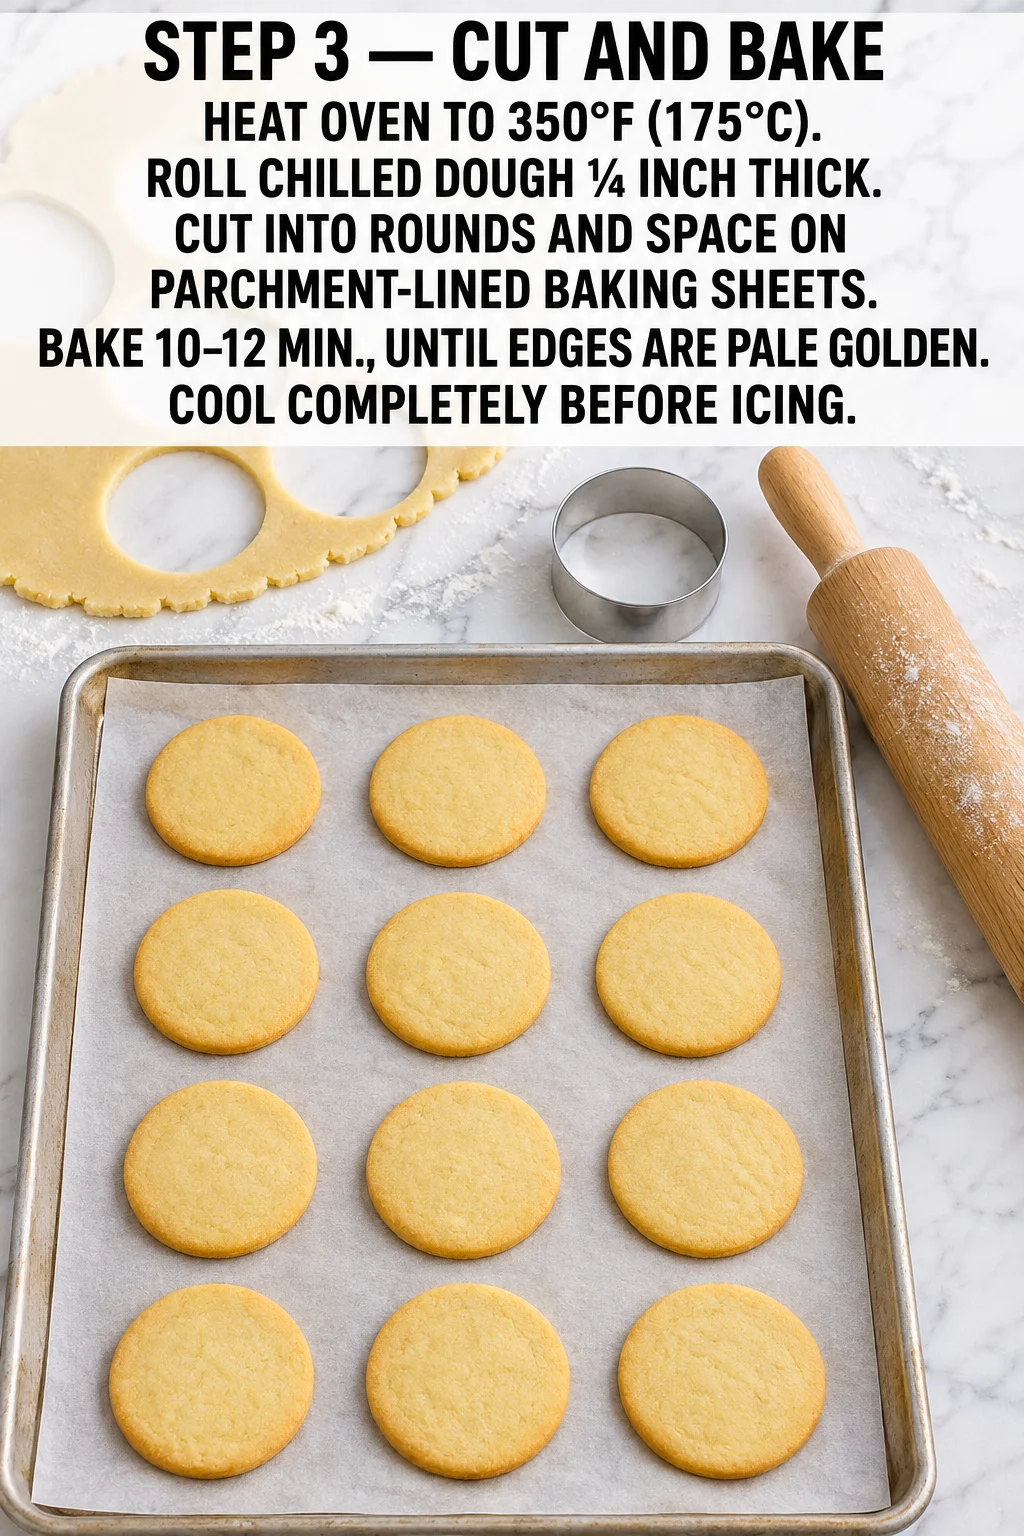
- Cut and bake. Heat the oven to 350°F (175°C) and line baking sheets with parchment. Roll the chilled dough 1/4 inch thick, cut into rounds, and space them on the sheets. Bake 10 to 12 minutes, until the edges are pale golden. Cool completely on the sheets before icing, since warm cookies will melt the glaze.
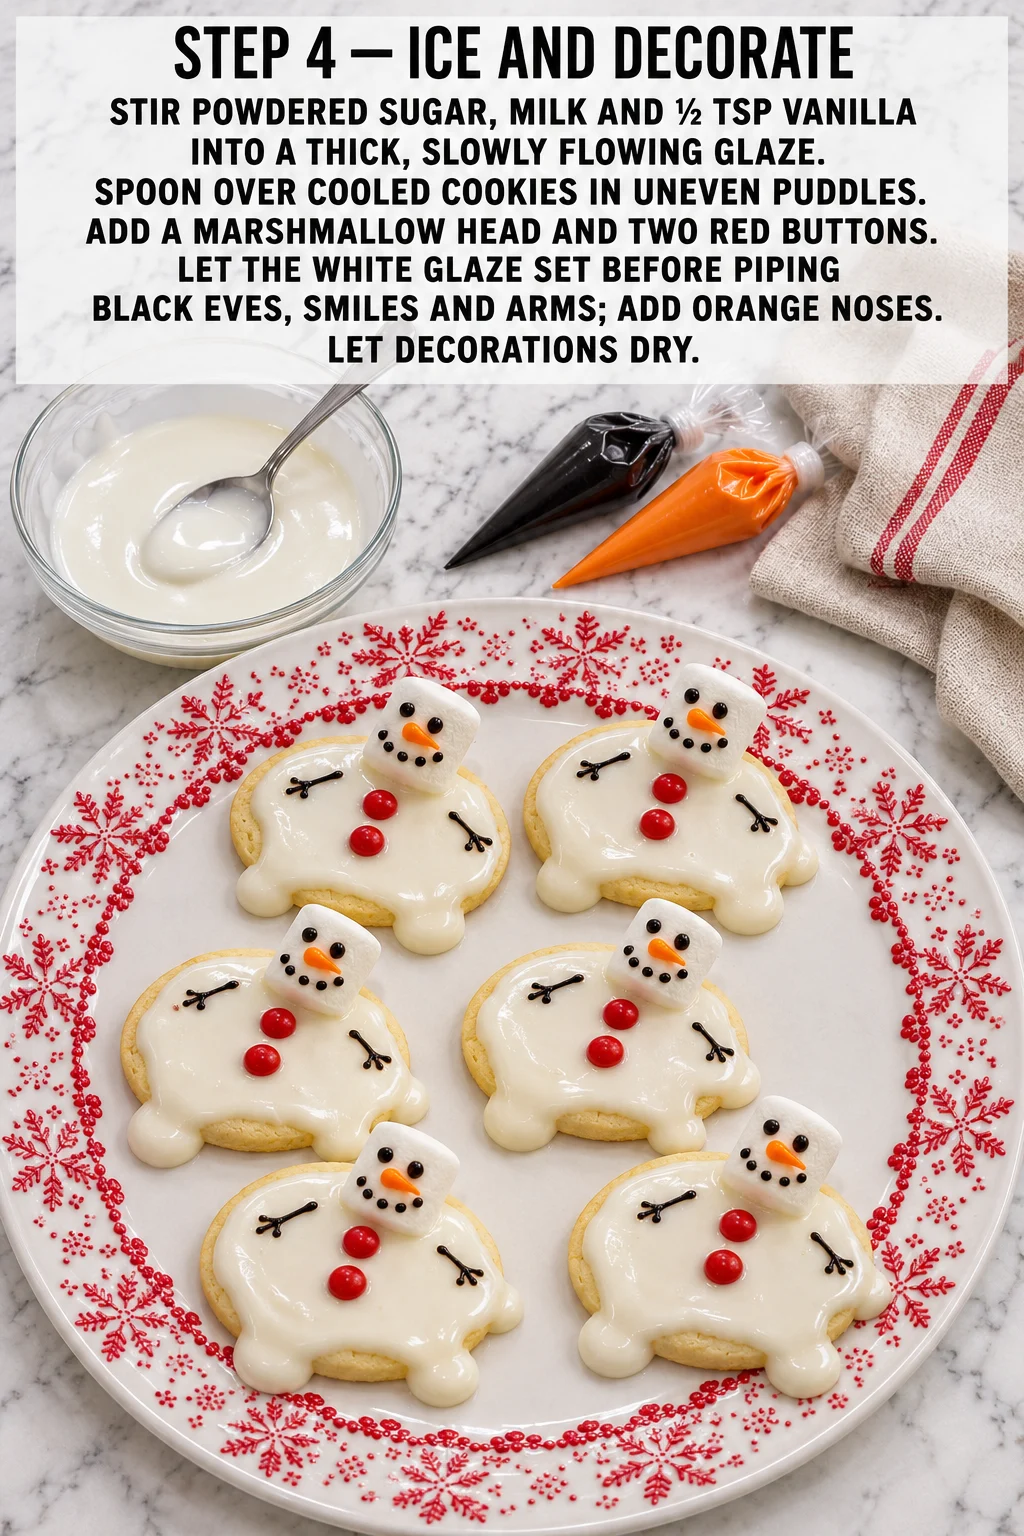
- Ice and decorate. Stir the powdered sugar, milk, and 1/2 tsp vanilla into a thick, slowly flowing glaze. Spoon it over the cooled cookies in uneven puddles so it drips a little at the edges. Add a marshmallow head and two red buttons while the glaze is still wet. Let the white glaze set, then pipe black eyes, a smile, and arms, and add orange noses. Let the decorations dry before stacking or serving.

How To Serve And Store
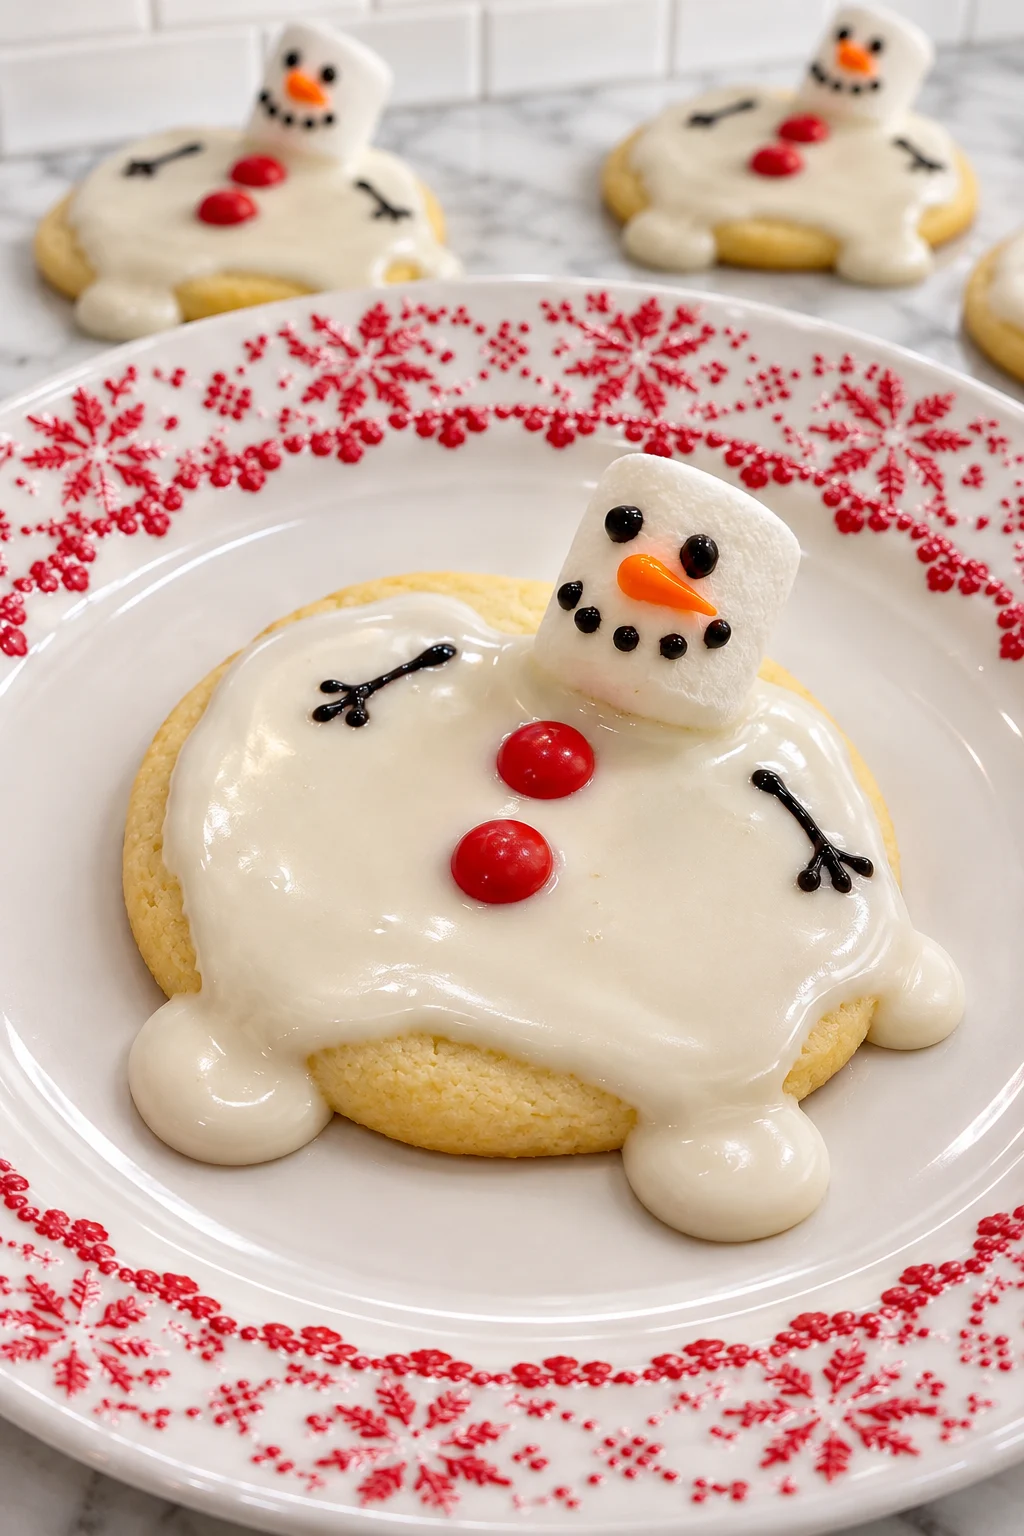
Serve these on a plate with a cup of cocoa or hot milk for a simple winter treat, or pack them in a tin for a holiday gift. They look best the day they’re made, while the glaze is still crisp on top.
In The Fridge
Once the icing has set, keep the decorated cookies in an airtight container at room temperature for up to 3 days. Don’t refrigerate them, since the marshmallows get sticky and the glaze can weep. To freshen one, let it sit at room temperature for 10 to 15 minutes.
In The Freezer
Freeze the plain, unglazed cookies in a sealed container for up to 2 months. Thaw them at room temperature, then glaze and decorate. Don’t freeze the decorated cookies, because the marshmallows and glaze won’t hold their look.
Frequently Asked Questions
Can you make the dough ahead?
Yes, the dough can be made up to 2 days ahead and kept covered in the refrigerator. Let it soften slightly before rolling so it doesn’t crack. Chill it again if it gets too soft to cut cleanly.
Why did my glaze run off the cookies?
The glaze was likely too thin, so add powdered sugar a spoonful at a time until it’s thick and slow-flowing. Make sure the cookies are fully cool, because warm cookies will melt it.
How do I know when the cookies are done?
Pull them from the oven once the edges turn light golden and the middles no longer look soft. They’ll firm up as they cool on the sheet.
More Recipes You’ll Love
- Grinch Christmas Sugar Cookies Recipe
- Santa Claus Sugar Cookies Recipe
- Heart Shaped Chocolate Chip Cookies Recipe
- Cookie Cups Recipe
Follow Hailee Recipes on Pinterest for more holiday cookie ideas that are simple to make at home. Follow Hailee Recipes on Pinterest

Melted Snowman Sugar Cookies
Ingredients
Method
- Cream the butter and sugar: Beat the softened butter and granulated sugar in a large bowl until light and fluffy, about 2 to 3 minutes with a mixer; beat in the egg and 1 tsp vanilla, scraping down the bowl as needed.
- Finish the dough: Whisk the flour, baking powder, and salt together in a separate bowl; mix them into the butter mixture just until a dough forms, then cover and chill for 30 to 60 minutes.
- Cut and bake: Heat the oven to 350°F (175°C) and line baking sheets with parchment; roll the chilled dough 1/4 inch thick, cut into rounds, and space them on the sheets; bake 10 to 12 minutes, until the edges are pale golden, then cool completely on the sheets before icing.
- Ice and decorate: Stir the powdered sugar, milk, and 1/2 tsp vanilla into a thick, slowly flowing glaze; spoon it over the cooled cookies in uneven puddles, add a marshmallow head and two red buttons while the glaze is wet, let the white glaze set, then pipe black eyes, a smile, and arms and add orange noses; let the decorations dry before serving.

1 comment