PUMPKIN DUMP CAKE
PUMPKIN DUMP CAKE
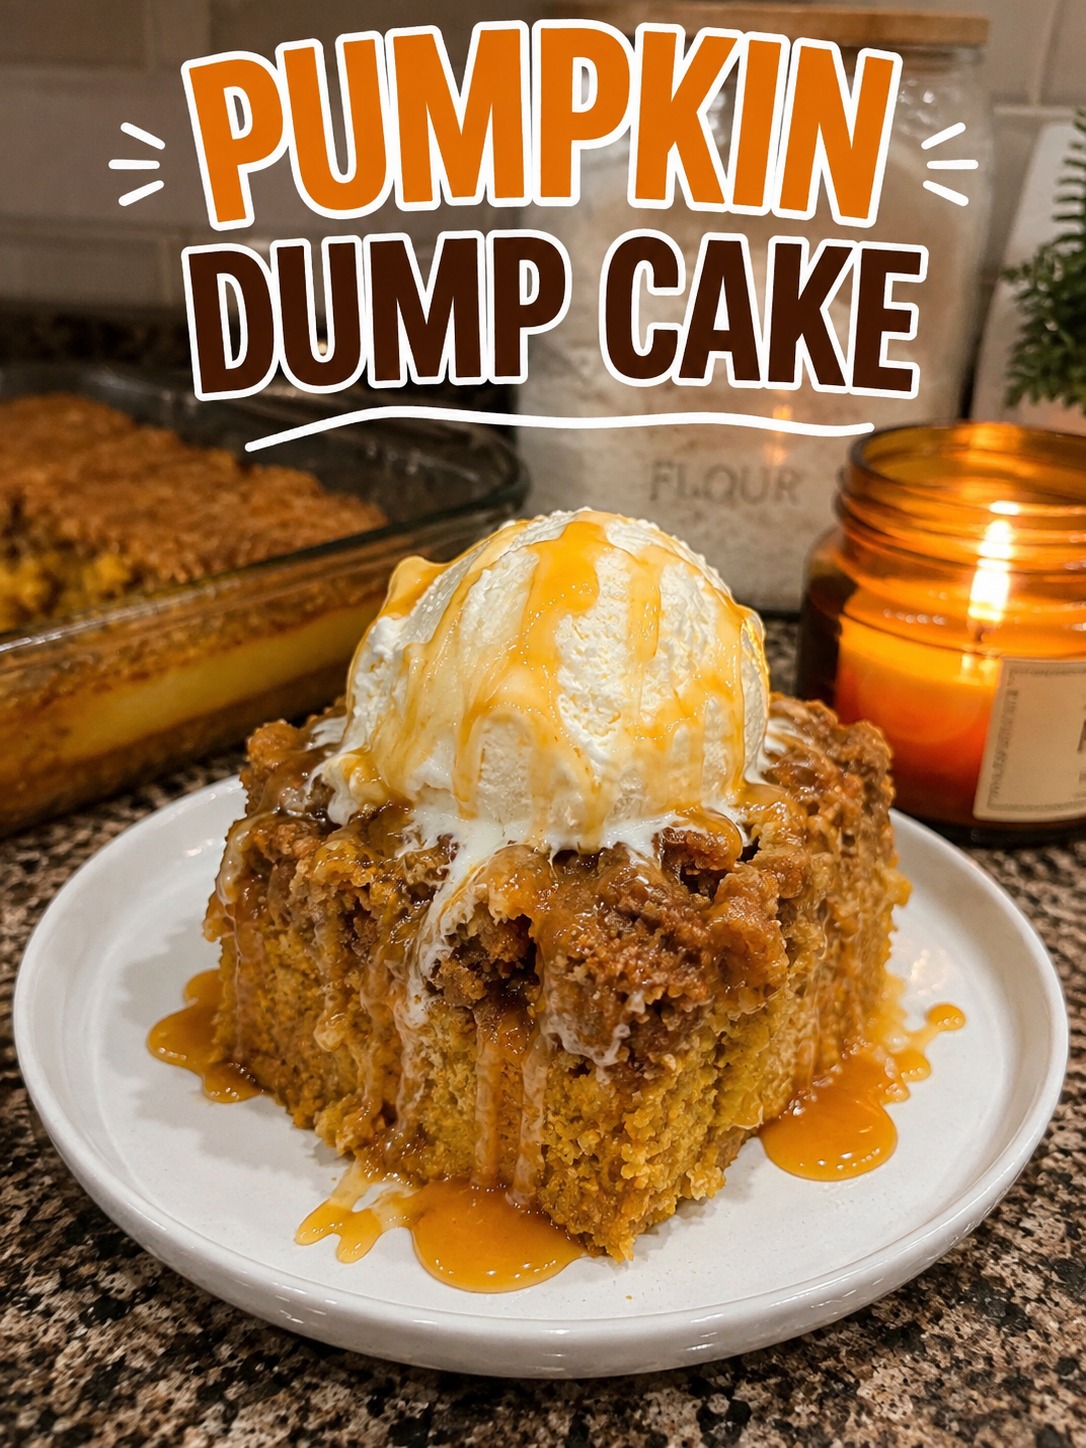
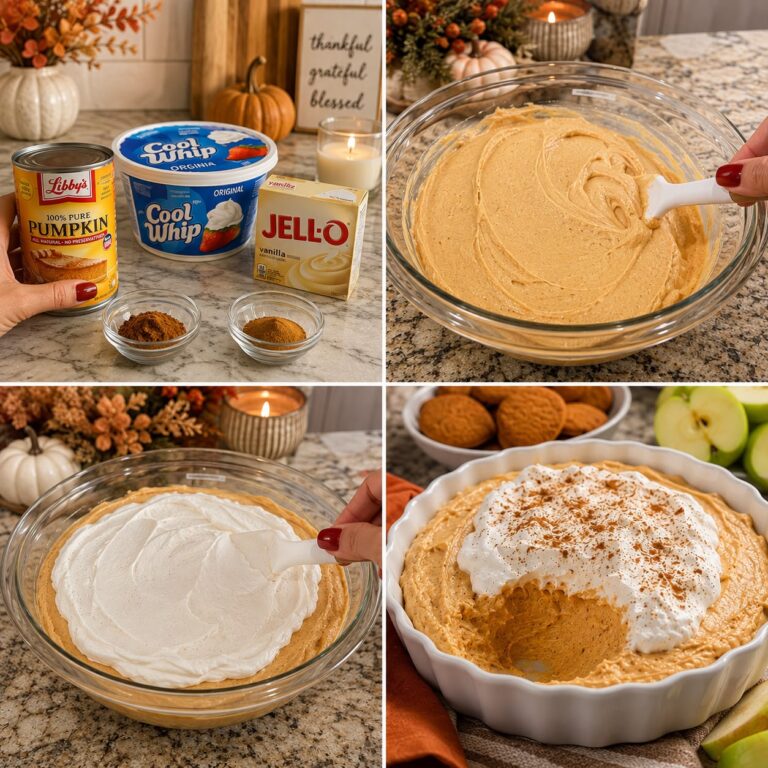
PUMPKIN DUMP CAKE is a beloved dessert that transforms simple pantry staples into a rich, spiced treat with minimal effort. This dish features a moist, custard-like pumpkin filling topped with a golden, crumbly cake layer that creates a delightful contrast in textures. The flavor profile is warm and comforting, dominated by the earthy sweetness of pumpkin puree blended with aromatic spices like cinnamon, nutmeg, and ginger. It is an ideal choice for autumn gatherings, holiday dinners, or any time you need a reliable dessert that tastes homemade but requires very little active work. The result is a slice of cake that holds together well yet melts in your mouth, often served with a scoop of vanilla ice cream or a drizzle of caramel sauce to enhance its natural richness.
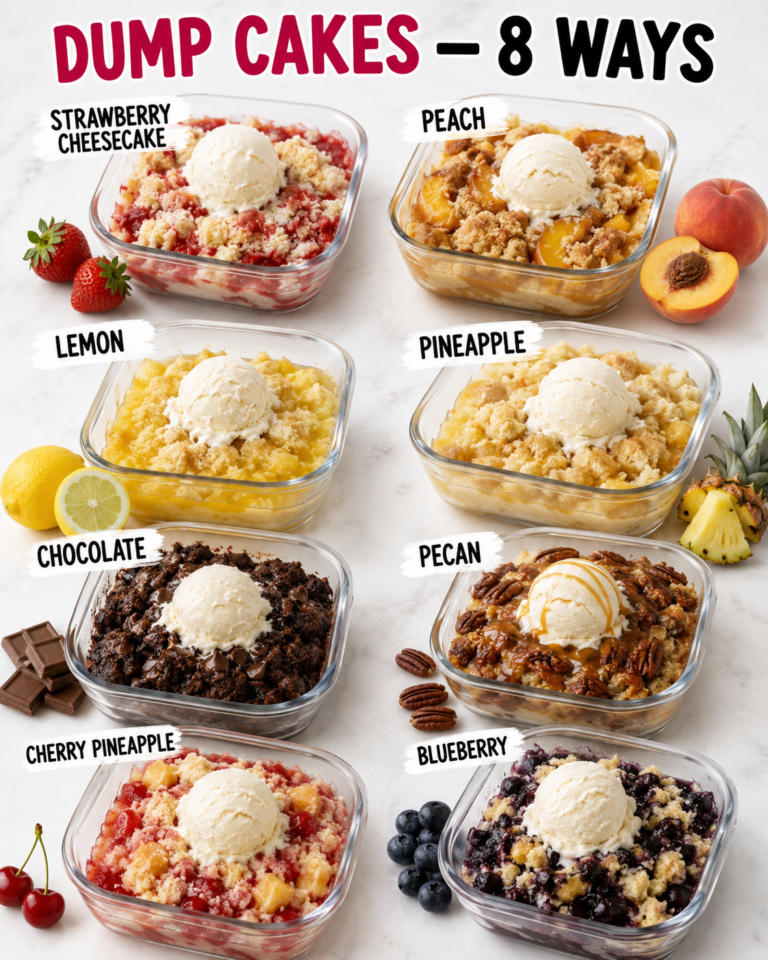
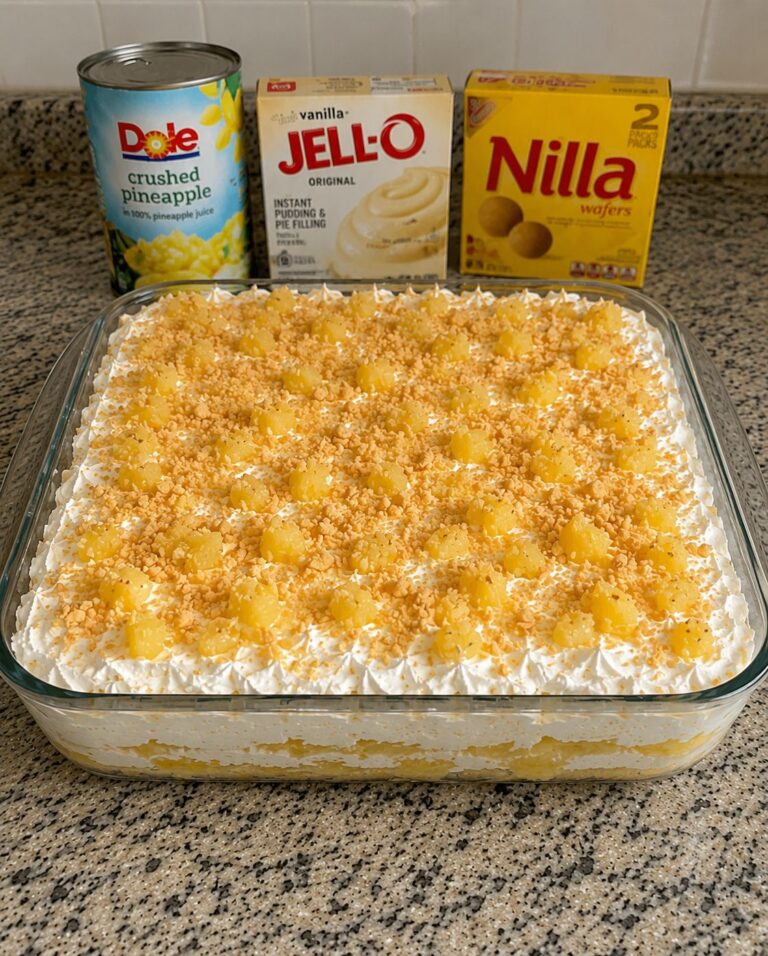
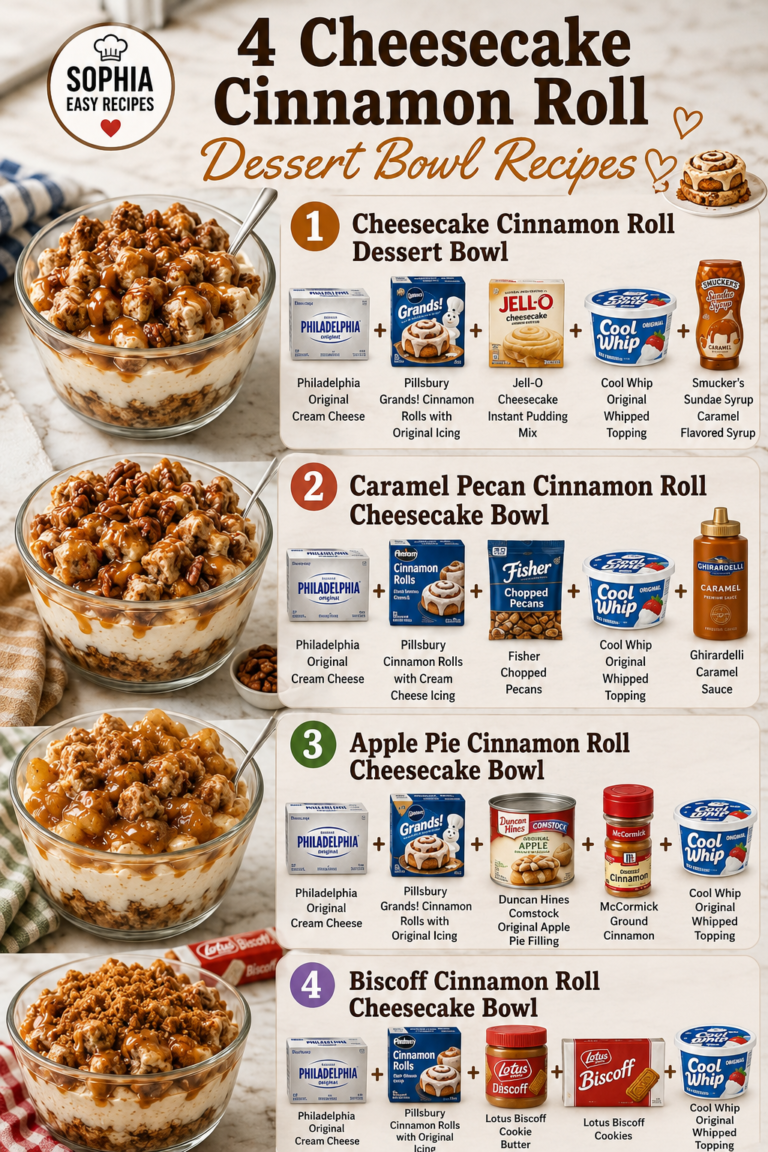
This recipe relies on the “dump” method, where ingredients are layered directly into a baking pan without the need for complex mixing techniques or multiple bowls. It is designed for home cooks who want impressive results without spending hours in the kitchen. The simplicity of the process ensures consistency every time, making it a favorite for beginners and experienced bakers alike. For more seasonal inspiration and visual ideas, Follow Hailee Recipes on Pinterest.
Why This Recipe Works
The success of PUMPKIN DUMP CAKE lies in the chemistry of its layering technique. By placing dry cake mix over the wet pumpkin mixture, the batter does not fully blend during baking. Instead, the liquid from the pumpkin and eggs slowly seeps upward through the dry mix, creating a unique texture. The bottom portion becomes a dense, pudding-like layer that absorbs the spice flavors, while the top forms a crisp, cakey crust. This separation prevents the common issue of a heavy, gummy pumpkin pie filling, resulting in a lighter, more structured dessert.
Using canned pumpkin puree ensures a consistent moisture content and smooth texture, which is crucial for the custard layer to set properly. The addition of eggs acts as a binder, helping the layers adhere to one another so the cake can be sliced cleanly. The fat content in the butter, whether melted or used as chunks, contributes to the richness and helps the topping brown evenly in the oven. This method eliminates the need for creaming butter and sugar or sifting flour, reducing the risk of overmixing, which can lead to a tough final product.
Ingredients
To make this dessert, you will need a short list of high-quality ingredients. Precision matters here, so ensure your measurements are accurate. The following items form the core of the recipe:
- Pumpkin Puree: One 15-ounce can of plain pumpkin puree. Ensure it is 100% pumpkin, not pumpkin pie filling, which contains added sugars and spices that would alter the balance of the recipe.
- Granulated Sugar: One cup of white sugar. This sweetens the pumpkin layer and aids in the caramelization of the topping.
- Eggs: Two large eggs. These provide structure and help bind the pumpkin mixture into a cohesive custard.
- Cake Mix: One box (approximately 15.25 ounces) of yellow cake mix. Do not use chocolate or spice cake mixes unless you intend to significantly change the flavor profile; yellow cake provides the neutral base needed for the pumpkin to shine.
- Melted Butter: One cup (two sticks) of unsalted butter, melted. This is poured over the cake mix to create the crumble topping.
- Spices: One teaspoon of ground cinnamon, half a teaspoon of ground nutmeg, and a pinch of salt. These enhance the warmth of the pumpkin.
How To Make PUMPKIN DUMP CAKE
- Prepare the Pan and Oven: Preheat your oven to 350°F (175°C). Grease a 9×13-inch baking dish generously with non-stick cooking spray or a thin layer of butter. This step is essential to prevent the sticky pumpkin mixture from adhering to the pan during baking.
- Create the Pumpkin Base: In a medium mixing bowl, combine the pumpkin puree, granulated sugar, eggs, cinnamon, nutmeg, and salt. Whisk these ingredients together until the mixture is completely smooth and uniform in color. There should be no lumps of egg or pockets of unmixed sugar remaining.
- Layer the Filling: Pour the pumpkin mixture into the prepared baking dish. Spread it out evenly using a spatula, ensuring it reaches all four corners of the pan. This layer will become the moist bottom section of your cake.
- Add the Dry Mix: Sprinkle the entire box of yellow cake mix evenly over the pumpkin layer. Do not stir or mix the two layers together at this stage. The goal is to keep them distinct so they can interact only during the baking process.
- Apply the Butter Topping: Pour the melted butter evenly over the dry cake mix. Use a spoon or ladle to distribute the butter so that every part of the dry mix is coated. You do not need to push the butter down; simply let it soak into the crumbs. The butter will melt further in the oven, creating the signature crumbly texture.
- Bake Until Golden: Place the dish in the preheated oven and bake for 45 to 55 minutes. Keep an eye on the edges; they should be bubbling vigorously, and the top should be a deep golden brown. If the top begins to brown too quickly before the center is set, loosely tent the pan with aluminum foil.
- Cool Before Serving: Remove the cake from the oven and place it on a wire rack. Allow it to cool for at least 30 minutes before slicing. This resting period allows the custard layer to firm up, making clean cuts possible. Serve warm or at room temperature.
Doneness And Troubleshooting
Determining when the PUMPKIN DUMP CAKE is fully baked requires observing both visual cues and texture. The most reliable indicator is the bubbling around the edges of the pan. If the pumpkin mixture is still liquid and not bubbling, the cake needs more time. Additionally, the top crust should be firm to the touch and deeply golden. A toothpick inserted into the cakey topping (not the soft bottom layer) should come out clean or with a few moist crumbs attached.
If the top browns too rapidly while the center remains undercooked, cover the dish loosely with foil. This traps heat gently and allows the interior to cook without burning the exterior. Conversely, if the cake looks pale after the recommended baking time, extend the baking time in five-minute increments. Be careful not to overbake, as this can cause the pumpkin layer to become dry and rubbery rather than custard-like.
Substitutions And Variations
While the classic version is highly effective, there are ways to adapt this recipe to suit different dietary needs or flavor preferences. For a dairy-free option, substitute the melted butter with a plant-based butter stick or coconut oil. Note that coconut oil may impart a slight tropical flavor, so choose a refined version if you prefer neutrality. If you wish to reduce the sugar content, you can decrease the granulated sugar in the pumpkin layer by up to a quarter cup, though the cake mix itself contains significant sugar, so the overall sweetness will remain moderate.
For a variation in texture, consider adding a layer of chopped pecans or walnuts between the pumpkin mixture and the cake mix. This adds a pleasant crunch that complements the softness of the custard. You can also swap the yellow cake mix for a spice cake mix if you desire a deeper, more robust spice flavor, though you may need to adjust the added cinnamon and nutmeg slightly to avoid overpowering the pumpkin.
Serving Suggestions
This dessert shines when served warm, as the heat enhances the aroma of the spices and the softness of the pumpkin layer. A generous scoop of vanilla bean ice cream is the traditional accompaniment, providing a cold contrast to the warm cake. For those who enjoy a bit of sweetness on top, a drizzle of caramel sauce or a dusting of powdered sugar works beautifully. Fresh whipped cream is another excellent option, adding a light, airy element that balances the density of the cake.
It pairs exceptionally well with a hot beverage such as coffee, tea, or hot cider. The warm spices in the cake complement the roasted notes of dark roast coffee or the cinnamon-infused flavors of chai tea. When serving at a party, cut the cake into small squares to allow guests to sample other desserts as well, as this dish is quite rich and satisfying.
Storage And Reheating
Leftover PUMPKIN DUMP CAKE should be stored in an airtight container in the refrigerator. Because the cake contains eggs and dairy, it must be kept cold to maintain food safety. It will stay fresh for up to three to four days. Before serving leftovers, reheat individual portions in the microwave for 20 to 30 seconds or in a conventional oven at 300°F for about 10 minutes to restore the warm, gooey texture.
Freezing is also an option if you need to preserve the cake for longer periods. Wrap the entire dish tightly in plastic wrap and then in aluminum foil, or transfer individual slices to freezer-safe containers. The cake can be frozen for up to two months. Thaw overnight in the refrigerator before reheating. Avoid freezing the cake with ice cream toppings, as the texture of the ice cream will degrade upon thawing.
This recipe offers a straightforward path to a delicious dessert that feels special without demanding perfection. By following the layering instructions precisely and allowing the cake to rest before cutting, you ensure a result that is both visually appealing and deliciously textured. Enjoy the process of making this comforting treat for your family and friends.
PUMPKIN DUMP CAKE
Ingredients
Method
- Preheat oven to 350°F (175°C) and grease a 9x13-inch baking dish.
- Whisk together pumpkin puree, sugar, eggs, cinnamon, nutmeg, and salt until smooth.
- Pour the pumpkin mixture into the prepared pan and spread evenly.
- Sprinkle the dry cake mix evenly over the pumpkin layer without stirring.
- Pour the melted butter over the cake mix, ensuring full coverage.
- Bake for 45-55 minutes until the top is golden and edges are bubbling.
- Cool for at least 30 minutes before slicing and serving.