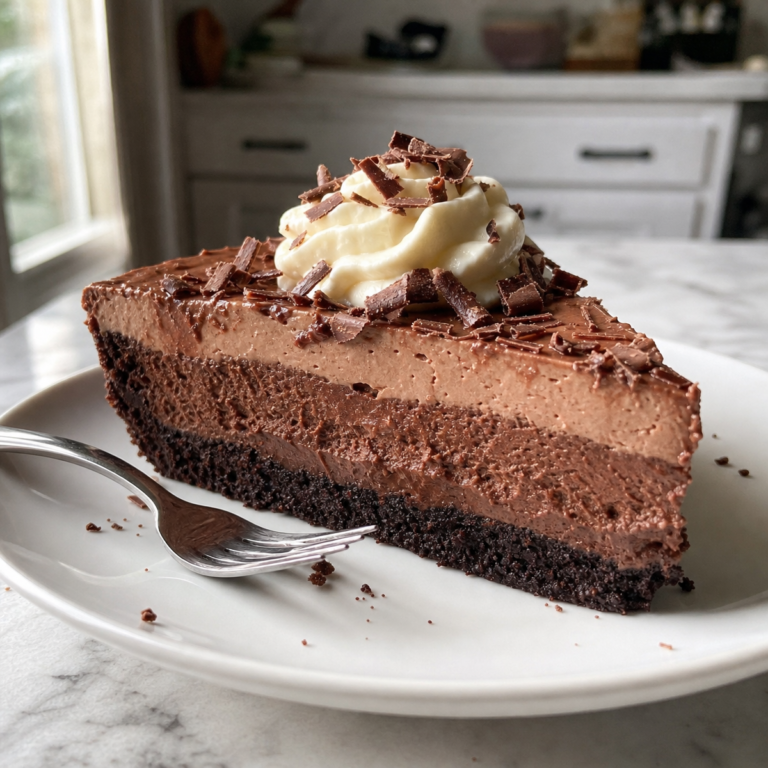
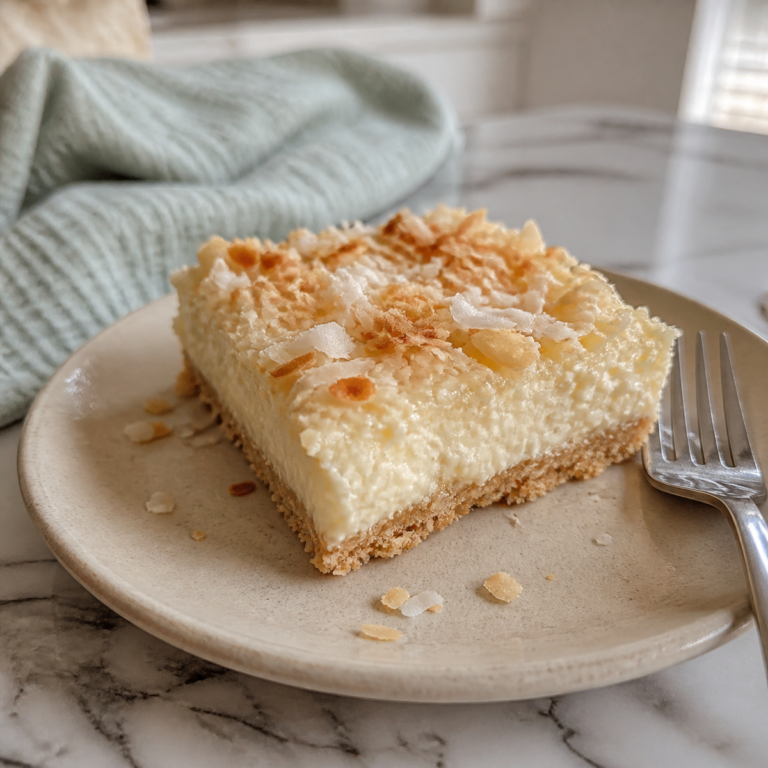
Slice Of Creamy Cookies Cheesecake: No-Bake Dessert Ready in 15 Minutes
Creamy Cookies Cheesecake | No-Bake 15-Minute Dessert
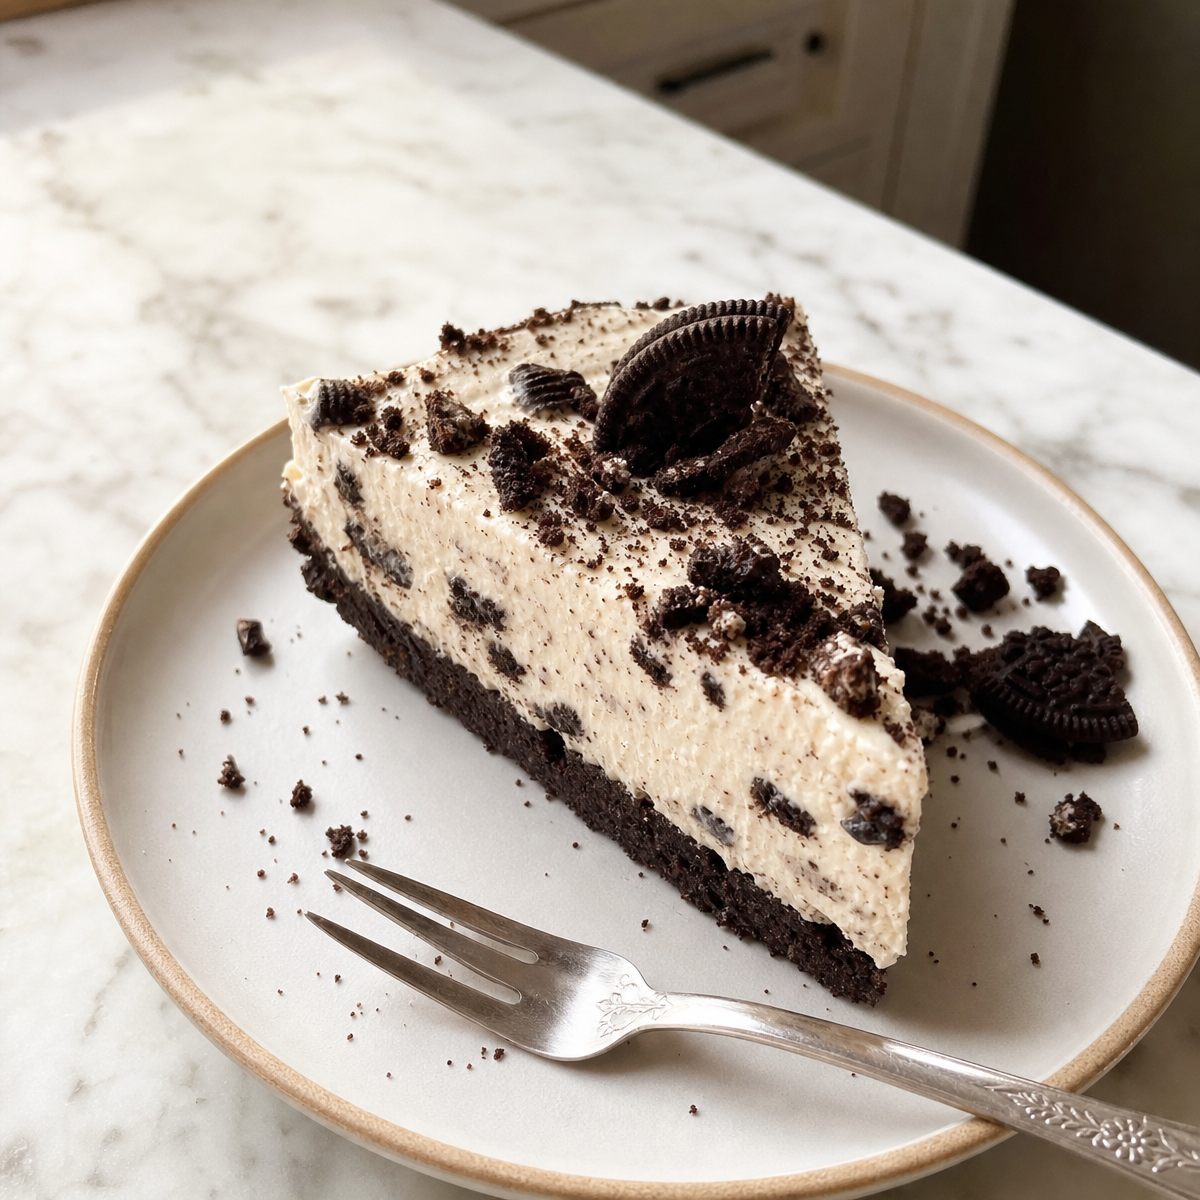
Slice Of Creamy Cookies Cheesecake: No-Bake Dessert Ready in 15 Minutes
I’ll be honest—when I’m craving something sweet on a hot summer afternoon, the last thing I want to do is turn on the oven. That’s where this slice of creamy cookies cheesecake comes in. It’s the perfect no-bake dessert that tastes like you spent hours in the kitchen when really, you’ve got it done in 15 minutes flat. No baking required, no complicated techniques, just a buttery cookie crust and the silkiest cheesecake filling that practically melts on your tongue.
I created this recipe during one of those July heat waves when my kitchen felt like a sauna. I wanted something that felt indulgent and special but wouldn’t heat up my whole house. The result? A dessert that’s become my go-to for summer entertaining, potlucks, and those moments when I need to impress someone without actually trying that hard. The beauty of this no-bake cheesecake is that it comes together so quickly—you’re literally just mixing, pressing, and chilling. There’s no waiting for an oven to preheat, no worrying about cracks forming, no temperature guessing games.
What I love most about this creamy cookies cheesecake is how forgiving it is. The cookie crust gives you that satisfying crunch, while the filling is so smooth and creamy that every bite feels like a little celebration. Whether you’re serving it at a Fourth of July barbecue, bringing it to a summer dinner party, or just treating yourself on a Tuesday night, this recipe delivers. And because it’s no-bake, you can make it in advance—which honestly makes it even better because the flavors have time to get cozy with each other.
Why You’ll Love This Recipe
This slice of creamy cookies cheesecake checks every box for a perfect summer dessert. It’s fast—we’re talking 15 minutes of actual hands-on time. It’s impressive-looking, which means people will think you’re way more skilled in the kitchen than you actually are. The texture is absolutely divine: that buttery, slightly salty cookie crust paired with a filling so creamy it’s almost cloud-like.
There’s also something deeply satisfying about a no-bake dessert. No oven anxiety, no temperature worries, no burnt edges or sunken centers. Just mix, press, chill, and serve. It’s the kind of recipe that works whether you’re a confident baker or someone who’s intimidated by the kitchen. Plus, it’s perfect for meal prep—you can make it days ahead and it actually tastes better as it sits.
The cookies-and-cream flavor combination is timeless for a reason. It works every single time, and everyone loves it. I’ve never had someone turn down a slice of this cheesecake, and I’ve served it to some pretty picky eaters.
Ingredients
- 2 cups crushed Oreo cookies (about 20 cookies), filling included
- 4 tablespoons unsalted butter, melted
- 16 ounces cream cheese, softened to room temperature
- 1/2 cup heavy cream, cold
- 1/3 cup powdered sugar
- 1 teaspoon vanilla extract
- 1/4 teaspoon salt
- 1/2 cup crushed Oreo cookies (for topping), optional
- Whipped cream for serving, optional
Sophia’s Tip: The most important step here is softening your cream cheese. Take it out of the fridge 30 minutes before you start. Cold cream cheese will be lumpy and hard to mix, and you’ll end up with a grainy filling instead of that silky-smooth texture we’re after. I learned this the hard way, and it made all the difference.
Optional Add-Ins and Variations
While this recipe is perfect as-is, I love playing around with it depending on my mood. You can add a tablespoon of instant espresso powder to the filling for a cookies-and-cream-meets-coffee vibe. Or try a teaspoon of almond extract instead of vanilla for something a little more sophisticated.
If you want to get fancy, drizzle a little chocolate sauce over each slice before serving. I’ve also made this with crushed Thin Mints instead of regular Oreos, and it was absolutely incredible—perfect for Girl Scout cookie season. You could even do a layer of chocolate ganache between the crust and filling if you’re feeling ambitious.
For a lighter version, you can substitute Greek yogurt for half the cream cheese, though the texture will be slightly less rich. I’d also recommend using a bit less powdered sugar if you go this route, since Greek yogurt adds some tanginess.
Step-by-Step Instructions
- Make the crust: Crush your Oreos into fine crumbs—some pieces can be slightly chunky, but you want mostly powder. Mix the crushed cookies with melted butter until the mixture resembles wet sand. Press firmly into the bottom of a 9-inch springform pan or an 8×8-inch square baking dish. I use the bottom of a measuring cup to get it really compact and even. Refrigerate while you make the filling.
- Prepare the cream cheese: Add softened cream cheese to a large mixing bowl. Beat it on medium speed for about 2 minutes until it’s smooth and creamy. Scrape down the sides of the bowl—this is important because lumps of cream cheese hiding on the sides will ruin your texture.
- Whip the heavy cream: In a separate bowl, whip the cold heavy cream on medium-high speed until soft peaks form. This takes about 2-3 minutes. You want it fluffy but not stiff—think clouds, not butter.
- Combine the filling: Add powdered sugar, vanilla extract, and salt to the cream cheese. Beat on medium speed for another minute until everything is well combined and smooth. Gently fold in the whipped cream using a rubber spatula. Don’t overmix—fold gently until just combined. Sophia’s Kitchen Note: This is where I see people make mistakes. They get aggressive with the mixing and deflate all that beautiful whipped cream. Take your time and fold gently. A few small streaks of whipped cream are totally fine.
- Assemble the cheesecake: Spoon the filling onto your prepared crust and smooth the top with a spatula. If you’re adding crushed cookies on top, sprinkle them now and press gently so they stick.
- Chill: Cover with plastic wrap and refrigerate for at least 4 hours, though overnight is ideal. The longer it chills, the better the texture becomes.
- Serve: Run a thin knife around the edges before slicing. If you’re using a springform pan, release the sides carefully. For clean slices, dip your knife in hot water and wipe it between cuts.
Common Mistakes to Avoid
The biggest mistake I see people make is not letting the cream cheese soften enough. I can’t stress this enough—cold cream cheese will give you a grainy, lumpy filling. Set it out for at least 30 minutes before you start.
Another common issue is over-mixing the filling. Once you add the whipped cream, you want to fold gently. Over-mixing deflates all that air you worked to whip in, and you’ll end up with a denser, less creamy texture.
Don’t skip the chilling time. I know it’s tempting to dig in right away, but this cheesecake needs time to set. If you try to slice it before it’s fully chilled, it’ll be a soupy mess. Trust me on this one.
Also, make sure your crust is packed down firmly. A loose crust will crumble when you try to slice, and it won’t provide that satisfying structural support that makes each bite perfect.
My Tested Substitutions
I’ve made this recipe with different cookies, and here’s what I’ve learned. Thin Mints are absolutely divine—they add a subtle mint flavor that’s sophisticated and delicious. Nutter Butters create a cookies-and-cream-meets-peanut-butter situation that’s honestly addictive. Vanilla wafers make a lighter, more delicate version that’s perfect if you’re not a huge chocolate fan.
For the butter, I always use unsalted so I can control the salt level, but salted butter works fine—just reduce the salt in the filling to 1/8 teaspoon. I haven’t had success with butter substitutes like coconut oil or vegan butter; they change the texture of the crust in ways I don’t love.
If you don’t have heavy cream, you can use Greek yogurt mixed with a little milk, though the texture won’t be quite as fluffy. Mascarpone also works beautifully and adds a slightly richer flavor.
How to Customize This Recipe
The wonderful thing about this no-bake cheesecake is how adaptable it is. Want to make individual servings? Press the crust into the bottom of mason jars or small glasses, then layer the filling on top. They’re perfect for meal prep and look adorable.
You can also make this in a regular pie crust if you want something different. Or try a graham cracker crust for a more traditional cheesecake vibe. The filling stays exactly the same—it’s just the base that changes.
For a chocolate version, add 2 tablespoons of cocoa powder to the filling and reduce the powdered sugar slightly. Or make it a swirl by adding chocolate ganache in ribbons before chilling.
If you’re making this for a specific occasion, you can tint the filling with food coloring for a fun twist. I made a patriotic red-and-blue version for Fourth of July that was a total hit.
Serving Suggestions
A slice of creamy cookies cheesecake is perfect on its own, but there are so many ways to serve it. A dollop of whipped cream on top is always welcome. Fresh berries—raspberries, strawberries, or blueberries—add brightness and a little tartness that balances the richness.
Chocolate sauce drizzled over the top is never a bad idea. I also love serving it with a small scoop of vanilla ice cream on the side—the contrast between the cold ice cream and the creamy cheesecake is magical.
For a more elegant presentation, dust the plate with a little cocoa powder or crushed cookies before placing the slice down. It looks fancy but takes about two seconds.
This dessert is perfect for summer entertaining because you can make it ahead and just pull it out of the fridge when you’re ready to serve. No last-minute stress, no reheating required.
Meal Prep and Storage
This is where this recipe really shines. You can make it up to 3 days ahead, which means less stress on the day you’re serving it. Just cover it with plastic wrap and keep it in the fridge. The flavors actually improve as it sits—the cookie flavor becomes more pronounced, and the filling gets even creamier.
You can also freeze individual slices for up to 2 weeks. Wrap each slice tightly in plastic wrap and then foil, and label it with the date. Thaw in the fridge for a few hours before serving. The texture stays pretty much the same after freezing, which is honestly impressive for a no-bake dessert.
If you’ve made the whole cheesecake and want to store it, keep it in the springform pan covered with plastic wrap. It takes up less space that way, and you can slice directly from the pan.
Leftover slices keep well in an airtight container for about 4 days. I’ve never had leftovers last longer than that because they disappear pretty quickly.
Nutrition Information
Per serving (based on 8 servings):
- Calories: 385 kcal
- Protein: 6g
- Carbohydrates: 38g
- Fat: 22g
- Saturated Fat: 13g
- Cholesterol: 65mg
- Sodium: 285mg
- Fiber: 0g
- Sugar: 28g
This is a rich dessert, so a little goes a long way. One slice is usually satisfying, especially with coffee or tea.
Frequently Asked Questions
Can I make this slice of creamy cookies cheesecake ahead of time? Absolutely! This no-bake cheesecake actually tastes better when made a day ahead. The flavors meld together beautifully, and the texture becomes even creamier. Just cover it with plastic wrap and refrigerate for up to 3 days. You can also freeze individual slices for up to 2 weeks.
What type of cookies work best for this recipe? Oreos are the classic choice and deliver that iconic cookies-and-cream flavor, but I’ve had great success with Thin Mints, Nutter Butters, and even vanilla wafers. The key is choosing cookies with enough flavor to shine through the creamy filling. Avoid overly soft cookies that’ll turn to mush.
Do I really need to refrigerate this no-bake cheesecake? Yes, refrigeration is essential. The cheesecake needs at least 4 hours (ideally overnight) to set properly and develop its signature creamy texture. Without chilling, it’ll be too soft to slice cleanly. I usually make mine in the morning and serve it after dinner.
Can I use whipped cream instead of heavy cream? You can, but I don’t recommend it as a direct substitute. Whipped cream is already aerated, which changes the texture and density of the filling. If you want to use it, fold in whipped cream gently at the very end instead of whipping heavy cream yourself. The result will be lighter but less stable.
Is this recipe gluten-free? The cheesecake filling is naturally gluten-free, but the cookie crust isn’t unless you use gluten-free cookies. Swap regular Oreos for gluten-free versions, or use a gluten-free graham cracker crust instead. The rest of the recipe remains the same.
[INTERNAL LINK: If you love no-bake desserts, check out our S’more Cookie Skillet for another crowd-pleasing treat.]
Final Thoughts
This slice of creamy cookies cheesecake has become my summer dessert staple. It’s the recipe I turn to when I want something that looks and tastes impressive but doesn’t require me to spend hours in a hot kitchen. It’s perfect for Fourth of July gatherings, summer dinner parties, or just a Tuesday night when you’re craving something sweet.
The best part? Everyone thinks you’re a dessert genius when you serve this. They don’t need to know it took you 15 minutes and basically zero baking skills. That can be our little secret.
Make this recipe, chill it, and get ready for compliments. I promise you won’t regret it.
Recipe Card
Slice Of Creamy Cookies Cheesecake: No-Bake Dessert Ready in 15 Minutes
Ingredients
Equipment
Method
- Crush Oreos into fine crumbs (some chunky pieces are okay). Mix with melted butter until it resembles wet sand.
- Press the mixture firmly into the bottom of a 9-inch springform pan or 8x8-inch baking dish using the bottom of a measuring cup. Refrigerate while making the filling.
- Add softened cream cheese to a large mixing bowl. Beat on medium speed for 2 minutes until smooth and creamy. Scrape down the sides.
- In a separate bowl, whip cold heavy cream on medium-high speed for 2-3 minutes until soft peaks form.
- Add powdered sugar, vanilla extract, and salt to the cream cheese. Beat on medium speed for 1 minute until combined.
- Gently fold the whipped cream into the cream cheese mixture using a rubber spatula. Fold until just combined—do not overmix.
- Spoon the filling onto the prepared crust and smooth the top. Sprinkle with crushed cookies if desired.
- Cover with plastic wrap and refrigerate for at least 4 hours, preferably overnight.
- Run a thin knife around the edges before slicing. Dip knife in hot water and wipe between cuts for clean slices.
- Serve with whipped cream or fresh berries if desired.
Notes
Freezer friendly: Individual slices can be frozen for up to 2 weeks. Wrap tightly in plastic wrap and foil. Thaw in the fridge before serving.
Cream cheese tip: Softening cream cheese at room temperature for 30 minutes is essential for a smooth, lump-free filling.
Cookie options: Try Thin Mints, Nutter Butters, or vanilla wafers for different flavor variations.
Serving suggestion: Top with whipped cream, fresh berries, or chocolate sauce for extra indulgence.