Strawberry Cheesecake Dump Cake
Strawberry Cheesecake Dump Cake
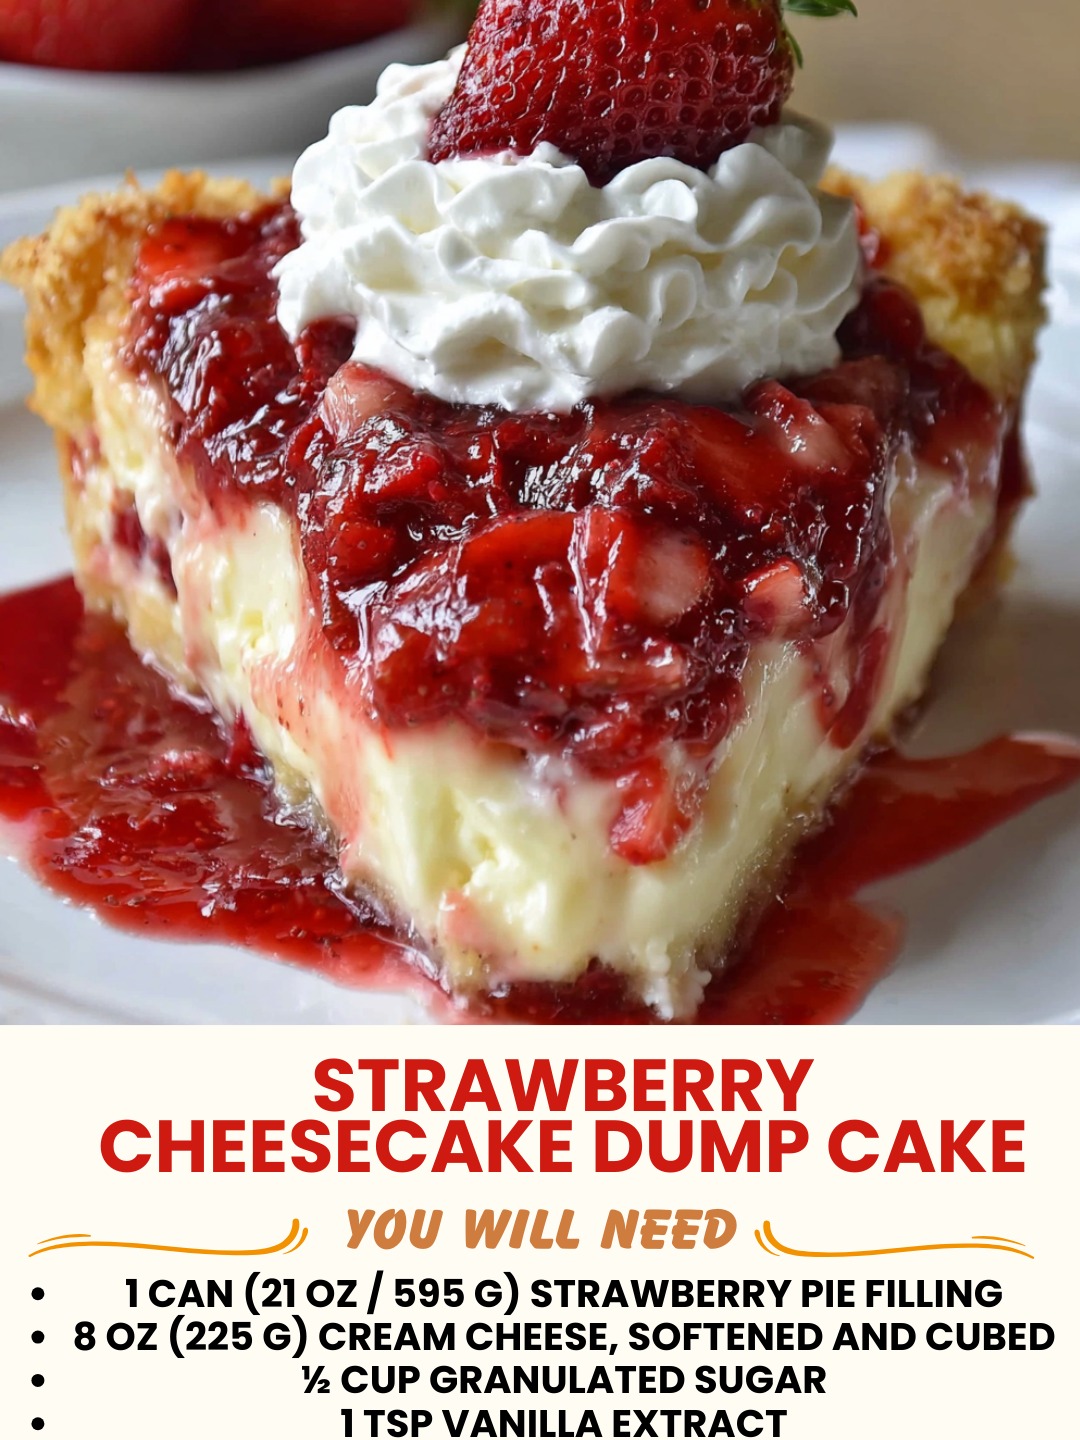
Strawberry Cheesecake Dump Cake: The Dessert That Feels Like a Hug
I created this Strawberry Cheesecake Dump Cake on a Tuesday night when I was craving something sweet but absolutely did not want to fuss with a springform pan, water bath, or any of that cheesecake drama. My partner was coming home late, I had a bag of frozen strawberries taking up space in my freezer, and I had exactly forty-five minutes before I needed to be in bed. So I did what I always do when I’m in a pinch: I opened my pantry, grabbed what I had, and started dumping things into a baking dish.
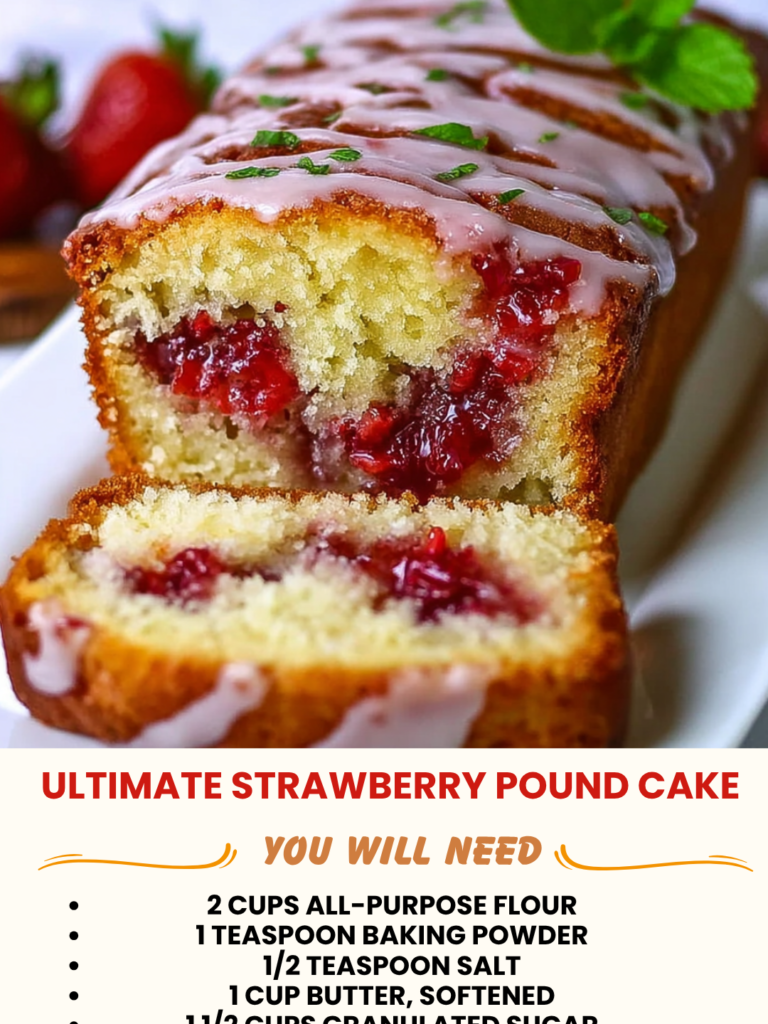
What came out of the oven was pure magic. It had all the flavors of a proper strawberry cheesecake—that tangy cream cheese, the bright fruit, the subtle sweetness—but with a texture that was somehow even better. Soft. Comforting. Like cake and pudding and pie all had a beautiful baby together. My partner took one bite and said, “This is dangerous. You can’t tell people how to make this.” But of course I’m telling you, because that’s what I do.
Here’s the thing about dump cakes: they work because they’re forgiving. You’re not trying to achieve perfection. You’re creating something warm and delicious that tastes like you spent way more time on it than you actually did. This strawberry cheesecake version is proof that sometimes the best desserts come from happy accidents and a willingness to break the rules a little bit. If you’re looking for a dessert that’s easy enough for a weeknight but impressive enough to serve at a dinner party, this is it. Follow me on HaileeRecipes on Pinterest for more recipes that feel this good to make.
Why You’ll Love This Recipe
Let me be honest with you: I love this recipe because it requires minimal skill and maximum reward. You don’t need to be a baker. You don’t need fancy equipment. You don’t even need to know how to make a proper cheesecake crust. What you need is a baking dish, a mixing bowl, and about ten minutes of actual hands-on time.
The flavor combination is what really gets me, though. You get that creamy, tangy cheesecake flavor without the density. The strawberries stay bright and fresh-tasting, and the cake part that forms on top is tender and slightly cakey. It’s like someone took everything good about strawberry cheesecake and removed everything that makes it intimidating.
This is also the kind of dessert that works for literally any occasion. Casual weeknight? Yes. Potluck? Absolutely. Impressing your in-laws? I’ve done it. It’s humble enough not to be pretentious, but it’s delicious enough that people will ask for the recipe. Plus, it’s naturally pretty to look at—all those ruby-red strawberries peeking through the golden cake layer.
Ingredients
- 8 ounces cream cheese, softened to room temperature
- 1/2 cup granulated sugar
- 1/2 cup sour cream
- 1 teaspoon vanilla extract
- 3 large eggs
- 1 1/2 cups all-purpose flour
- 1 1/2 teaspoons baking powder
- 1/4 teaspoon salt
- 1/2 cup whole milk
- 4 cups fresh strawberries, hulled and halved (or 4 cups frozen strawberries, thawed)
- 1/4 cup fresh lemon juice
- 3 tablespoons granulated sugar (for the strawberry mixture)
- 1 tablespoon cornstarch
Hailee’s Tip: Softening your cream cheese is genuinely important here. If it’s cold, you’ll end up with lumps in your batter, and lumpy batter means an uneven texture in your finished cake. I usually leave mine on the counter for about thirty minutes. If you’re in a hurry, cut it into chunks—it softens way faster that way.
Hailee’s Tip: I use frozen strawberries about sixty percent of the time, and honestly, they work just as well as fresh. Since you’re thawing them anyway, they release their juices, which actually adds more flavor to the cake. Don’t feel bad about using what you have.
Hailee’s Tip: The sour cream is not optional. I know it might seem like an extra ingredient, but it’s what gives this dump cake that signature tangy cheesecake flavor. It also keeps the cake moist and tender. Trust me on this one.
Optional Add-Ins and Variations
One of my favorite things about dump cakes is how customizable they are. Here are some of my go-to additions:
- Graham cracker crumble: Mix crushed graham crackers with melted butter and brown sugar, then sprinkle it over the top before baking. It adds a nice textural contrast.
- Almond extract: Add just 1/4 teaspoon to the cream cheese mixture for a subtle almond flavor that pairs beautifully with strawberries.
- Whipped cream cheese: If you want an even lighter texture, whip your cream cheese with an electric mixer for a minute or two before adding the other ingredients.
- White chocolate chips: Scatter about 1/2 cup over the strawberries before pouring the batter on top. They melt slightly and add a touch of sweetness.
- Mint: Fresh mint leaves mixed into the strawberry layer add a bright, summery note.
Step-by-Step Method
Step 1: Prep your pan and oven. Preheat your oven to 350 degrees Fahrenheit. Butter a 9×13-inch baking dish generously. This is not the time to be shy with the butter. Trust me, you want it well-buttered.
Step 2: Make your strawberry layer. In a medium bowl, toss your halved strawberries with the lemon juice, 3 tablespoons of sugar, and the cornstarch. Let this sit for a few minutes—the strawberries will start releasing their juices, and that’s exactly what you want. Pour the whole mixture into your buttered baking dish and spread it out evenly.
What I Messed Up: The first time I made this, I skipped the cornstarch, thinking the strawberry juice would just absorb into the cake. It didn’t. I ended up with a puddle at the bottom. The cornstarch thickens the juices just enough that you still get that lovely strawberry flavor throughout the cake, but it’s not swimming in liquid.
Step 3: Cream your cream cheese and sugar. In a large bowl, beat the softened cream cheese and 1/2 cup sugar together with an electric mixer until it’s smooth and fluffy, about two to three minutes. Scrape down the sides of the bowl a few times to make sure everything is incorporated.
Step 4: Add your wet ingredients. Add the sour cream and vanilla extract to the cream cheese mixture and beat until combined. Then add your eggs one at a time, beating well after each addition. The mixture should be smooth and creamy.
Step 5: Combine your dry ingredients. In a separate bowl, whisk together the flour, baking powder, and salt. This prevents lumps and distributes the leavening agent evenly.
Step 6: Build your batter. Add half of the flour mixture to your cream cheese mixture and stir gently until just combined. Pour in the milk and stir. Add the remaining flour mixture and stir until you have a smooth batter. Don’t overmix—you just want everything incorporated.
What I Messed Up: I used to beat this batter like I was making a regular cake, thinking more mixing meant better texture. It doesn’t. Overmixing develops too much gluten, and you end up with a tough, dense cake instead of a tender one. Stir until you don’t see any flour streaks, then stop.
Step 7: Pour and bake. Pour your batter over the strawberries. It won’t cover them completely, and that’s fine. As it bakes, it’ll expand and the strawberries will peek through in the most beautiful way. Bake for 45 to 50 minutes, until a toothpick inserted into the cake part (not the strawberry layer) comes out clean or with just a few moist crumbs.
Step 8: Cool and serve. Let the cake cool in the pan for at least 15 minutes before serving. This gives it time to set slightly and makes it easier to scoop. You can serve it warm, room temperature, or even chilled.
Common Mistakes to Avoid
Using cold cream cheese: I mentioned this before, but it’s worth repeating. Cold cream cheese won’t blend smoothly with the other ingredients. You’ll get lumps, and lumps mean an uneven texture. Give yourself thirty minutes, or cut it into chunks.
Skipping the cornstarch: The cornstarch thickens the strawberry juices so they don’t make your cake soggy. Without it, you’ll end up with a gooey mess at the bottom. I learned this the hard way.
Overfilling your baking dish: This recipe is designed for a 9×13-inch dish. If you use something smaller, it’ll overflow. If you use something larger, it’ll be too thin. Stick with the size.
Opening the oven door too much: I know it’s tempting to peek, but every time you open the door, you’re letting heat escape and potentially causing the cake to sink in the middle. Resist the urge until the last five minutes.
Baking it too long: A toothpick should come out clean or with just a few moist crumbs. If it’s completely dry, you’ve overbaked it. The cake will continue to cook slightly as it cools, so it’s better to err on the side of slightly underbaked.
My Tested Substitutions
For the sour cream: Greek yogurt works beautifully here. Use the same amount. It’ll be slightly tangier and a touch denser, but in the best way.
For the milk: Buttermilk adds a lovely tang and keeps the cake extra tender. You can also use almond milk or oat milk if you prefer—the texture will be virtually identical.
For the strawberries: Raspberries, blackberries, or a mix of berries all work wonderfully. You can even use peaches or cherries if that’s what you have. The technique stays the same.
For the lemon juice: If you don’t have lemon, use lime juice or just skip the acid entirely. The strawberries have enough natural flavor to carry the dessert. The acid just brightens things up a bit.
For the all-purpose flour: I’ve made this with a one-to-one gluten-free flour blend, and it works great. You might need to add an extra tablespoon or two of milk if the batter seems too thick, but the result is indistinguishable from the regular version.
How to Customize
This is where you get to have fun. Want to make it more decadent? Add a graham cracker crust layer at the bottom before the strawberries. Want to make it less sweet? Reduce the sugar in the cream cheese mixture to 1/3 cup. Want to make it extra special? Top it with fresh whipped cream and a sprinkle of crushed graham crackers right before serving.
You can also play with the flavor profile. Add a teaspoon of rose water for a floral note. Mix in some fresh basil for something unexpected. Make it a chocolate strawberry situation by dusting cocoa powder over the strawberries. The dump cake format is so forgiving that you can really experiment without worrying too much about messing it up.
Serving Ideas
I serve this straight from the baking dish, which is honestly my favorite part. There’s something so cozy about that. Scoop it into bowls and top with whipped cream, a dollop of sour cream, or a scoop of vanilla ice cream. The warmth of the cake melting the ice cream is pure comfort.
You can also serve it on a plate with a fork, more formally, if you’re feeling fancy. Either way, it’s delicious. I like to add a fresh strawberry on top and maybe a sprig of mint if I’m feeling extra.
This also travels well if you need to bring it somewhere. Just cover the baking dish with foil and take it as-is. You can reheat it gently in a 300-degree oven for about ten minutes before serving, or just serve it at room temperature.
Meal Prep and Storage
This cake keeps beautifully in the refrigerator for up to four days, covered with plastic wrap or foil. You can eat it cold straight from the fridge, which is honestly my favorite way to have it the next day. It’s like a creamy, fruity pudding cake situation.
You can also freeze it for up to three months. Let it cool completely, cover it tightly with plastic wrap and then foil, and freeze. When you want it, thaw it in the refrigerator overnight and serve it cold or reheat it gently in a 300-degree oven.
I don’t recommend freezing individual portions because the texture changes slightly when you thaw them. The whole cake freezes and thaws more evenly.
Nutritional Breakdown
This recipe makes about 12 servings. Here’s what you’re getting in each serving:
- Calories: approximately 280
- Protein: 5 grams
- Carbohydrates: 38 grams
- Fat: 12 grams
- Fiber: 1 gram
The cream cheese and sour cream provide the fat and protein, while the strawberries bring fiber and natural sweetness. This isn’t a low-calorie dessert, but it’s not trying to be. It’s meant to be enjoyed in moderation as part of a balanced diet.
Final Thoughts
I love this Strawberry Cheesecake Dump Cake because it proves that you don’t need complicated techniques or fancy ingredients to make something truly delicious. You need good ingredients, a little bit of care, and the willingness to trust the process. This is the kind of dessert that brings people together, that makes your kitchen smell incredible, and that tastes even better the next day.
I hope you make this soon. I hope it becomes a favorite in your house like it is in mine. And I hope that if something goes slightly wrong—the edges brown a little too much, or it’s not quite as pretty as you hoped—you remember that it’s still going to taste amazing. That’s the beauty of dump cakes. They’re forgiving, they’re delicious, and they’re absolutely worth making again and again.
Happy baking, friend. You’ve got this.
—
Recipe Card
Strawberry Cheesecake Dump Cake
Ingredients
Method
- Preheat oven to 350 degrees Fahrenheit. Butter a 9x13-inch baking dish generously.
- In a medium bowl, toss strawberries with lemon juice, 3 tablespoons sugar, and cornstarch. Pour into prepared baking dish.
- In a large bowl, beat softened cream cheese and 1/2 cup sugar together until smooth and fluffy, about 2-3 minutes.
- Add sour cream and vanilla extract, beat until combined. Add eggs one at a time, beating well after each addition.
- In a separate bowl, whisk together flour, baking powder, and salt.
- Add half of flour mixture to cream cheese mixture and stir gently until combined. Pour in milk and stir. Add remaining flour mixture and stir until smooth.