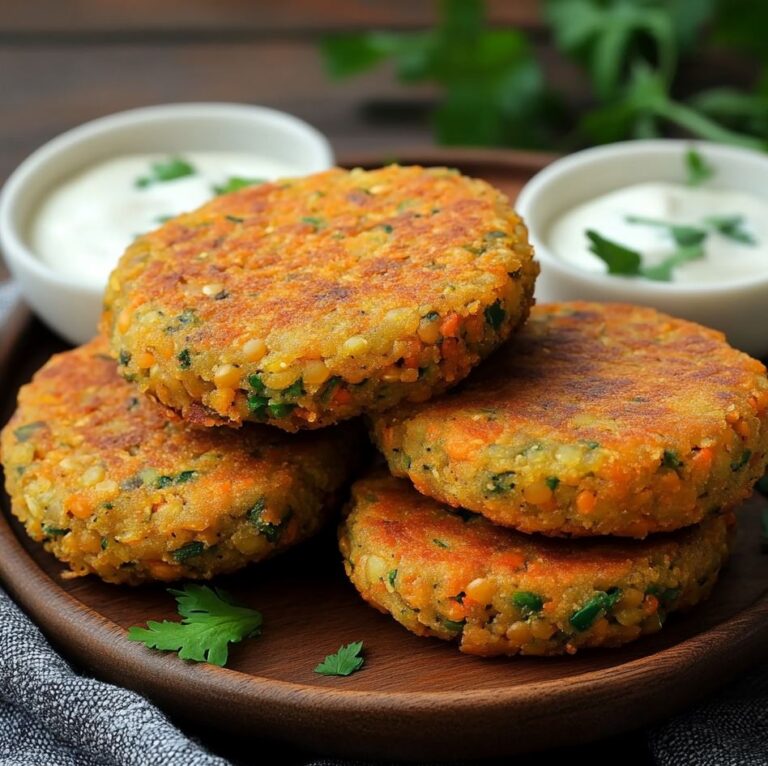
Cheesy Ham & Chicken Toasted Wraps
Cheesy Ham & Chicken Toasted Wraps
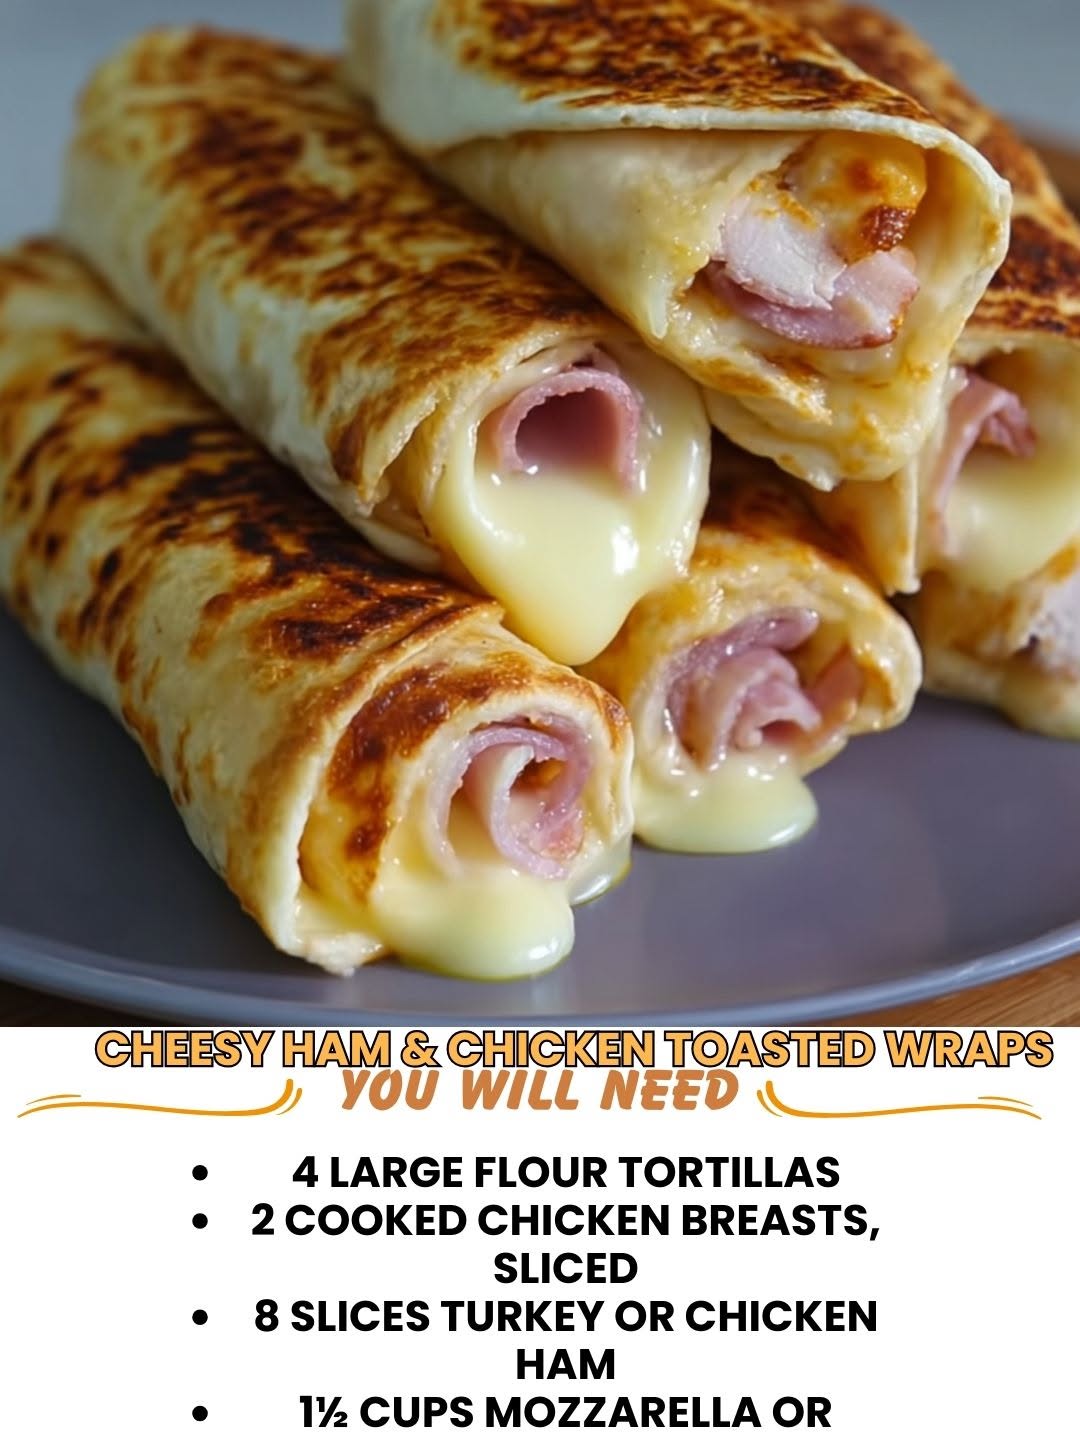
Cheesy Ham & Chicken Toasted Wraps: A Weeknight Comfort Food That Actually Works
I’m going to be honest with you—I created this recipe on a Tuesday night when I was absolutely tired of the same old rotation. You know that feeling? You open the fridge, stare at what you have, and think, “There has to be something better than cereal.” Well, I had some leftover rotisserie chicken, deli ham, and cheese, and I decided to stop overthinking it and just build something warm and melty.
What came out of that lazy Tuesday was something I’ve made at least twice a week ever since. These Cheesy Ham & Chicken Toasted Wraps are exactly what they sound like—soft flour tortillas stuffed with tender chicken, savory ham, and melted cheese, then toasted until the outside gets crispy and golden while the inside stays warm and gooey. It’s comfort food that doesn’t require a culinary degree or fancy ingredients.
Here’s what makes this recipe so special to me: it takes about fifteen minutes from start to finish, it uses ingredients most of us already have on hand, and it genuinely tastes like you put effort into dinner. My partner calls it “fancy enough to feel intentional but easy enough to make on a Tuesday.” I think that’s the perfect summary.
This recipe is for anyone who’s juggling a busy schedule, feeding picky eaters, or just craving something warm and satisfying without the fuss. It works for lunch, dinner, or even a casual weekend breakfast if you’re feeling adventurous. I’ve made it for my family, my roommates, and even brought it to potlucks (yes, really—I wrapped them in foil and they reheated beautifully).
If you’re looking for more cozy, real-life recipes that don’t require a ton of fuss, follow me on HaileeRecipes on Pinterest where I share everything from weeknight dinners to comfort food that actually tastes homemade.
Why You’ll Love This Recipe
Let me break down exactly why this has become such a staple in my kitchen.
- It’s genuinely fast. Seriously, you can have these on the table in about fifteen minutes. That includes prep time. I’ve timed it.
- The ingredient list is short and accessible. No hunting down specialty items or making multiple grocery store trips. Most of this stuff lives in a standard kitchen.
- It’s customizable without being complicated. You can swap proteins, cheeses, and add-ins based on what you have or what you’re craving. The base formula is rock solid.
- It actually tastes good. I know that sounds basic, but I mean it. The combination of salty ham, tender chicken, and melted cheese is genuinely delicious. It’s not a “making do” meal—it’s a “I actually chose this” meal.
- Leftovers are your friend. These reheat beautifully and taste just as good the next day. I often make a double batch and eat them throughout the week.
- It’s budget-friendly. You can use rotisserie chicken from the grocery store, affordable deli ham, and basic cheese. This isn’t an expensive dinner.
Ingredients
- 4 large flour tortillas (about 10 inches each)
- 1.5 cups shredded cooked chicken (rotisserie works great)
- 6 ounces deli ham, sliced thin
- 1.5 cups shredded cheddar cheese (or a mix of cheddar and mozzarella)
- 3 tablespoons butter, softened
- 1 tablespoon Dijon mustard (optional but recommended)
- 1/2 teaspoon garlic powder
- 1/4 teaspoon black pepper
- 1/4 teaspoon salt (adjust based on your ham’s saltiness)
- 2 tablespoons cream cheese, softened (this keeps everything moist)
Hailee’s Tip: I always use rotisserie chicken because it’s already seasoned and tender, and it saves me about twenty minutes of cooking time. If you’re using raw chicken, poach it in broth for about twelve minutes until it’s cooked through, then shred it. The texture will be just as good.
Hailee’s Tip: Don’t skip the cream cheese. I know it sounds random, but it acts like a binder and keeps the filling from getting dry. It makes a real difference in the texture.
Hailee’s Tip: If you can’t find good deli ham, thick-cut bacon works beautifully too. Just chop it up and mix it in. It adds a smokier flavor that’s honestly incredible.
Optional Add-Ins and Variations
This is where you get to play around. The base recipe is solid, but I’ve experimented with additions and here’s what actually works.
- Sautéed spinach or arugula: Adds a fresh element without making it feel heavy. About 1/2 cup works well.
- Caramelized onions: If you have time, these add a sweet, savory depth that’s genuinely special. Use about 1/4 cup.
- Roasted red peppers: Jarred ones from the grocery store work fine. Adds color and a subtle sweetness. About 1/3 cup.
- Fresh herbs: Chopped parsley, chives, or dill brighten everything up. I use about 2 tablespoons.
- A splash of hot sauce: If you like heat, mix a teaspoon or two into the cream cheese mixture. It doesn’t overpower—it just adds complexity.
- Crispy bacon bits: Because everything is better with bacon. About 1/4 cup.
- Sliced tomato: Fresh tomato slices add juiciness. Just pat them dry first so they don’t make everything soggy.
Step-by-Step Method
I’m going to walk you through this like I’m standing in the kitchen with you, because that’s honestly how I approach cooking.
Step 1: Prep your filling mixture. In a medium bowl, combine the shredded chicken, cream cheese, Dijon mustard, garlic powder, black pepper, and salt. Mix it all together until it’s evenly combined and creamy. This should take about a minute. The cream cheese will soften as you stir and everything will come together nicely.
Hailee’s Real Moment: The first time I made this, I forgot to soften the cream cheese first and ended up with lumpy filling. Lesson learned. If you’re in a rush, just cut the cream cheese into small pieces and it’ll mix in faster.
Step 2: Assemble your wraps. Lay out a tortilla on a clean surface. Spread about 2 tablespoons of the chicken mixture down the center, leaving about an inch on each end. Layer about 2 ounces of ham (roughly 4 to 5 slices) on top, then sprinkle about 1/3 cup of shredded cheese over that. If you’re adding any of the optional ingredients, add them now.
Step 3: Roll it up. Fold the sides of the tortilla in about an inch, then roll it tightly from one end to the other, like you’re wrapping a burrito. The sides should stay tucked in as you roll. If the tortilla is tearing, it might be too cold—let it sit out for a minute or two to soften up.
Step 4: Butter the outside. This is the step that makes them crispy and golden. Mix your softened butter with a tiny pinch of salt. Brush this all over the outside of each wrap. Don’t be shy—you want a light coating all around.
Step 5: Toast them. Heat a large skillet over medium-high heat. Once it’s hot, carefully place your wraps seam-side down in the pan. You should hear a gentle sizzle. Let them cook for about 3 to 4 minutes until the bottom is golden brown and crispy. Then flip them gently and cook the other side for another 2 to 3 minutes until it’s golden brown too.
Hailee’s Real Moment: I’ve definitely flipped these too aggressively and had cheese leak out. Use a spatula and go slow. If a little cheese does escape, it creates these crispy cheese bits on the pan, which honestly aren’t a tragedy.
Step 6: Rest and serve. Let them sit on a cutting board for about two minutes before eating. This lets the cheese set slightly so it doesn’t immediately pour out when you bite into it. Then cut them in half if you want, and serve them however makes you happy.
Common Mistakes to Avoid
I’ve made most of these mistakes so you don’t have to.
Overstuffing the wraps: I know it’s tempting to load them up, but too much filling makes them hard to roll and they fall apart in the pan. Stick to the measurements and you’ll have a much better experience.
Using cold tortillas: Cold tortillas tear easily. Let them sit out for a few minutes or warm them in the microwave for about 15 seconds. They’ll be much more pliable.
Not enough butter on the outside: This is what makes them crispy and delicious. Don’t skimp here. You want a light but complete coating.
Cooking on too high heat: If your heat is too high, the outside will brown before the cheese melts inside. Medium-high is the sweet spot. You want a gentle sizzle, not an aggressive one.
Flipping too early: Give the first side a full 3 to 4 minutes. You want it golden and crispy before you flip. If you flip too early, it won’t have that satisfying crunch.
Not patting down wet ingredients: If you’re adding fresh tomatoes or any other wet ingredients, pat them dry first. Excess moisture will make the tortilla soggy.
My Tested Substitutions
Sometimes you don’t have exactly what the recipe calls for, and that’s okay. Here’s what I’ve tried and what actually works.
For the chicken: Turkey works beautifully. So does rotisserie duck if you’re feeling fancy. Even canned tuna mixed with a little mayo works in a pinch. Basically, any cooked protein that’s not too wet will do the job.
For the ham: Bacon, as I mentioned, is excellent. Smoked turkey works too. Prosciutto if you want to feel fancy. Even diced salami adds a different but really nice flavor.
For the cheese: Use whatever you have. Swiss is great if you want something milder. Gruyere is incredible if you want something more sophisticated. Mozzarella and cheddar mixed together is my favorite combo, but honestly, any melting cheese works.
For the tortillas: I’ve used spinach wraps, whole wheat wraps, even low-carb wraps. They all work, though they have slightly different textures. Just make sure whatever you use is large enough to roll up with the filling inside.
For the butter: Mayo works in a pinch, though it won’t crisp up quite the same way. Olive oil works too, but again, you lose that crispy-golden exterior that makes these special.
How to Customize
The beauty of this recipe is that it’s flexible. Here are some directions you can take it.
Make it spicy: Add cayenne pepper to the filling, use pepper jack cheese instead of cheddar, and add some hot sauce. Suddenly you have a completely different meal.
Make it Mediterranean: Add sun-dried tomatoes, fresh basil, and use feta instead of cheddar. It’s a completely different vibe.
Make it breakfast: Replace the ham with bacon, add a fried egg to the filling, and use the same method. It’s incredible for a weekend breakfast.
Make it lighter: Use whole wheat tortillas, reduce the cheese by half, and load up on vegetables. It’s still delicious and feels a bit less heavy.
Make it fancy: Use prosciutto instead of deli ham, add caramelized onions and fresh arugula, use a mix of gruyere and fontina cheese. Suddenly it’s something you’d order at a restaurant.
Serving Ideas
These wraps are great on their own, but here’s what I like to serve alongside them.
- A simple green salad: Something light and acidic to balance the richness of the cheese and meat.
- Roasted vegetables: Broccoli, zucchini, or bell peppers roasted with olive oil and garlic. Takes about twenty minutes and feels complete.
- Tomato soup: Honestly, a warm bowl of tomato soup with one of these wraps is peak comfort food.
- Homemade fries or sweet potato fries: If you’re feeling indulgent. These wraps are rich enough that you don’t need much else.
- Coleslaw: Something cool and crunchy adds nice contrast.
- Pickles and olives: Just a small side of something briny and salty.
Meal Prep and Storage
This is where the recipe gets even more practical for real life.
Make-ahead option: You can assemble these wraps up to 24 hours in advance and store them in the fridge wrapped in plastic wrap or in a container. Then just toast them when you’re ready to eat. This is genuinely game-changing for weeknight dinners.
Storage for leftovers: Cooked wraps keep in an airtight container in the fridge for about 3 days. Reheat them in a skillet over medium heat for about 2 minutes per side, or wrap them in foil and warm them in a 350-degree oven for about 8 minutes.
Freezing: I’ve frozen these before eating them, and they do okay, but the texture of the tortilla changes slightly when they thaw. If you’re going to freeze them, I’d recommend freezing the filling separately and assembling fresh wraps when you’re ready to eat.
Lunch box friendly: These are actually perfect for lunch boxes. Just wrap them in foil and they stay warm for a few hours. My partner takes these to work all the time.
Nutritional Breakdown
Here’s what’s in each wrap, roughly speaking. This can vary based on your specific ingredients, but this gives you a ballpark.
- Calories: About 420 per wrap
- Protein: About 28 grams
- Carbohydrates: About 24 grams
- Fat: About 22 grams
- Fiber: About 2 grams
This is a pretty well-balanced meal. You’ve got good protein from the chicken and ham, some carbs from the tortilla, and healthy fats from the cheese and butter. If you’re watching calories, you can reduce the cheese or use a lower-fat version and it’ll still taste good.
Final Thoughts
I genuinely love this recipe because it’s proof that good food doesn’t have to be complicated. You don’t need a long ingredient list or hours of cooking time to make something that tastes like you cared about dinner. Sometimes the best meals are the simple ones that use what you already have on hand.
I’ve made these wraps for myself on nights when I’m too tired to think, I’ve made them for friends who stopped by unexpectedly, and I’ve made them for my family on regular weeknights. Every single time, people ask for the recipe. That’s how I know it’s a keeper.
So grab some chicken, ham, and cheese from your kitchen, and give this a try. I promise you’ll have dinner on the table in less than twenty minutes, and it’ll be something you actually want to eat. That’s the whole point of cooking at home, right?
—
Cheesy Ham & Chicken Toasted Wraps
Ingredients
Method
- I'm going to walk you through this like I'm standing in the kitchen with you, because that's honestly how I approach cooking. Step 1: Prep your filling mixture. In a medium bowl, combine the shredded chicken, cream cheese, Dijon mustard, garlic powder, black pepper, and salt. Mix it all together until it's evenly combined and creamy. This should take about a minute. The cream cheese will soften as you stir and everything will come together nicely. Hailee's Real Moment: The first time I made this, I forgot to soften the cream cheese first and ended up with lumpy filling. Lesson learned. If you're in a rush, just cut the cream cheese into small pieces and it'll mix in faster. Step 2: Assemble your wraps. Lay out a tortilla on a clean surface. Spread about 2 tablespoons of the chicken mixture down the center, leaving about an inch on each end. Layer about 2 ounces of ham (roughly 4 to 5 slices) on top, then sprinkle about 1/3 cup of shredded cheese over that. If you're adding any of the optional ingredients, add them now. Step 3: Roll it up. Fold the sides of the tortilla in about an inch, then roll it tightly from one end to the other, like you're wrapping a burrito. The sides should stay tucked in as you roll. If the tortilla is tearing, it might be too cold—let it sit out for a minute or two to soften up. Step 4: Butter the outside. This is the step that makes them crispy and golden. Mix your softened butter with a tiny pinch of salt. Brush this all over the outside of each wrap. Don't be shy—you want a light coating all around. Step 5: Toast them. Heat a large skillet over medium-high heat. Once it's hot, carefully place your wraps seam-side down in the pan. You should hear a gentle sizzle. Let them cook for about 3 to 4 minutes until the bottom is golden brown and crispy. Then flip them gently and cook the other side for another 2 to 3 minutes until it's golden brown too. Hailee's Real Moment: I've definitely flipped these too aggressively and had cheese leak out. Use a spatula and go slow. If a little cheese does escape, it creates these crispy cheese bits on the pan, which honestly aren't a tragedy. Step 6: Rest and serve. Let them sit on a cutting board for about two minutes before eating. This lets the cheese set slightly so it doesn't immediately pour out when you bite into it. Then cut them in half if you want, and serve them however makes you happy.