No Bake Sweet Treats
No Bake Sweet Treats
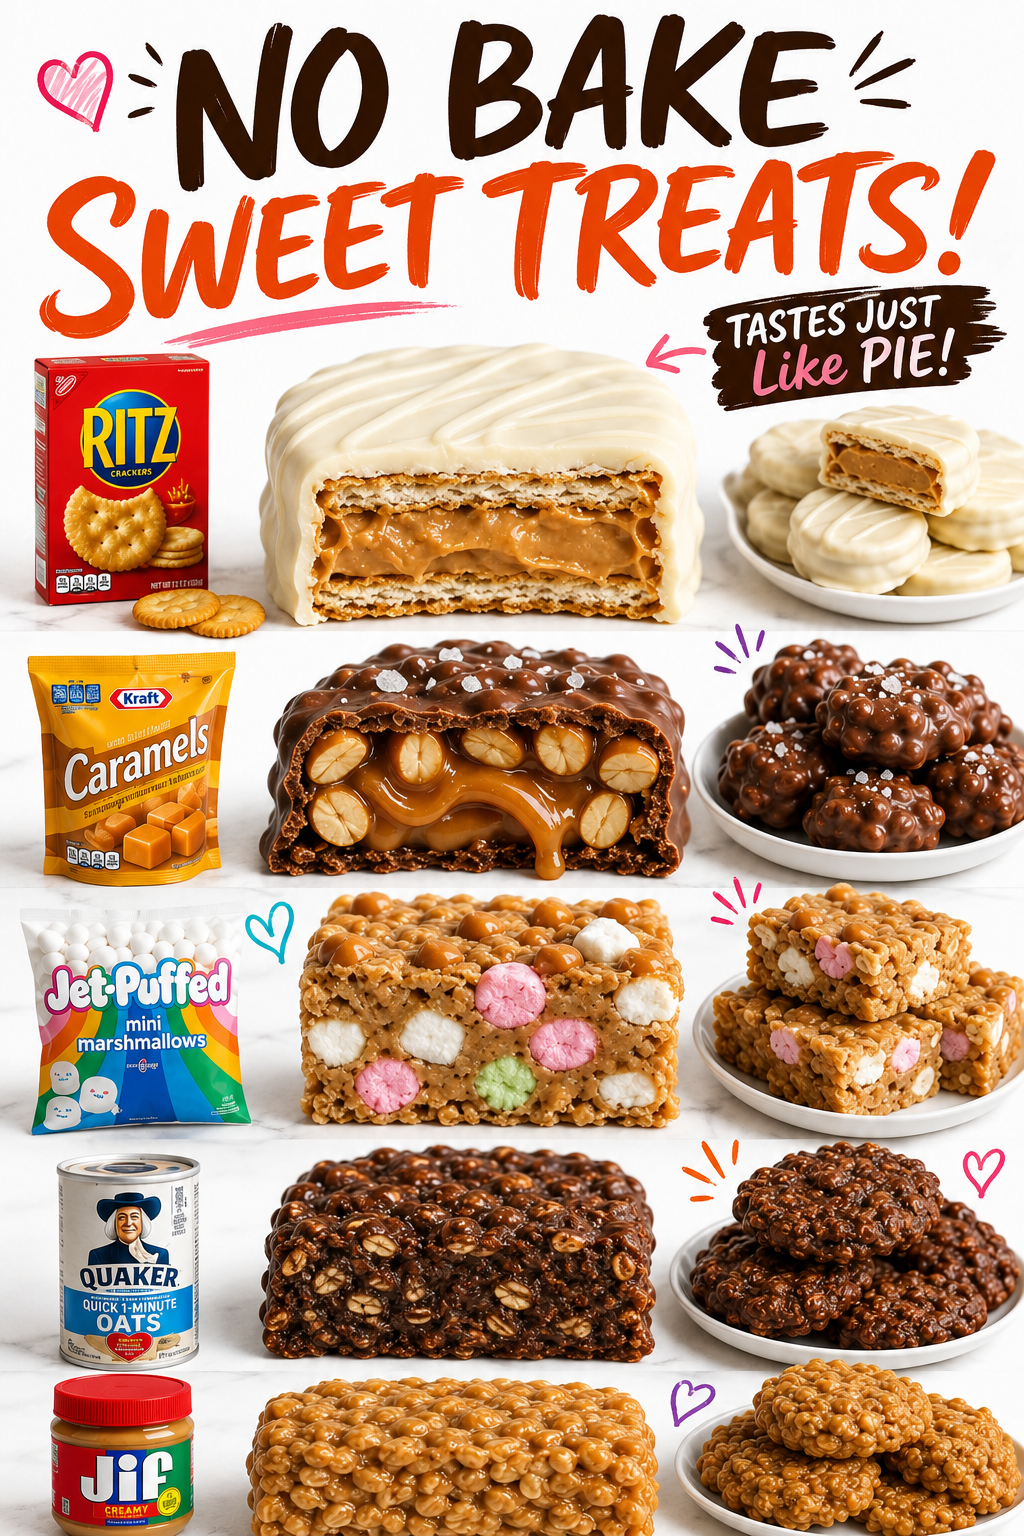
No Bake Sweet Treats That’ll Change Your Life (Or At Least Your Dessert Game)
I’m going to be honest with you: I discovered no bake sweet treats on a Tuesday night when my oven decided to stop working, and I had a kitchen full of people expecting dessert. I stood there, staring at my broken oven like it had personally betrayed me, and then I remembered something my grandmother used to make—these little chocolate peanut butter bites that required nothing but a bowl, a spoon, and about twenty minutes of patience.
That night changed everything for me. I realized that some of the best desserts don’t need an oven at all. They need good ingredients, a little creativity, and honestly, just your hands and a refrigerator. No bake sweet treats are my absolute favorite thing to make when I’m short on time, when my kitchen is already packed with cooking projects, or when I just want something that feels special without the fuss.
Here’s what I love most about these recipes: they’re forgiving, they’re fast, and they taste like you spent way more effort than you actually did. Whether you’re dealing with a broken oven, a summer heat wave, or just a craving that won’t quit at 10 p.m., no bake sweet treats are your answer. They’re perfect for people who love dessert but don’t love standing over a hot stove, for kids who want to help in the kitchen without worrying about burns, and for anyone who’s ever felt intimidated by baking.
I’ve been making these treats for years now, and I’ve learned what actually works, what tastes amazing, and what’ll have people asking for your recipe at the dinner table. I’m excited to share my favorite combinations with you today. Follow me on HaileeRecipes on Pinterest for more easy recipes like this one.
Why You’ll Love This Recipe
Let me break down why no bake sweet treats have become such a staple in my kitchen and why I think they’ll become one in yours too.
They’re genuinely fast. I’m talking fifteen to thirty minutes of actual hands-on time. Most of the “cooking” happens in your refrigerator while you’re doing literally anything else. This is perfect when you need dessert for tomorrow or when you’re in that Sunday afternoon mood where you want something homemade but don’t want to spend your whole evening in the kitchen.
You don’t need special equipment. A bowl, a spoon, your hands, and a refrigerator. That’s it. I’m not asking you to buy a stand mixer or a food processor or anything fancy. This is stripped-down, accessible baking.
They taste incredible. There’s something about the simplicity of these treats that makes the flavors really shine. When you’re not fussing with oven temperatures and baking times, you can focus on quality ingredients and combinations that actually work.
They’re endlessly customizable. The base recipes are flexible. You can swap in different nuts, change the chocolate, add spices, incorporate dried fruit—whatever you have on hand or whatever sounds good to you.
Ingredients
I’m going to give you my go-to base recipe that works for several different treat variations. You’ll mix and match depending on what you’re making, but these are your foundation ingredients.
- 2 cups natural peanut butter (or almond butter, or sunflower seed butter—whatever nut butter you love)
- 1 cup powdered sugar (sifted if it’s lumpy)
- 1 cup graham cracker crumbs (about 8-10 full crackers)
- 12 ounces semi-sweet chocolate chips
- 2 tablespoons coconut oil (or butter, or shortening)
- 1 teaspoon vanilla extract
- Pinch of sea salt
Hailee’s Tip: Use natural nut butter if you can. The kind with just nuts and maybe a tiny bit of salt. Those fancy ones with added oils and sugars will make your mixture too soft and they won’t hold their shape as well. Trust me on this one.
Hailee’s Tip: Don’t skip the powdered sugar sifting step if your sugar has been sitting in the cupboard for a while. Lumpy powdered sugar will give you a grainy texture, and we’re going for smooth and creamy here.
Hailee’s Tip: Coconut oil is my secret weapon here. It helps the chocolate coating set up beautifully without being too thick or waxy. If you don’t have it, butter works too, but you’ll need to keep these treats in the fridge.
Optional Add-Ins and Variations
This is where you get to have fun and make these treats your own. Here are my favorite additions and swaps:
- For chocolate lovers: Add two tablespoons of cocoa powder to your peanut butter mixture. It sounds like a small amount, but it makes a huge difference.
- For a crunch: Mix in half a cup of crushed pretzels or crispy rice cereal. Add it just before you roll the mixture into balls.
- For fruity vibes: Add half a cup of dried cranberries or chopped dried cherries. Chop them pretty small so they distribute evenly.
- For spice: A quarter teaspoon of cinnamon or a tiny pinch of cayenne pepper adds complexity without being obvious.
- For nuttiness: Toast some chopped pecans or walnuts and fold them in. About three-quarters of a cup works perfectly.
- For decadence: Swap half the chocolate chips for white chocolate. The combination is honestly incredible.
Step-by-Step Method
Step 1: Mix your base. In a medium bowl, combine your peanut butter, powdered sugar, graham cracker crumbs, vanilla extract, and salt. Stir it all together until you get a thick, dough-like consistency. This should take about two minutes. If it feels too dry, add a tablespoon of peanut butter. If it’s too wet, add a bit more powdered sugar. You want something that holds together but isn’t sticky.
What I Messed Up: The first time I made these, I thought I could skip the mixing bowl and just stir everything in a measuring cup. Don’t do this. You need space to actually combine things properly, and you’ll end up with lumps.
Step 2: Roll into balls. Using a small cookie scoop or a tablespoon, portion out the mixture. Roll each portion between your hands until you get a smooth ball about the size of a walnut. This is honestly my favorite part because it’s meditative and your hands warm up the mixture just enough to make it easy to work with. If your mixture is too soft and won’t hold together, pop it in the freezer for ten minutes.
Step 3: Chill your balls. Place all your rolled balls on a parchment-lined baking sheet and stick them in the freezer for at least thirty minutes. This is crucial. You need them firm before you dip them in chocolate, or they’ll fall apart and you’ll have a melted mess.
What I Messed Up: I once tried to dip room-temperature balls in chocolate. They basically dissolved. Don’t be me. Wait the thirty minutes.
Step 4: Melt your chocolate. In a microwave-safe bowl, combine your chocolate chips and coconut oil. Microwave in thirty-second intervals, stirring between each one, until everything is completely smooth. This usually takes about a minute total. Don’t overheat it or your chocolate will seize up and become grainy.
Step 5: Dip and coat. Working quickly, use a fork to dip each cold ball into the melted chocolate. Let the excess drip off, then place it back on your parchment paper. If your chocolate starts to thicken up, pop it back in the microwave for ten seconds.
Step 6: Set and enjoy. Let your chocolate-coated treats sit at room temperature for about fifteen minutes, or pop them back in the fridge for five minutes if you’re impatient like me. Once the chocolate is set, you’re done.
Common Mistakes to Avoid
Using old nut butter: If your nut butter has been open for six months and separated into oil and solids, it’s not going to work well. Fresh nut butter makes a difference.
Not chilling before dipping: I mentioned this already, but it’s so important I’m saying it again. Warm centers plus hot chocolate equals disaster.
Overheating the chocolate: Chocolate is sensitive. If you scorch it, it’ll taste bitter and it won’t coat smoothly. Low and slow is the way.
Making them too big: I get excited and make giant balls, and then they’re hard to eat and they take forever to set. Walnut-sized is perfect.
My Tested Substitutions
If you don’t have graham cracker crumbs: Use crushed vanilla wafers, digestive biscuits, or even crushed pretzels. You need something that’ll add a little structure and texture.
If you don’t have coconut oil: Use butter or even shortening. Your treats will need to stay in the fridge, but they’ll still taste great.
If you’re using a different nut butter: Almond butter, cashew butter, and sunflower seed butter all work beautifully. The flavor will change slightly, but the texture will be the same.
If you want to make these dairy-free: Use dairy-free chocolate chips and make sure your nut butter doesn’t have any hidden dairy. Everything else is already dairy-free.
How to Customize
The beauty of no bake sweet treats is that they’re basically a blank canvas. Here are some flavor combinations I absolutely love:
The Classic: Peanut butter base with semi-sweet chocolate coating. Simple, reliable, always good.
The Fancy: Almond butter base with white chocolate coating and a sprinkle of sea salt on top before it sets.
The Indulgent: Peanut butter base with cocoa powder mixed in, then coated in dark chocolate. This is basically a fancy truffle.
The Crunchy: Add crushed pretzels and chopped peanuts to your base, then coat in chocolate. It’s salty, sweet, and satisfying.
The Fruity: Use dried cranberries or cherries in your base and coat with white chocolate. It’s bright and unexpected.
Serving Ideas
These treats are perfect on their own, but here are some fun ways to serve them:
- Arrange them on a nice platter for a dessert spread at a dinner party
- Pack them in a pretty box as a homemade gift
- Serve them with espresso or coffee for an after-dinner treat
- Crumble them over vanilla ice cream
- Pack them in your lunch box for an afternoon pick-me-up
- Arrange them on a charcuterie board with fresh fruit and nuts
Meal Prep and Storage
One of my favorite things about no bake sweet treats is that they’re perfect for making ahead. Here’s how I handle storage:
Room temperature: If you’re using coconut oil in your chocolate coating, these will actually hold up at room temperature for about three days in an airtight container. They’ll soften a bit, but they won’t melt.
Refrigerator: In an airtight container with parchment between layers, these will keep for up to two weeks. This is my preferred method.
Freezer: You can freeze these for up to three months. Let them thaw at room temperature for about fifteen minutes before eating.
Make-ahead tip: I love making a big batch on Sunday and having treats ready to go all week. I portion them into small containers so I can grab a few whenever I want something sweet without thinking about it.
Nutritional Breakdown
Here’s what you’re looking at per treat (makes about 24 treats):
- Calories: 145
- Protein: 4g
- Carbs: 12g
- Fat: 9g
- Fiber: 1g
These aren’t health food, but they’re not completely devoid of nutrition either. You’re getting protein from the nut butter and some fiber. They’re an indulgence, but they’re a reasonable one.
Final Thoughts
I genuinely love making no bake sweet treats. There’s something so satisfying about creating something delicious without any stress or complicated equipment. These treats have saved me so many times—when my oven broke, when I was short on time, when I wanted to impress someone with homemade dessert but didn’t want to spend hours in the kitchen.
The best part? They’re foolproof. You can’t really mess them up. Even if your coating isn’t perfect or your balls aren’t completely uniform, they’re going to taste amazing. And that’s what I love about cooking and baking—it should be fun, it should be accessible, and it should result in something delicious that you’re proud to share.
Make a batch this week. Try one of my flavor combinations, or come up with your own. Pack them in a pretty container and give them to someone you care about. Or just keep them all for yourself—I won’t judge. Either way, I promise you’ll be adding this recipe to your regular rotation.
—
No Bake Sweet Treats
Ingredients
Method
- In a medium bowl, combine peanut butter, powdered sugar, graham cracker crumbs, vanilla extract, and sea salt. Mix until you have a thick, dough-like consistency.
- Using a small cookie scoop or tablespoon, portion the mixture and roll each portion between your hands into a smooth ball about the size of a walnut.
- Place all balls on a parchment-lined baking sheet and freeze for at least 30 minutes until firm.
- In a microwave-safe bowl, combine chocolate chips and coconut oil. Microwave in 30-second intervals, stirring between each one, until completely smooth.
- Working quickly, use a fork to dip each cold ball into the melted chocolate, letting excess drip off, then place back on parchment paper.
- Let chocolate-coated treats sit at room temperature for 15 minutes or in the fridge for 5 minutes until chocolate is set.