Orange Creamsicle Soda | Nostalgic Fizzy Bliss
Orange Creamsicle Soda | Nostalgic Fizzy Bliss
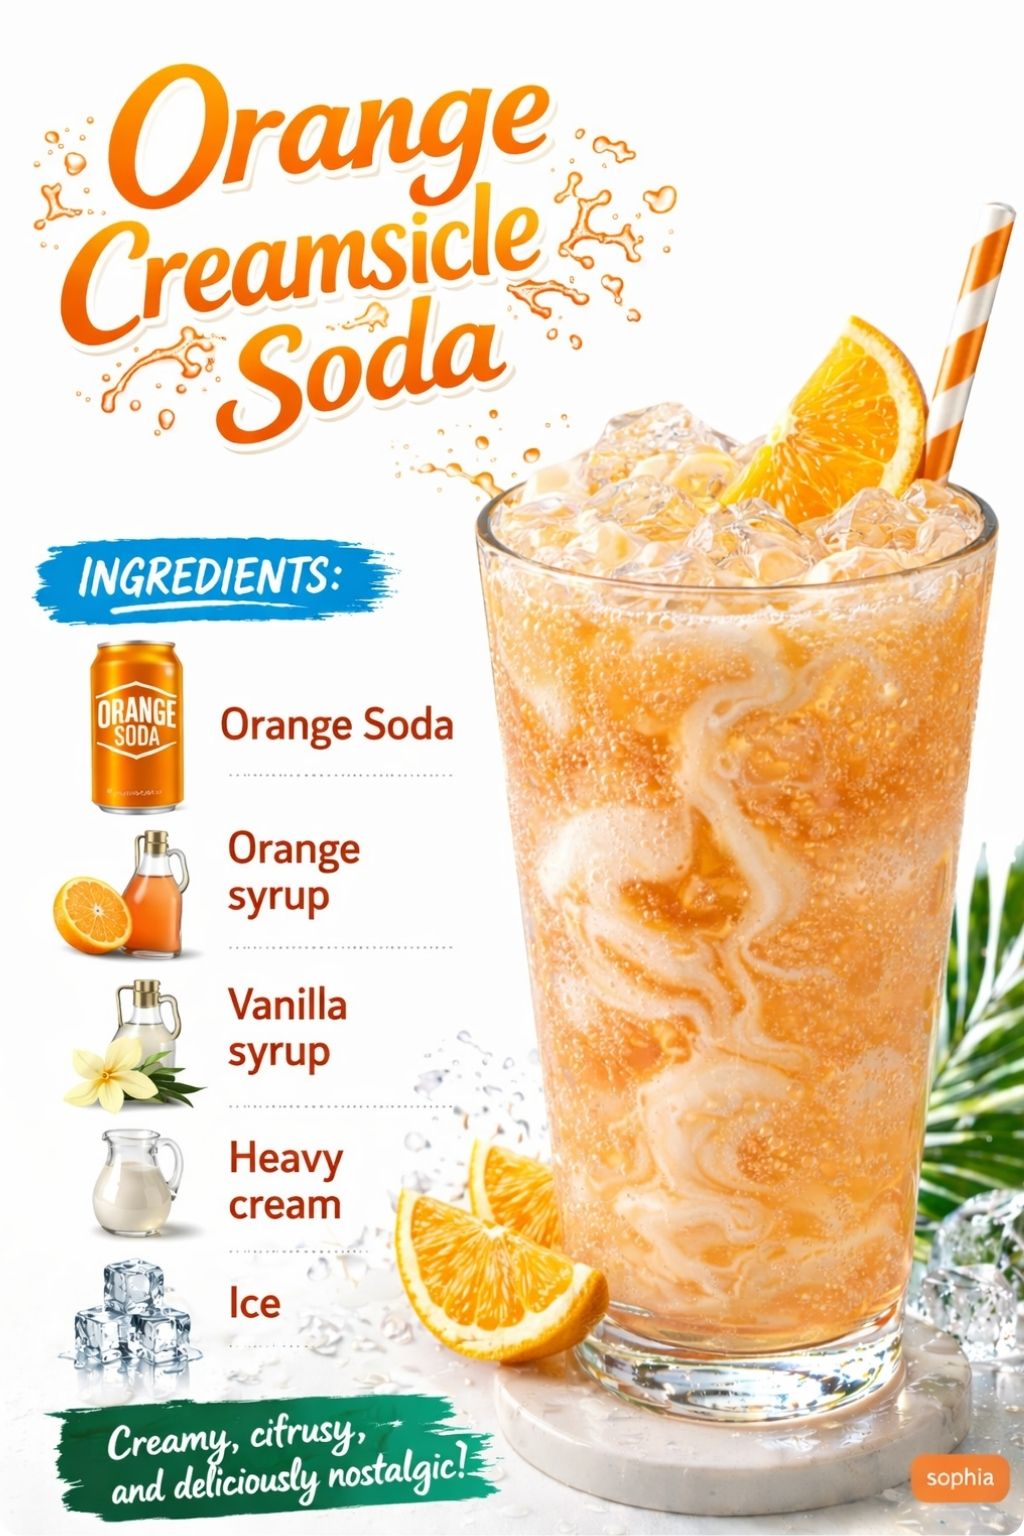
Orange Creamsicle Soda: A Nostalgic Homemade Treat That Actually Tastes Better Than the Real Thing
I was sitting on my mom’s porch last summer, sweating through my third shirt of the day, when she handed me an ice-cold glass of something that smelled like childhood. It was her version of an Orange Creamsicle Soda, and I’m not exaggerating when I say it transported me straight back to those sticky-fingered summers when a Creamsicle from the ice cream truck was basically the height of luxury.
Here’s the thing though: once I tasted hers, I realized I’d been missing out. Store-bought versions are fine, sure, but they’re packed with artificial flavoring and that weird aftertaste that lingers. My mom’s homemade version? It was bright, it was creamy, it was real. The orange flavor actually tasted like orange. The vanilla was smooth and genuine. It was the kind of drink that makes you want to slow down, sit on a porch, and actually enjoy something.
I’ve been making my own Orange Creamsicle Soda ever since, tweaking it, perfecting it, and honestly, it’s become my go-to recipe when I want something that feels fancy but tastes like pure comfort. The best part? It takes about five minutes to throw together, and you probably have most of the ingredients already hanging around your kitchen.
This recipe is for anyone who loves nostalgic flavors, wants to skip the artificial stuff, or is just tired of the same old drinks rotating through their fridge. Whether you’re hosting a casual dinner, dealing with a brutal heatwave, or just want something special on a random Tuesday, this is your drink. If you end up loving it as much as I do, follow me on HaileeRecipes on Pinterest for more cozy, real recipes that actually work.
Why You’ll Love This Recipe
Let me be honest: homemade sodas used to intimidate me. I thought I’d need special equipment, weird ingredients, and hours of fussing around. Turns out, that’s not true at all.
This Orange Creamsicle Soda is genuinely easy. You’re not fermenting anything, you’re not dealing with carbonation equipment, and you’re not standing over a stove for ages. What you’re doing is combining a handful of quality ingredients that actually taste like something, letting them get cozy together, and then pouring yourself a glass of pure happiness.
The flavor profile is what gets me every single time. It’s bright and citrusy without being harsh or artificial. The vanilla cream is silky and rich without tasting like a chemical factory. When you sip it, you’re tasting actual orange and actual vanilla, not some lab’s attempt at approximation.
You’ll also love this because you control everything. Too sweet? Dial it back. Want more orange punch? Add extra zest. Prefer it less creamy? Use less cream. This isn’t some rigid formula you have to follow to the letter. It’s flexible, forgiving, and genuinely fun to make.
Plus, there’s something really satisfying about serving people a drink you made yourself. It’s the kind of thing that feels a little bit fancy, tastes incredible, and costs way less than what you’d pay for a specialty drink at a café.
Ingredients
- 2 cups fresh orange juice (or quality store-bought if you’re short on time—I won’t judge)
- 1 cup heavy cream (or half-and-half if you want something lighter)
- 1/2 cup whole milk
- 1/4 cup sweetened condensed milk (this is the secret weapon, honestly)
- 1 teaspoon vanilla extract (real vanilla, please—it makes such a difference)
- 2 tablespoons fresh orange zest (optional but strongly encouraged)
- 2 tablespoons granulated sugar (or honey if you prefer)
- 1/4 teaspoon fine sea salt
- Ice (however much you like)
- Sparkling water (optional, for a fizzy version—about 1 cup)
Hailee’s Tip: Use fresh-squeezed orange juice if you can. I know it’s more work, but the flavor difference is genuinely noticeable. If you’re using store-bought, make sure it’s not the kind with added sugar or weird ingredients. Just orange juice should be the only thing in there.
Hailee’s Tip: Don’t skip the sweetened condensed milk. I know it sounds random, but it creates this smooth, creamy texture that you literally cannot replicate any other way. It’s not about sweetness—it’s about that velvety mouthfeel.
Hailee’s Tip: Fresh orange zest is worth the thirty seconds it takes to zest an orange. It adds this bright, almost floral note that makes people ask what you did differently. It’s your secret weapon.
Optional Add-Ins and Variations
The base recipe is perfect as-is, but I love playing around with it depending on my mood or what I have on hand.
- Sparkling water version: Add about 1 cup of sparkling water right before serving for a fizzy, lighter take. This is my go-to when I want something that feels more like a soda.
- Citrus blend: Use a mix of orange juice, lemon juice, and a tiny bit of lime juice for more complexity. Start with 1.5 cups orange, 1/2 cup lemon, and 2 tablespoons lime.
- Vanilla bean: If you’re feeling fancy, scrape the seeds from half a vanilla bean and add them instead of (or in addition to) the extract. It’s a small luxury.
- Honey drizzle: Skip the granulated sugar and use honey instead. It adds a subtle floral sweetness that’s really lovely.
- Creamsicle pops: Pour the mixture into popsicle molds and freeze. Nostalgic and perfect for summer.
- Boozy version: Add 1 to 2 ounces of vodka or rum per serving if you’re making this for adults. The vanilla pairs beautifully with both.
Step-by-Step Method
Step 1: Combine your wet ingredients
Pour your orange juice, heavy cream, whole milk, and sweetened condensed milk into a large pitcher. I usually use a glass pitcher because I like watching the colors blend together, but any pitcher works. Stir everything together until it looks homogeneous. This takes about thirty seconds of actual stirring.
Step 2: Add the flavor builders
Now add your vanilla extract, sugar, and salt. The salt might seem weird, but trust me—it brightens everything up and keeps the drink from tasting cloying. Stir until the sugar dissolves. If you’re using orange zest, add it now too. Let it sit for a minute so the zest can release its oils.
What I messed up: The first time I made this, I forgot the salt entirely. The drink tasted good, but it was one-dimensional. Adding that quarter teaspoon of salt completely changed the game. It’s not about tasting salty—it’s about everything tasting more like itself.
Step 3: Taste and adjust
This is important. Grab a small glass, add some ice, and pour yourself a taste. Does it need more orange? Add another tablespoon of zest or a splash more juice. Too sweet? Add a splash of milk. Not creamy enough? Pour in a bit more heavy cream. You’re the boss here.
Step 4: Chill thoroughly
Pop your pitcher in the fridge for at least an hour. I know that sounds like forever when you’re hot and thirsty, but trust me—this drink is so much better when it’s really cold. If you’re in a rush, you can skip this and just use a ton of ice, but the chilled version is silkier.
Step 5: Serve and enjoy
Fill a glass with ice, pour the mixture over top, and if you’re feeling it, add a splash of sparkling water for that soda texture. Garnish with an orange slice or a little more zest if you want to be fancy about it. Honestly, though, it’s perfect plain.
What I messed up: I once tried to make this and serve it immediately without chilling. It was still delicious, but it wasn’t the same velvety, smooth experience. The chill time really does matter for the texture.
Common Mistakes to Avoid
Using low-quality vanilla extract: I cannot stress this enough. If your vanilla tastes artificial or chemical, your whole drink will taste that way. Spend the extra dollar or two on real vanilla. Your taste buds will thank you.
Skipping the salt: I mentioned this before, but it bears repeating. That tiny pinch of salt is not optional. It’s what keeps this from tasting like a sugar bomb.
Using juice that’s been sitting around: Old orange juice tastes flat and sad. Use fresh juice or juice you just opened. The difference is real.
Forgetting to zest: I know I keep saying this, but the zest genuinely elevates the entire drink. Don’t skip it.
Mixing everything and then serving it immediately: Give it time to chill. The flavors need a little time to get to know each other, and the cold makes everything smoother.
My Tested Substitutions
For heavy cream: You can use half-and-half (lighter and less rich) or even whole milk if you’re trying to keep things less heavy. The drink will be thinner, but it’ll still taste good. Coconut cream is also lovely if you want something dairy-free and tropical.
For sweetened condensed milk: This one’s trickier because condensed milk does something specific. If you don’t have it, you can use a mix of regular milk and a tablespoon of honey or corn syrup, but the texture won’t be quite the same. Honestly, it’s worth picking up a can.
For fresh orange juice: If you absolutely can’t use fresh juice, store-bought works. Just read the label and make sure it’s 100 percent juice with no added sugar or weird stuff.
For vanilla extract: You can use almond extract in a pinch, but use half the amount because it’s stronger. The drink will taste different, but still good. Don’t use imitation vanilla if you can help it.
For regular sugar: Honey, maple syrup, or agave all work. They’ll change the flavor slightly, but in nice ways. Use about the same amount.
How to Customize
This is where you get to have fun. Here are some directions you can take this drink:
Make it more orange-forward: Increase the orange juice to 2.5 cups and dial back the cream slightly. Use extra zest. This version is brighter and less creamy, almost like a creamy orange juice.
Make it more vanilla-forward: Use 1.5 teaspoons vanilla extract instead of 1, and consider adding vanilla bean seeds if you have them. Reduce the orange juice slightly. This version tastes like a dreamy vanilla drink with orange notes.
Make it less sweet: Use only 1 tablespoon sugar and skip the sweetened condensed milk in favor of regular milk. It’ll be less decadent but still delicious.
Make it fizzier: Add more sparkling water (up to 2 cups) for something that tastes more like actual soda. You can even use flavored sparkling water if you want.
Make it frozen: Blend the chilled mixture with a couple of cups of ice for a slushy version. It’s incredible on hot days.
Serving Ideas
I serve this drink in so many different situations, and it works beautifully for all of them.
- Summer dinner parties: Make a big pitcher and set it out with a stack of glasses. Everyone loves having a homemade option.
- Brunch: Serve it in champagne flutes alongside pastries. It feels fancy without being fussy.
- Hot afternoon pick-me-up: Sometimes you just need something cold and comforting. This is it.
- Dessert drink: Serve it after dinner instead of dessert. It’s sweet enough to feel indulgent but light enough to not make you feel stuffed.
- Kids’ party: They go absolutely wild for this. It feels special, tastes like something they love, and there’s no weird artificial stuff.
- Casual weeknight: Make a pitcher on Sunday and you’ve got a special drink to enjoy all week.
Meal Prep and Storage
This is one of the best things about this recipe—it actually gets better with a little time.
Make-ahead: You can make the entire batch up to 5 days ahead. Store it in a covered pitcher in the fridge. The flavors actually deepen and meld together over time, which is kind of wonderful.
Storage: Keep it in an airtight pitcher or container in the fridge. It’ll stay fresh for about a week, though I’ve never had it last that long because I drink it all.
Freezing: You can freeze this in ice cube trays if you want to make it into popsicles or just have frozen cubes to add to drinks later. Thaw in the fridge before serving if you want it liquid again.
Batch making: This recipe doubles beautifully if you’re feeding a crowd. Just multiply everything and you’re good to go.
Pro tip: If you’re making this ahead for a party, don’t add the sparkling water until right before serving. It keeps the fizz alive and the drink fresher-tasting.
Nutritional Breakdown
Here’s what you’re looking at per serving (makes 4 servings):
- Calories: approximately 280
- Protein: 2g
- Carbohydrates: 28g
- Fat: 17g
- Fiber: 0g
- Sugar: 26g (mostly from the juice and condensed milk)
This is a treat drink, not an everyday health drink, so I’m not going to pretend it’s low in sugar. But it’s made with real ingredients, no artificial sweeteners or weird additives, and it genuinely satisfies that craving for something sweet and special. Sometimes that’s exactly what you need.
Final Thoughts
Making your own Orange Creamsicle Soda is one of those small kitchen victories that feels bigger than it actually is. You’re taking something nostalgic and beloved and making it better. You’re using real ingredients. You’re creating something that tastes incredible and that you’re actually proud to serve to people you care about.
I love this drink because it makes me slow down. In a world where everything is fast and convenient and honestly kind of forgettable, there’s something really special about taking five minutes to make something that tastes like summer and childhood and comfort all at once.
Make this for yourself on a random Tuesday. Make it for friends on a hot Saturday. Make it for your kids when they need a special treat. Make it because you deserve something delicious and homemade and real.
And if you do make it, I’d love to hear about it. Come find me on Pinterest and tell me how yours turned out, or if you added your own twist to it. I’m always excited to hear what people are making in their own kitchens.
Here’s to cold glasses, sunny afternoons, and drinks that actually taste like something.
—
Recipe Card
Orange Creamsicle Soda | Nostalgic Fizzy Bliss
Ingredients
Method
- Pour orange juice, heavy cream, whole milk, and sweetened condensed milk into a large pitcher and stir until combined.
- Add vanilla extract, sugar, salt, and orange zest (if using) to the pitcher an